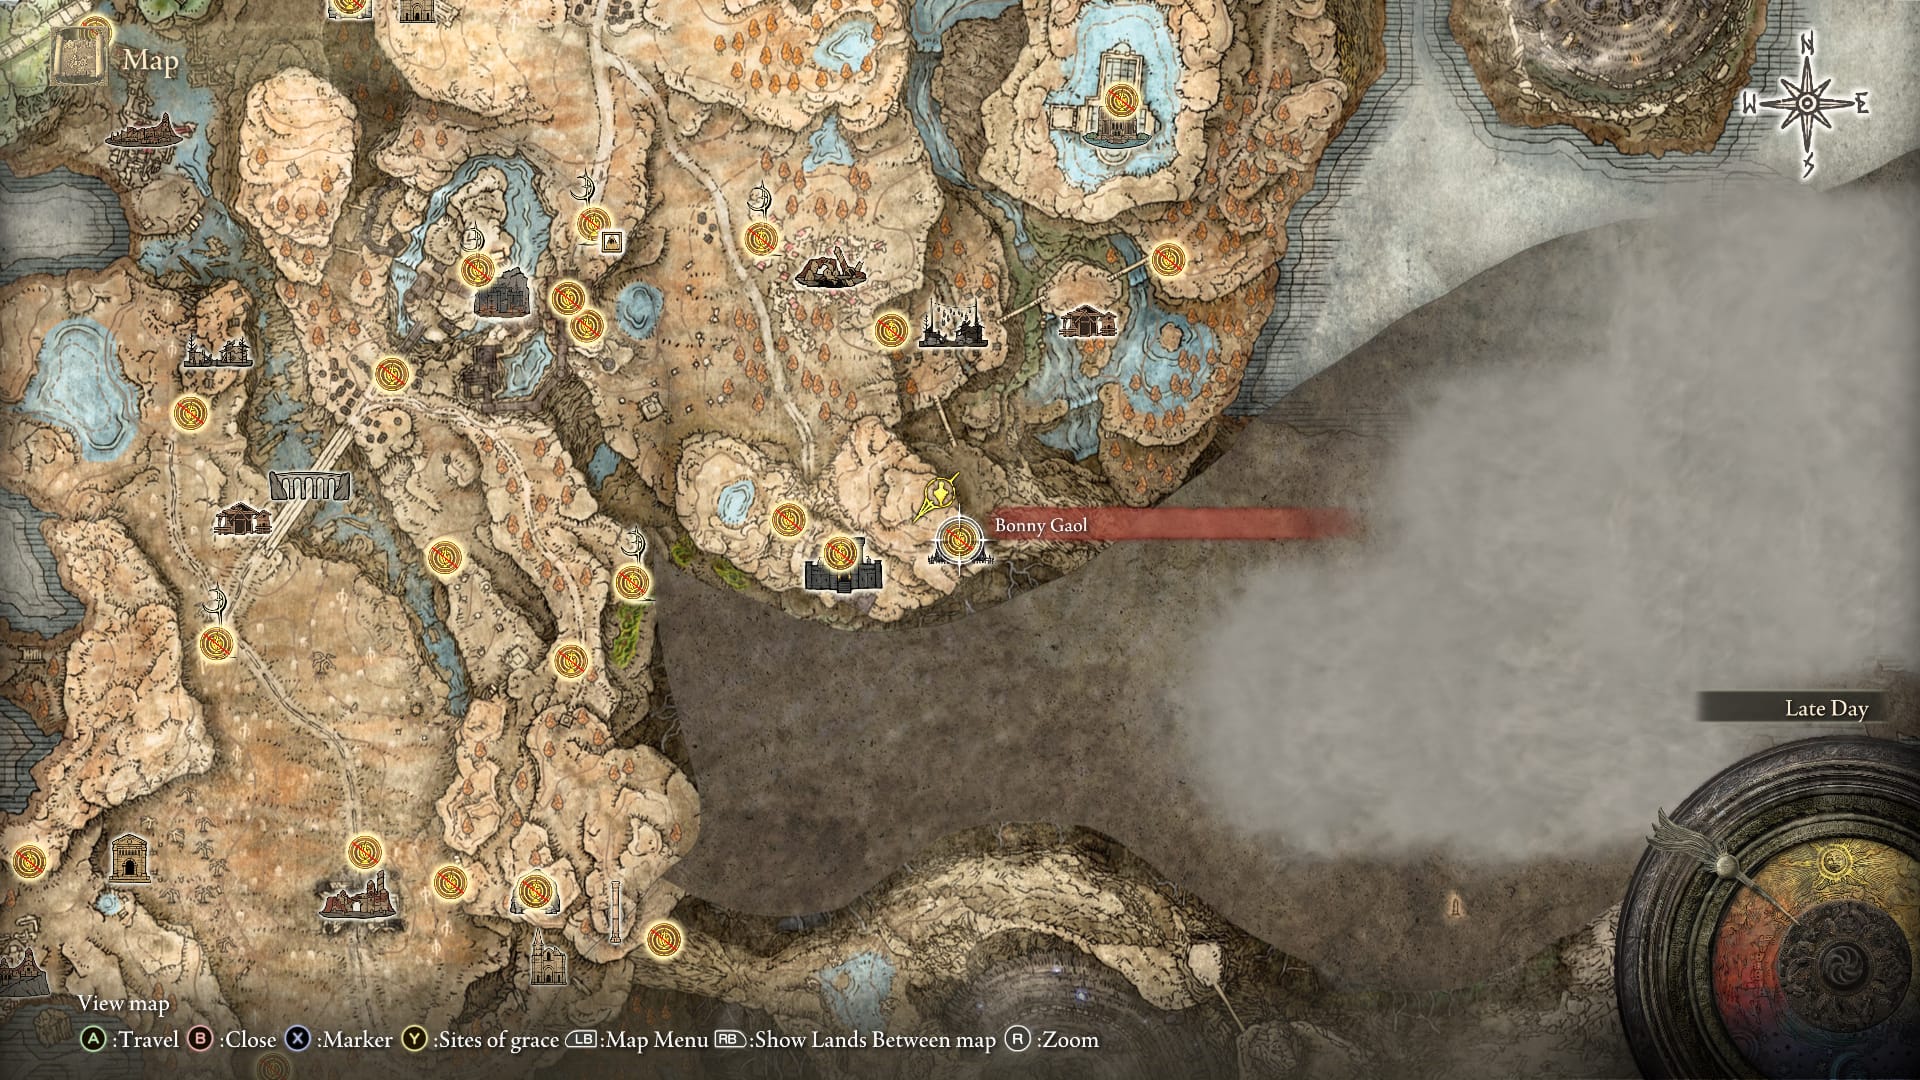
Bonny Gaol is a dungeon with quite a few secrets. Here’s how to complete Bonny Gaol in Elden Ring.
Table of contents
How to Find Bonny Gaol
Bonny Gaol can be approached, as you might expect, from Bonny Village. Simply cross over the bridge to the village’s south and keep an eye on the cliffside to your right. It will open into a cave which will lead you to Bonny Gaol.
If you’re struggling to find Bonny Village, you’ll need to go from the Highroad Cross site of grace just after Ensis Castle. Go east from Highroad Cross until you reach Moorth Ruins site of grace. You can meet Dryleaf Dane here, who can pass on his Dryleaf Arts.
From the Moorth Ruins site of grace, continue east until you find a hole in the ruins. Descend through this hole and make your way through it and you’ll soon emerge in Bonny Village.
How to Complete Bonny Gaol
So! There are quite a few secrets to uncover in this dungeon. The moment you enter, you’ll see a pot person across the way. Pot people aren’t particularly tanky but they have long-range attacks, so either snipe them from a distance or get in their face and kill them quickly.
Follow the path but stop just short of reaching the door. To your left are two pots hanging over the edge. Use them as platforms to descend.
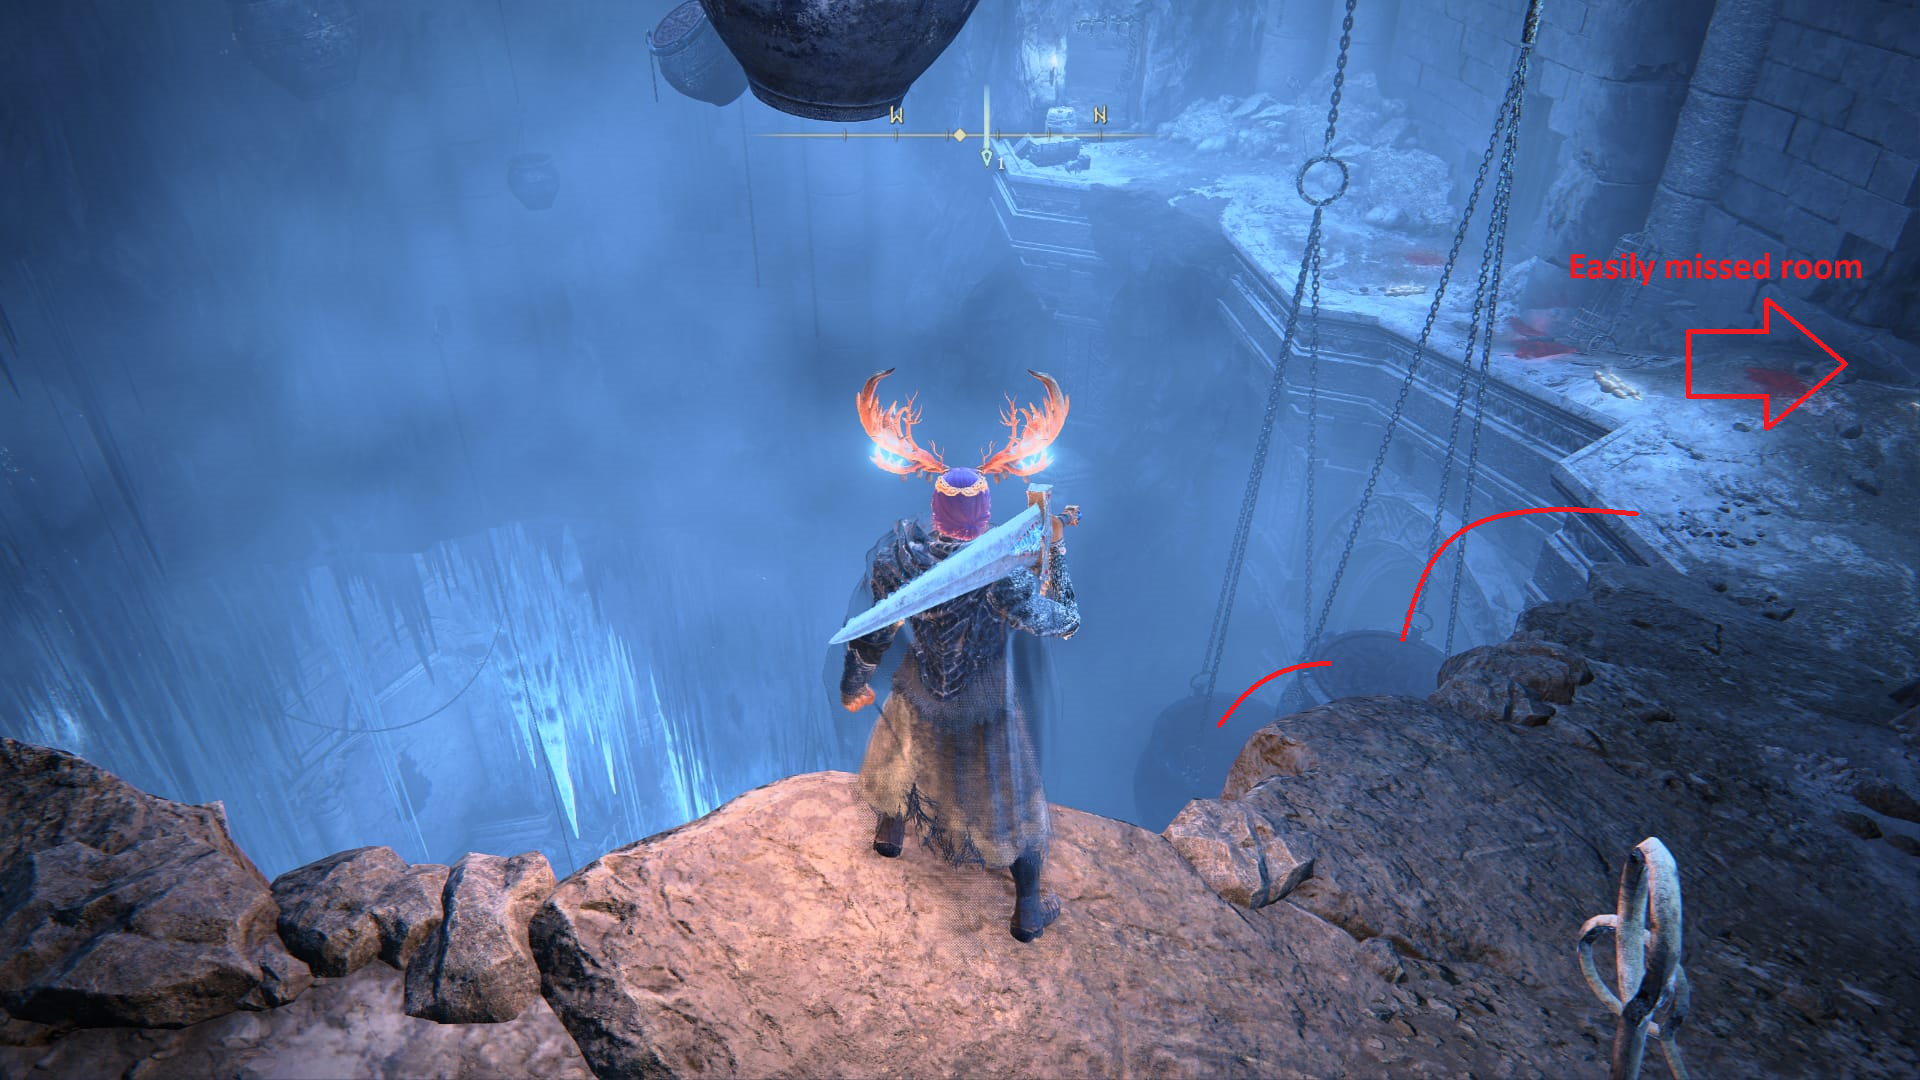
The room immediately in front of you will have a shade hiding behind a pot. You can loot two Frozen Maggots. But the room further down the path will have a Pot Person waiting to ambush you from the left.
The room it guards has another pot person, this time hiding on the right side. You can loot a Hefty Cracked Pot from this room, though, which is perfect for taking down Furnace Golems.
Return to where the pot that took you down was and stand on the button on the path to make it descend, then ride it up. There are three doors on this main path, and the one on the end will take you through the rest of the gaol.
The first room, which you likely passed by without realizing it, is just before the pot lifts. This room contains a shade looking at an item (a Frozen Maggot) and a hidden pot person to the right.
The second room contains another shade with another frozen maggot, but no ambushing pot person.
Finally, the third room at the end of the path will lead you into a dining room with some cages and an item in the back. As you approach the item, you’ll be ambushed by five different shades. Kill them, then claim ten Bolts.

Head through the metal door and be prepared for a shade to burst through the boxes on your left. Kill it and the other shade in the room, then jump into the wooden chute in the room’s corner.
How to Navigate Bonny Gaol’s Caves
You’ll drop into the basement, which is more cave grave than anything else. To get everything possible, you’ll need to first go east. This path will lead you into a cave full of rats. There will be a Smithing Stone [3] on the right side of the cave.

Go up the ladder and be prepared for a Pot Person to immediately attack you from the front. But in this room you’ll be able to find the Stalwart Horn Charm+2.
Return to the cave and this time go northwest to find two branching paths, each leading to an item. The path dead ahead will lead you to a Broken Rune. The left path will take you to the rest of the gaol and an Invigorating Cured Meat, and the path dead ahead will bring you to a Broken Rune. You’ll have to fight half a dozen Skeletal Slimes no matter which way you go. These slimes will start on the cave roof and drop when you get close. Fire and area-of-effect attacks are recommended. But heavy hits with a greatsword seem to do just fine, too.
Jump down the sewer into the lower level of the basement. You’ll find yourself in a large cavern that has three large Living Jar enemies and a dozen small ones. There’s a Large Living Jar on the left, close to the Broken Rune item in the door, to the right side, close to the Lost Ashes of War on a pile of bodies, and one in the center. Take the room slowly so you don’t get overwhelmed.

From the Lost Ashes of War, if you have a long-range weapon, you can also snipe a Pot Person who’s blocking an item we’ll be getting later.
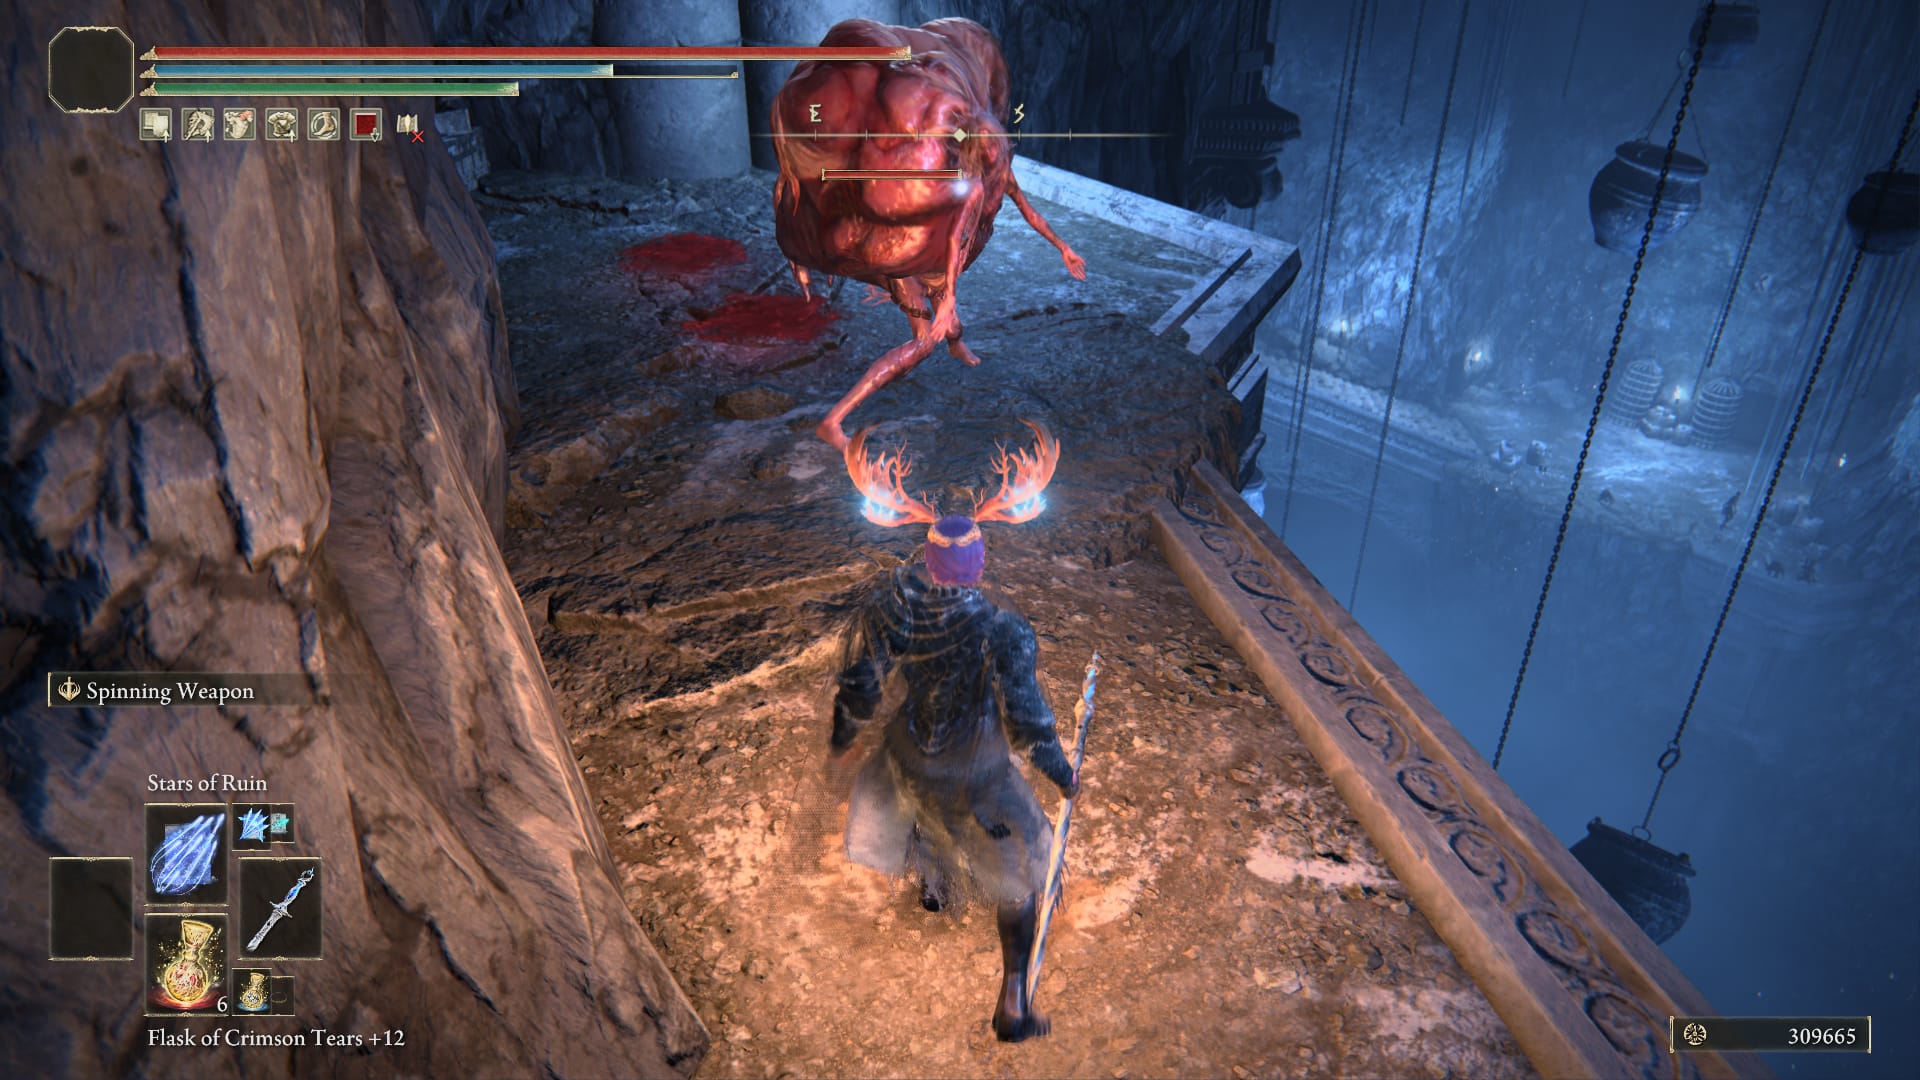
Otherwise, continue through the room and into the next one. This next room will be full of pots, with an item right in front of you. But as you approach the item (Innard Meat), the hanging pot to the left will explode and reveal a Pot Person. It’s also likely that you’ll be attacked by a Pot Person from your left when you’re engaged with this one, so watch your flank.

When those two are taken care of, continue towards the door, but monitor your left. There will be another Pot Person who will crawl out of a broken pot. Once defeated, you can claim the Raw Meat Dumpling it was guarding.

The next room will also have another ambush waiting, again from a hanging pot. Clear it out, then make your way to the outer corridor.
How to Navigate Bonny Gaol’s Second Stage
Now that we’re out of the caves, go left down the path and find a skeleton with a Silver Horn Tender in an alcove to your left. Then, kill the three Shades overlooking the path’s edge.
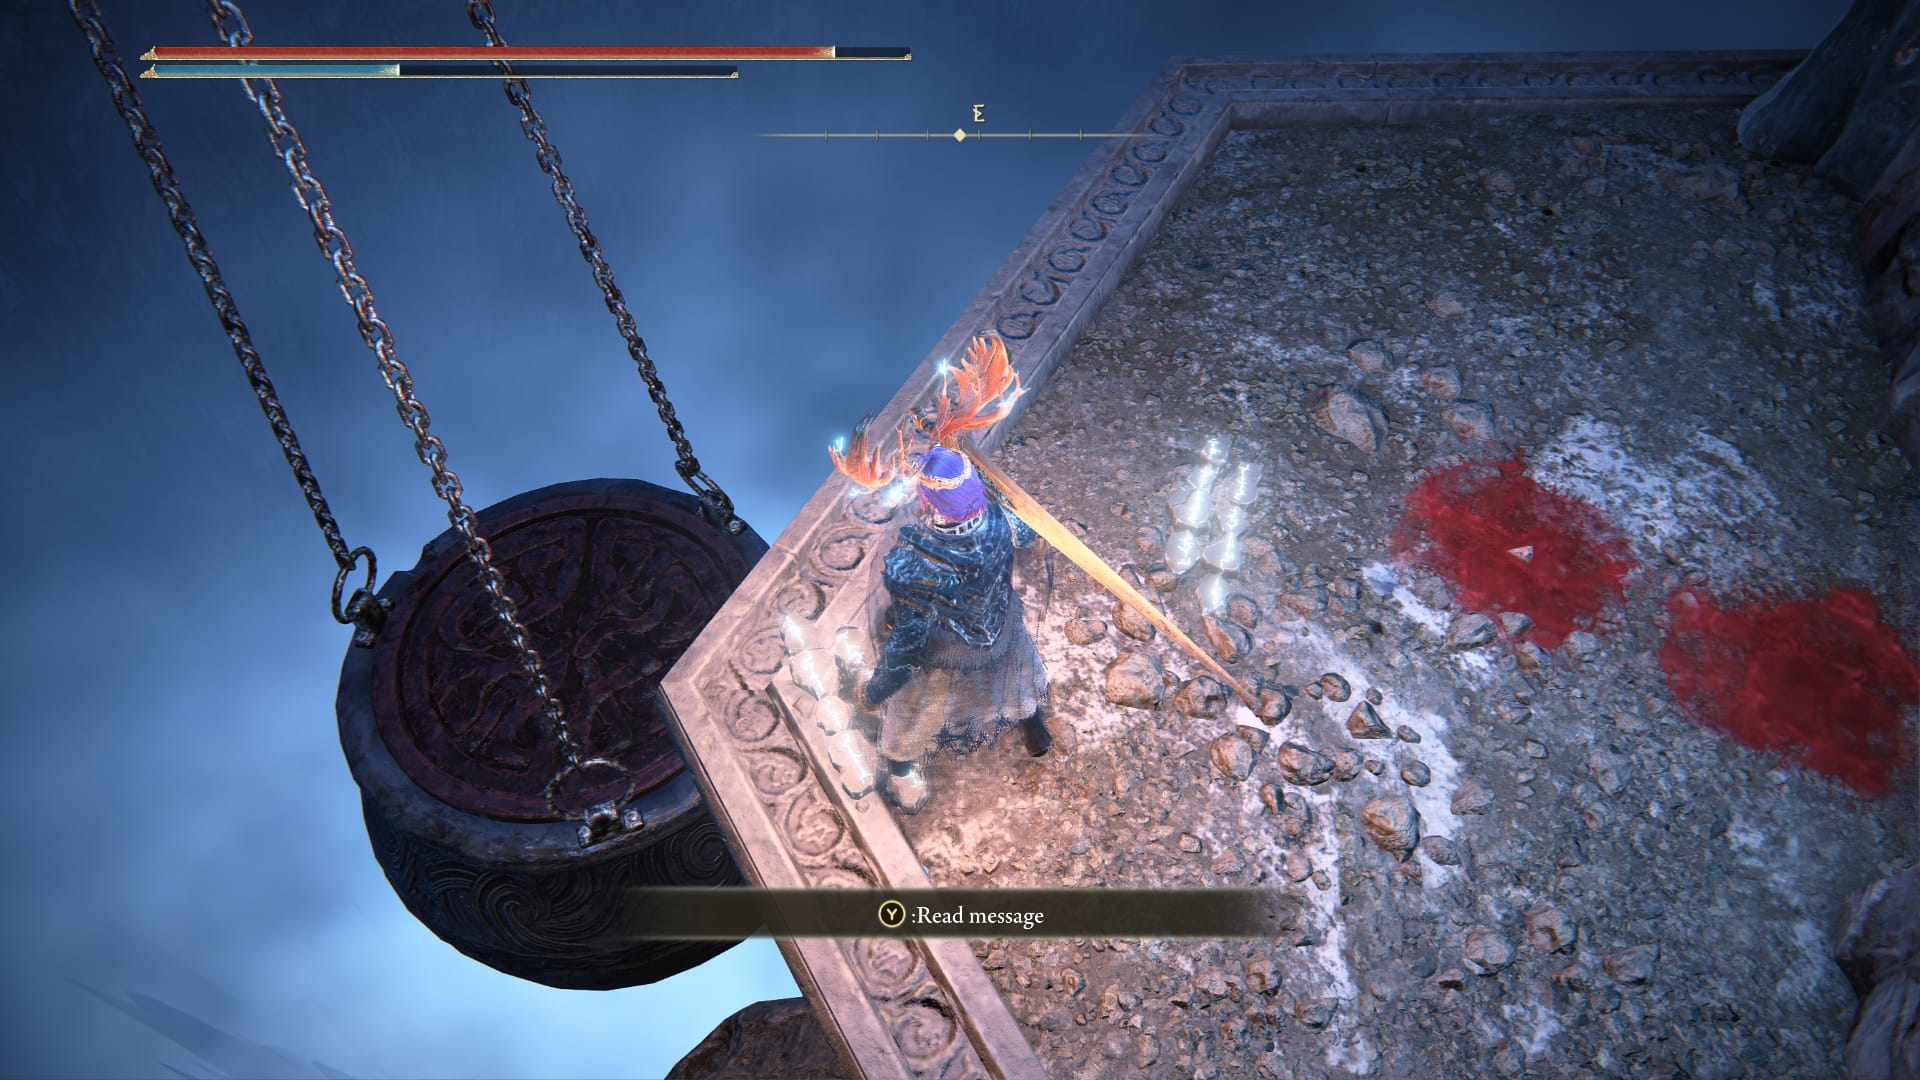
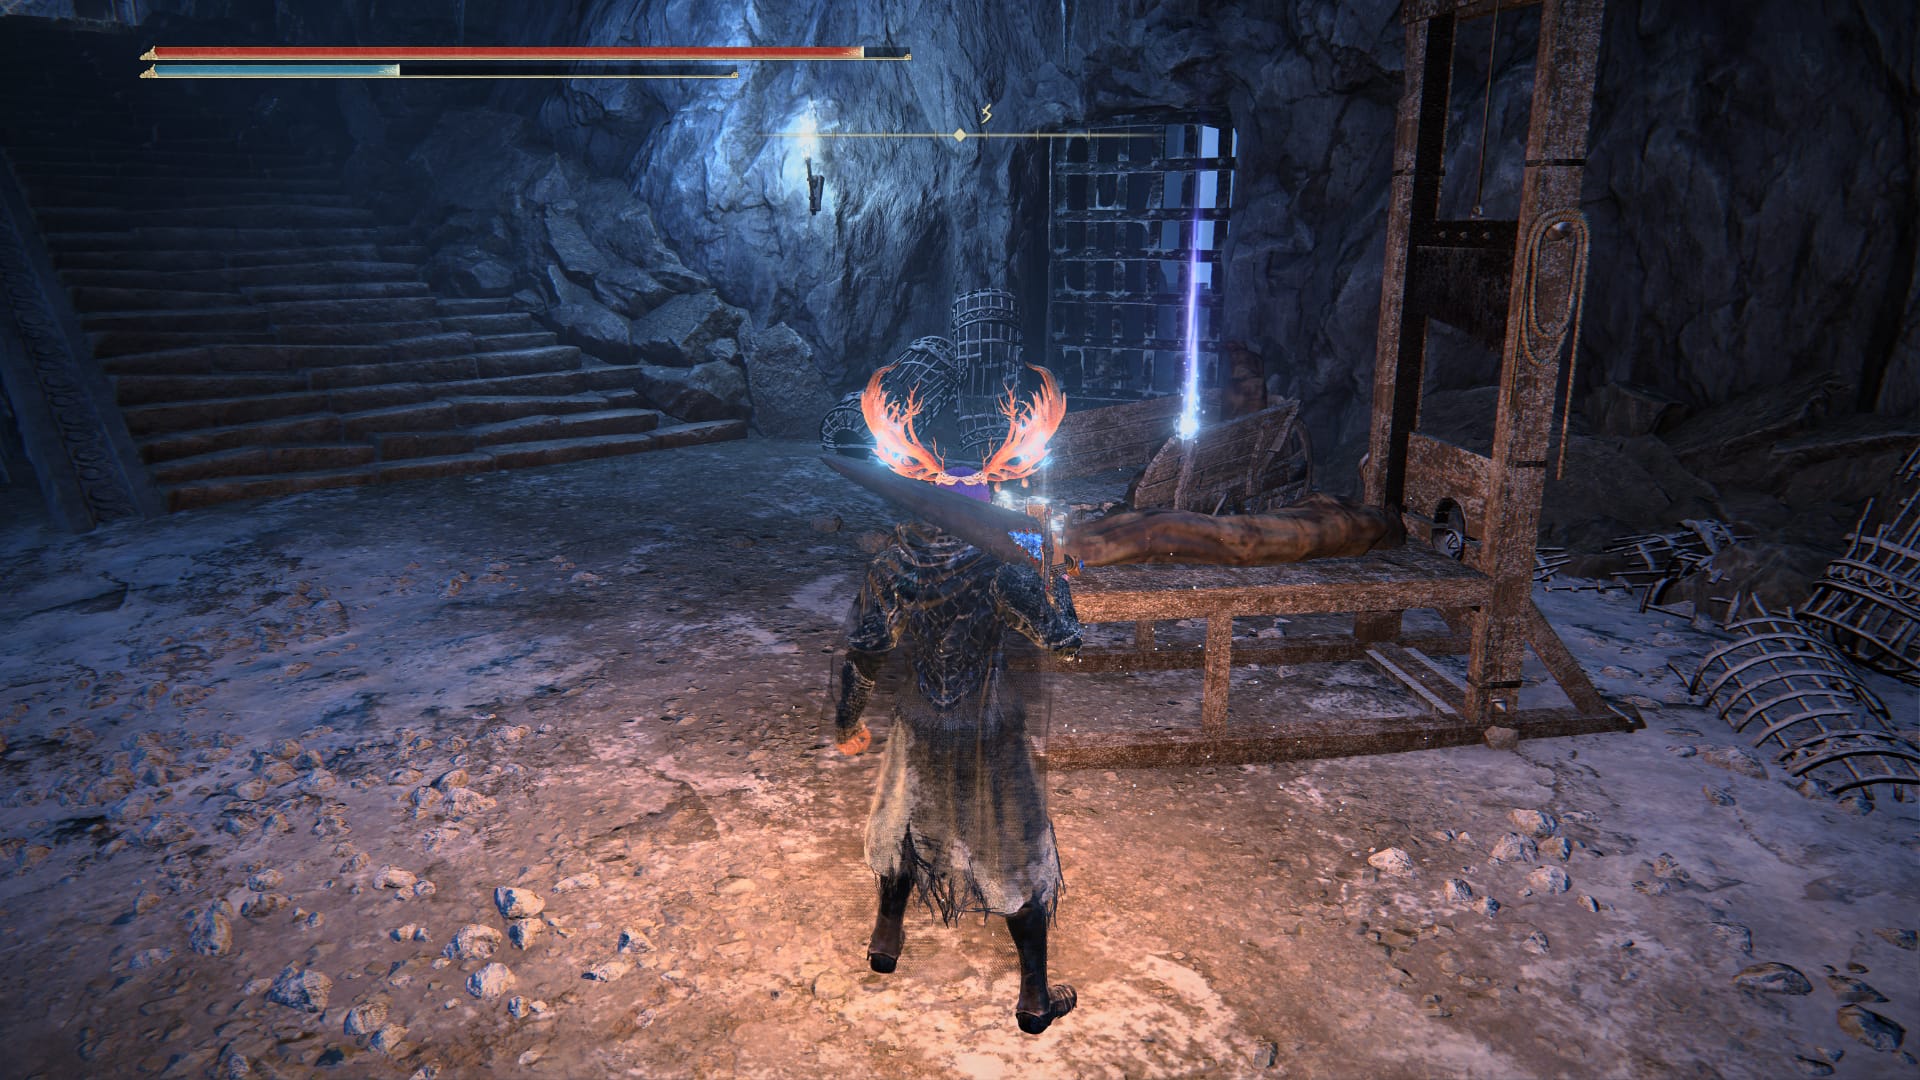
Continue through the rooms, which will have even more Shades, until you reach a balcony with a pot elevator. Stand on it and it will take you to the bottom. But don’t get off! Instead, ride it all the way to the top.
There, on a guillotine, you’ll find a complete armor set. That set includes:
- Helm of Night
- Armor of Night
- Gauntlets of Night
- Greaves of Night
It’s a fairly lightweight set, perfect for medium builds. Continue up the stairs and you’ll find a Pot Person if you didn’t snipe it when you were in the room full of Living Jars. It will be guarding the Shield of Night, the last item in the set.
Return to the edge and drop to the pot. Then, drop again to reach the original pot elevator. Take it to the bridge below.
The bridge will seem to feature just a Shade, but it’s bait. The pot beside it contains a Pot Person, and as you approach the Shade, another Pot Person will burst through the pot at the end of the bridge. Kill the Pot People. The Shade will simply cower. Then proceed to the fog gate at the end of the corridor. About halfway down, where the path makes a turn, a Pot Person will jump out of an alcove and try to ambush you.

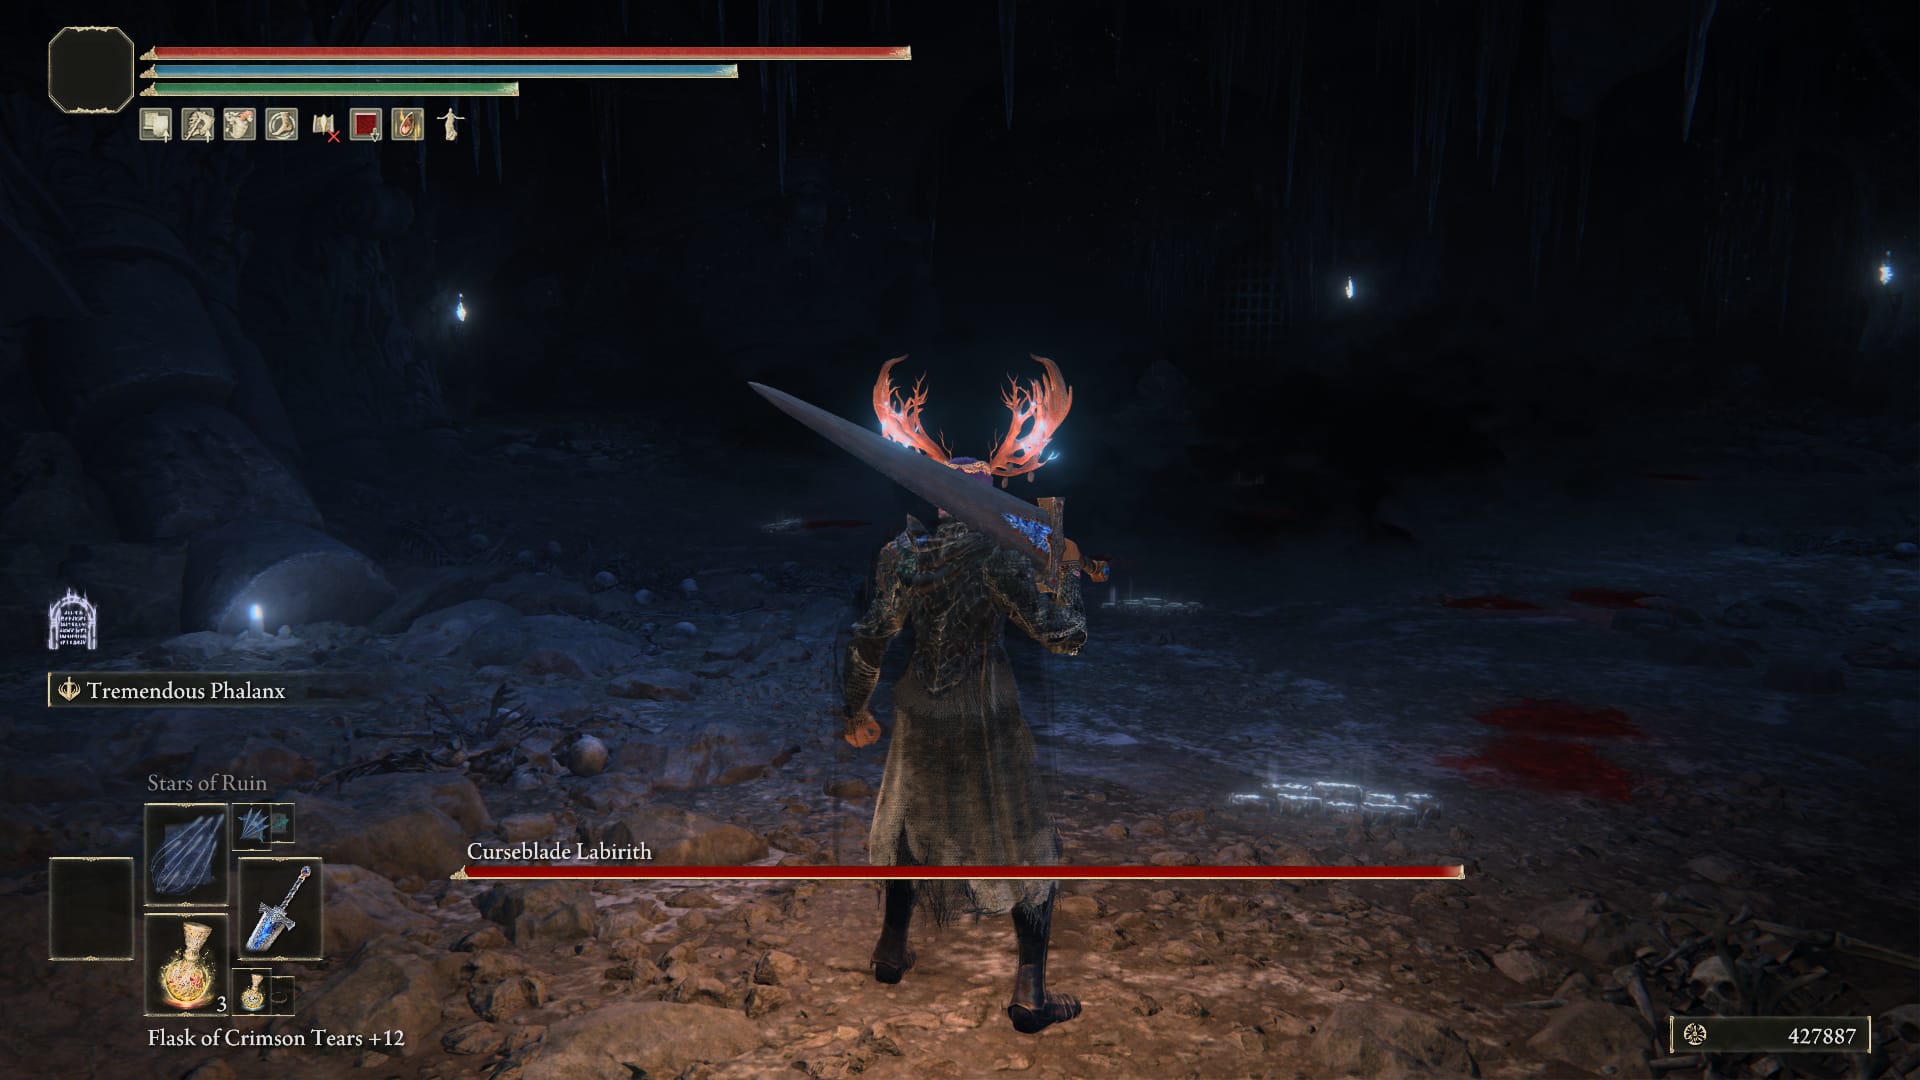
How to Beat Curseblade Labirith
Curseblade Labirith is a boss type of the extremely agile new dancer enemy you’ve encountered in Castle Ensis. And its gimmick is that it will quickly flood the arena with darkness the moment you step inside.
While it may be hard to parry Labirith, you can use autolock to track its movements around the chamber. When it moves towards you, prepare to either dodge or guard, as it will begin a series of fast attacks. If you can successfully dodge this move, a heavy attack is particularly punishing to Labirith because of its low health pool.
If you’re struggling with the fight, light armor loads, the Dragoncrest Greatshield Talisman, and a Physik made of Opaline Bubbletear and Opaline Hardtear are recommended. Long weapons like pikes will also help you make up the difference. Even the Great Katana isn’t a bad idea.
Spirit Ashes like Greatshield Soldier also perform well, as they’ll occupy Labirith. Sorceries like Carian Phalanx and Stars of Ruin can absolutely trivialize this fight because they can track Labirith through the darkness.
Once you’ve defeated Curseblade Labirith, you’ll get the Spirit Ash Curseblade Meera.
Elden Ring: Shadow of the Erdtree is available now.