Like any good gacha game, there’s an ebb and flow to Solo Leveling Arise. You’ll make a ton of progress at the start, but eventually find yourself hitting a brick wall. To avoid that, here’s a full guide to help you progress through Solo Leveling Arise.
Solo Leveling Arise Complete Progression and Beginners Guide
Like most other gacha games, you’ll want to power through as much of the story as possible when you’re first getting started in Solo Leveling Arise. After that, you’ll start spending time on Gates, Instance Dungeons, Encore Missions, and Battlefield of Trials. If that all sounds very overwhelming, don’t worry, I’ll walk you through it.
Do Your Rerolls
First things first. This is especially important for F2P players, as you want to make sure you’re giving yourself the best possible start to your journey in Solo Leveling Arise. Choose the Sign In as Guest option on a mobile device, complete the tutorial, then do your pulls. If you don’t get any of your targets, reset your account and try again.
The reroll process is pretty painless after you complete the tutorial for the first time, as you can skip it on subsequent runs. Do make sure to choose the Reset Account option and not the Delete Account option, though. We’ve got a full reroll guide for you here, but essentially these should be your reroll targets:
- Cha Hae-In or Choi Jong-In
- Min Byung-Gu
- Emma Laurent
- Seo Jiwoo
Cha Hae-In and Choi Jong-In are at the top of the pack in terms of damage output right now, while Min Byung-Gu serves as the best support in Solo Leveling Arise. Seo Jiwoo will come in handy in the late-game portion when you’re going up against raid bosses, while Emma Laurent is another solid all-rounder character that can fit into a lot of team compositions.
Push Through the Story on Normal Mode
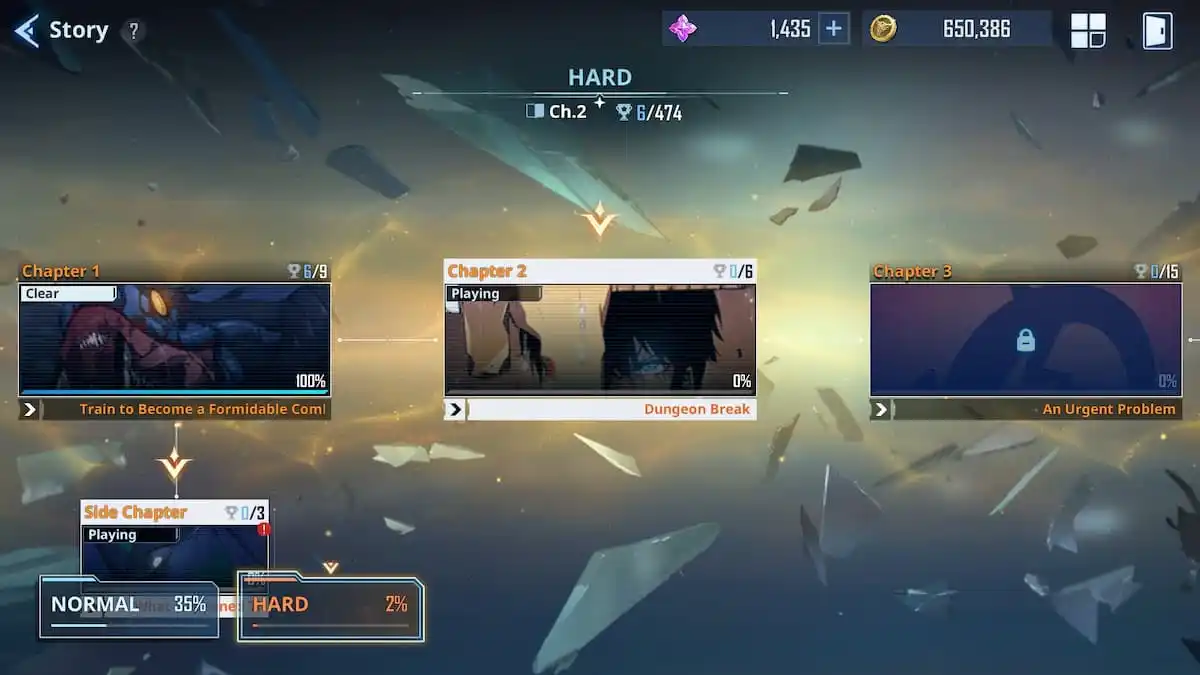
After you’ve completed your rerolls in Solo Leveling Arise, it’s time to push through as much of the story as you can. Go through all of the main missions and side stories to rack up Essence Stones, as well as experience points to level up Sung Jinwoo and your other hunters, and continue pushing.
Whenever you hit a roadblock, make sure to level up your characters, as well as your weapons. However, only level up SSR weapons and select SR weapons. Gold is a huge bottleneck in the game and you don’t want to waste it on trash weapons. We’ve got a weapons tier list to help you pick out the best weapons you want to keep around.
If you’re still hitting a roadblock even after leveling up and allocating stat points, that’s where Gates and Encore Missions come in.
Gates and Gate Mining
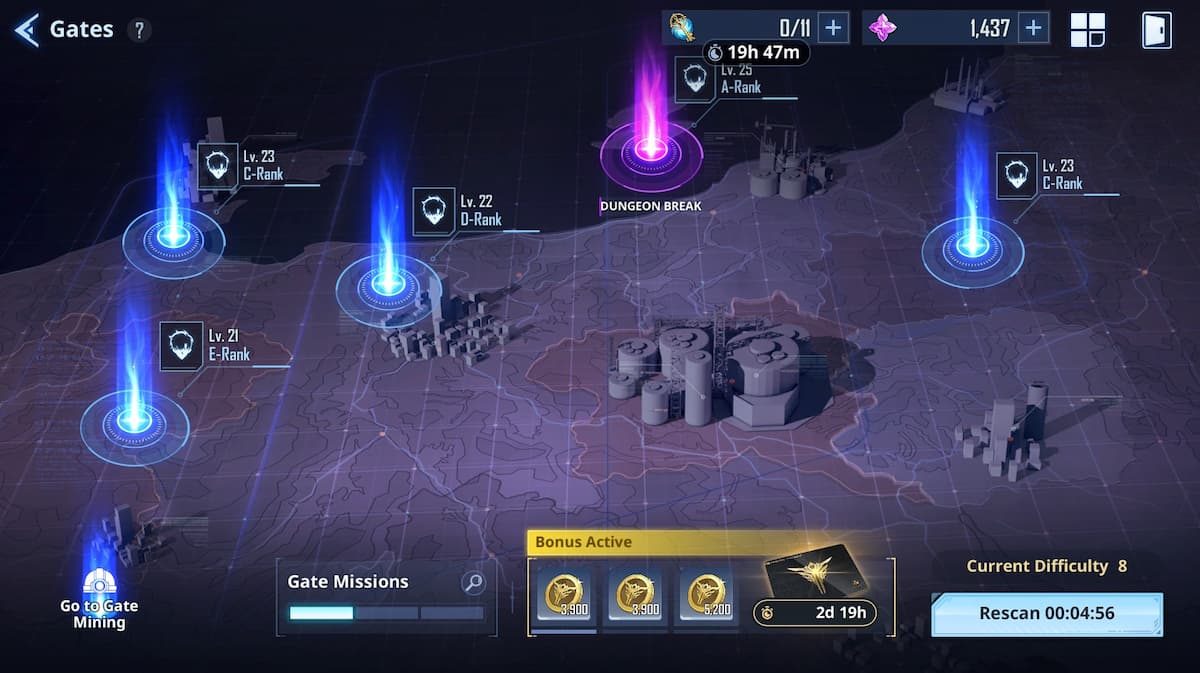
With Gates, you’ll want to tackle the higher level ones as much as you can. You’ll always be able to lower the difficulty if it’s too much for you and rescan the Gates every 10 minutes, so there’s no pressure there. But generally speaking, try to look for Dungeon Breaks, Treasure Gates, and Red Gates. These are purple, gold, and red respectively.
There’s no harm in doing regular Gates too of course, as they all give you experience, but prioritize those colored Gates when you can.
You’ll also want to stay on top of your Gate Mining dispatch teams, which will give you passive Gold and experience over time.
Encore Missions
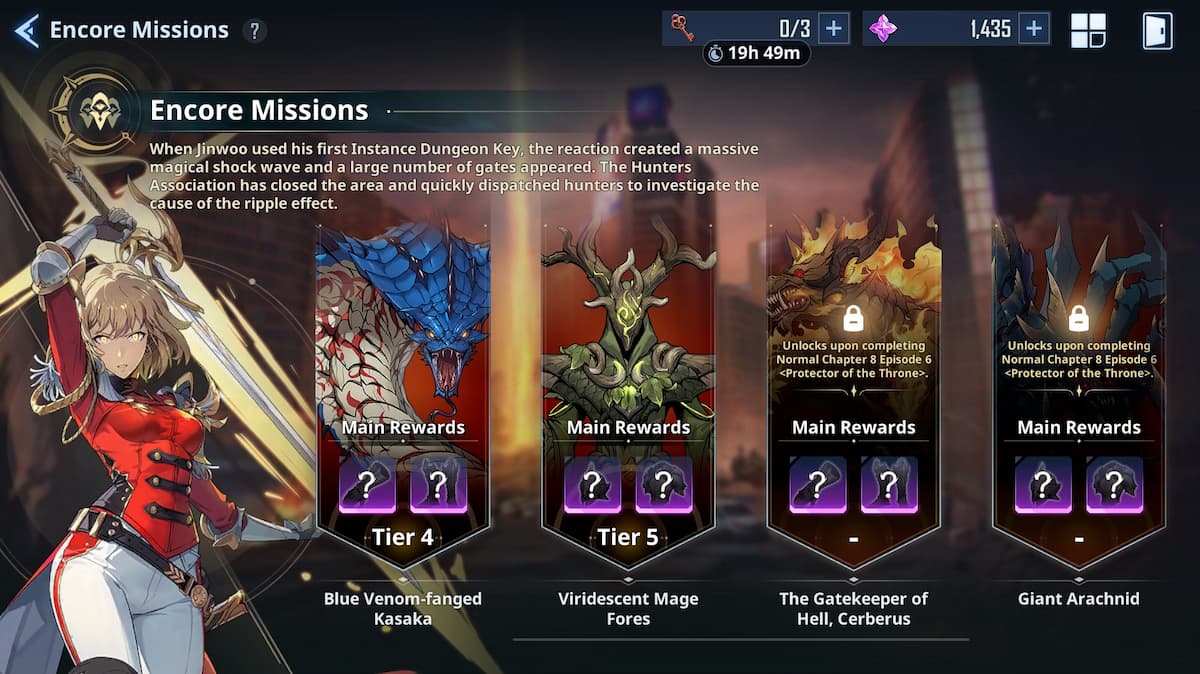
Eventually you’ll also unlock Encore Missions. These are boss fights that allow you to farm for Artifacts, but you can only use your hunters. Every fight as battle mission as well, and if you’re able to clear them, you’ll get a buff that gives you a 50% damage increase, as well as a damage reduction of 50%.
You’ll want to farm these for Artifacts to be equipped on both Sung Jinwoo and your hunters, and this should help raise your power level to let you take on the story missions.
Instance Dungeons
Similar to the Encore Missions, Instance Dungeons are also boss fights that let you farm for accessories. Except this time, you can only use Sung Jinwoo. This won’t become available till about partway through the story, so focus on your Encore Missions to push through the story missions first before you worry about this.
Battlefield of Trials
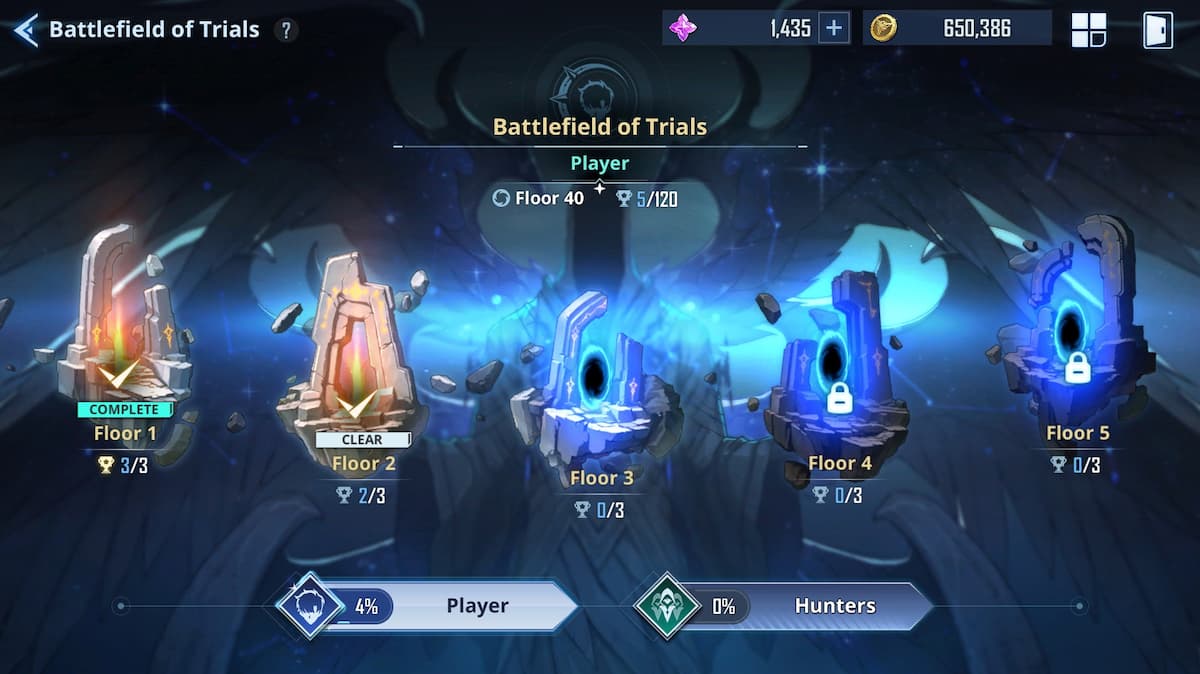
Finally, Battlefield of Trials is basically Solo Leveling Arise‘s version of a tower mode. This won’t give you character experience, but they’re a great source of Gold and Essence Stones, allowing you to pull on the banners more frequently.
Wait for Your Activity Funds
Finally, even if you’ve been staying on top of all the game modes available to you, you will still eventually reach a point where you may just need to wait it out. The Activity Funds are this game’s idle feature, where you can slowly collect experience and Gold over time. You may just need to wait for your Activity Funds and daily resets to level up enough before you can continue pushing.
And that does it for our Solo Leveling Arise progression guide.




Published: May 9, 2024 12:19 am