Healing a ghost is no easy thing. Here’s how to complete Convalescence: Greenery in Destiny 2.
How to Complete Convalescence: Greenery in Destiny 2
To unlock Convalescence: Greenery, you’ll need to complete Rootbound and Underbrush in that order. Once you’ve done that, Micah will need you to restore balance to a larger part of the Traveler. And we’ve got five steps to tackle to complete this quest.
Those steps are:
- Open Overthrow chests
- Complete the Sword Dance Cyst
- Examine the fissure in the arbor in Lost City.
- Speak to your Ghost in the arbor in Lost City.
- Turn the quest into Micah.
For step one, you’ll need to go to The Landing in the Pale Heart. The only chests here that count towards the total are Overthrow activity related chests.
- Killing Crystal-bound Wizards in the tunnels is worth 15%.
- Killing Rune Bearer knights and their matching Wizards, then the final boss is worth 30%.
- Public events are worth 30%.
- Completing all four levels of the Overthrow seems to complete the quest step automatically even without opening the chest. Or it’s worth 30%.
Next, we’ll need to complete the Sword Dance Cyst. To do this, you don’t need to fly anywhere. Instead, head toward the tunnel on the far northeast of the map, heading toward Refraction.
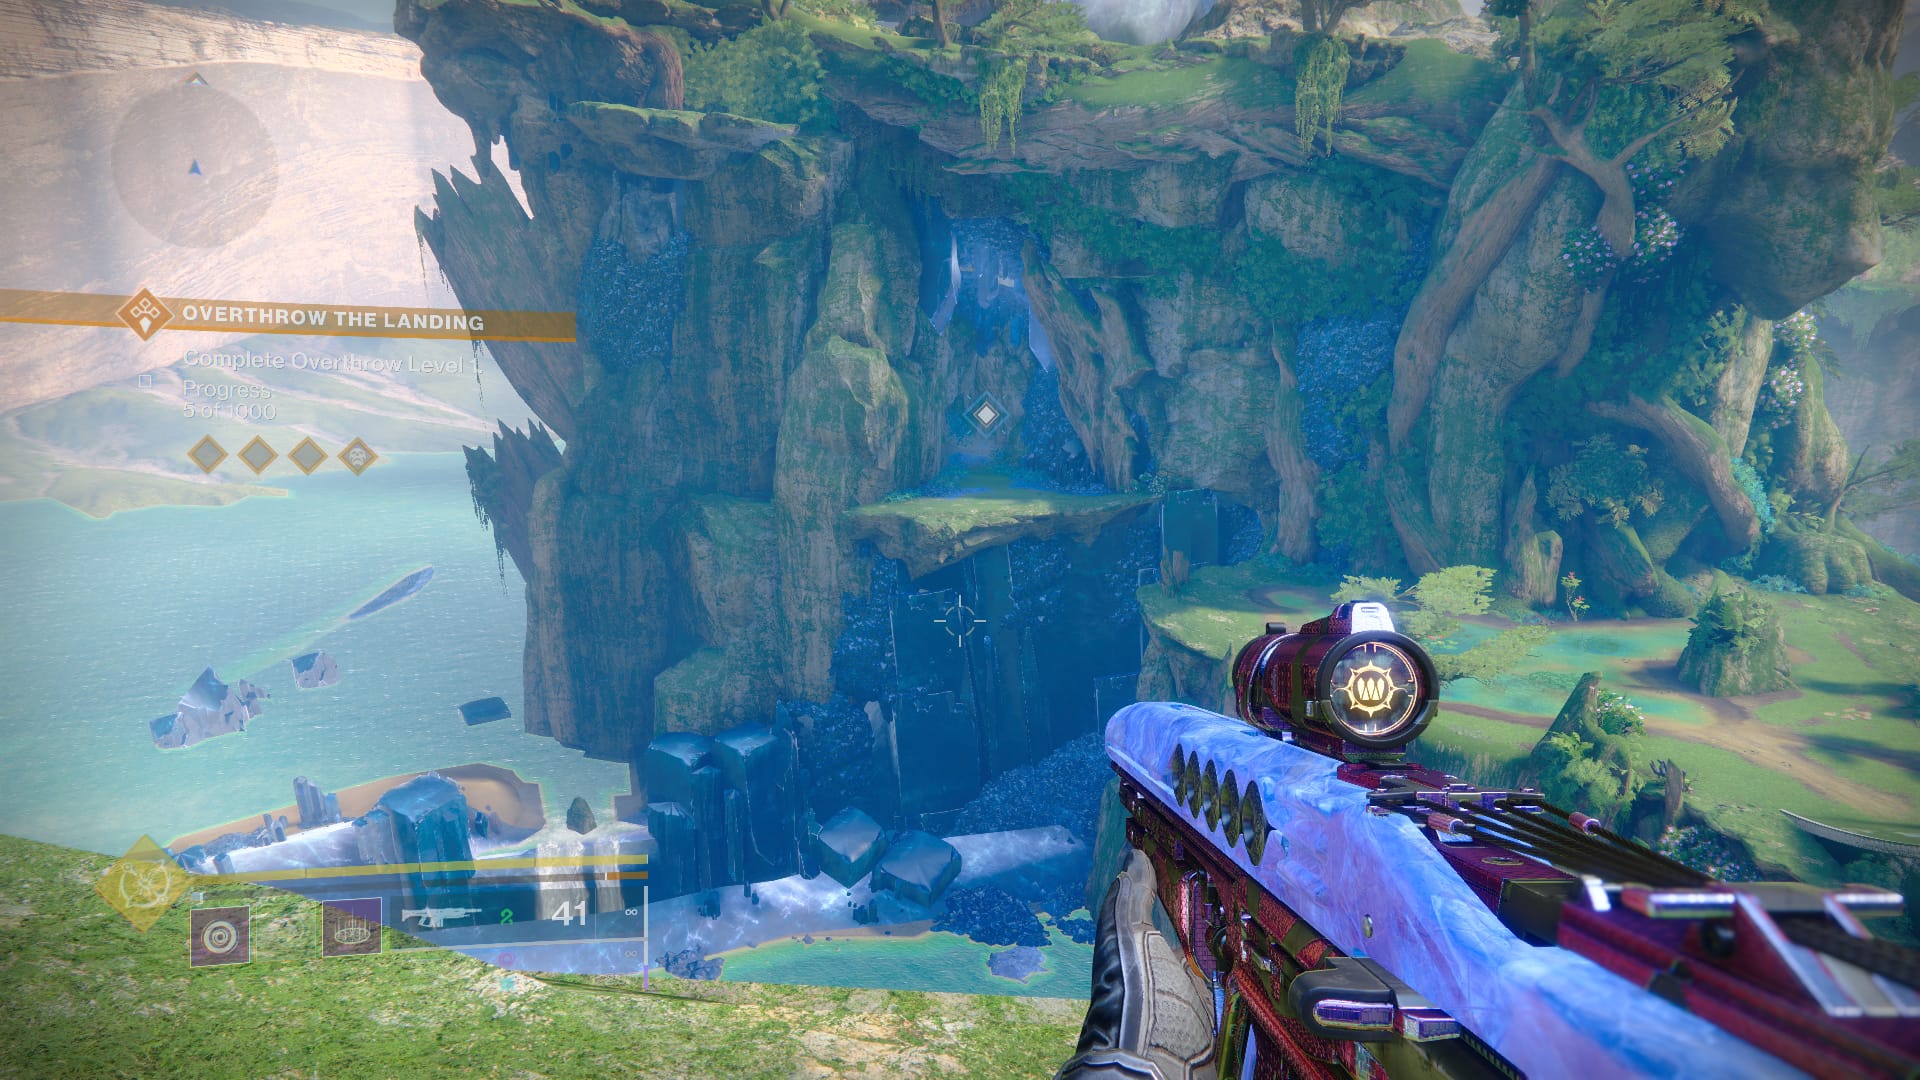
When you reach the crystalline chamber in Refraction, which is just a straight shot, you’ll see the Traveler’s spirit bird perching on a crystal.
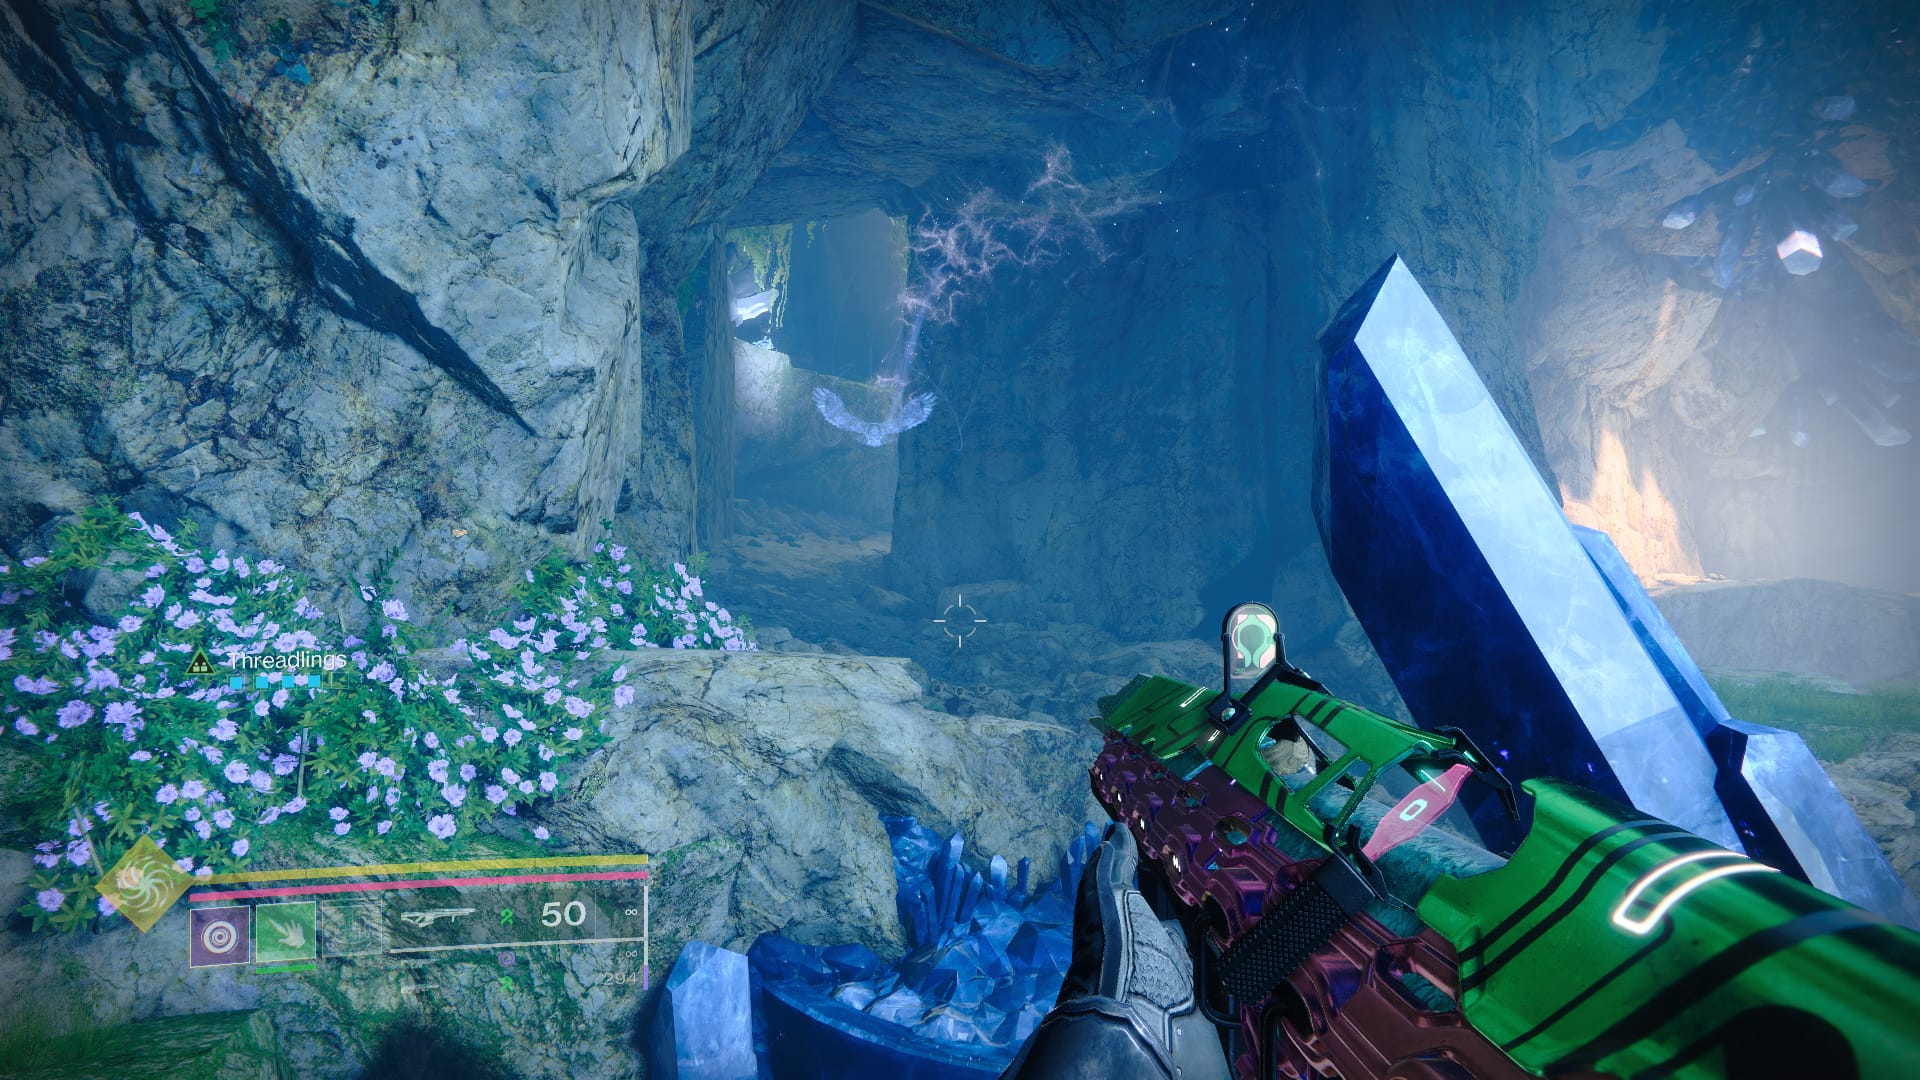
Approach it and follow it left, toward the tunnels. Don’t go through the black shattered mirror and instead follow it right until you reach a chamber with a Prismatic chest.
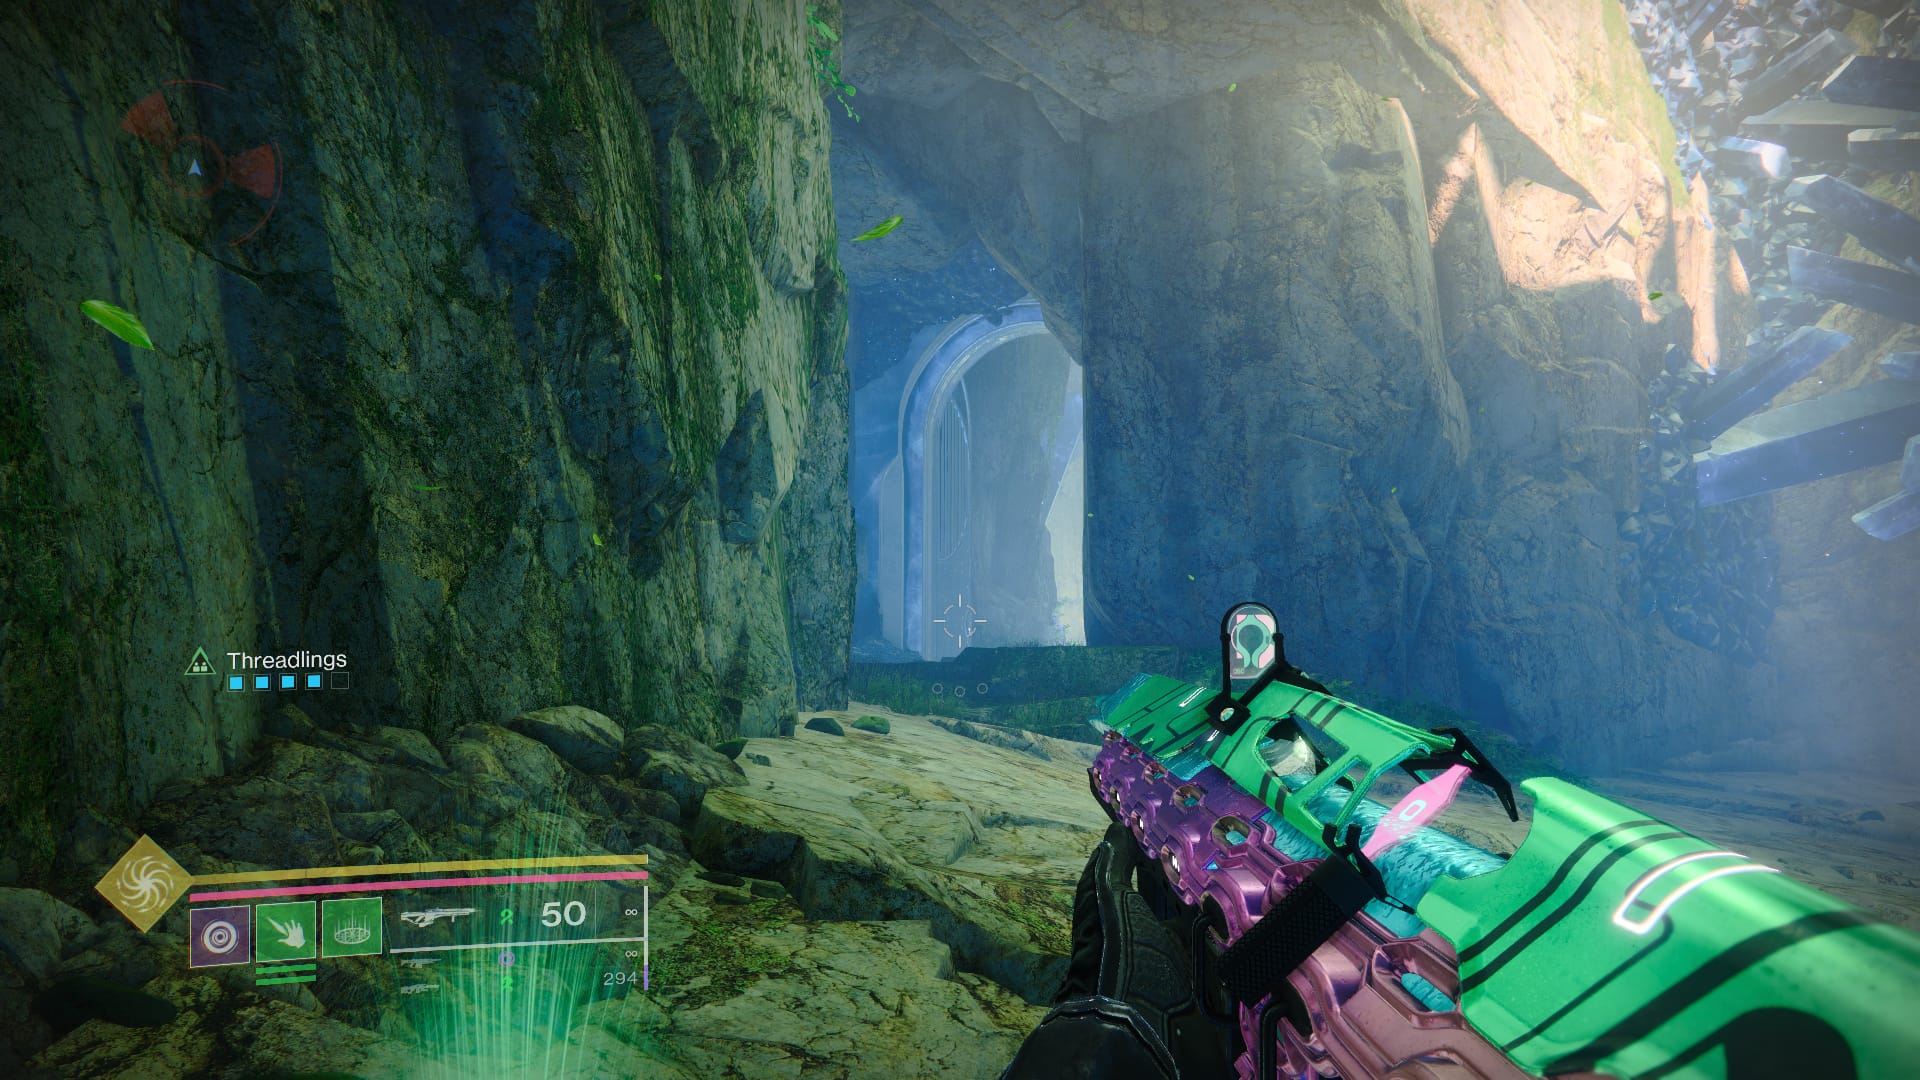
The spirit bird went out of the room through the hole in the floor to the room’s left. But if you want to get the facet of justice that this chest contains, check out this guide for a quick and easy solution.
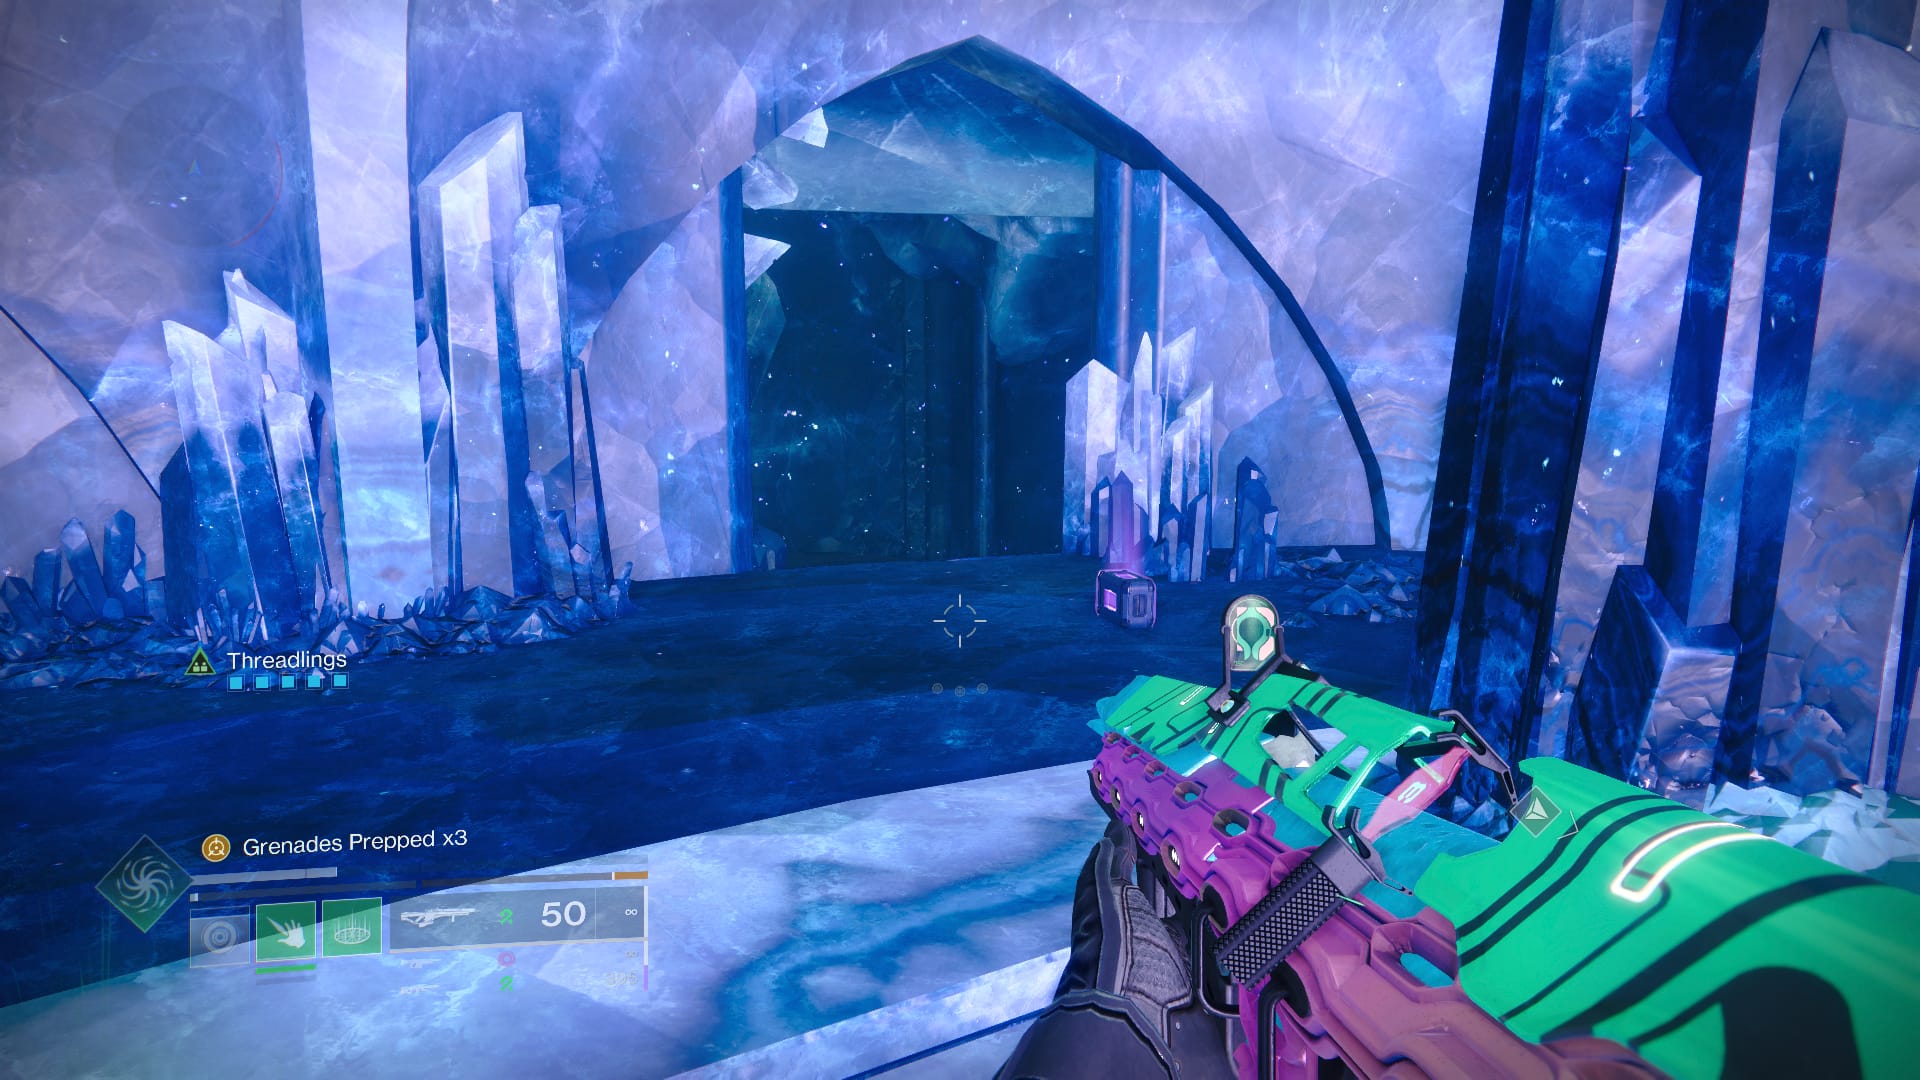
Follow the bird through the subterranean chamber and out, and you’ll soon find yourself in the open area where Mara first used Taken energy to show us another perspective.
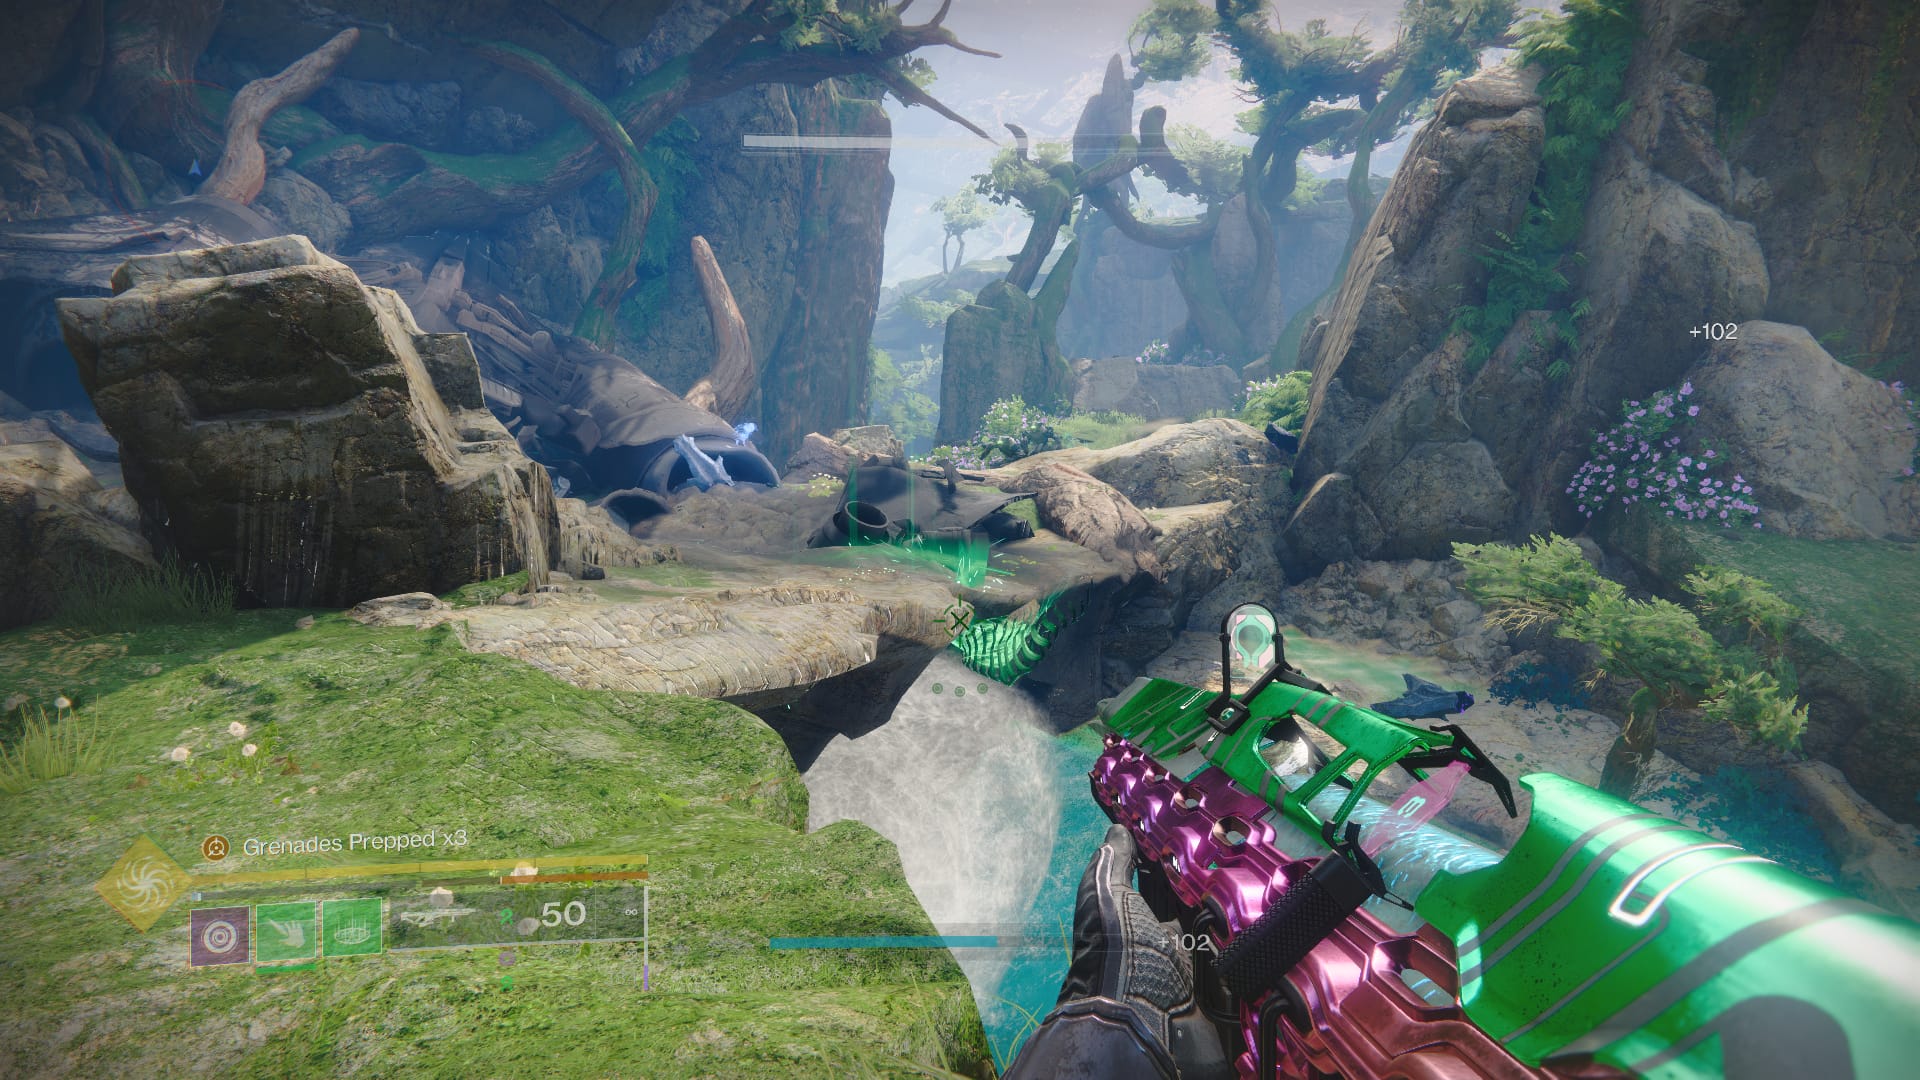
Go through Refraction until you hit the end and a cave wall. Enter the crystal cave. There will be a choice between dropping or continuing on ahead. For this quest, drop down, then go left to the end of the small tunnel and jump up onto the ledge.
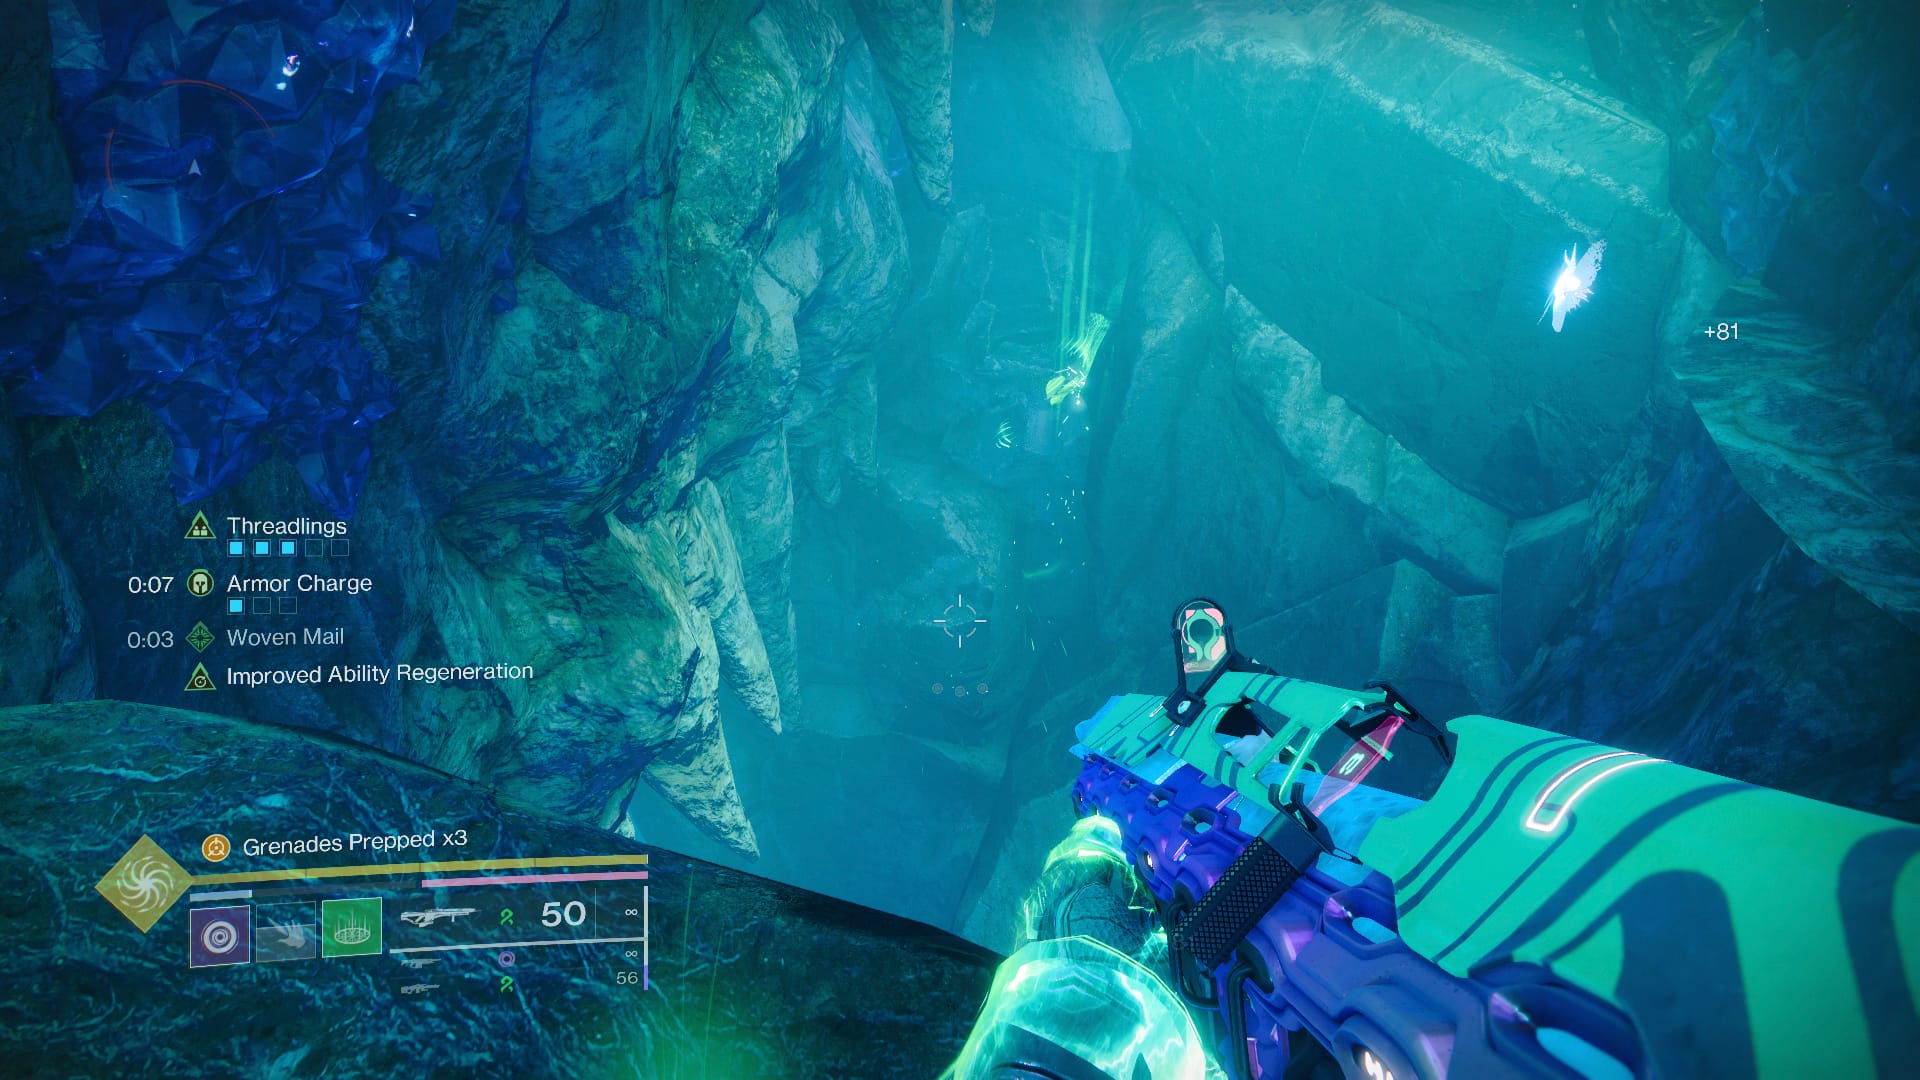
Climb until you see the exit, where a Blister Knight and the bird will be waiting for you. Once the Blister Knight is dead, follow the bird back into the cave, but this time turn left, toward the tunnel the Hive Knight was guarding.
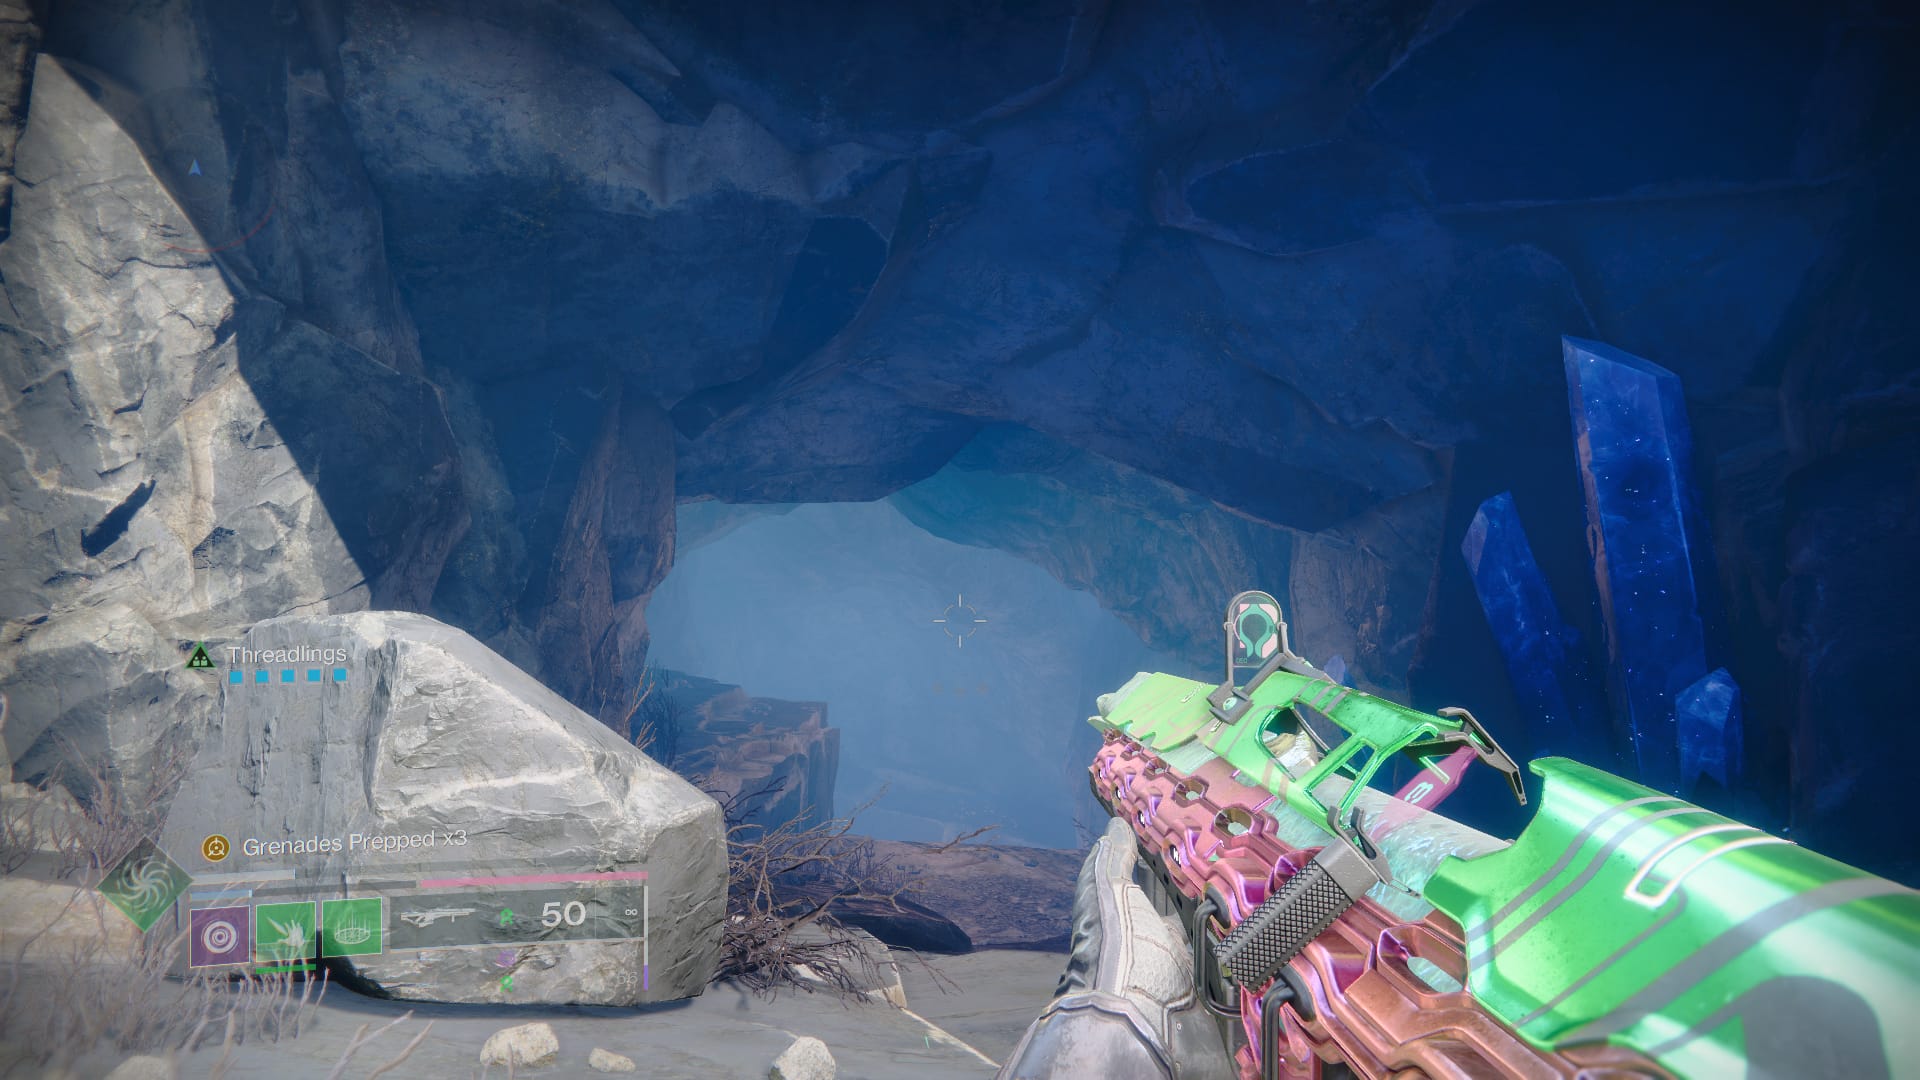
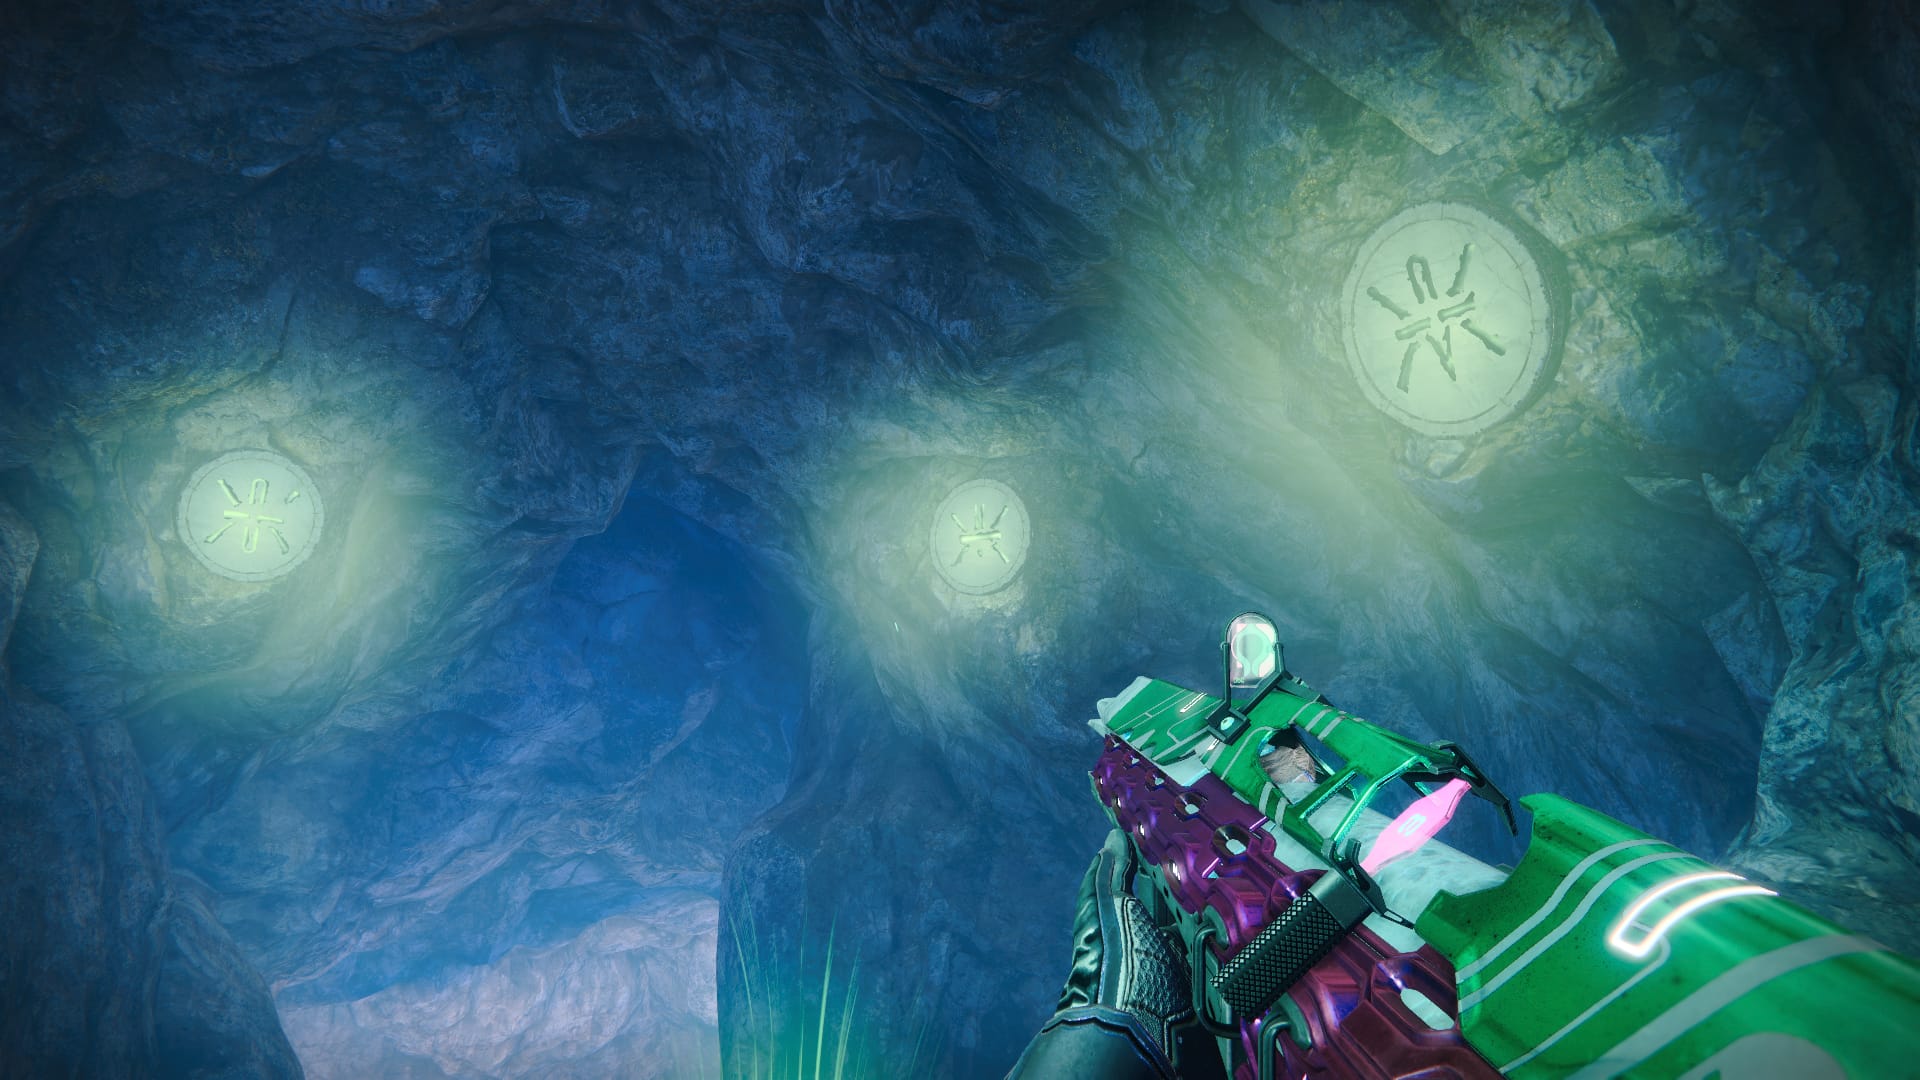
You’ll find a barrier with three hive runes. To solve it, simply shoot the runes on the cave walls in the order they’re listed on the barrier, starting with the top and ending with the bottom. If you do this correctly, you’ll open up a new arena.
Kill the Ogre and wizard, and you’ll find a Hive statue. Interact with it to summon a sword. Then, take the Sword and run back to the front of the room to use the platforms on the side of the wall to climb up to the Crystals, which are surrounded by barriers. You’ll need to use the sword to destroy all three barriers. The sword can also break the barriers of the enemies above as well.
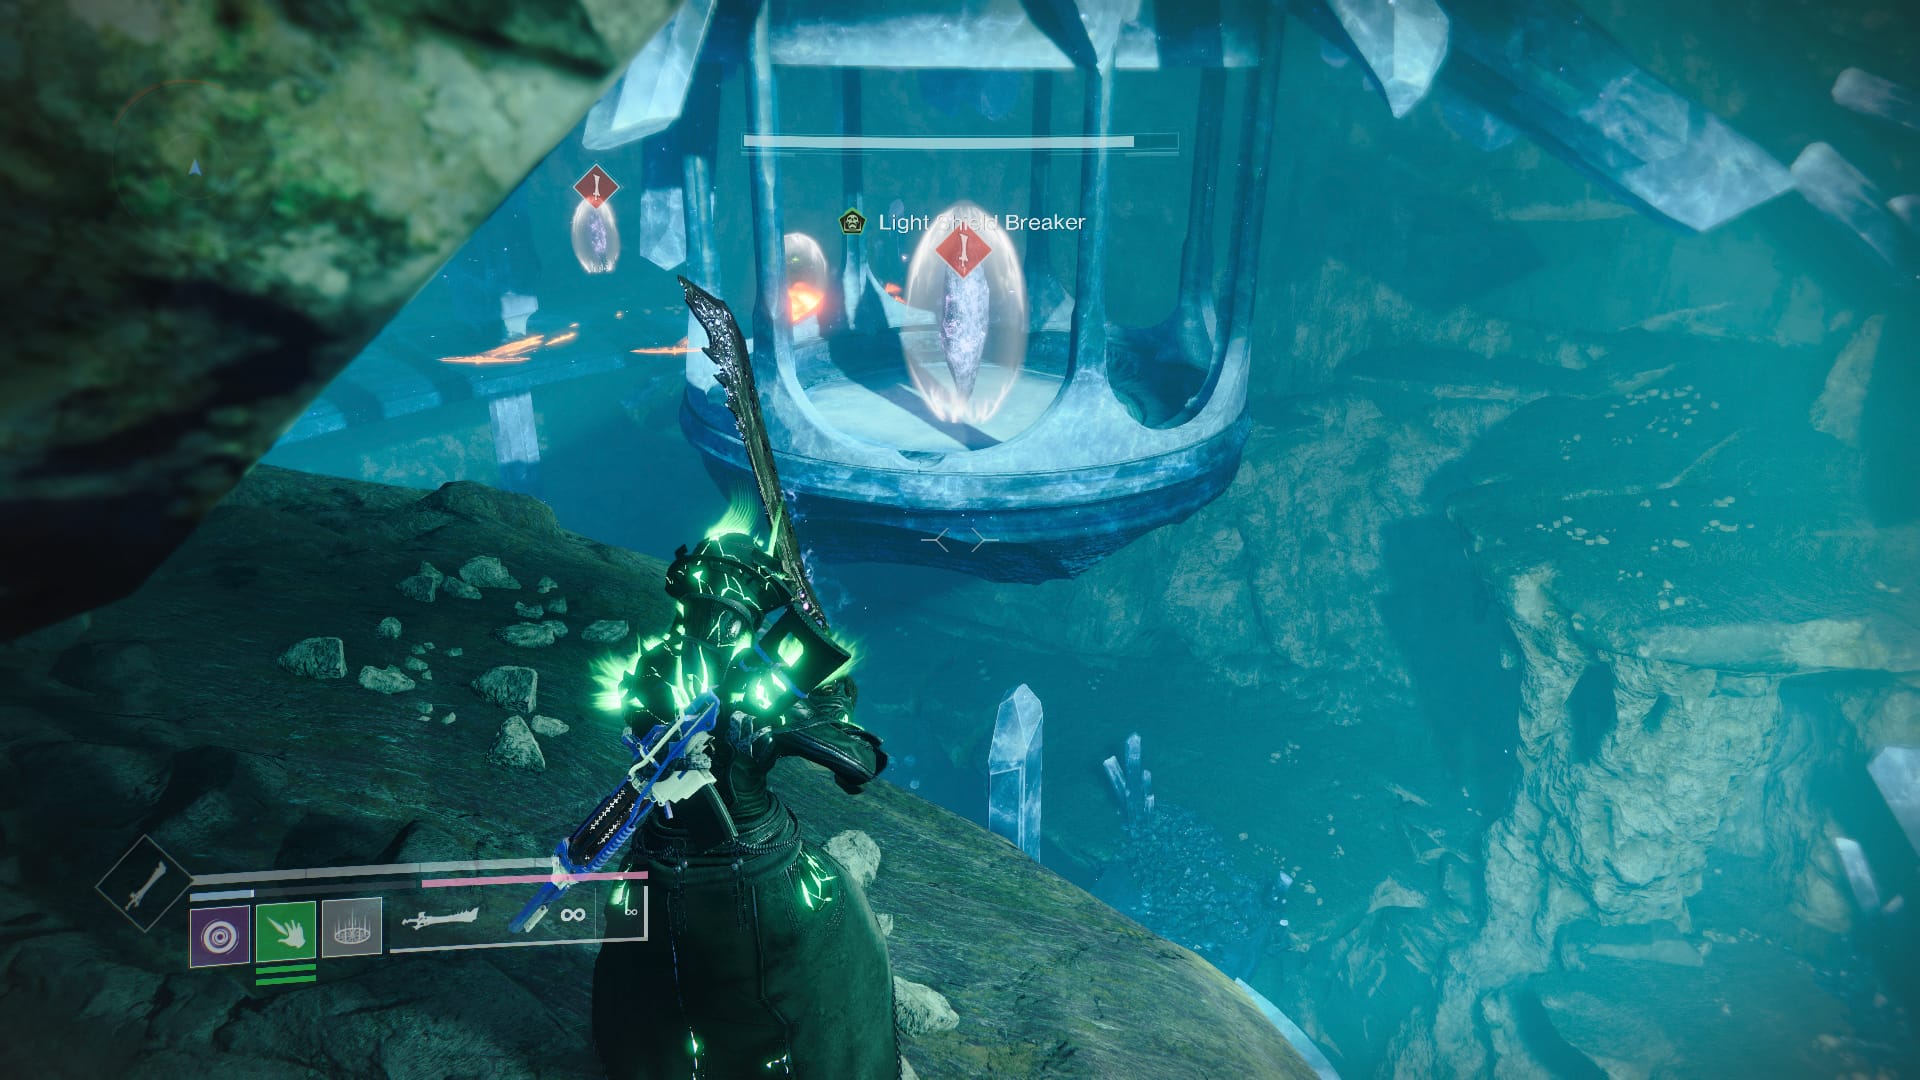
Once you’ve destroyed all three crystals, the enemies will vanish and a door that can only be accessed on the same level the crystals were will open. Jump through with your sword, then use your sword to clear the debris that is blocking you.
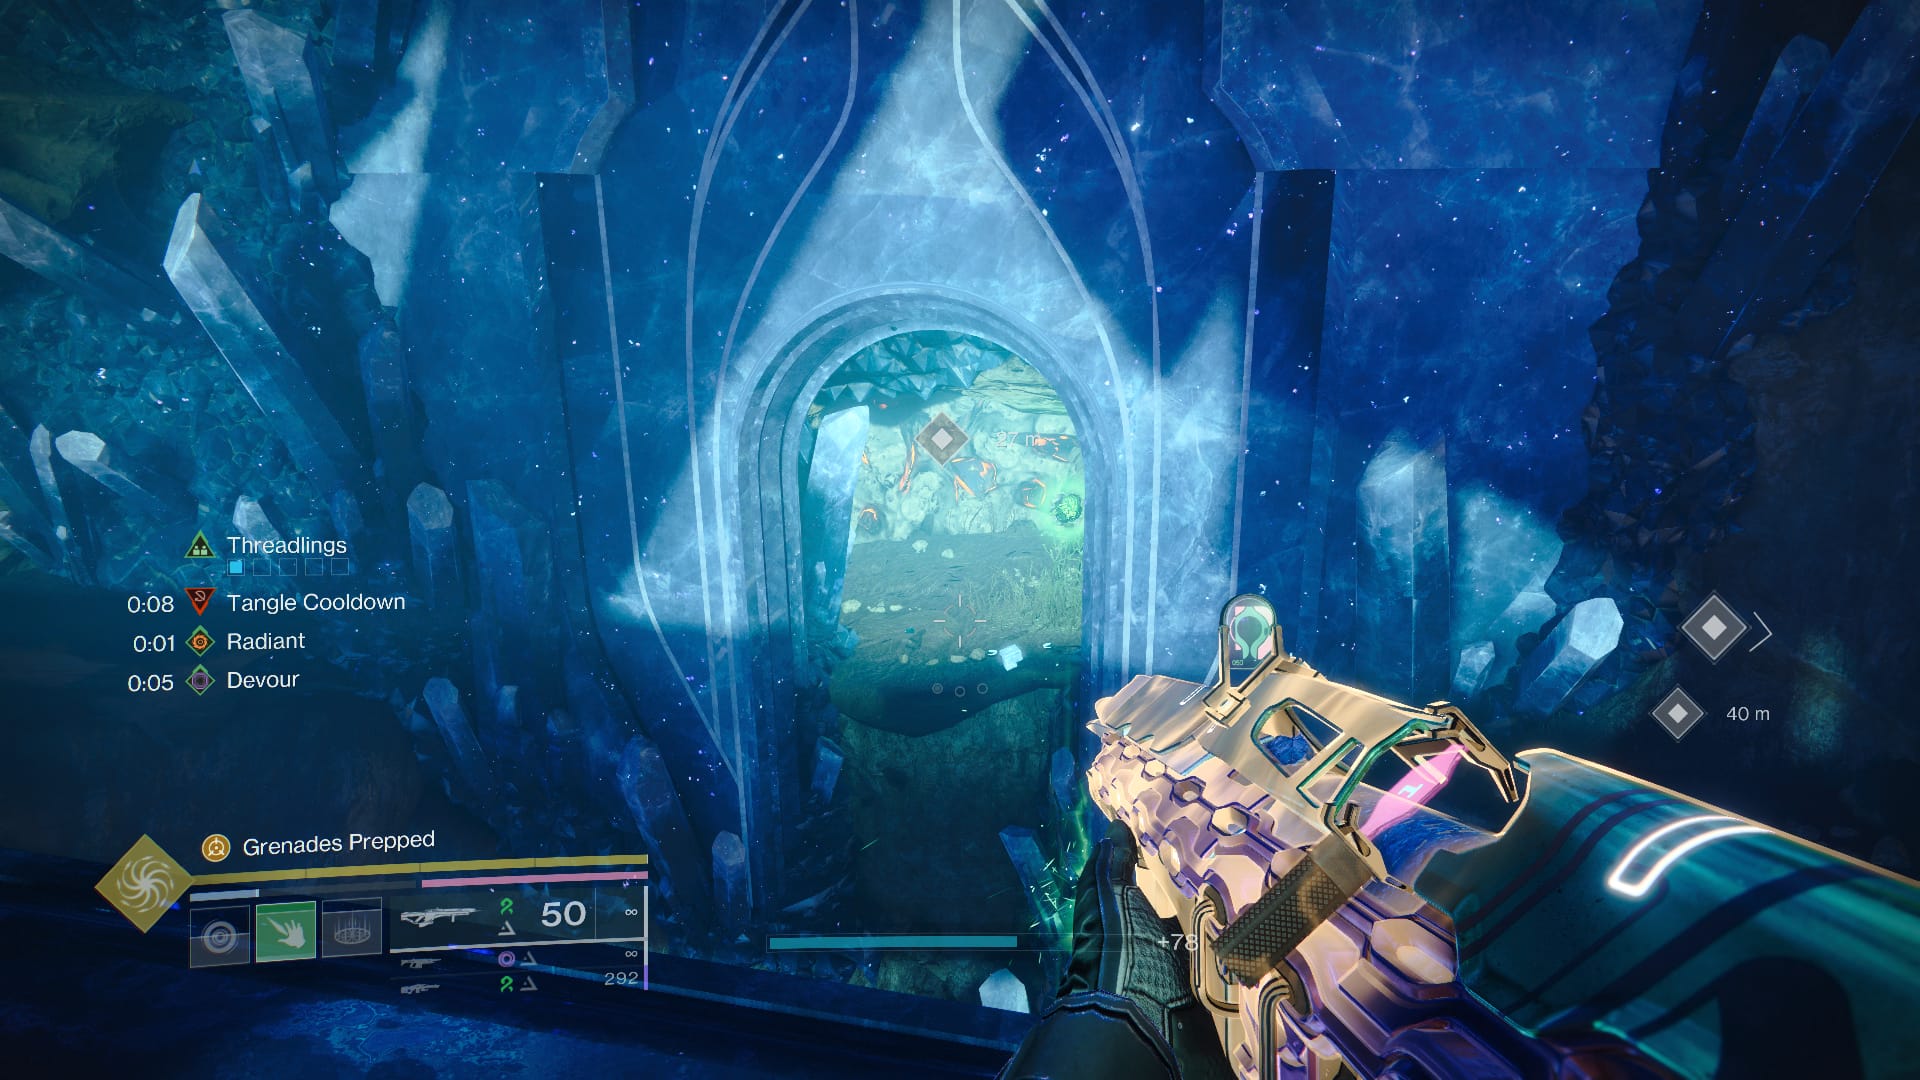
Then, use your sword’s fast attack to glide across the gap. Yes, it’s awesome. Just keep spamming that attack, and you should eventually make it to the next Hive statue. When you’ve made it to the second statue, look up and to your left to see more rocks you can destroy.
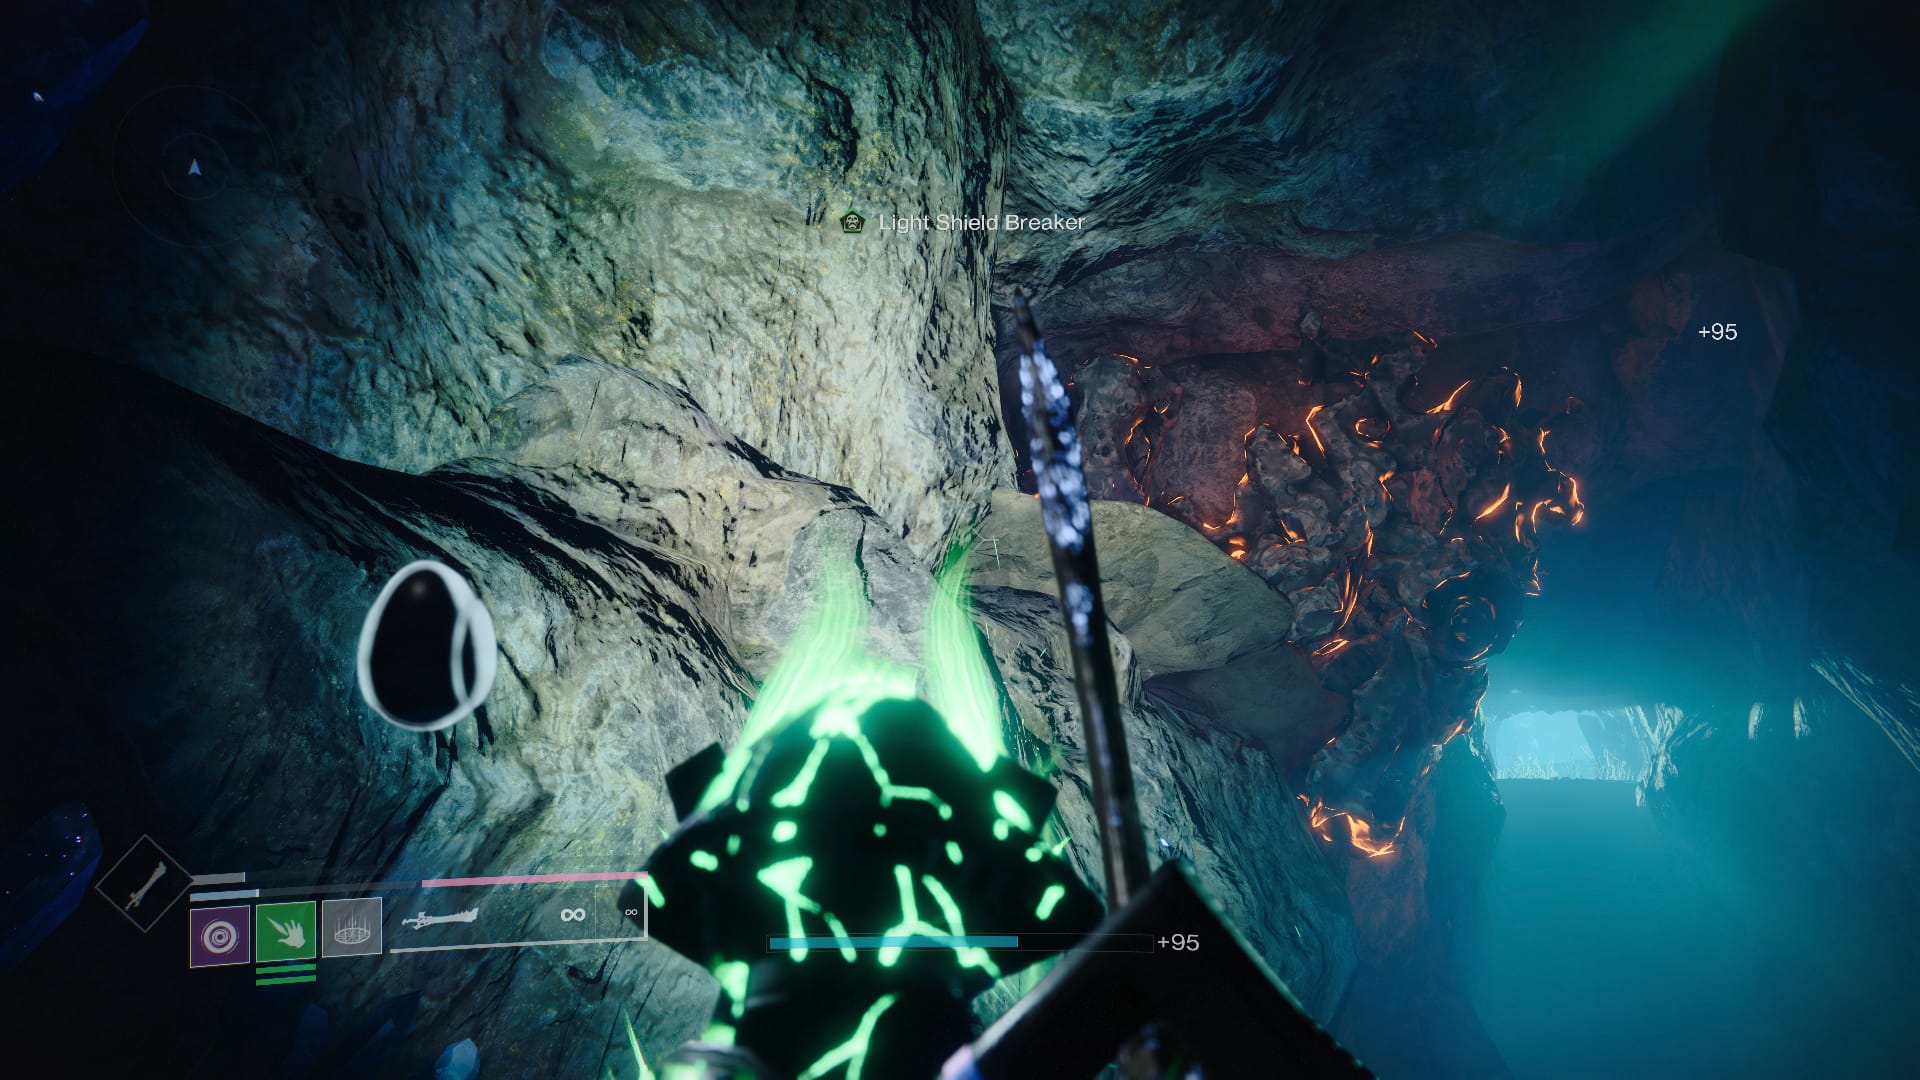
Jump up there and carve your way through the rocks with your sword. Heavy attacks will be needed to really break through them. Eventually, you’ll see a Hive statue at your feet in a gap in the floor.
Go down, then jump across the chasm in front of it. When you do, you’ll find yourself at a door, which you can break through, and another open area with crystals.
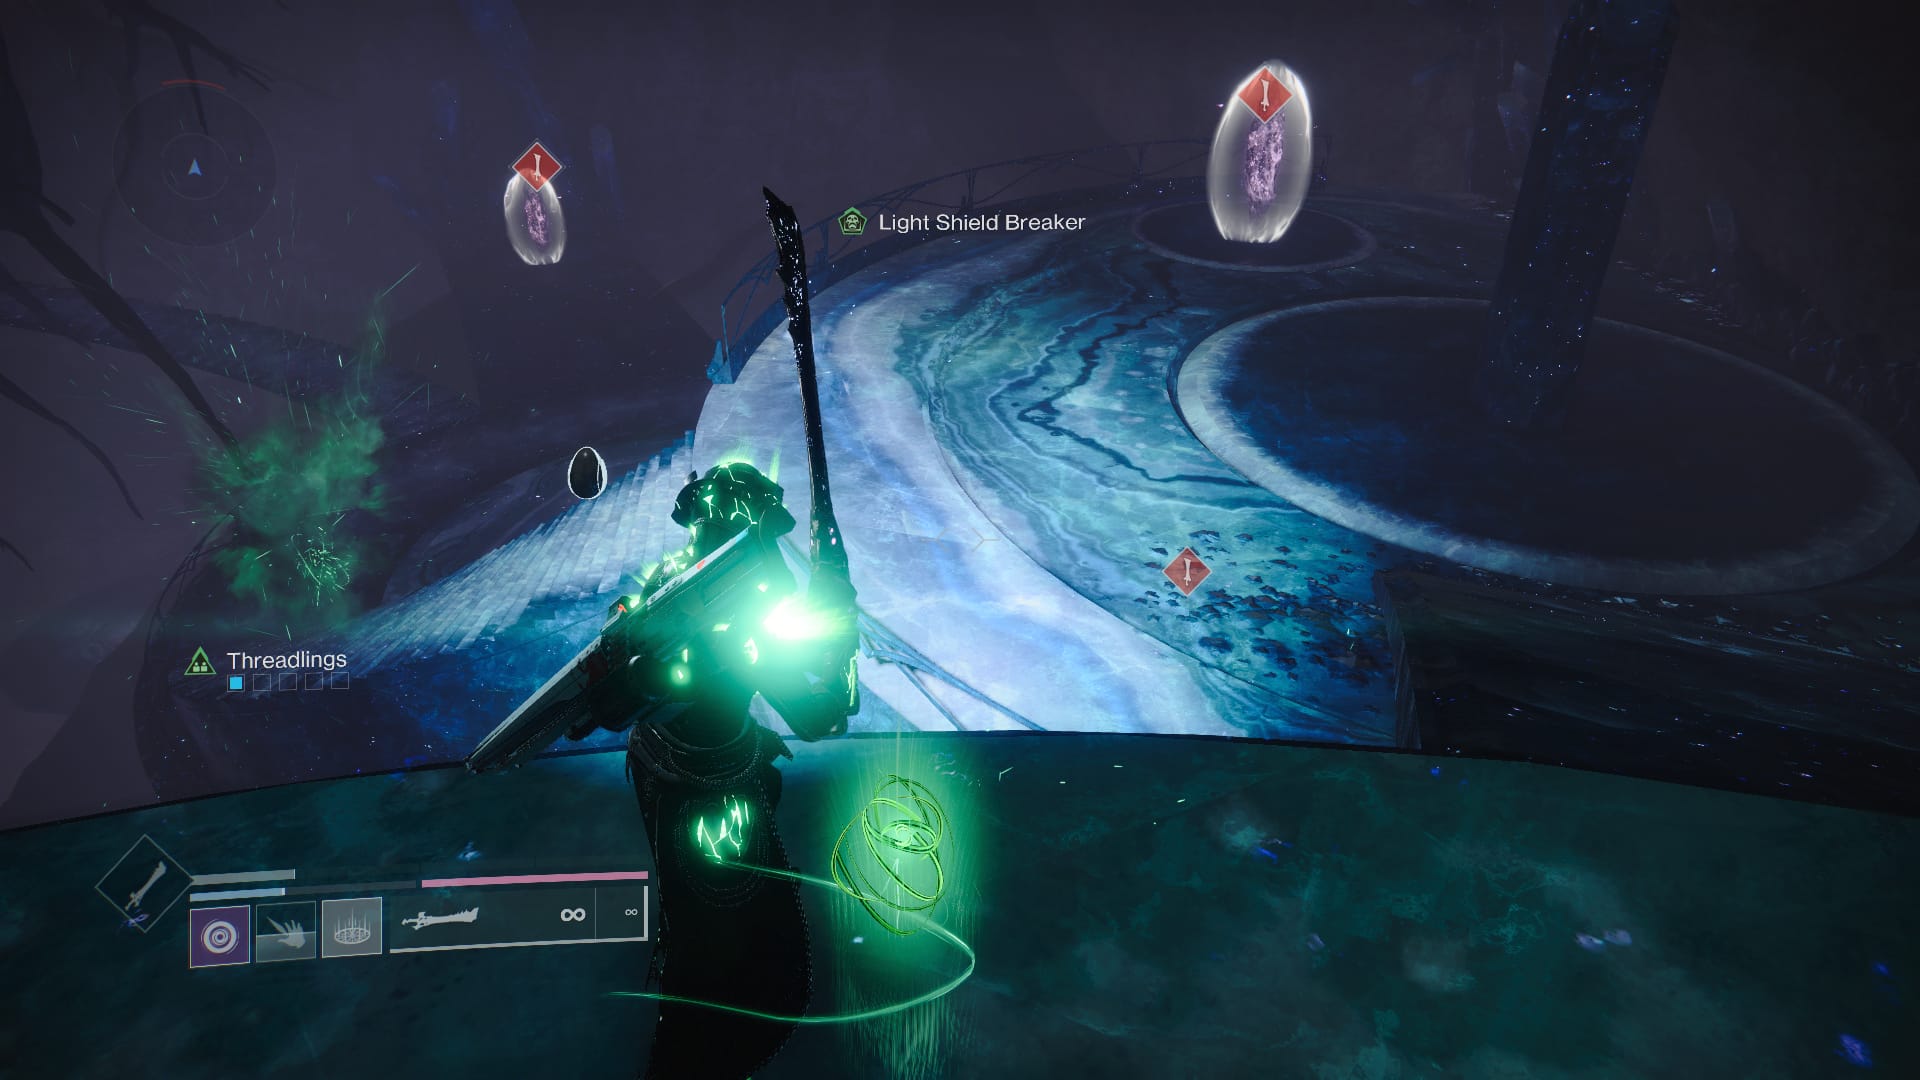
Break the crystals, noting that the third one is on a platform below. Then use the roots to climb back up. Go past the Hive Statue and into the next room, which has a Blister Knight. Use your sword to make short work of it and the barrier around the room will vanish.
Next, we’ll find ourselves in a room with a wizard and a breakable wall. Kill the wizard the same way you did the Blister Knight, then break through the wall.
Related: How to get the Facet of Sacrifice in Destiny 2
There will be some mild platforming for this next part. Jump across the platforms, killing the acolyte however you like. Then, once you’ve reached the other side, look up and you should see a ledge.
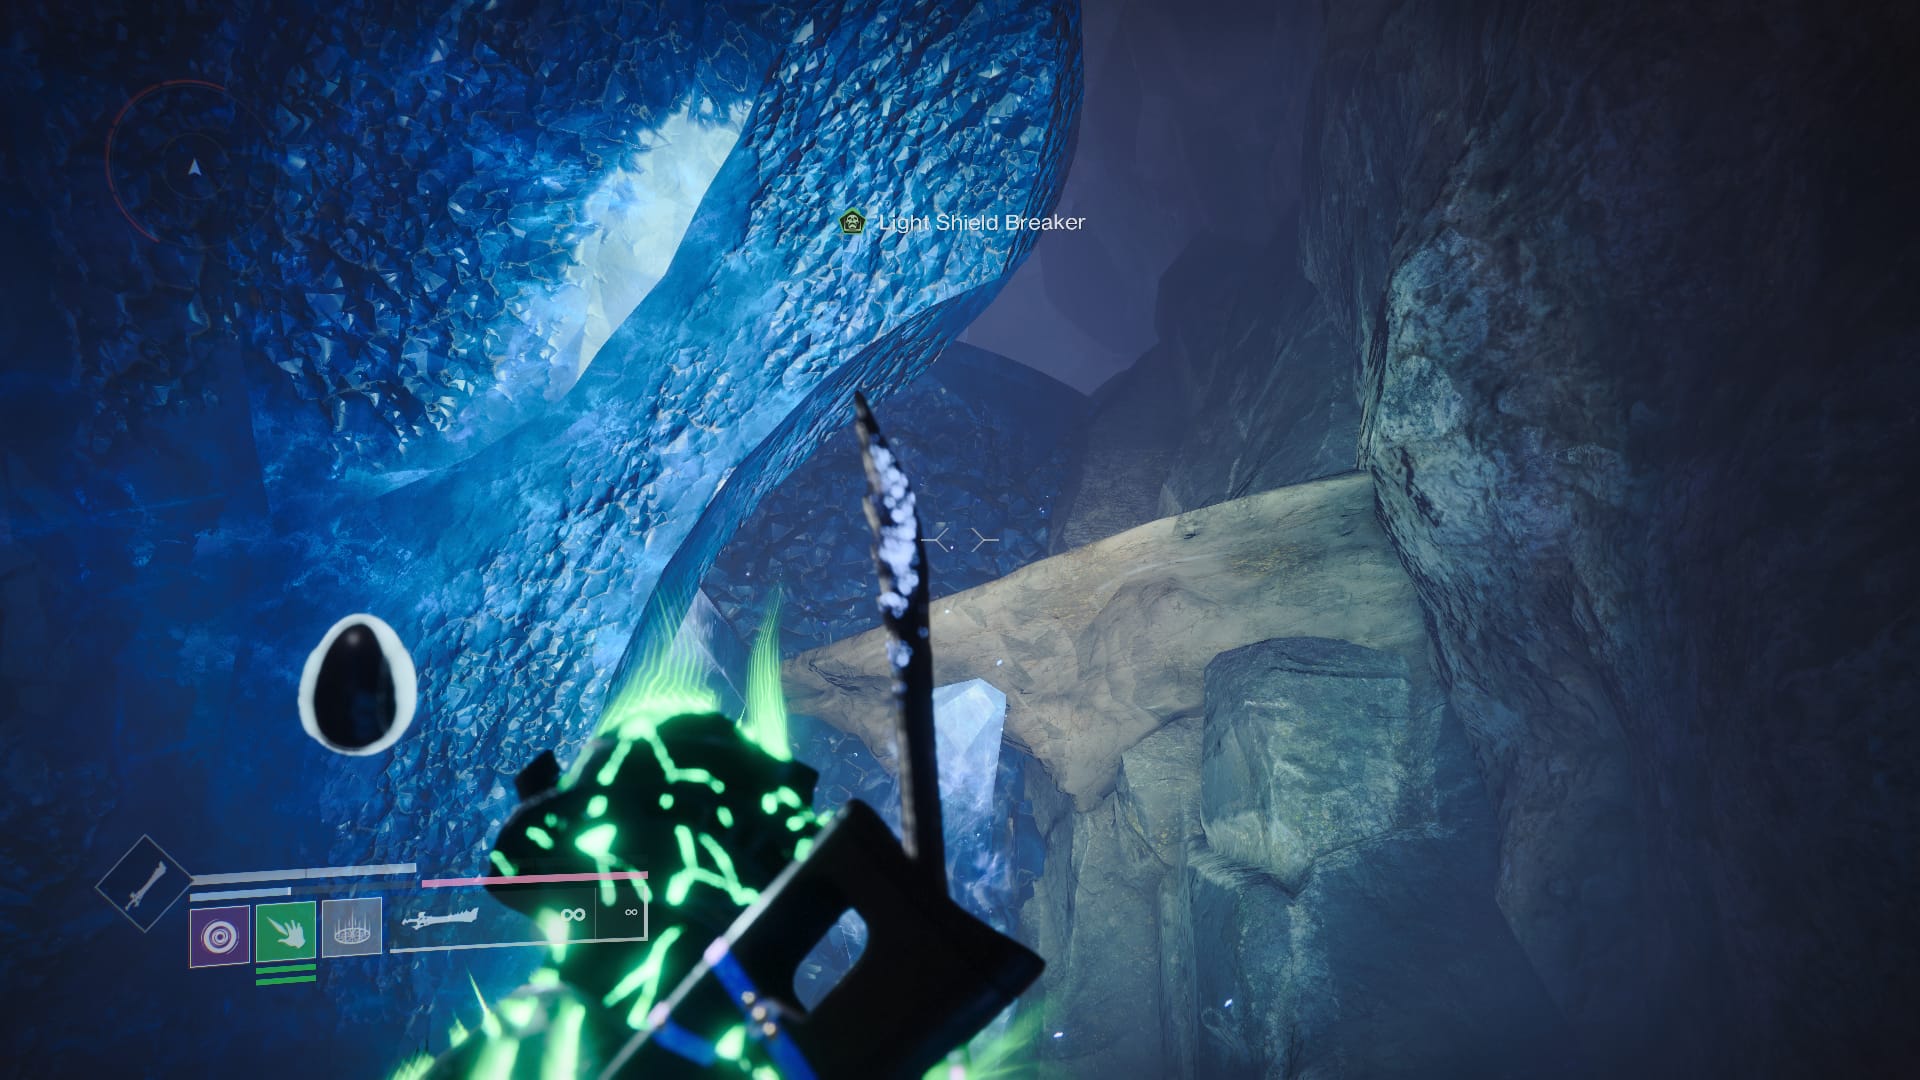
Climb up on the ledge, and you’ll find a Wizard, some Thrall, and a Hive statue. Kill them, then look toward the gate and the statue holding an incense burner. Turn left at her.
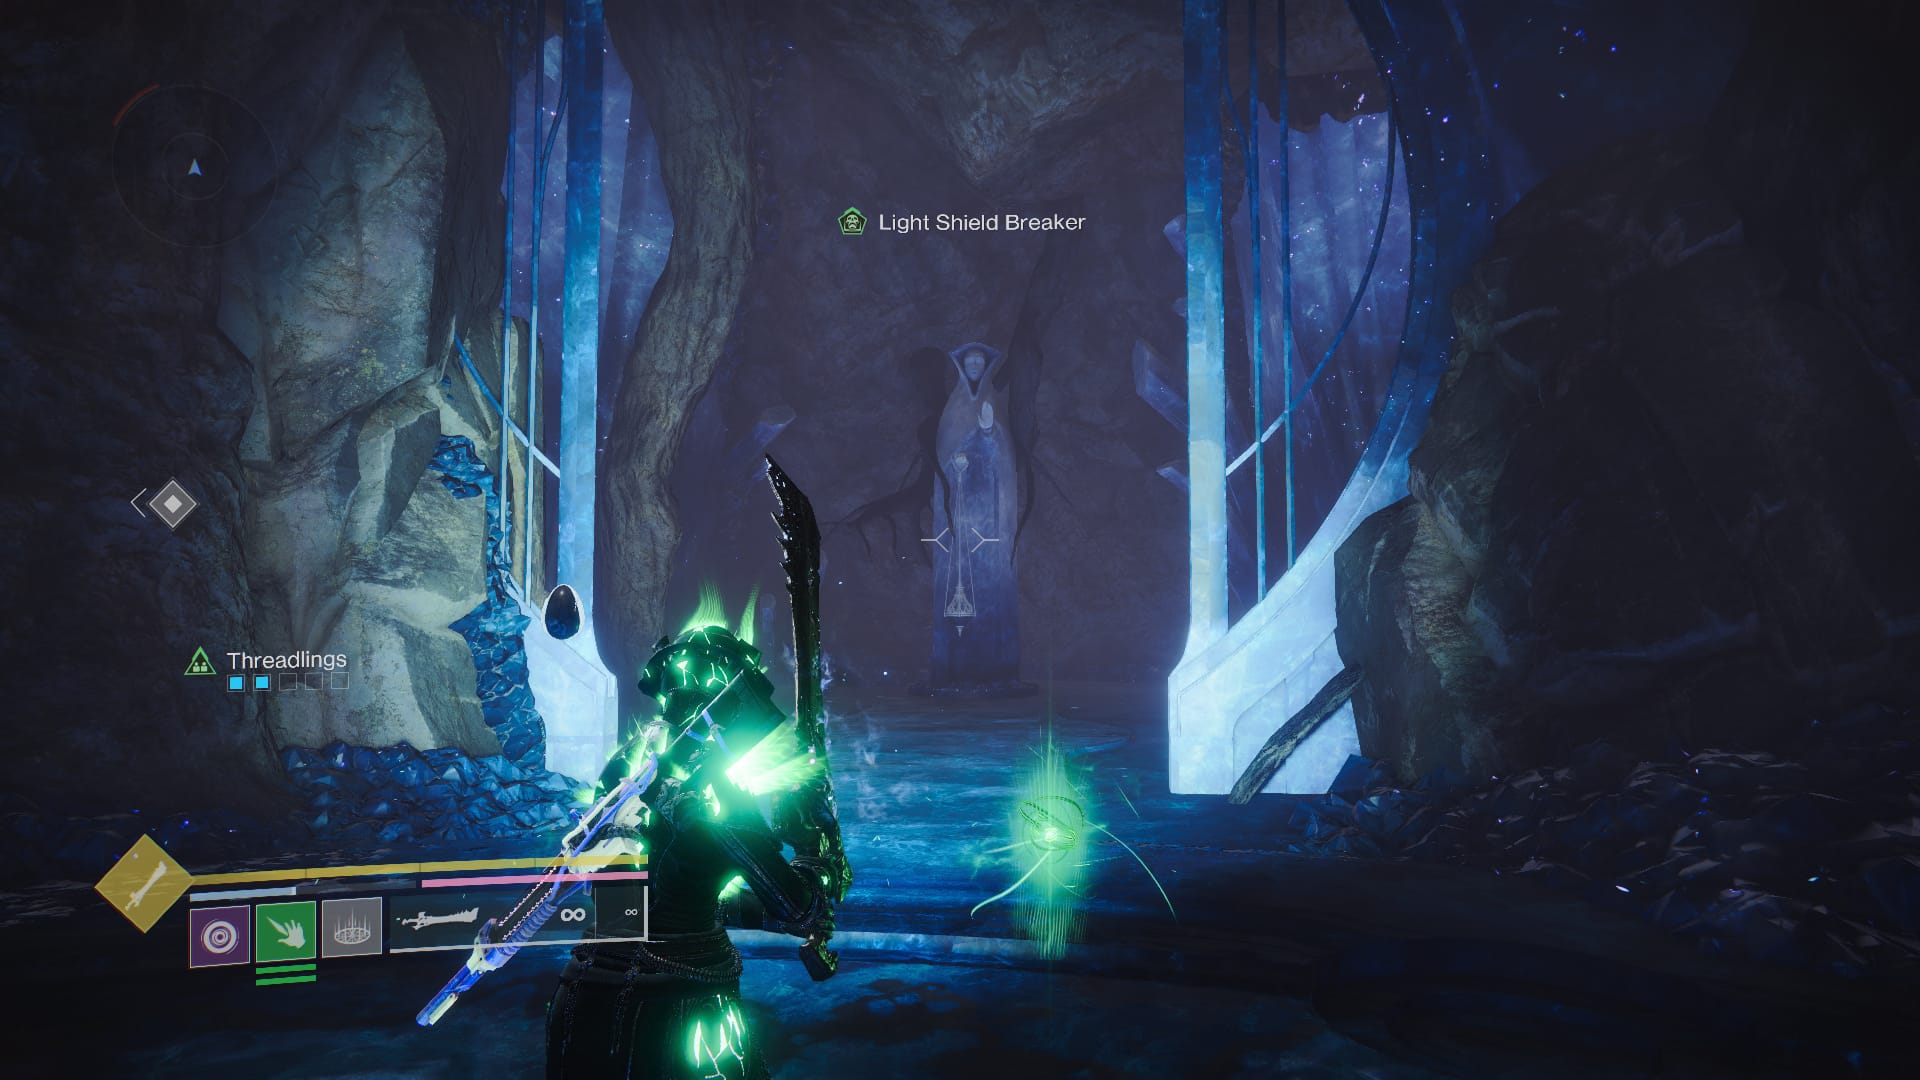
Destroy the rocks at the end of the tunnel, and you’ll drop into the final boss arena. There are three yellow bar named enemies we’ll have to beat here: one boss Knight and two boss wizards. We’ll need to use the sword to break through their shields but expect to have to use multiple heavy attacks to penetrate them. These are also Lucent Hive bosses, so be sure to grab their Ghost once they fall, or they’ll respawn.
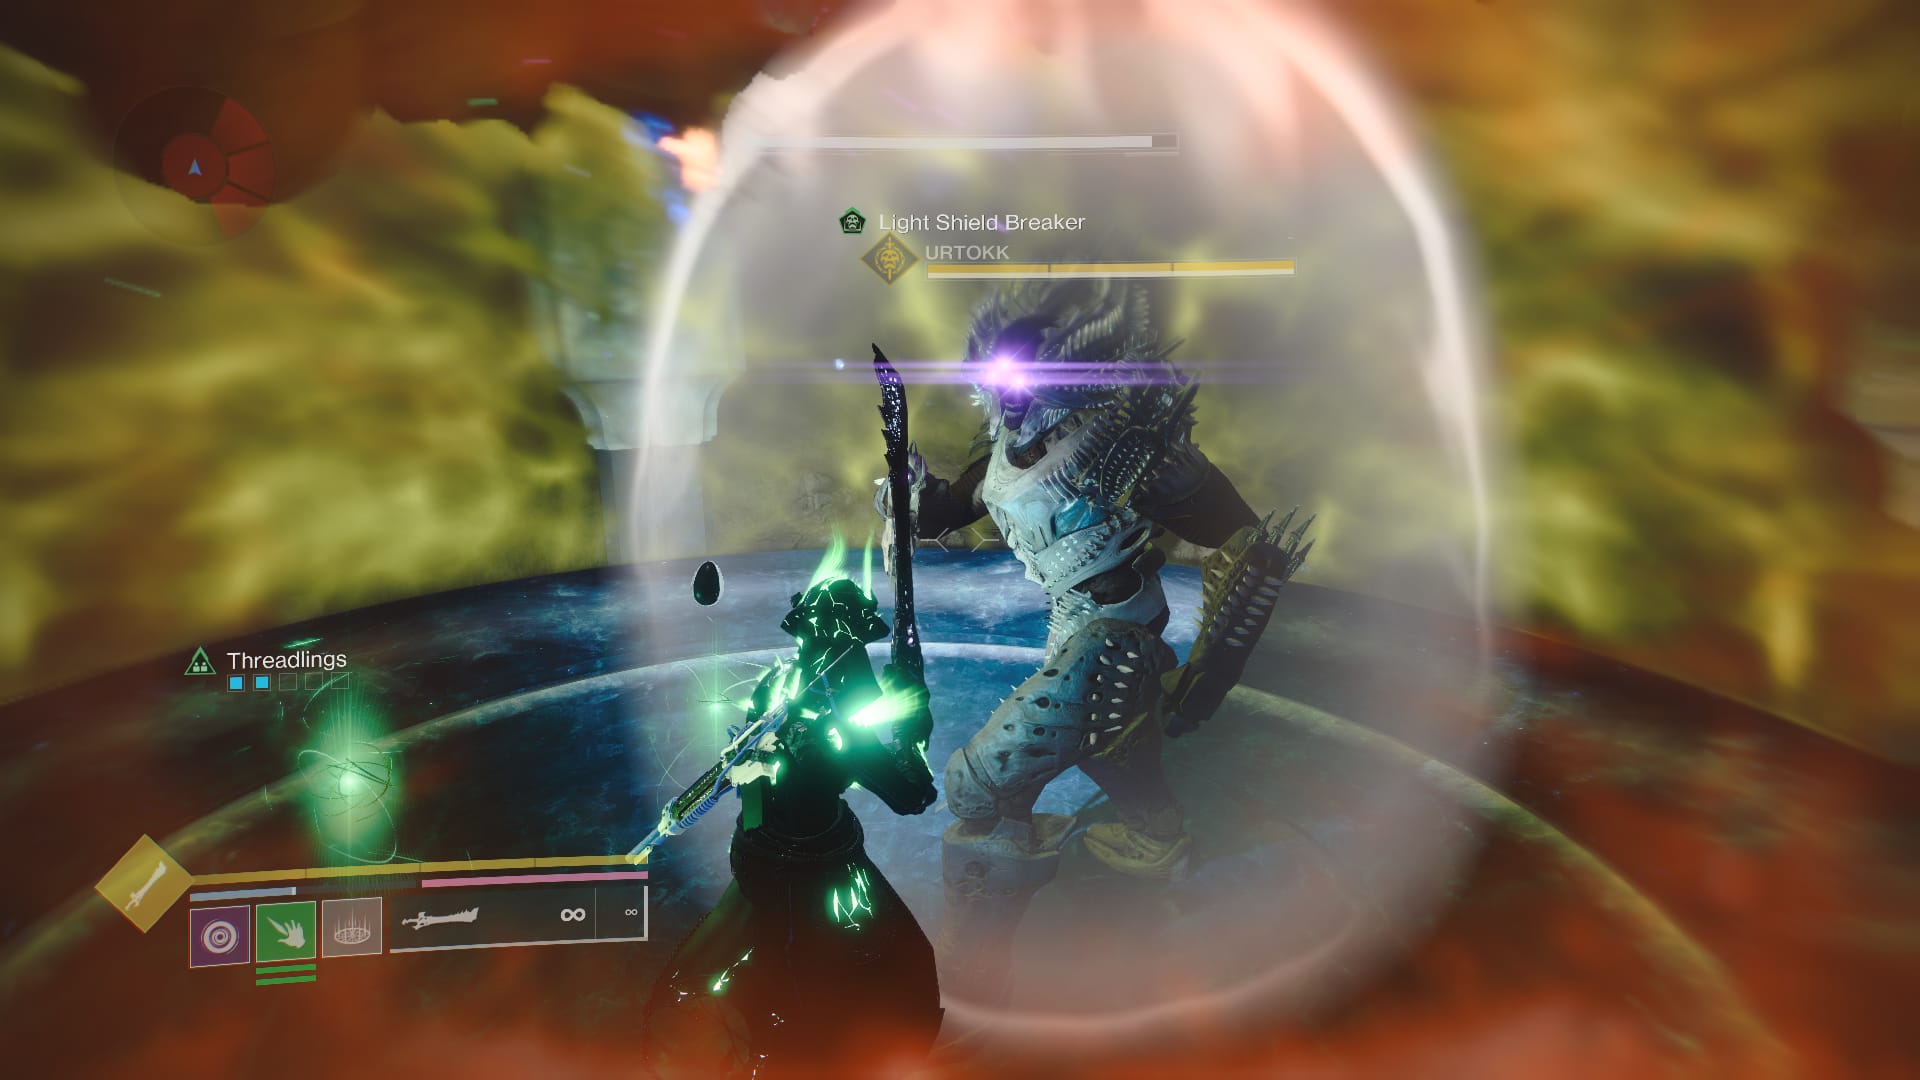
Once you killed all three of the Lucent Hive bosses, the Ghost will appear at the top platform of the spiral staircase where you’ve been fighting. Interact with it to heal it.
Then, return to the Lost City and the viewing room/arbor and interact with the fissure of light in the middle of the floor. Next, turn around and look at the roots your Ghost is inspecting.
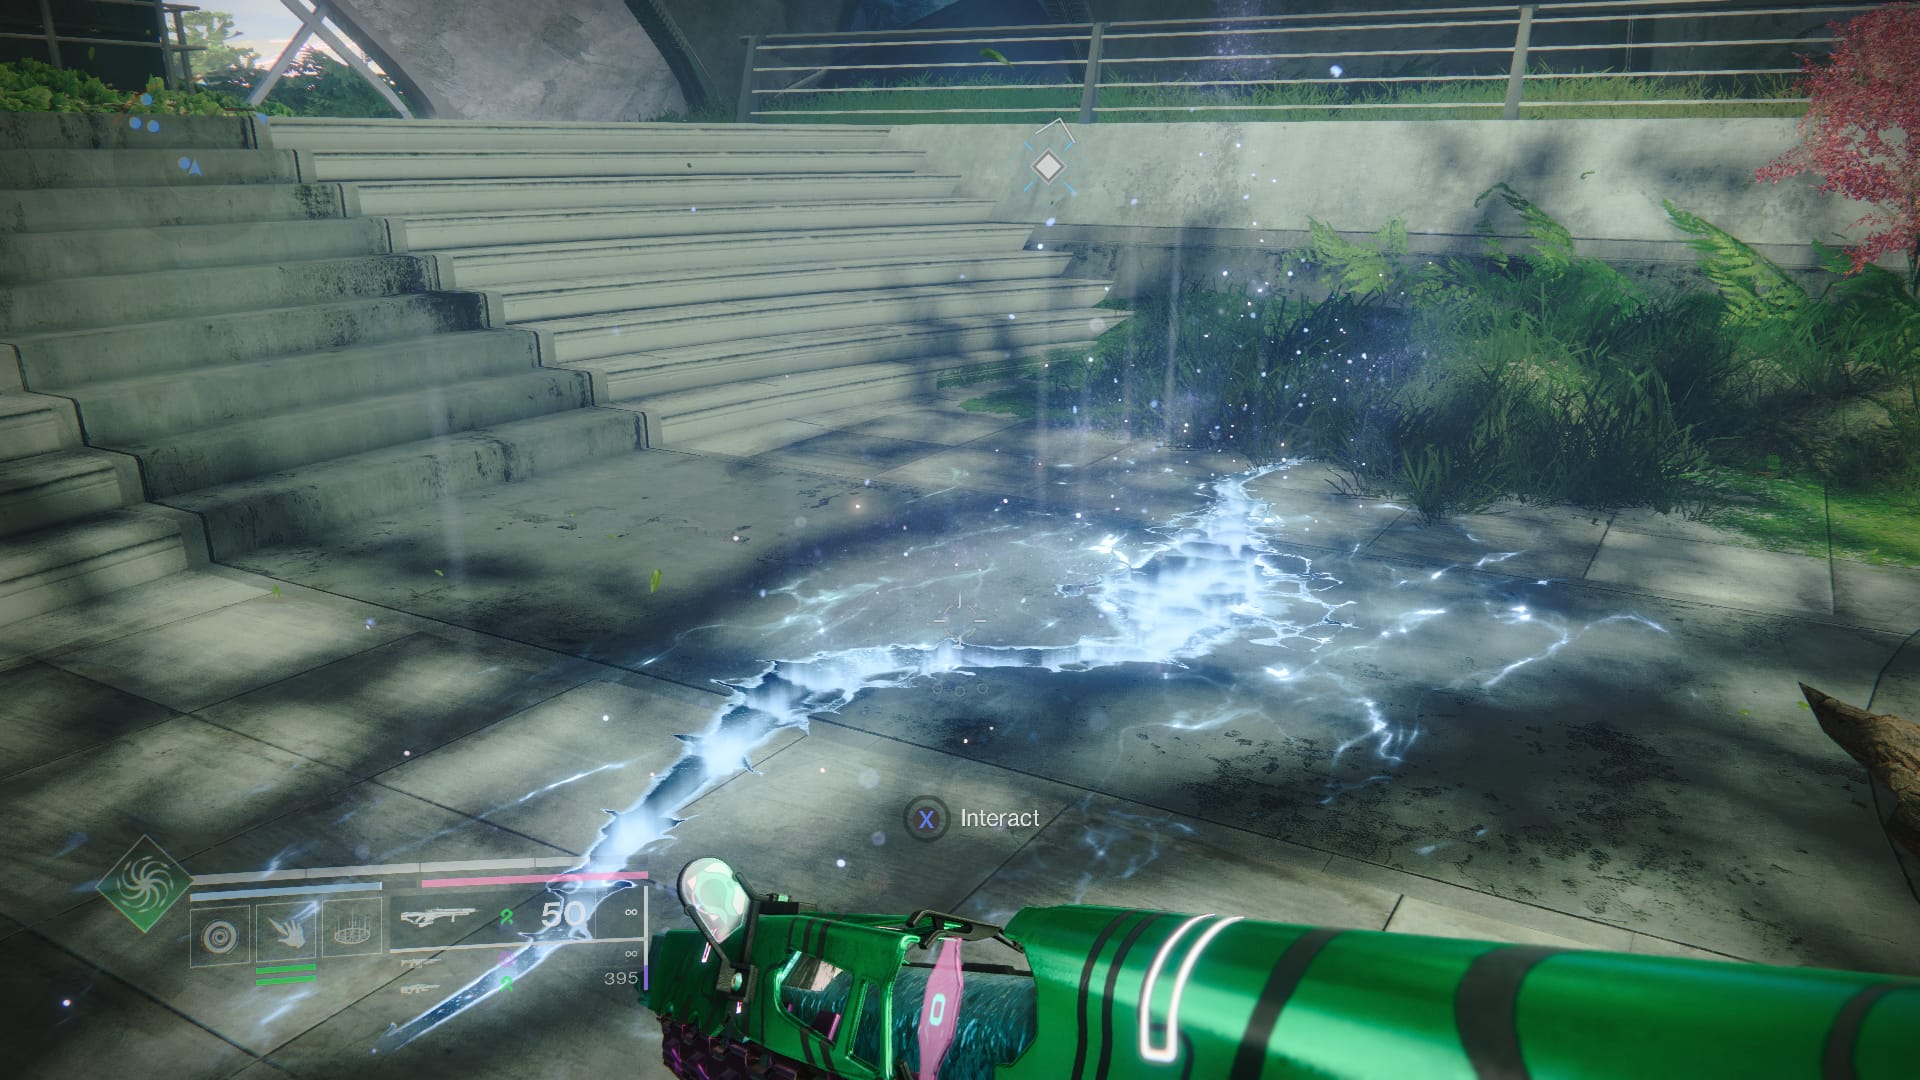
With that done, speak to Micah at her conduit. She’ll give you a red-border weapon and the final quest in the line, which will give you Microcosm once you’ve completed it. Nice!
And that’s how to complete Convalescence: Greenery in Destiny 2.
Destiny 2 is available now.





Published: Jun 6, 2024 09:16 am