There are all manner of mysteries in Elden Ring, some a little odder than others. Here’s who the screaming man is in Elden Ring: Shadow of the Erdtree and how to finish his quest.
This article will contain spoilers.
Who Is the Screaming Man in Cerulean Coast in Elden Ring?
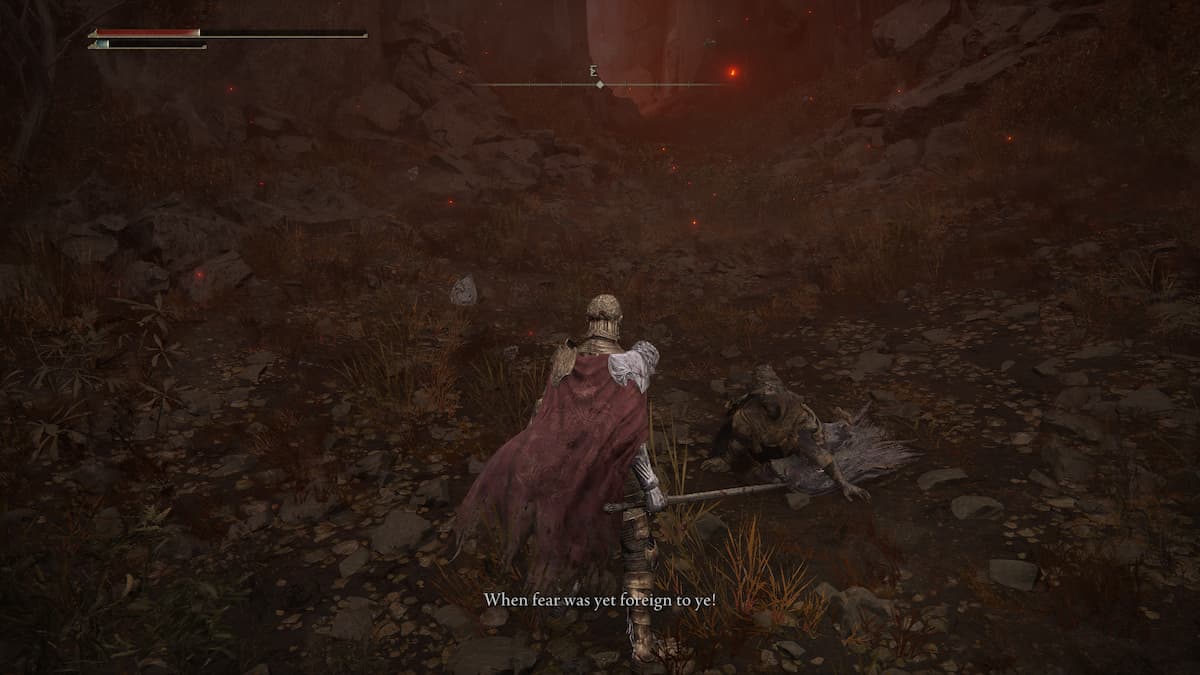
The screaming man in Elden Ring is actually called Igon, and you first meet him at the Pillar Path Waypoint on the Gravesite Plain, to the south of Castle Ensis on the Cerulean Coast. His name is something you will come to learn eventually. He won’t tell you when you first meet him. For now, he will just be screaming about his destroyed legs, which are pretty messed up, and he’ll be unable to move.
How to Complete Igon’s Quest in Elden Ring
There will be numerous boss fights during this quest, so any time you get stuck, don’t be afraid to walk away and come back later.
Step 1 – Pillar Path
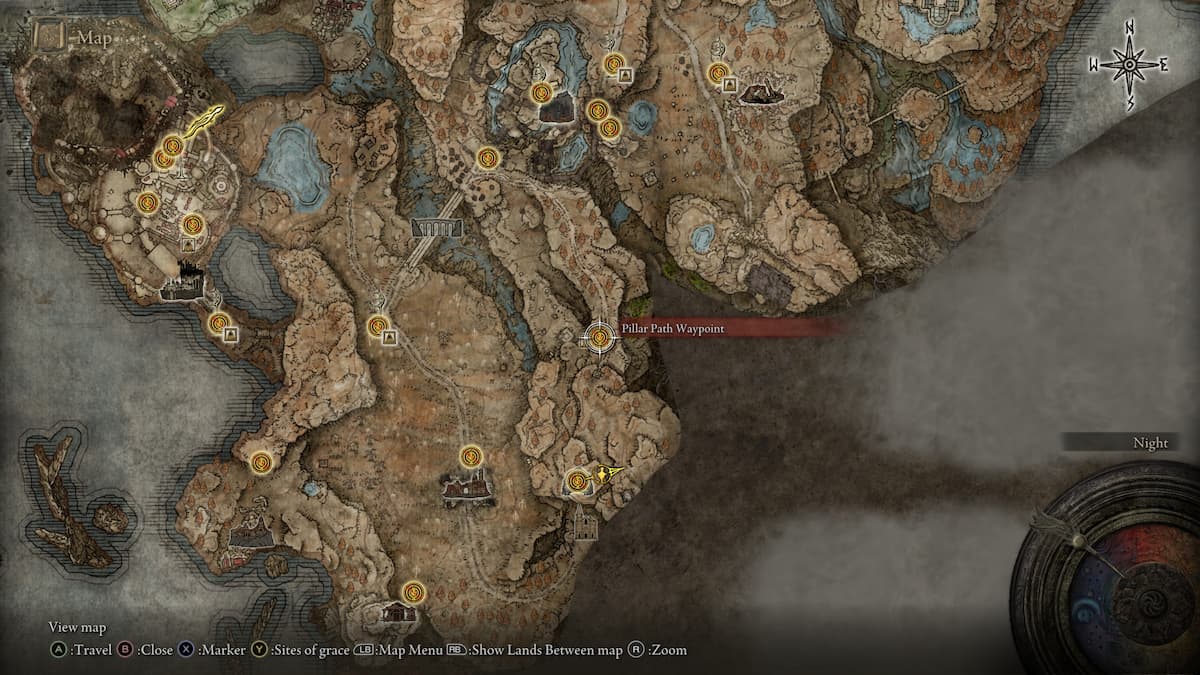
The first step is just to talk to Igon when you find him at the Pillar Path Waypoint. You won’t be able to do much here, so continue about your business, and you’ll meet him again later. You will want to stay heading south down the road where you found Igon.
Step 2 – The Dragon Pit

Keep heading down the road, take out the NPC invader the Ancient Dragon-Man, and then keep going to the Dragon Pit, a dungeon. The Dragon Pit dungeon is not particularly confusing, but there are some tough fights here. When you get to the part that tells you to be brave, you’ll need to take a leap of faith, which will bring you to a boss fight, which is a second encounter with the Ancient Dragon-Man. But this time, he’s significantly harder. Beat him, and he’ll drop 130,000 Runes and the Dragon-Hunter’s Great Katana.
Step 3 – Arriving in the Jagged Peaks
When you get to the Jagged Peaks, you will need to fight a drake. You can skip this if you want by running up the mountain to the left, but I’d suggest you just squabble this guy because it is good practice for what is coming, which is a lot of boss fights. Long range attacks work well here, and you can practically cheese the fight with Loretta’s Mastery.
Once the drake is downed, you can climb up the mountain to the left of where you entered the Peaks, but not until you go and visit a shrine. At this point, have a think about your build, because a lot more fights are coming your way.
Step 4 – The Grand Altar of Dragon Communion

Before you go up the mountain, you need to go down to the huge dragon corpse in the distance. Follow the ravine filled with beast enemies until you reach the corpse, the Grand Altar of Dragon Communion, and the Dragon Communion Priestess. Talk to her and agree to commune with Bayle, and she will give you the Dragon’s Blessing, while also instructing you to climb the mountain and face Bayle.
If you visit her at night, you can opt to give her Thiollier’s Concoction, which will change the rewards you’re given at the end of this quest, at least from her.
Step 5 – Igon’s Furled Finger
You will come to a Site of Grace, and then you will need to get ready to fight two more Jagged Peak Drakes. This fight is very tough, so Summon or use Ashes if you need to. I noticed in my game that I only needed to fight the aggressor, as one drake was clearly attacking the other. The other guy pretty much left me alone, but I think this may have just been an AI thing because after I died the first time, they both seemed to want to kill me. This led to a difficult fight where I was trying to keep one of them interested in kicking me around while the other gave me space. In the end, I broke out the Mimic Tear to give me some help by taking some aggro for me. I also had a lot of success from mount, which was helpful.
Alternatively, you can wait for one drake to kill the other and then take out the weakened winner.
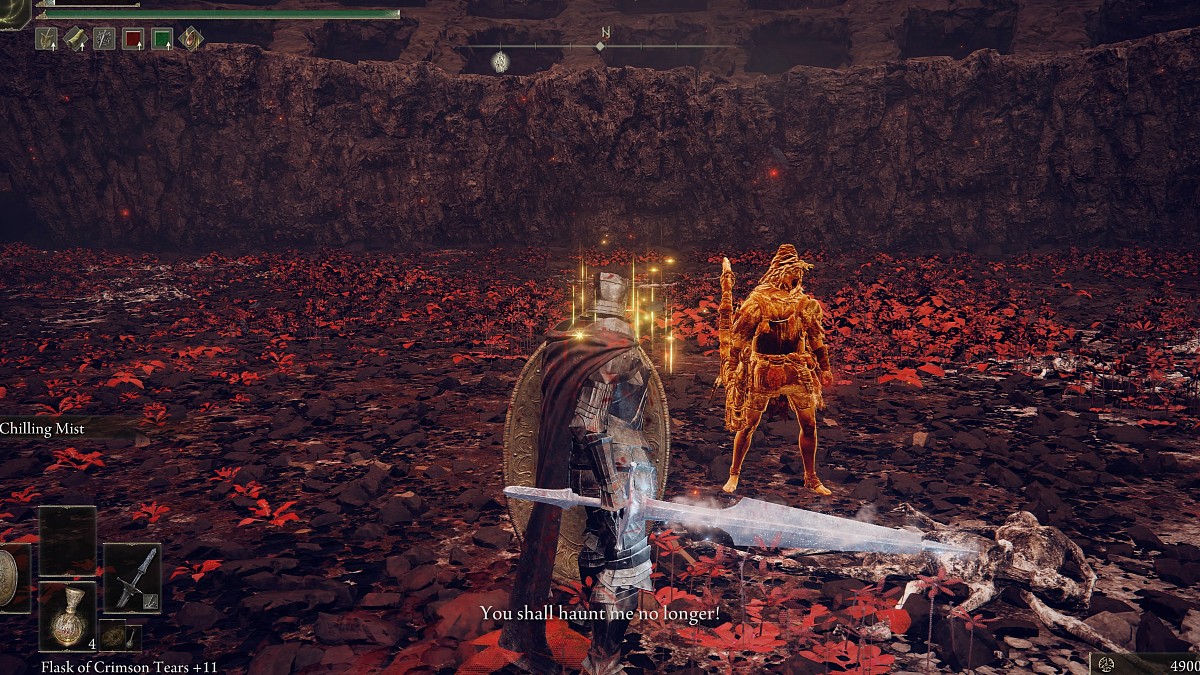
After taking out the drakes. The screaming man we met at the start will be there, cheering you on. He will ask you to summon him when you fight Bayle (the guy who messed up his legs). Chat with him until he has nothing left to say, and he will give you Igon’s Furled Finger. If you return to this area after, you’ll find that he’s dead. But his soul won’t rest until Bayle has met his end, too.
Step 6 – Continue up the Mountain to Senessax

As you keep climbing the mountain, you will come to a massive dragon sleeping in a cave. This is Senessax, and he is about to make you rethink your life. I have no idea how much health this guy has, but it will take a very long time to kill him if you are underpowered. Don’t be afraid to go away; farm some power by grinding levels or finding more Scadutree Blessings.
For this fight, you will need a way to reduce lightning damage, as Senessax is going to spam you into oblivion with it. You can find a Boltdrake Talisman+3 in Shadow Keep, which will help both in this fight and the fight against Bayle.
It’s also a good idea to Summon. I actually found the Wolves to be really good here, as they would rarely be bunched up against such a big enemy and managed to survive for quite a while. Stacking up bleed damage is also good, and you can break out some grease to inflict further damage. Ranged magic will certainly help as well, because you can use it to keep damage up when Senessax decides to fly around for a while.
Step 7 – Continue up the Mountain to Fight Bayle the Dread

When you finally take out Senessax, look to the left of the large cavern, and you will find a tunnel going up. At the top is another Site of Grace and some slime enemies. It’s a good idea to check the paths these slimes guard as they’re usually protecting Ancient Dragon Smithing Stones.
Before you start to climb the mountain again, make sure that you grab Igon’s Cookbook, which can be found just around the lower area to the right. This cookbook will let you craft Dragon Communion Grease and Dragon Harpoon, both powerful anti-dragon tools.
Continue to make your way up the hill toward where all the lightning is striking. This is kind of awkward, but hug the left wall, making your way across various ledges and tunnels, and you should get to where you need to be.
This will lead you to yet another Site of Grace, called Jagged Peak Summit, and up next is the toughest fight in the DLC. While Bayle the Dread might not be the final boss in the DLC, this fight is absolutely brutal. Despite missing a leg, Bayle is incredibly powerful, has a massive health pool, and can pretty much nuke the entire arena with fire and lightning. This one will just take a lot of patience and learning.
Make sure you summon Igon during this fight so that he can take on Bayle and get his revenge. This is well worth doing, even if you normally dislike using Summons as the voice actor for Igon goes hard.
Step 8 – Return to the Corpse of Igon and the Priestess
If you go back to where you fought the two drakes and where Igon gave you his furled finger, you can collect his armor, bow, and Drake Hunt Ash of War. Then, travel back to the Priestess and get some rewards. She will be gone, but in her place is the Priestess Heart and the Flowerstone Gavel, if you didn’t choose to give her Thiollier’s Concoction.
If you did give her the Concoction, she’ll give you Dragonbolt of Florissax, a dragon cult incantation. And if you speak to her and admit that it was you who gave her the sleeping draft she’ll scold you and then demand that you take her with you as her lord, thus presenting you with Ancient Dragon Florissax Spirit Ashes.
That’s quite a lot of effort and reward for helping a random screaming man in Elden Ring.
Elden Ring is available now on Xbox, PC, and PlayStation.


Published: Jun 29, 2024 04:57 am