
Monument Valley is a stunning relaxation puzzle game that recently arrived on Netflix for mobile devices. Your goal is to lead a silent princess on an existential journey by moving monuments and other objects on a plethora of levels. To see how to completely beat Monument Valley, take a look at the walkthrough below.
Table of Contents
Monument Valley All Chapters Walkthrough
There is a total of 10 chapters in Monument Valley, and each one gets progressively longer and more difficult than the last. The entire game takes roughly two to three hours to beat, but you can speed that process up by reading our chapter-by-chapter walkthrough.
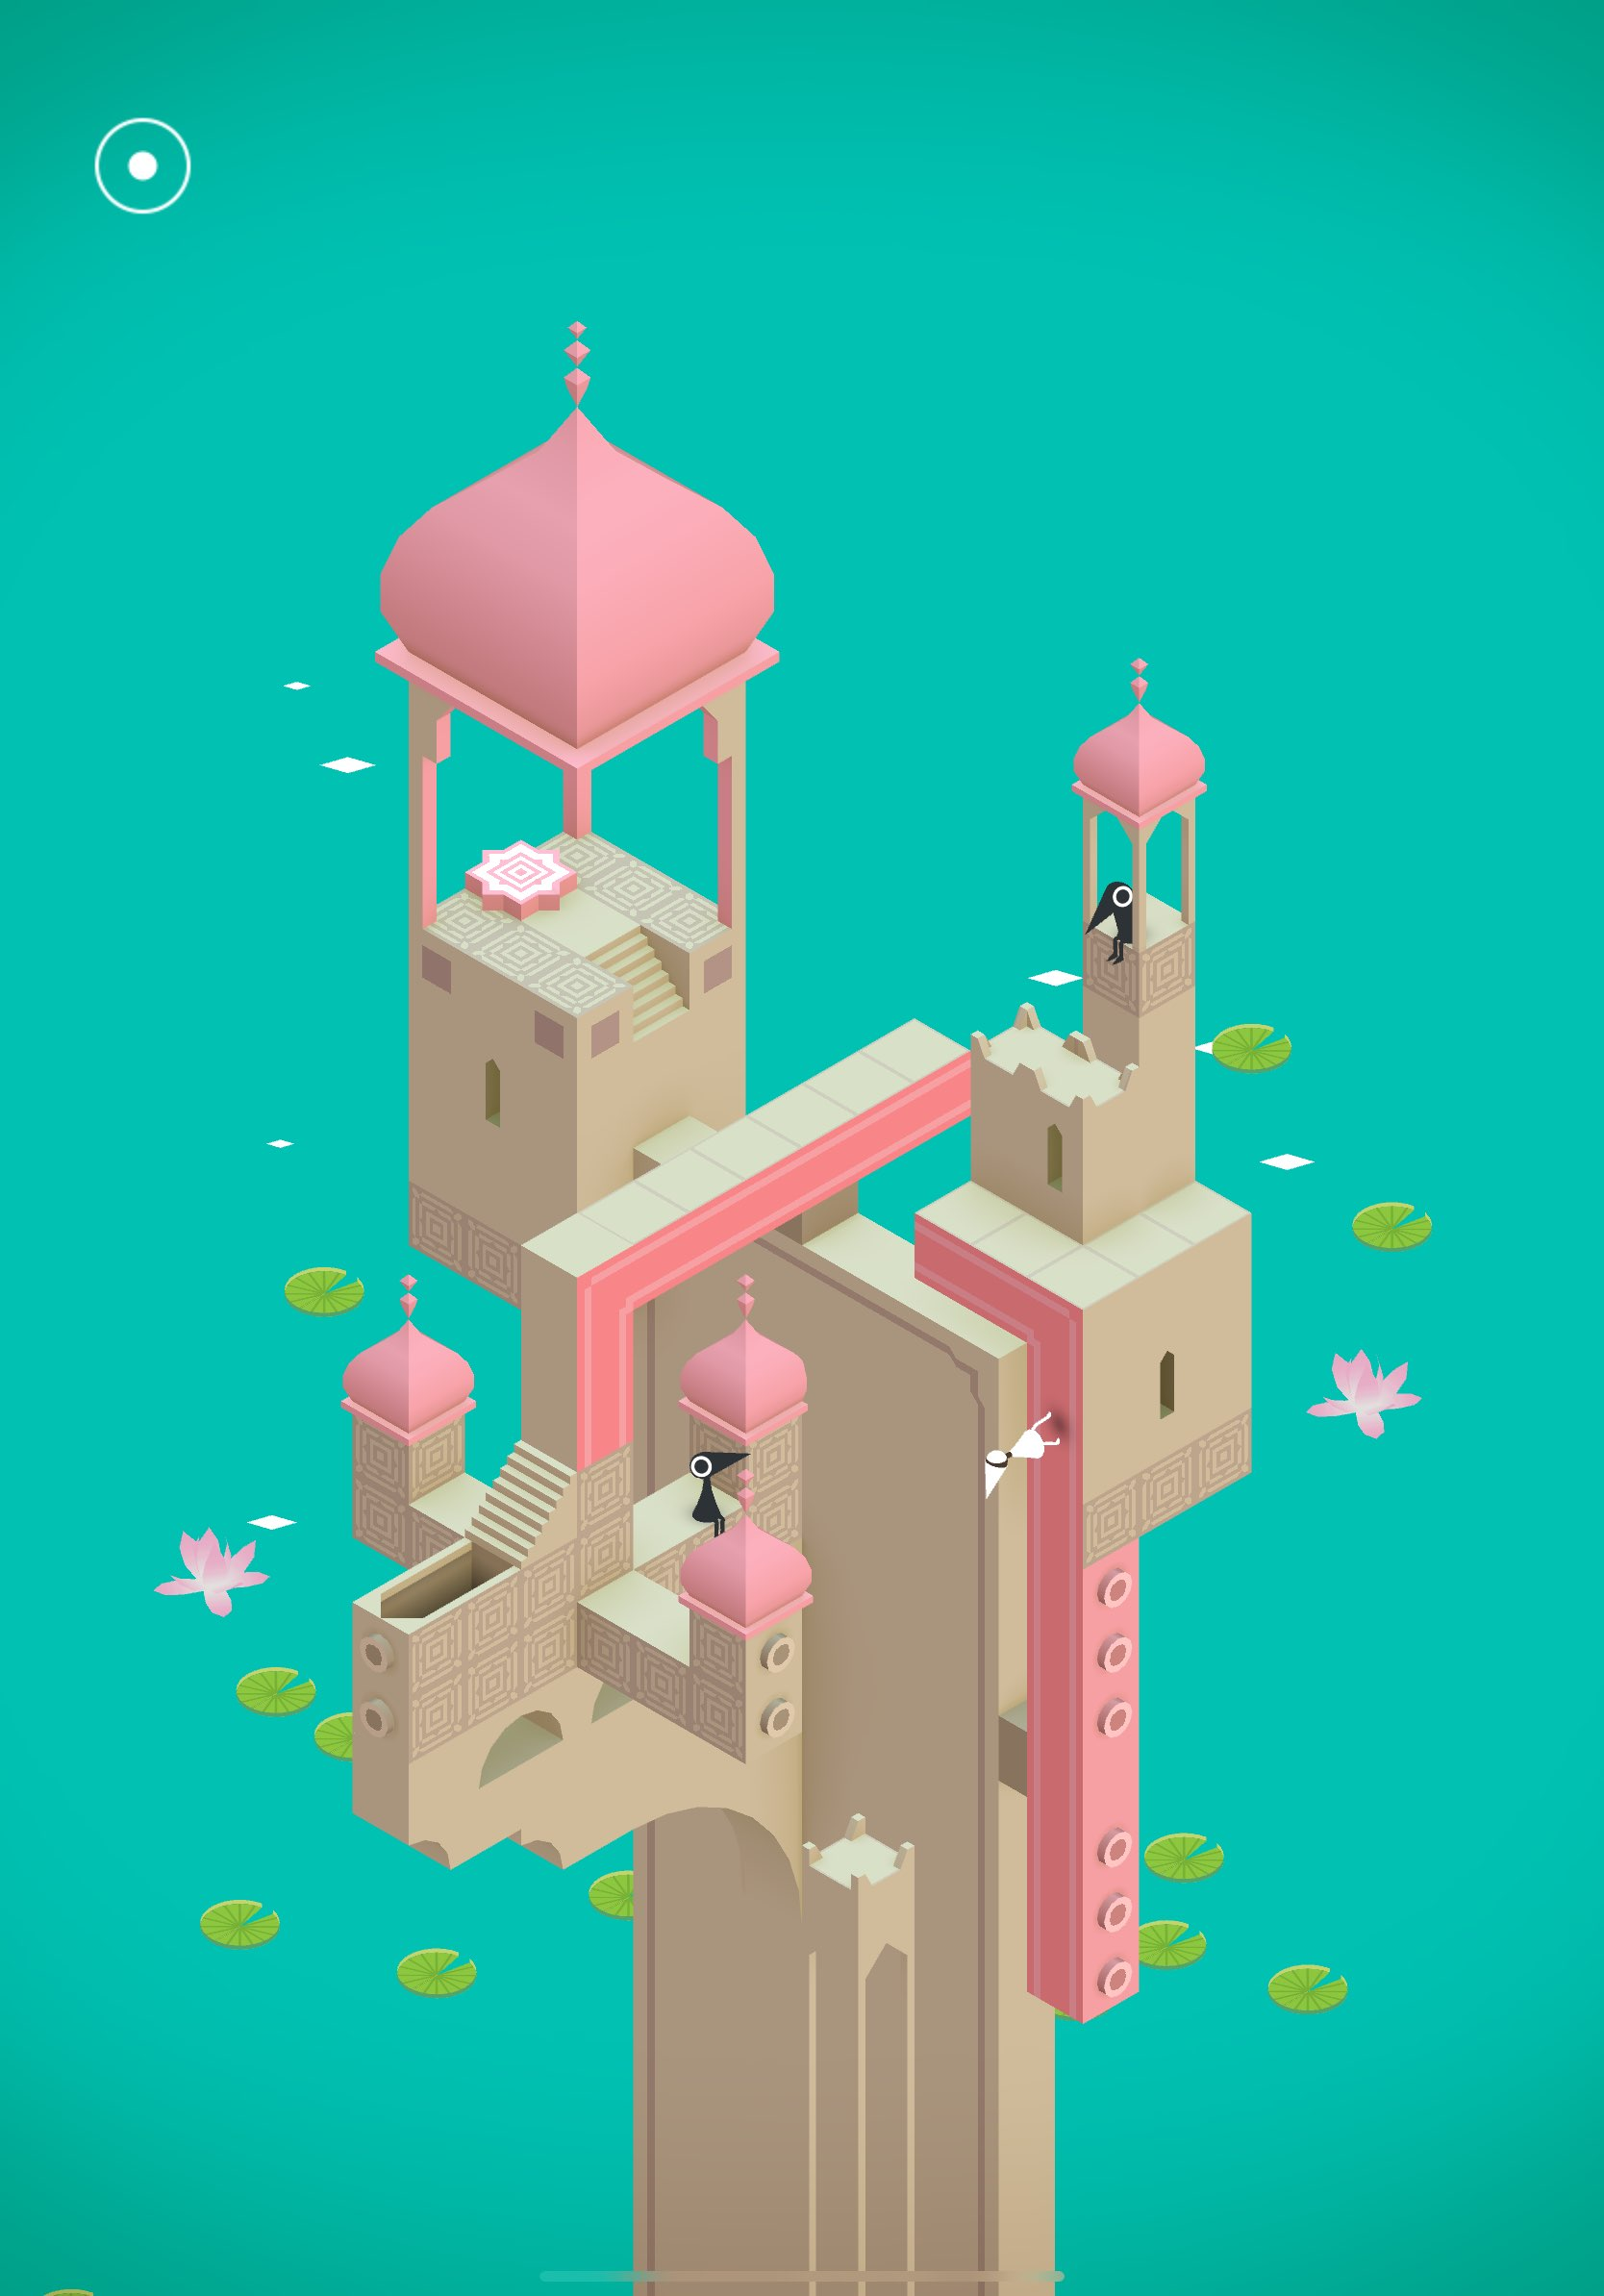
Chapter 1 – Monument Valley

Chapter 1 serves as an introduction to Monument Valley. All you have to do is tap the pathway to move Ida, the silent princess you control. Move Ida all the way to the end of the path and then hold and rotate the large wheel. This moves a part of a path. As a note, you can’t move Ida while they’re standing on the path that is moved by the wheel. Position the wheel so the path you’re moving lines up perfectly with the path where Ida is standing. Once the paths are connected, let go of the wheel and tap the large black and gray square above the stairs to move Ida. This completes Chapter 1.
Chapter 2 – The Garden
Moving on to Chapter 2, called “The Garden,” you’re introduced to more of the mechanics in Monument Valley. To start, hold and rotate the wheel right in front of Ida so that it connects to the path with the button on it in the bottom right of the level. Move Ida across the path and down the ladder to tap the button. This creates a new path and spawns a new button on the right side of the level.
Go back up the ladder and return to where you started the level. Then, rotate the wheel to the right, connecting it to the new path. Move across the path and step on the new button. This seemingly raises the wheel and its paths. However, Monument Valley tends to play tricks on your eyes. To reach the top, you simply have to rotate the wheel one turn to the right. Move Ida on the new path and go to the orange and gray square to complete Chapter 2.
Chapter 3 – Hidden Temple
Chapter 3 introduces yet another new mechanic in Monument Valley in the form of movable paths that look like Legos. You can move these paths by holding and moving the screen in the direction you want the path to go.
To start Chapter 3, move Ida up the ladder and then move the foremost path up to Ida. Position Ida on the movable path. You’re allowed to freely move these paths while Ida is standing on them. Move the path as far as it can go to the right and then take the ladder at the end. Move the next path to Ida’s new location, stand on the path, and then slide it over all the way to the left. Enter the doorway to progress the chapter.

Now you’re standing one level higher and there’s a new movable piece on the side of the building you’re on. Move the piece down to Ida’s location and step on it. Once Ida is on, move the piece up and step on the pink button. This changes the level around slightly, allowing you to access the other side. Go up the smaller ladder and across the path to enter another doorway.
Interact with the blue glowing figure at the top of the stairs for some dialogue. Press the circle at the bottom of the screen to progress the dialogue. Once the dialogue is over, some new paths will emerge. Go down the steps and up the ladders on the left until there aren’t any more ladders. You’ll see two movable pieces on the left and right sides of the monument. If you try and move Ida to the right, a cracked path will fall to the ground.
Instead of that, move the left movable piece to see that it changes the position of a nearby tile. Position Ida on top of this tile and then move the piece all the way down to make Ida reach a new path. Go up the two small ladders to reach a small path and then move the right movable piece down until the two paths connect in the middle. Move Ida onto the path with the movable piece and then slide the piece all the way up until it reaches the blue button. Press the blue button to unveil stairs that lead right to the blue and gray square at the top of the level, completing Chapter 3.
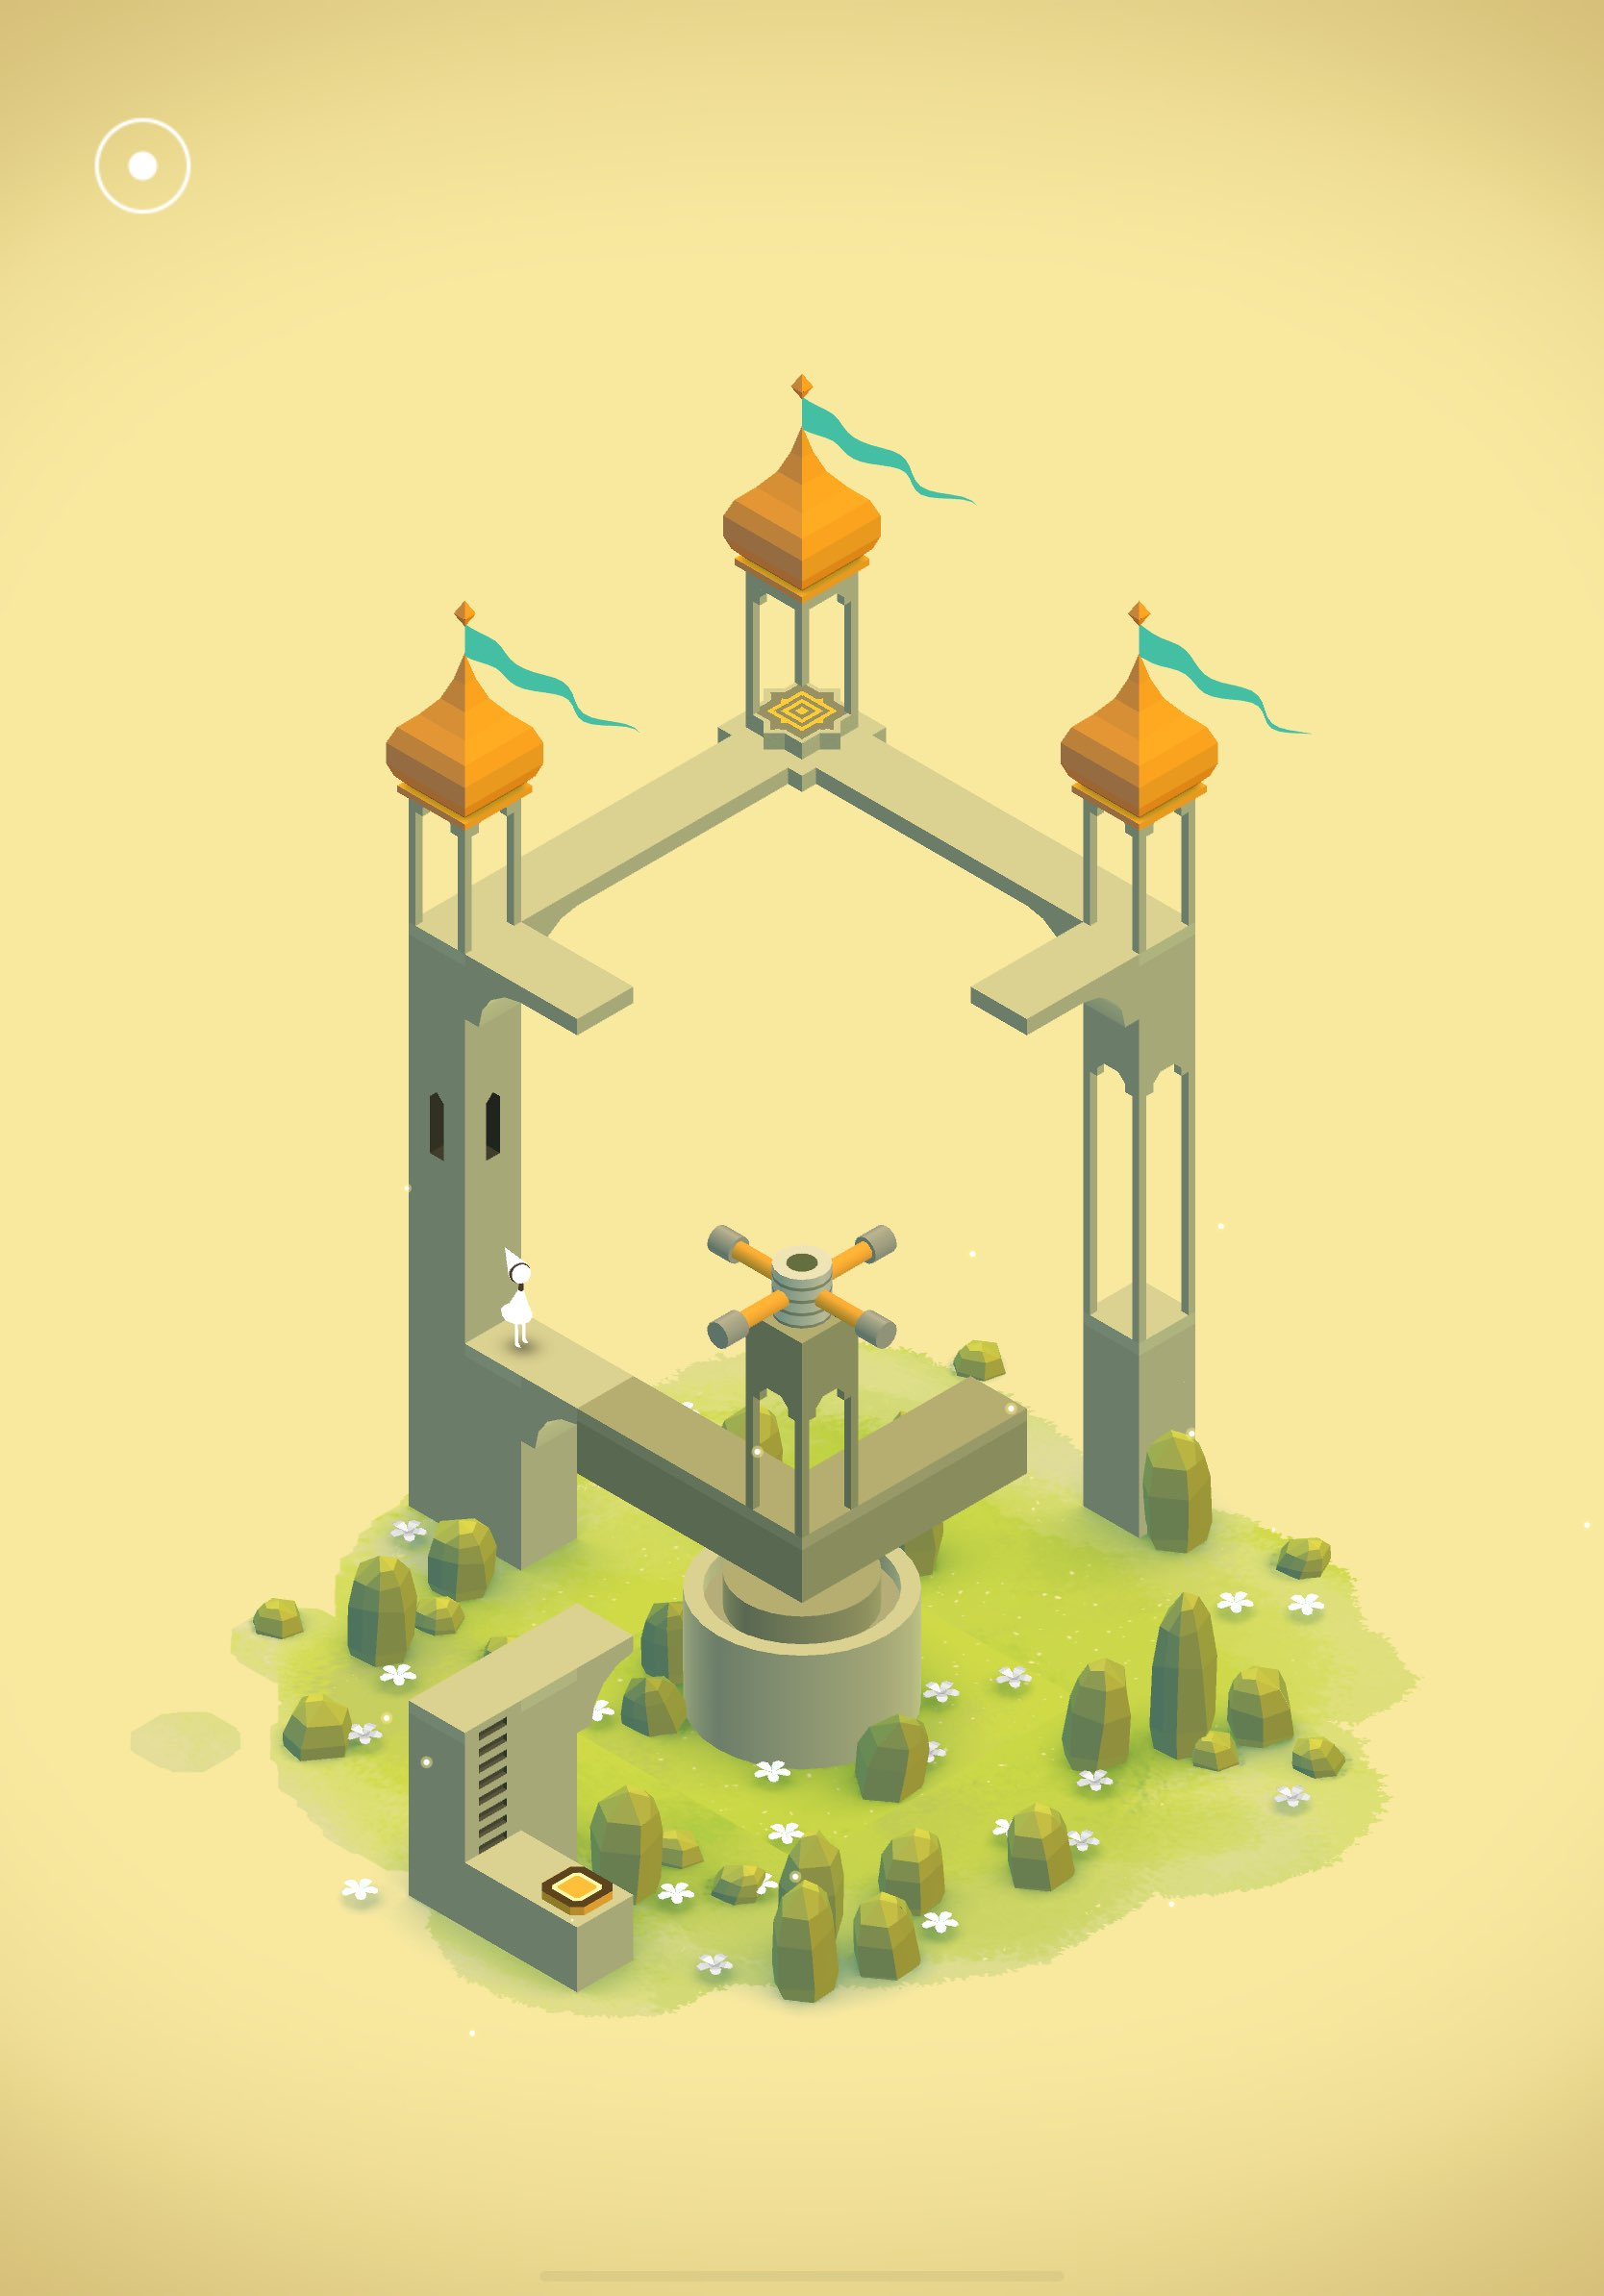
Chapter 4 – Water Palace
Surprise, surprise, Chapter 4 of Monument Valley introduces yet another new mechanic. This time, Ida discovers that they can walk on the sides of monuments, disobeying any law of gravity.
You can begin Chapter 4 by rotating the pink wheel two turns to make a set of stairs connect Ida’s path to the stairs above the wheel. Position Idea underneath the awning and then move the pink movable piece in the center of the level to face the orange button. Step on the button to change some of the level’s paths. Go back onto the middle path and move the movable piece to the right to connect to the path that was just changed. Position Ida at the end of the path and then move the piece until it connects with the doorway. Move Ida into the doorway to progress the chapter.
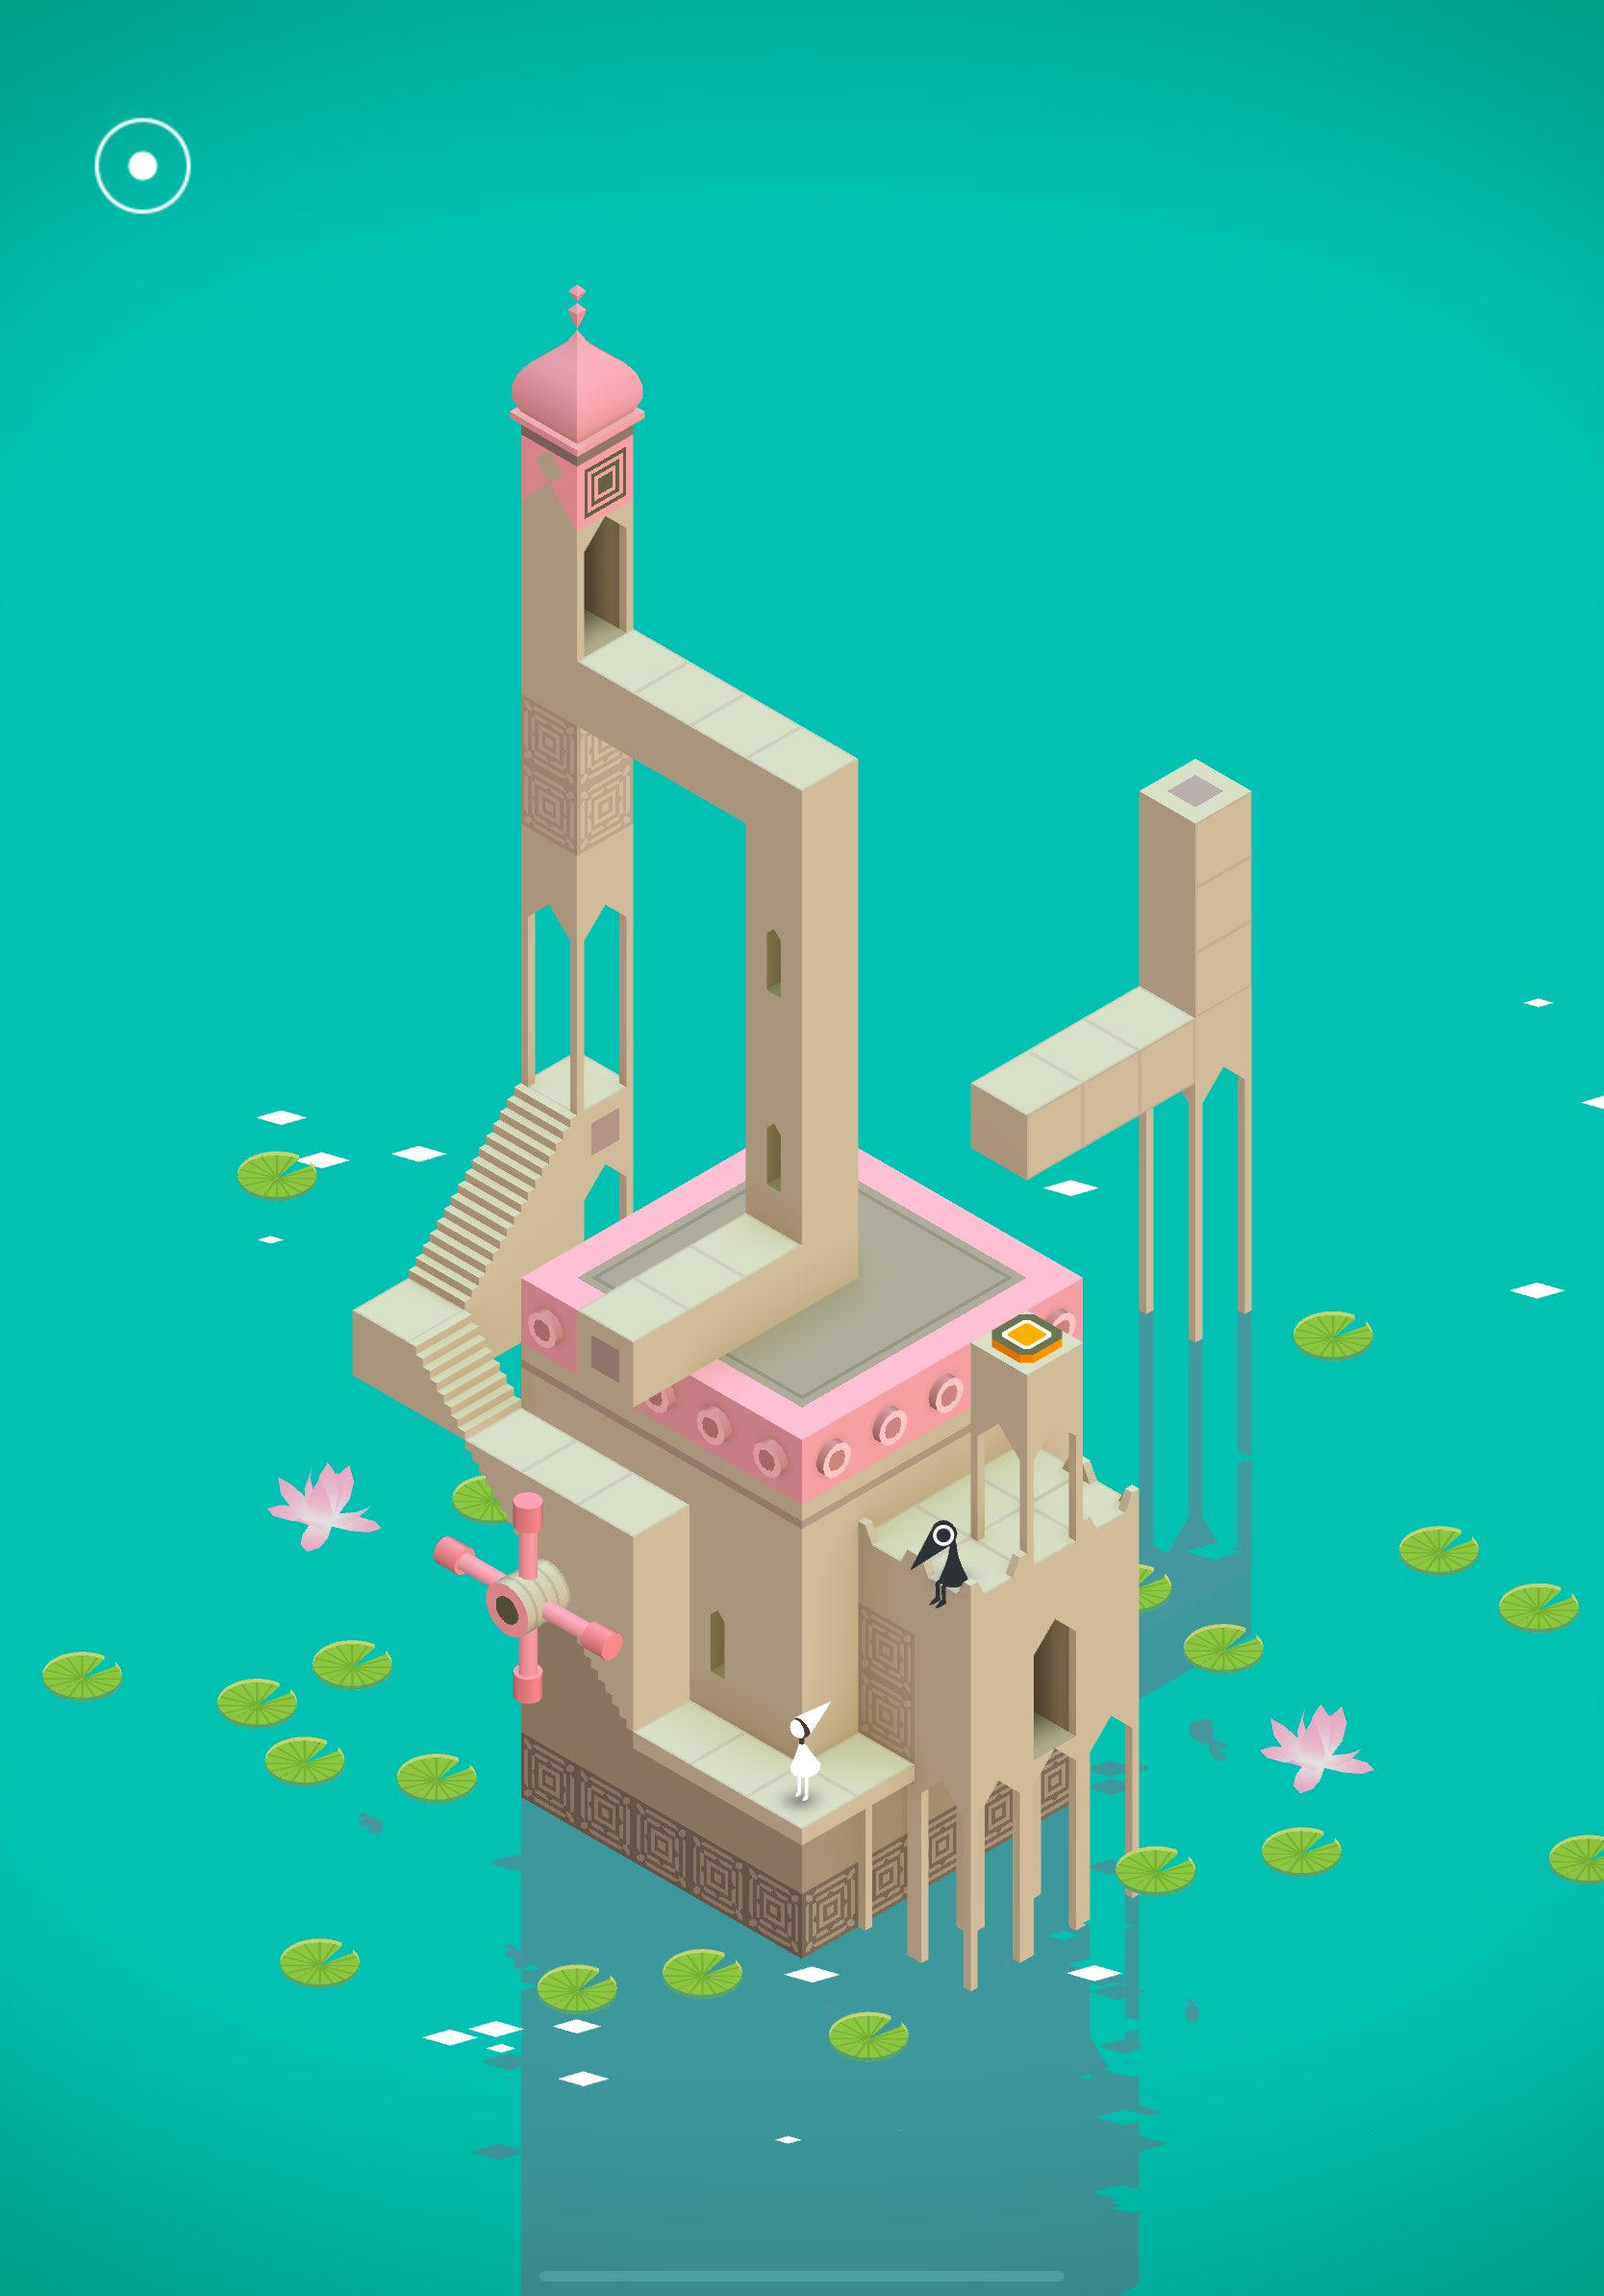
This makes a new, pink path emerge from the water and sends Ida to a new level. Step on the orange button in front of Ida to make them walk on the other side of the path. Now, move Ida up the ladder and keep going up/down ladders until you reach the middle of the level. Once you’re there, find the movable Lego piece on the far left side of the level and move it toward Ida’s position. You can now go up a new ladder and press another orange button.
This sends Ida to the back of the level and unveils a pink movable piece at the bottom of the level. Rotate the movable piece until you can clearly see Ida. Move Ida down until they’re standing right near the waterfall. Once you’re here, slowly rotate the level to the left until the two pink paths connect with each other (as seen below).
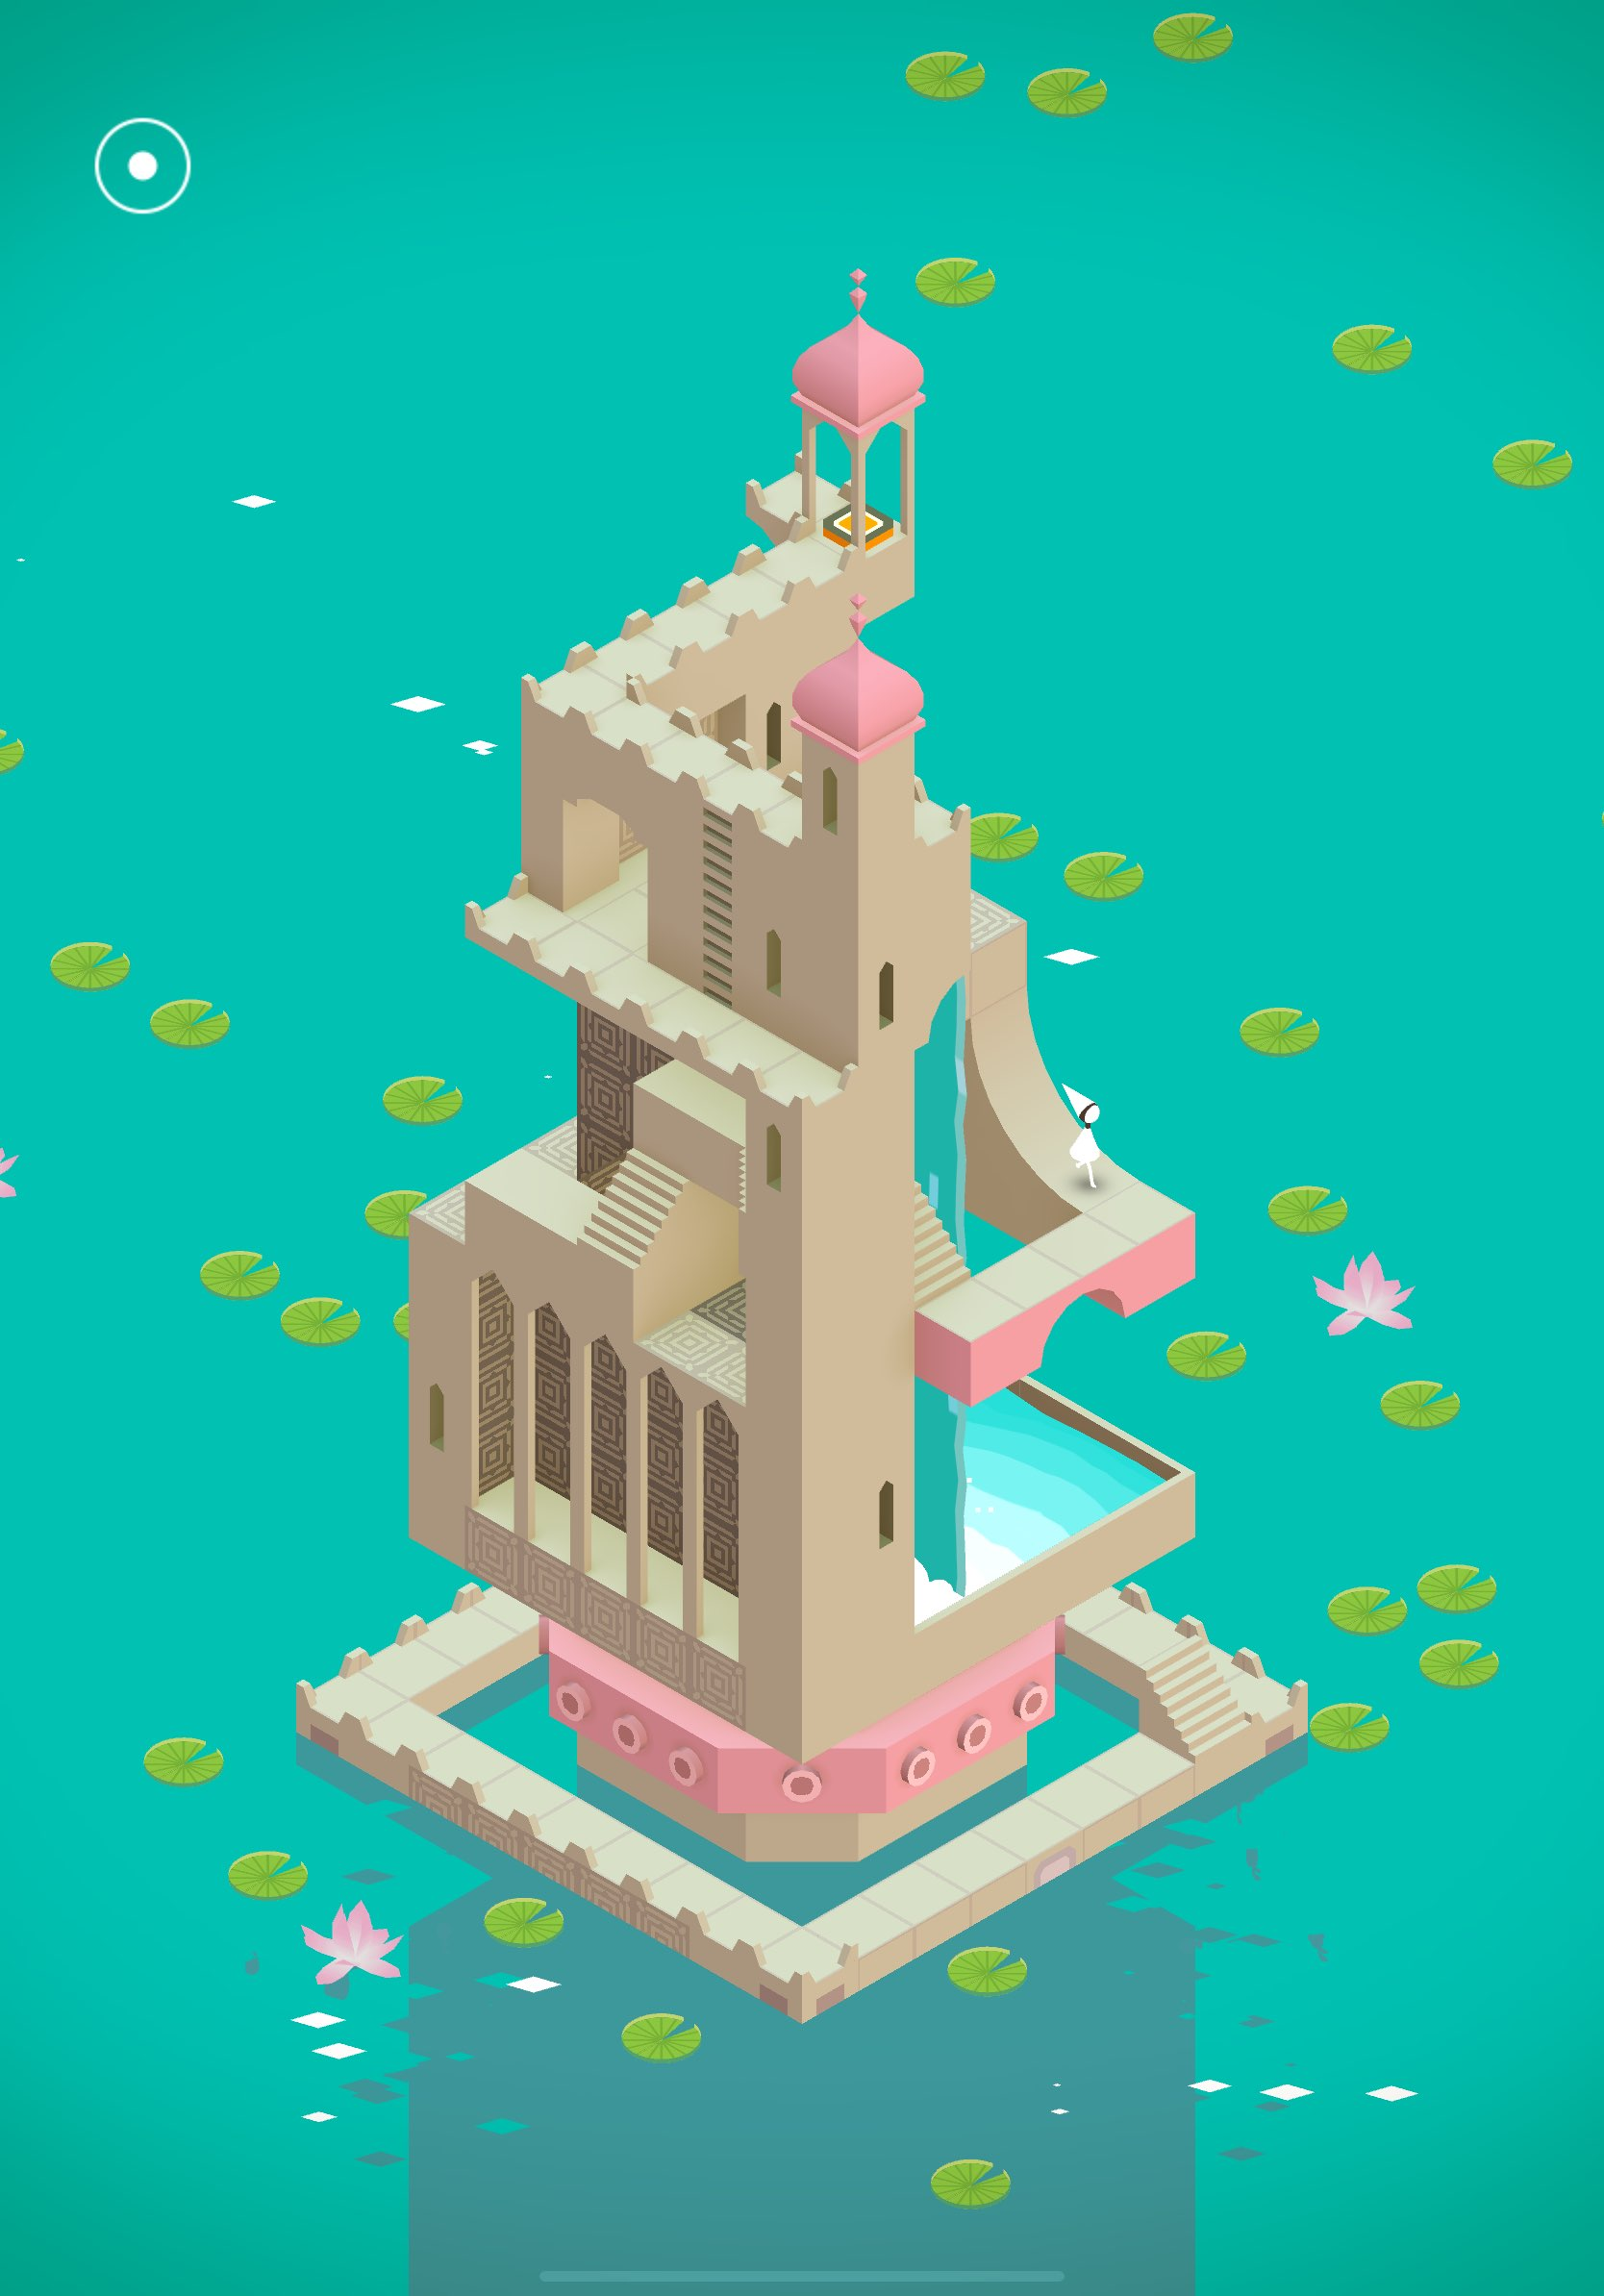
From here, you can simply tap the orange button at the top of the level to have Ida walk there and progress the chapter. You’re now on another level with a pink movable piece in front of you. Stand on the movable piece and rotate it up so that it connects with the pink path above you. Move Ida across that path and then rotate the movable piece horizontally, which creates yet another path for Ida to cross. From here, rotate the movable piece vertically, allowing Ida to walk down the pink path. Stop right before you reach the stairs and rotate the stairs so that they are facing Ida. You can now walk down into a doorway.
Head over to the blue glowing figure and go through more dialogue. Once it’s over, walk through the doorway at the end of the path. You’re now back on the level you left. Rotate the bottom movable piece horizontally, cross the pink path, and interact with the pink and white square to complete Chapter 4 of Monument Valley.
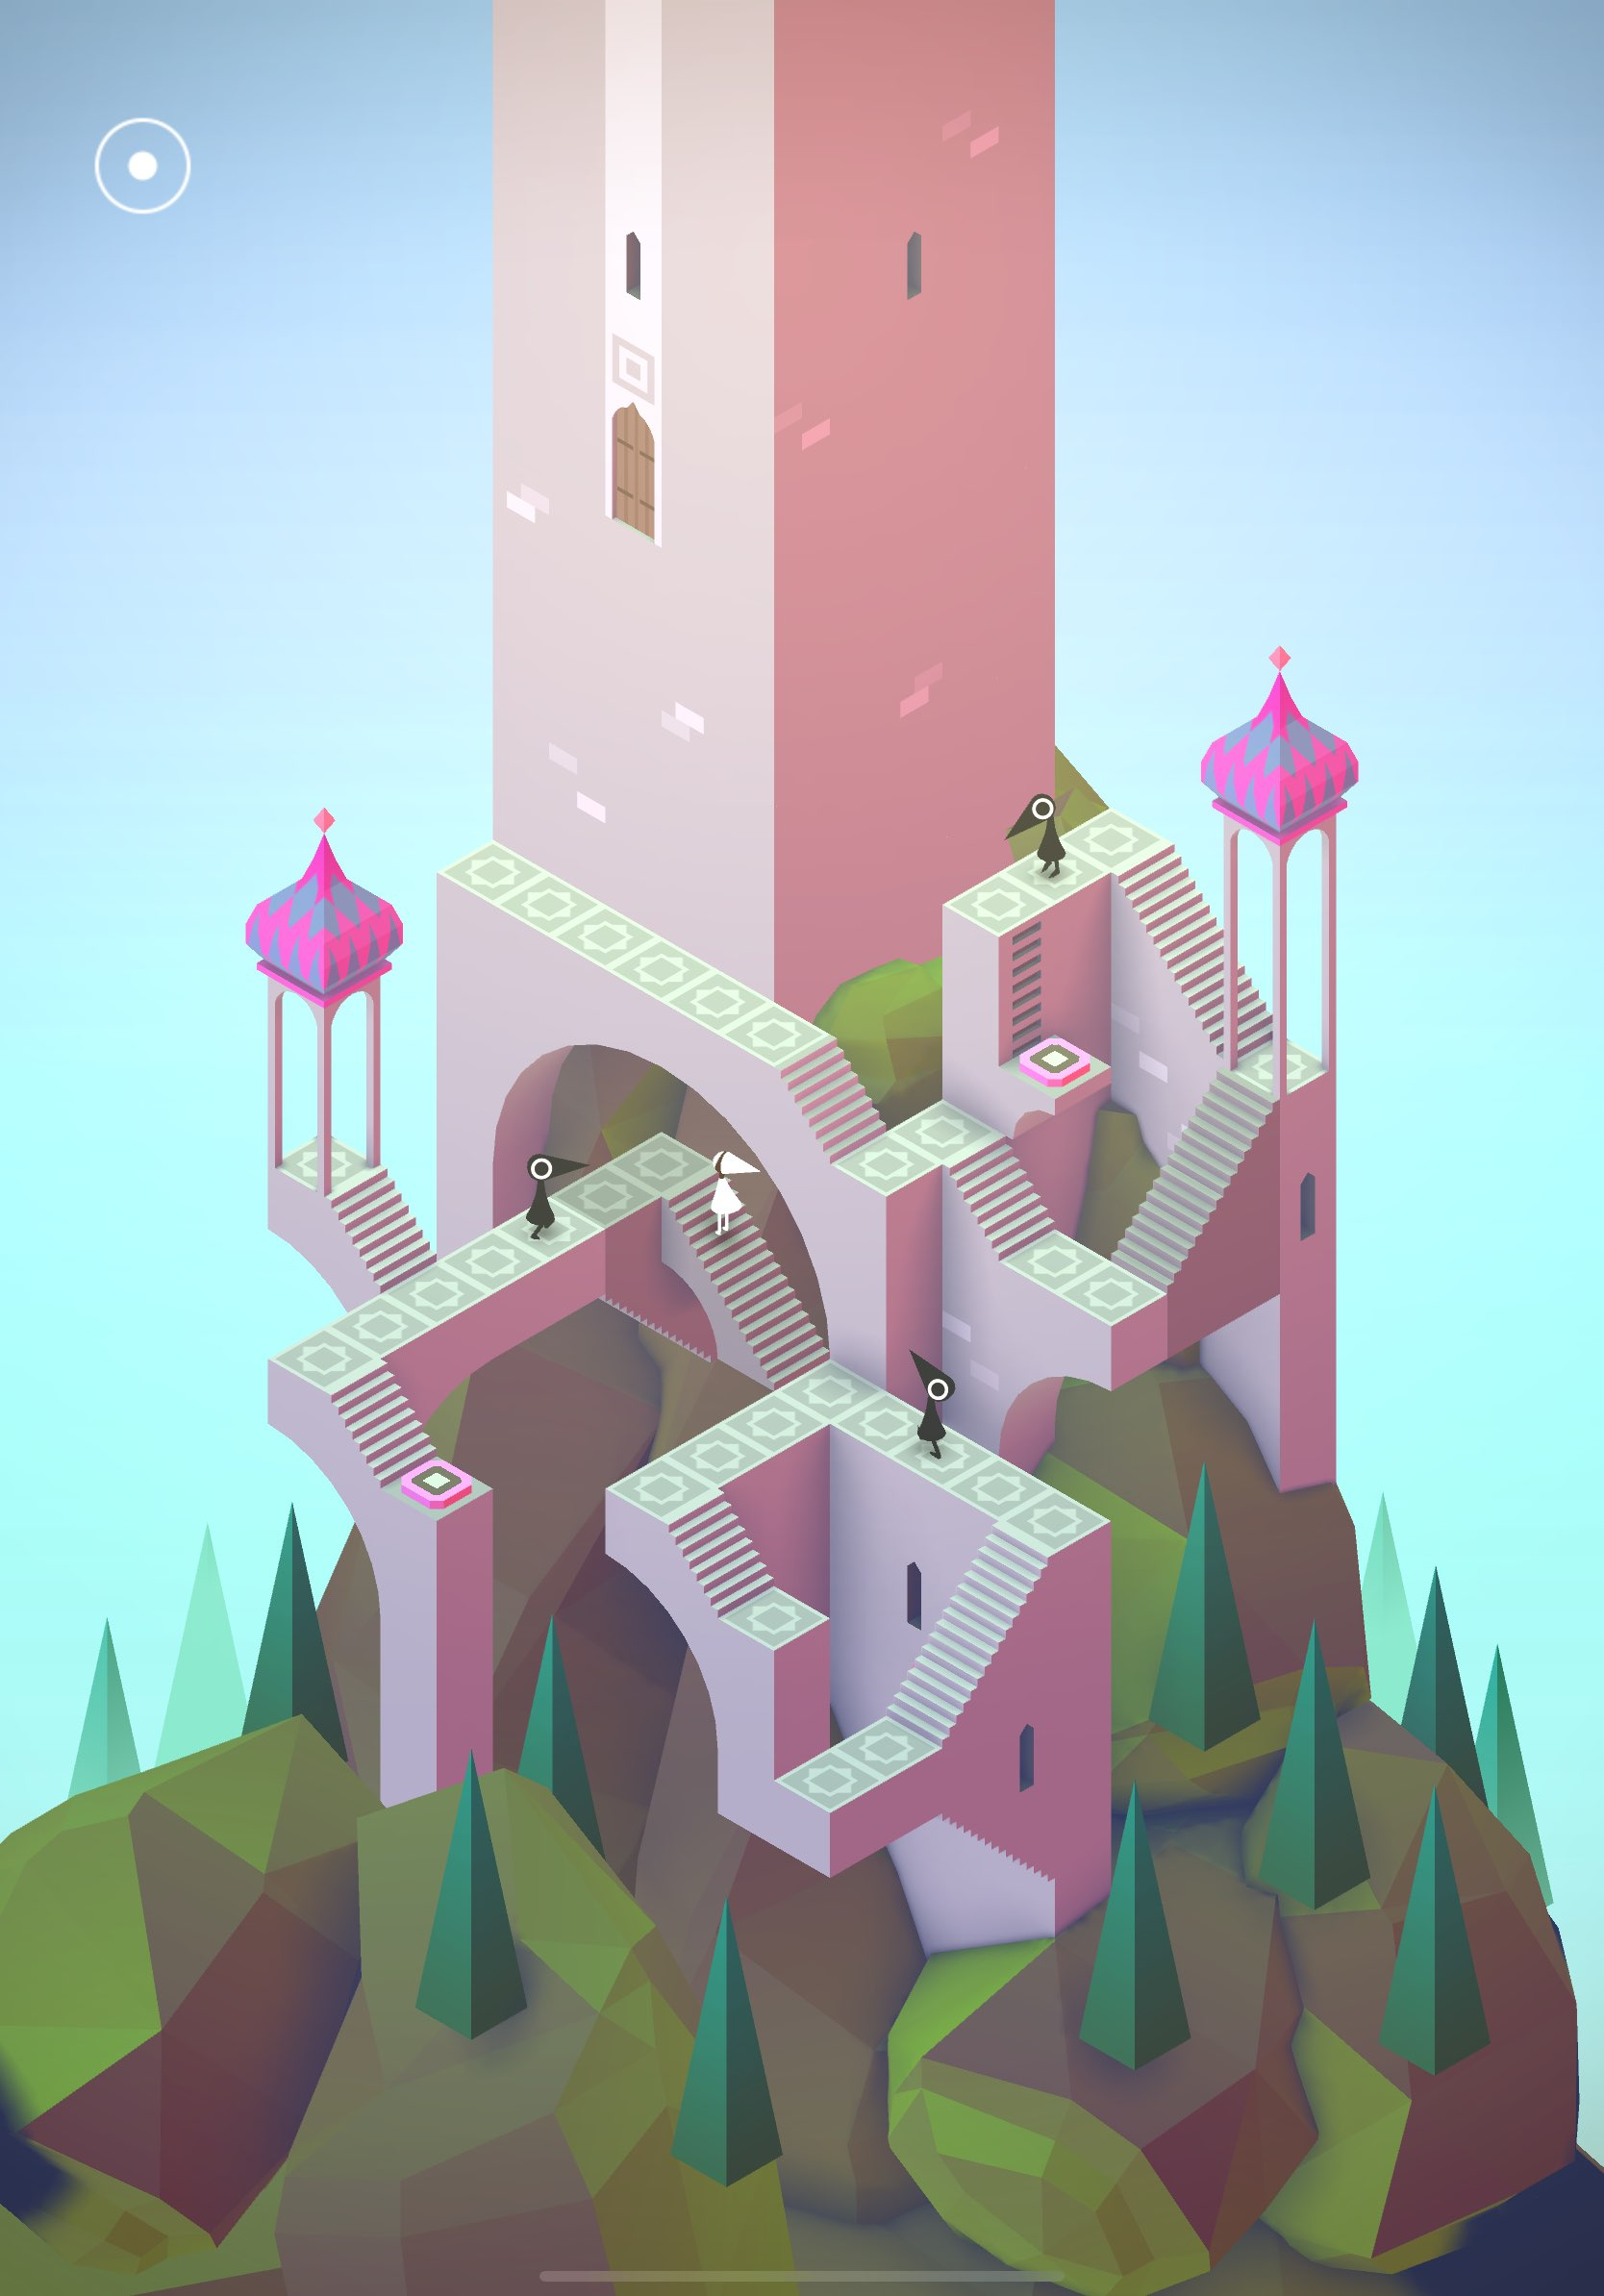
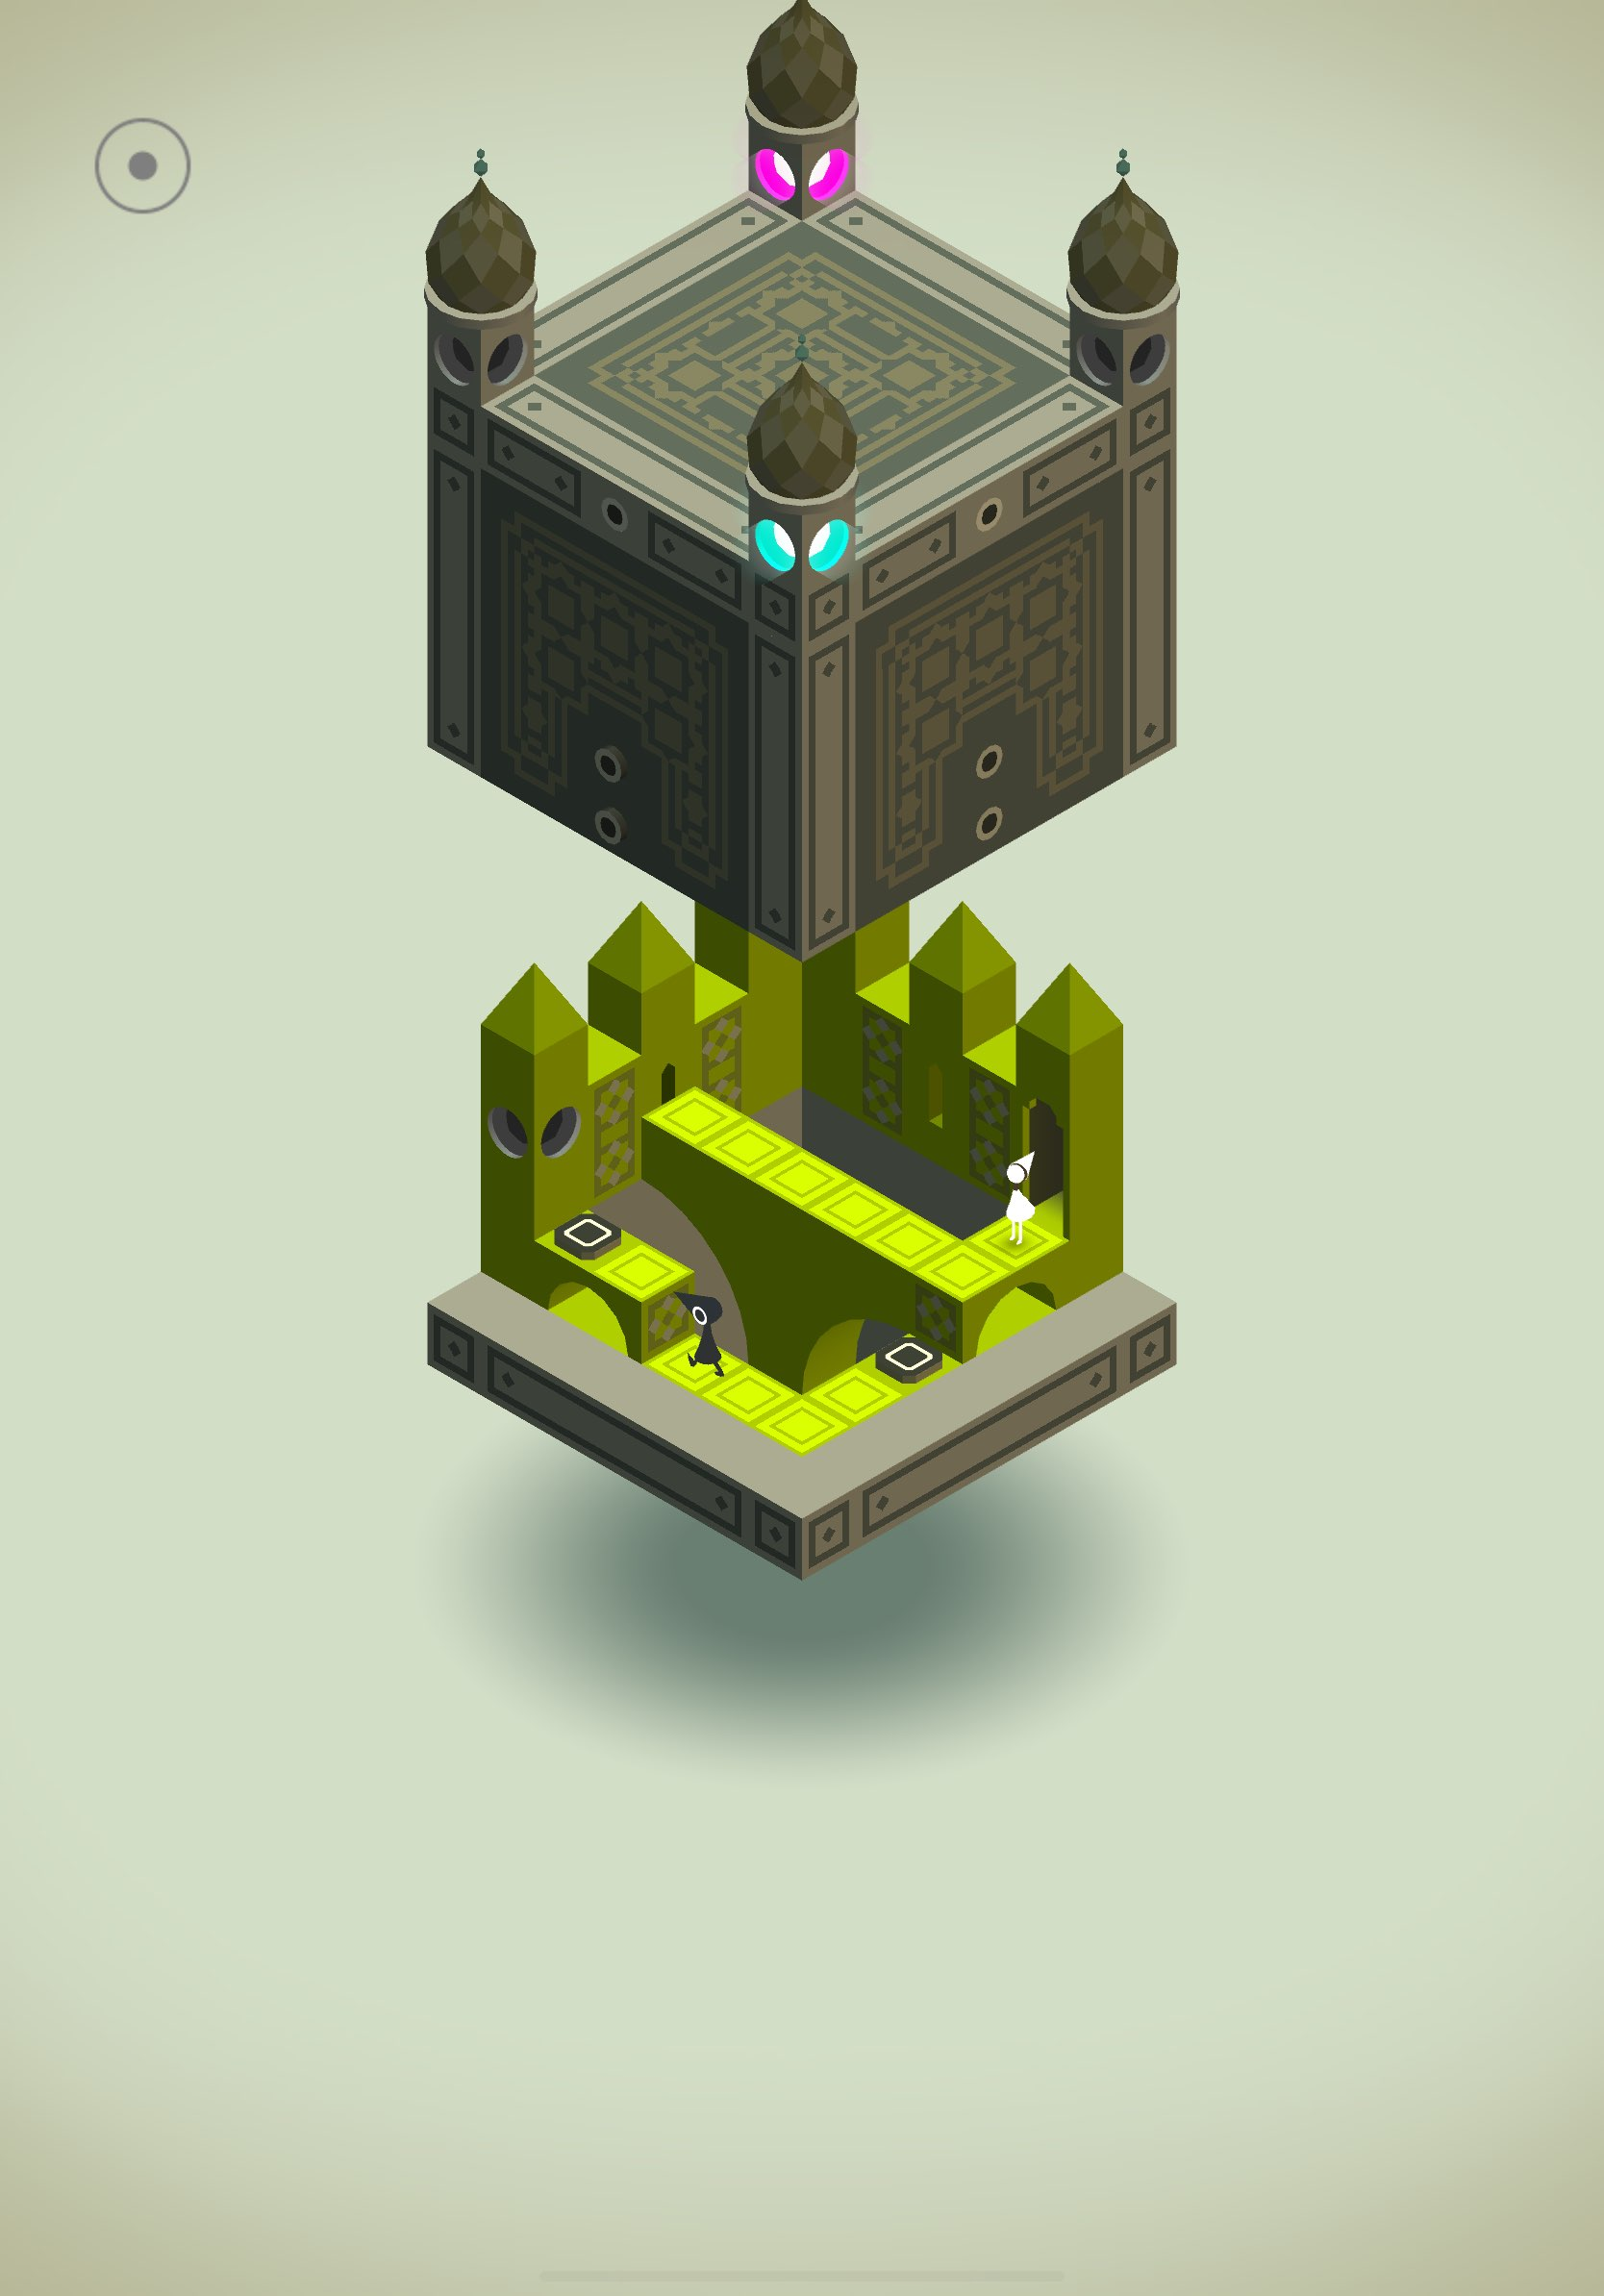
Chapter 5- The Spire
Chapter 5, called “The Spire,” is where you start putting all of your Monument Valley knowledge together. The gimmick with this chapter is there are walking NPCs that cut off access to certain paths. If you get too close to them, they start yelling at you and won’t leave their tile until you get away.
To start Chapter 5, go up the stairs and wait for the NPC to turn its back on you. Then, quickly sprint to the next stairs straight ahead when the NPC turns to the left. Wait on these new stairs for the next NPC to turn its back on you and then head up the smaller stairs to the colorful awning. Wait again for the NPC to go to the right and when that happens, go down the stairs in front of you to step on the pink button. This makes a rotatable wheel appear on the area where you started the level.
Rotate the wheel two times to make a set of stairs appear on the path right above you. Head up the stairs and then rotate the wheel two more times. Wait for the nearby NPC to go away and head down the two small sets of stairs to reach a larger set. Head up, pass through the awning, and wait there for the NPC to move away. When the time is right, go down the ladder and press the pink button. This creates a massive ladder at the end of the level, which you can reach by retracing your steps. Head up the ladder and through the doorway to progress the chapter.
The next level is a blue and green cube with more NPCs on it. To start, go up the stairs to your left. Once you do, an orange, rotatable lever appears on the side of the path the NPC is walking on. Rotate the lever once to flip the NPC upside down, allowing you to access the button on the other side. Step on the button to completely change the level around. Once you’re back on the stairs on the other side, rotate the lever again and head up the stairs to your right, past the door.

You’re now met with a straight path to the end doorway, but an NPC is blocking your way. Go up two tiles and then start rotating the lever. This causes a large column to appear, raising three tiles in the air. However, you don’t want to raise the column just yet. Instead, position Ida on the stairs and wait for the NPC to walk toward you. When the NPC is on your side of the platform, raise the column as high as possible. Then, when the NPC turns back around, wait for them to walk into the two gray tiles underneath the column. Once that happens, rotate the lever again, trapping the NPC below the ground. You can now move Ida across the path into the doorway.
The next level sees a ton of NPCs around you. All you have to do is climb up the ladder on the left side of the level and enter the doorway. This requires some maneuvering of the NPCs, but it’s not too difficult.
This brings you to an entirely new level with more NPCs. There are two rotatable wheels on either side of the level. Focus on the left wheel for now. Rotate the left wheel once and wait for the NPC walking on the path to cross over to the middle path. Then, quickly rotate the wheel back to its original position, locking the NPC on the other side. Enter the doorway at the end of the path to be brought higher up on the level.
Position Ida on the ladder in front of you and wait for the walking NPC to go near the awning. When that happens, rotate the right wheel to make a path to the doorway. Make sure the NPC starts walking across this path. After it does, rotate the wheel to make the path go vertical, connecting with the path above it. Wait for the NPC to cross over to the other side of the vertical path, and then rotate it back so Ida can walk across to the doorway.
The final level of Chapter 5 has fewer NPCs, but more Lego pieces to move. You can begin the level by rotating the Lego piece on the bottom of the level one time to the right. Then, position Ida one block over from where you started. Rotate the piece one more time to the right, moving Ida another two blocks over. Finally, rotate the piece again to the right, allowing Ida to move over and access a set of stairs. Rotate the Lego piece to the left to get a better view of Ida.

Once Ida is staring at a wall with a window, rotate the Lego piece two times to the left. This will allow you to move Ida onto a new block that looks like a castle. Rotate the piece two times to the right to move the castle block up to a new path. Move Ida onto the darkened block off the path and rotate the piece one time to the right. Move Ida forward one block. Rotate the piece again to the right, allowing Ida to move all the way up to two different ladders. Rotate the piece until the block Ida is on connects with the red square. This completes Chapter 5 of Monument Valley.
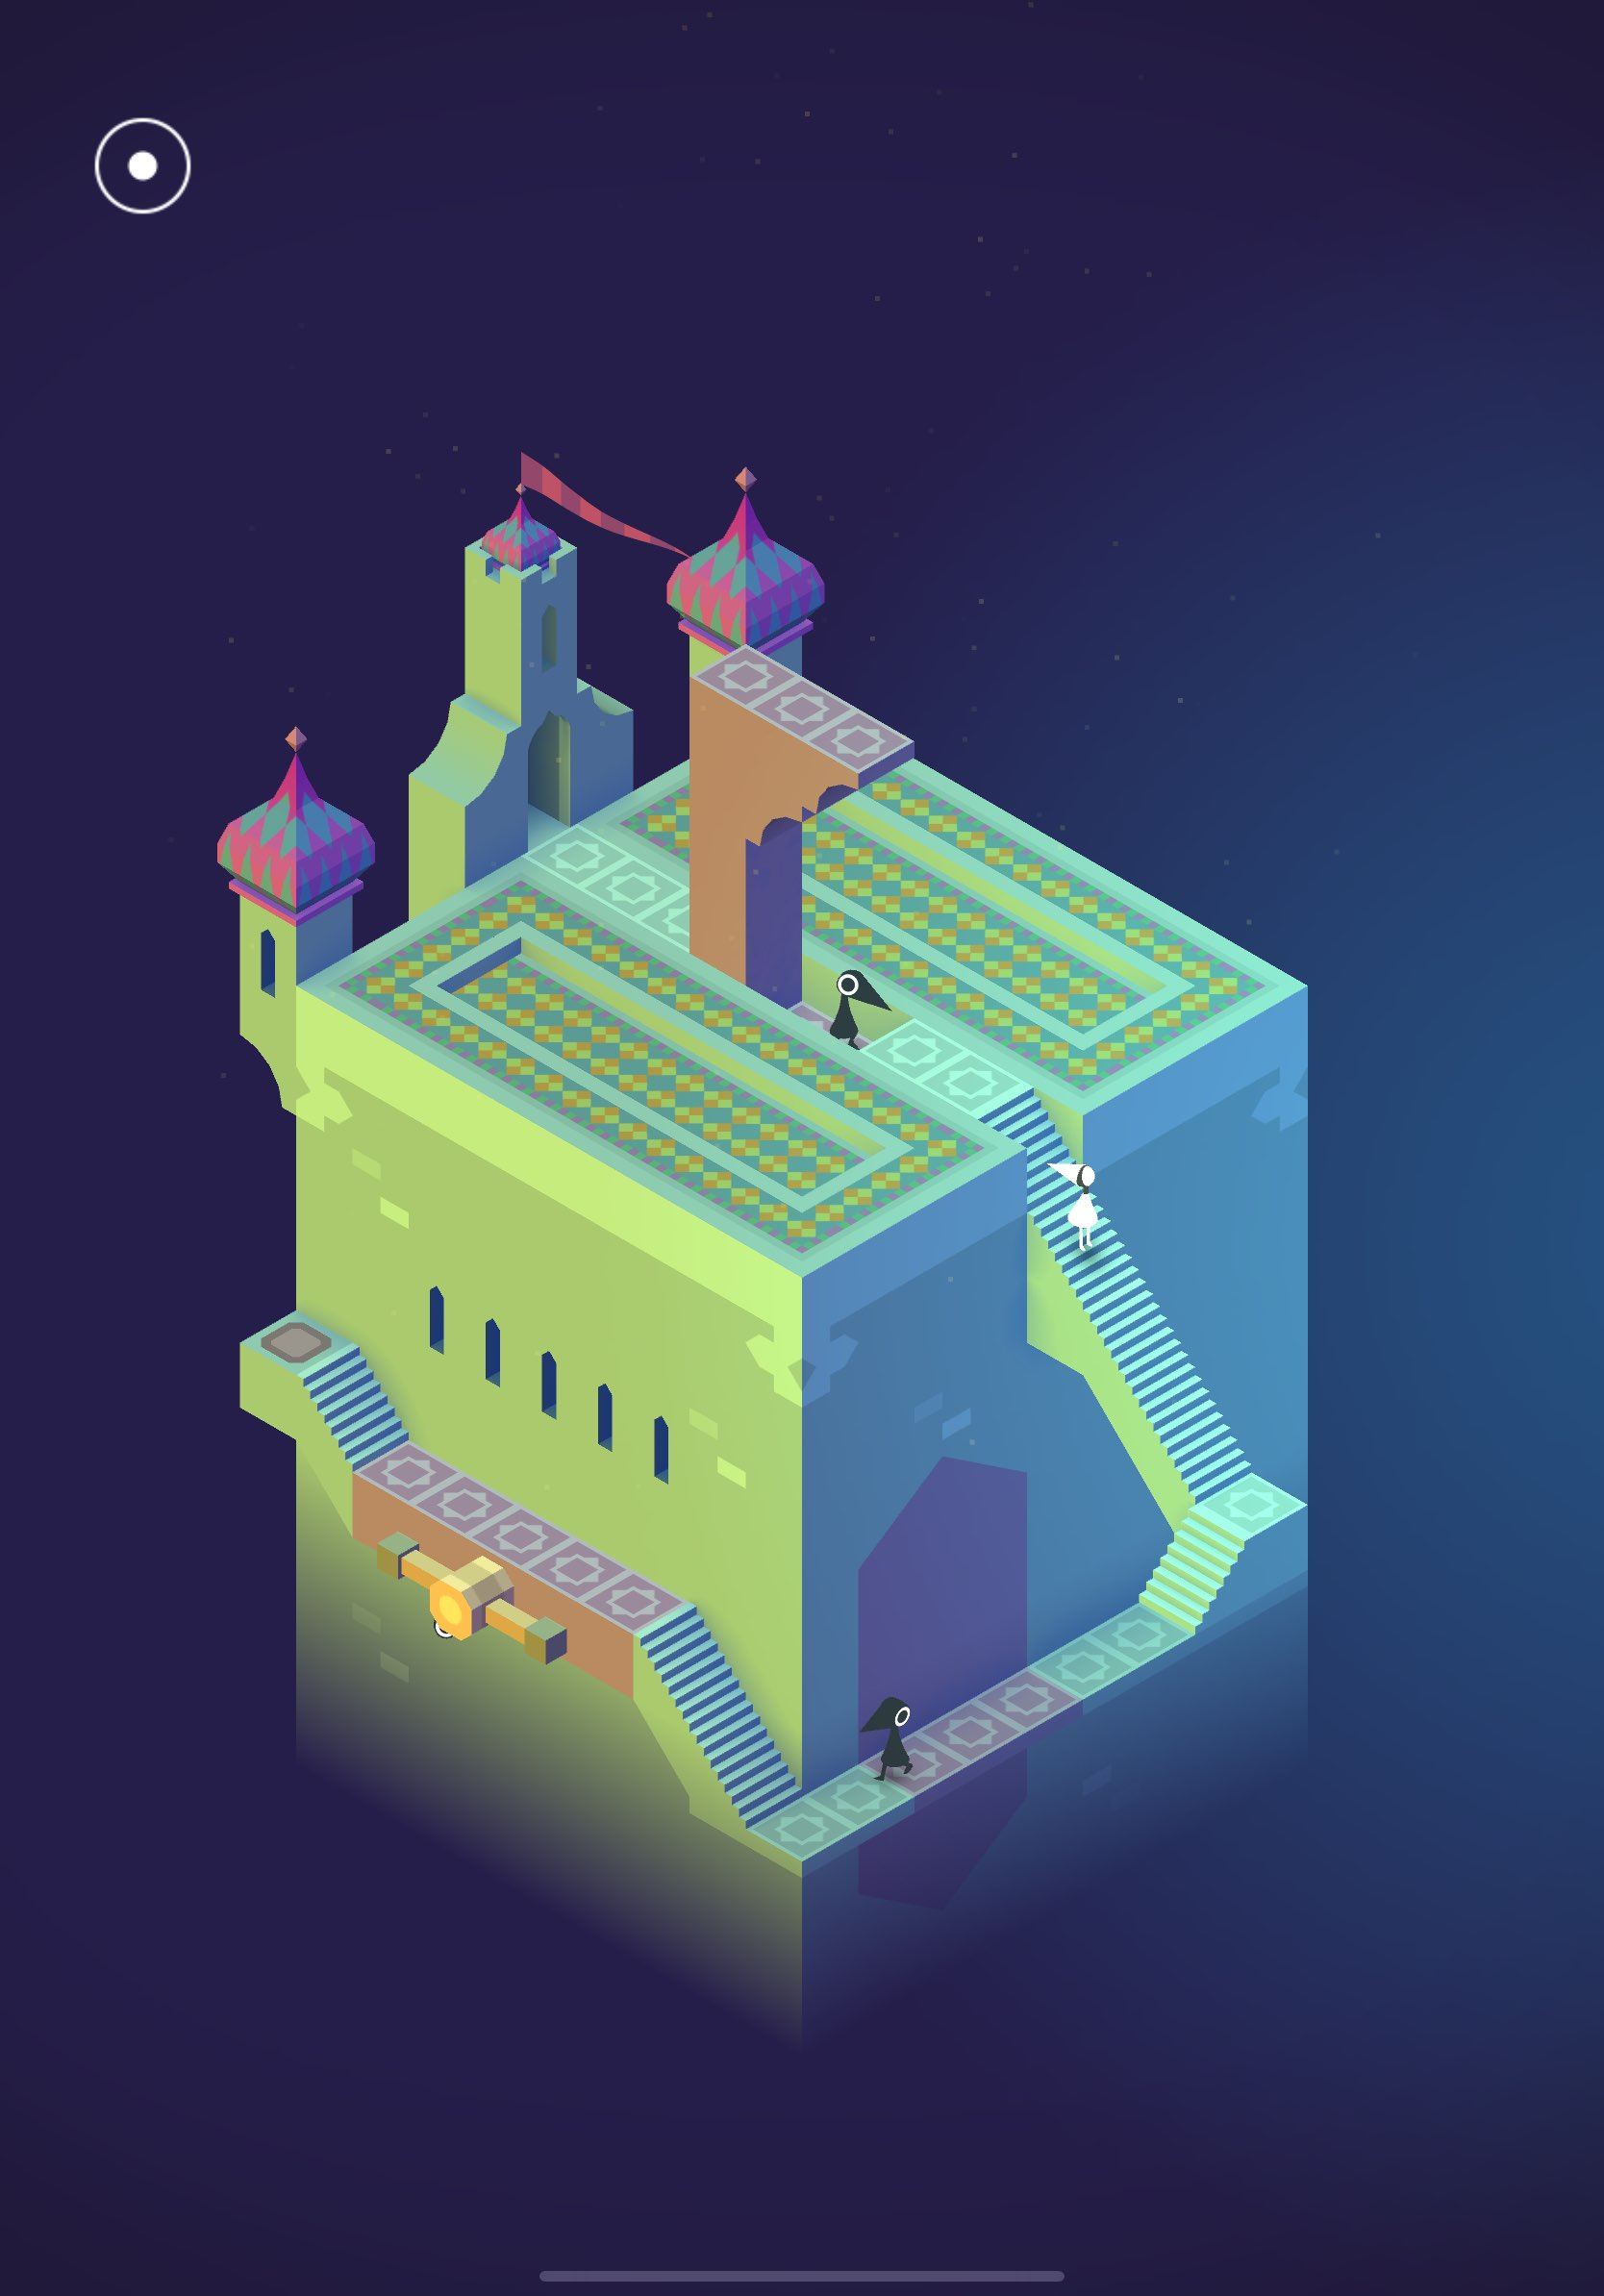
Chapter 6 – The Labyrinth
For the first time in Monument Valley, you’re not alone. Chapter 6 introduces Totem, a movable column that helps you navigate the various levels.
Chapter 6 begins with you moving Ida up some stairs, where you meet Totem after walking onto the platform in the middle of the water. You get on the top of Totem and you can freely move it around like any other movable Lego piece. Move Totem on top of the gray button at the end of the platform to progress the chapter.
You’re now in a bright and vibrant land with Totem. Move Totem across the L-shaped path to press another button. This moves the path you’re on, allowing you to press another button with Ida. Get back on Totem and move to the left to the stairs. Hop off Totem and go down the stairs to stand near, but not on top of the blue button with Ida. While still standing near the button, move Totem to the end of the path on the right. Now, stand on the button with Ida to lift Totem into the air. Position Totem to the right of the ladder and walk Ida to the ladder to climb on top of Totem.
Move Totem to the left, where there’s another button underneath an awning. Hop off Totem and stand on the button with Ida. Now, move Totem to the right and press the new button you can reach. Use Totem to reach the doorway at the end of the level. Move Totem again to press another button and advance the level.
In the new level, move Totem to press the nearest button. Ida now emerges from a doorway underneath Totem. Move Totem all the way past the button to the right and then use the rotatable lever on the left wall to rotate Totem underneath some stairs. Walk Ida up the stairs and then rotate the lever back so Ida can climb on top of Totem. Move Totem back on the L-shaped path so Ida can press the button on the other side. Move Ida to the blue button nearest them (on the left). Stand on the button with Ida. Then, move Totem back across the L-shaped path and rotate the wheel one time. Move Totem further down the path. Finally, rotate the lever again so Totem is on top again and have it stand on the opposite button.
On the new level, move Totem in the middle of the path it and Ida are standing on. Rotate the wheel beneath the path one time so Totem can move all the way to the left. Rotate the wheel again so Ida can cross and hop on top of Totem. Once again, rotate the wheel, allowing Totem to cross the path so Ida can hop off and press the button.
Have Ida remain where they are and move Totem to the third tile on the path to the left. Then, rotate the wheel one time so that Totem can cross up towards the new castle that emerged. Keep Totem on the path for now and move Ida to the block right underneath the castle. Then, position Totem in front of Ida and use the movable Lego piece on the castle to bring Ida up to Totem. Climb on Totem, move the Lego piece back up, and then slide Totem into the new spot. This allows Ida to reach the doorway and complete Chapter 6.
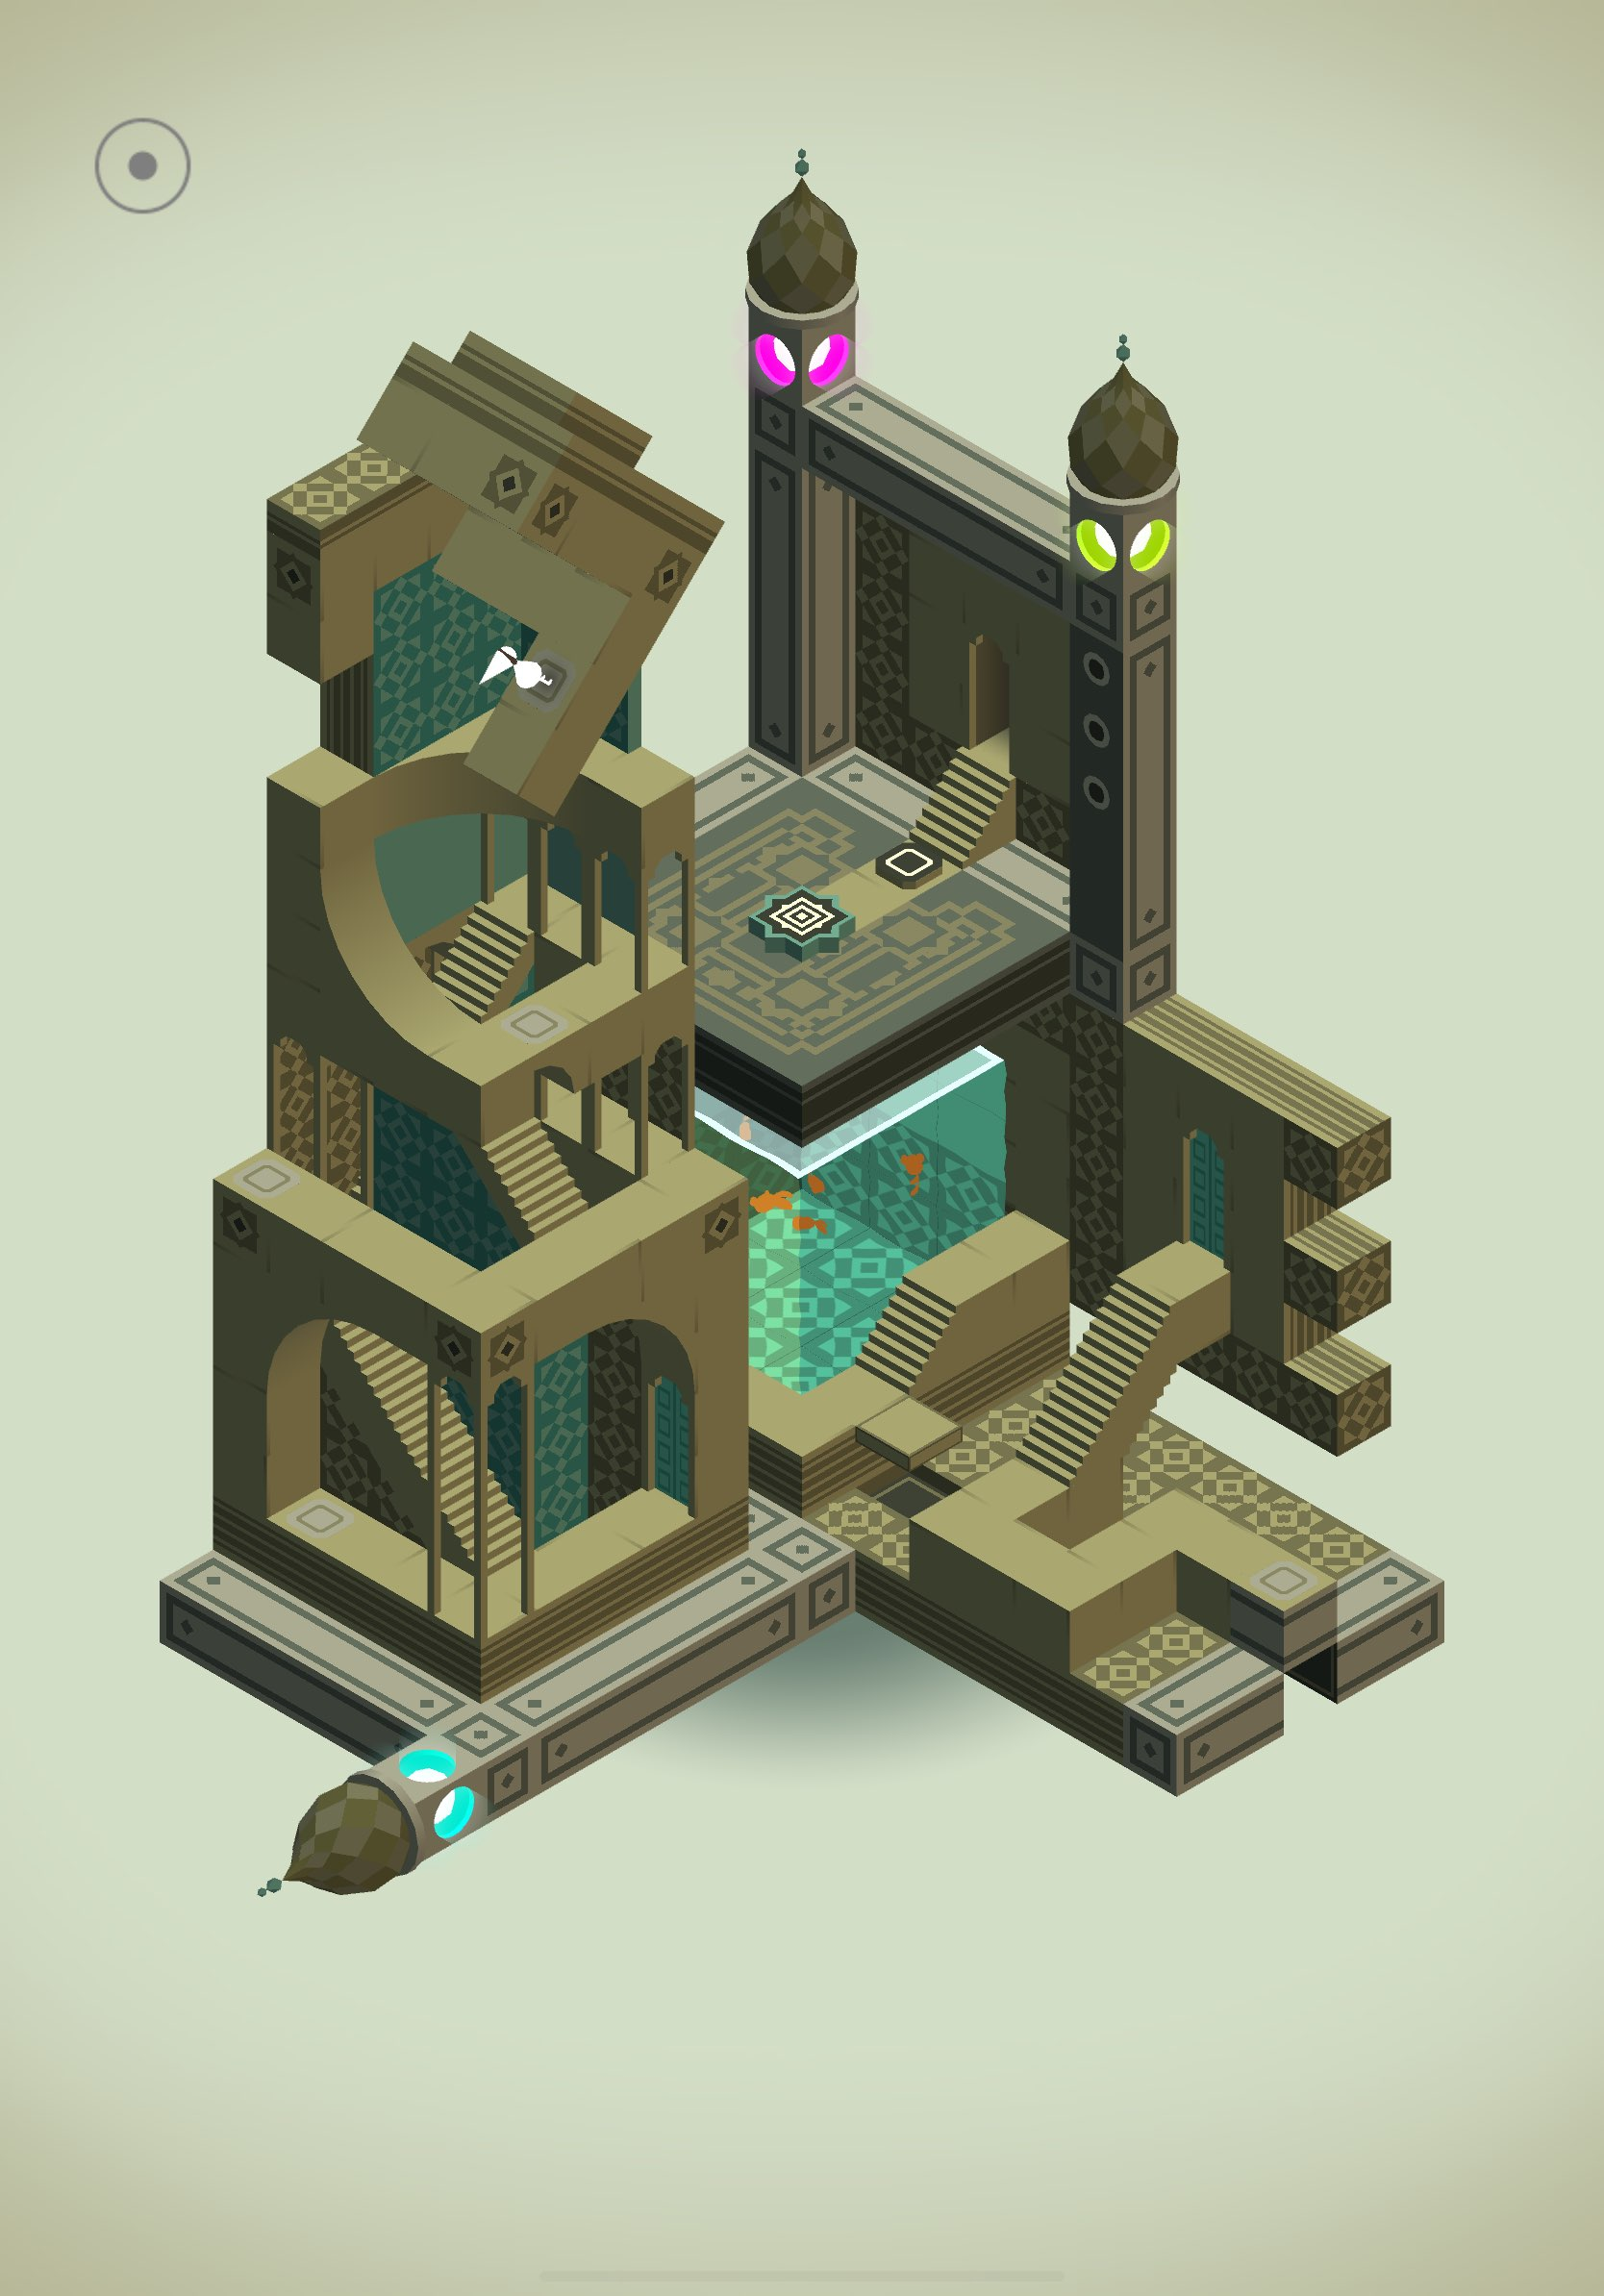
Chapter 7 – The Rookery
Chapter 7 is one of the more interesting ones in Monument Valley. It’s relatively short and the first part doesn’t even involve Ida at all.
You start The Rookery by looking at a monument with a single NPC walking back and forth on a platform. Rotate the wheel at the bottom of the level so the NPC follows the dark paths and presses the button on the right side of the level. This triggers Ida to appear. Send Ida up the stairs to enter the doorway at the top of the level.

Next, walk Ida to the end of the bottom path, on the grayish blocks. Then, move your attention to the NPC walking at the top of the level. They’re standing on a movable Lego piece, which you can move to have the NPC press two different buttons. Make the NPC press the rightmost button until Ida can walk onto the new path. Then, quickly move the Lego piece so the NPC now presses the middle button. Have the NPC press that button until Ida can move and press the leftmost button.
Once that’s done, have the NPC press the right button until the path is facing Ida. Move Ida onto the gray path and keep making the NPC press the right button until Ida is facing the doorway with the flag. Move through the doorway to progress the level.
The next level is short and sweet. Press the button in front of you, which opens up the door above the stairs. Step off the button and start walking towards the door. As you reach the first set of stairs, move the Lego piece right beneath the button. This creates a barrier that stops the NPC from being able to close the door on Ida. Once you’re through the doorway, send Ida through the next doorway at the top of the level.
Proceed to the blue-glowing figure and go through some dialogue. When it’s over, send Ida through the doorway beneath the blue figure. This transports you to the final level of Chapter 7. Take note of the Lego pieces at the bottom of the monument, which move the entire platform. Start by moving Ida to the top of the stairs and keep rotating the monument until the next set of stairs lines up with the current stairs Ida is standing on.
Move Ida up those stairs and rotate the monument again to line up the stairs with the next platform. You’re now in between two sets of stairs. Go up the right set of stairs and once again rotate the monument to line up the current stairs with the next one. Press the orange button in the middle of the level and then go up the stairs right above you. Rotate the monument until your current stairs line up with the orange stairs that appeared after pressing the button. Head up the orange stairs to the orange square to complete Chapter 7.
Chapter 8 – The Box
The Box is an entire chapter of Monument Valley that takes place in, you guessed it, a box. The box evolves with every move you make, so it’s imperative to remember your steps. The box starts with four different colored sections, so I’ve listed how to complete each one below (in order):
Magenta (Bottom Right)

If you pull up on the bottom right of the box, you’ll see a magenta section. To complete this, all you have to do is wait for the NPC to cross the lefthand path, move the Lego piece on the right down, have the NPC walk across the new path, and then move the Lego piece back up. This makes the NPC press the button and light up one part of the box.
Turquoise (Top Right)
Next, you want to pull open the top right of the box to reveal a bluish section with Ida. Have Ida press the button in the middle of the section and then make her walk through the top doorway.
Lime Green (Bottom Left)
Pull up on the bottom left of the box to reveal a green section with an NPC. The NPC presses a button every couple of seconds that moves a path. Manuever Ida so you can get across the path to press the button on the other side and then make sure you bring Ida back through the door you came in.
Gold (Top Left)
The final section is a gold color in the top left part of the box. However, before you open it, go back to the turquoise section and find Ida. Move through the bottom doorway in this section. Now, go to the gold section and Ida will be there. Move Ida through the doorways until you reach the button in the middle of the section.
From here, the box will open up more. Once it’s finished opening, move the Lego piece on the far right of the box up to reveal a rotatable wheel. Rotate the wheel, and then rotate another wheel that appears to make Ida come through a doorway. From this point on, keep having Ida go from button to button in the box. At one point, you have to walk sideways on a ramp to reach a button, but most of it is straightforward. Continue until you reach the blue button that concludes Chapter 8.
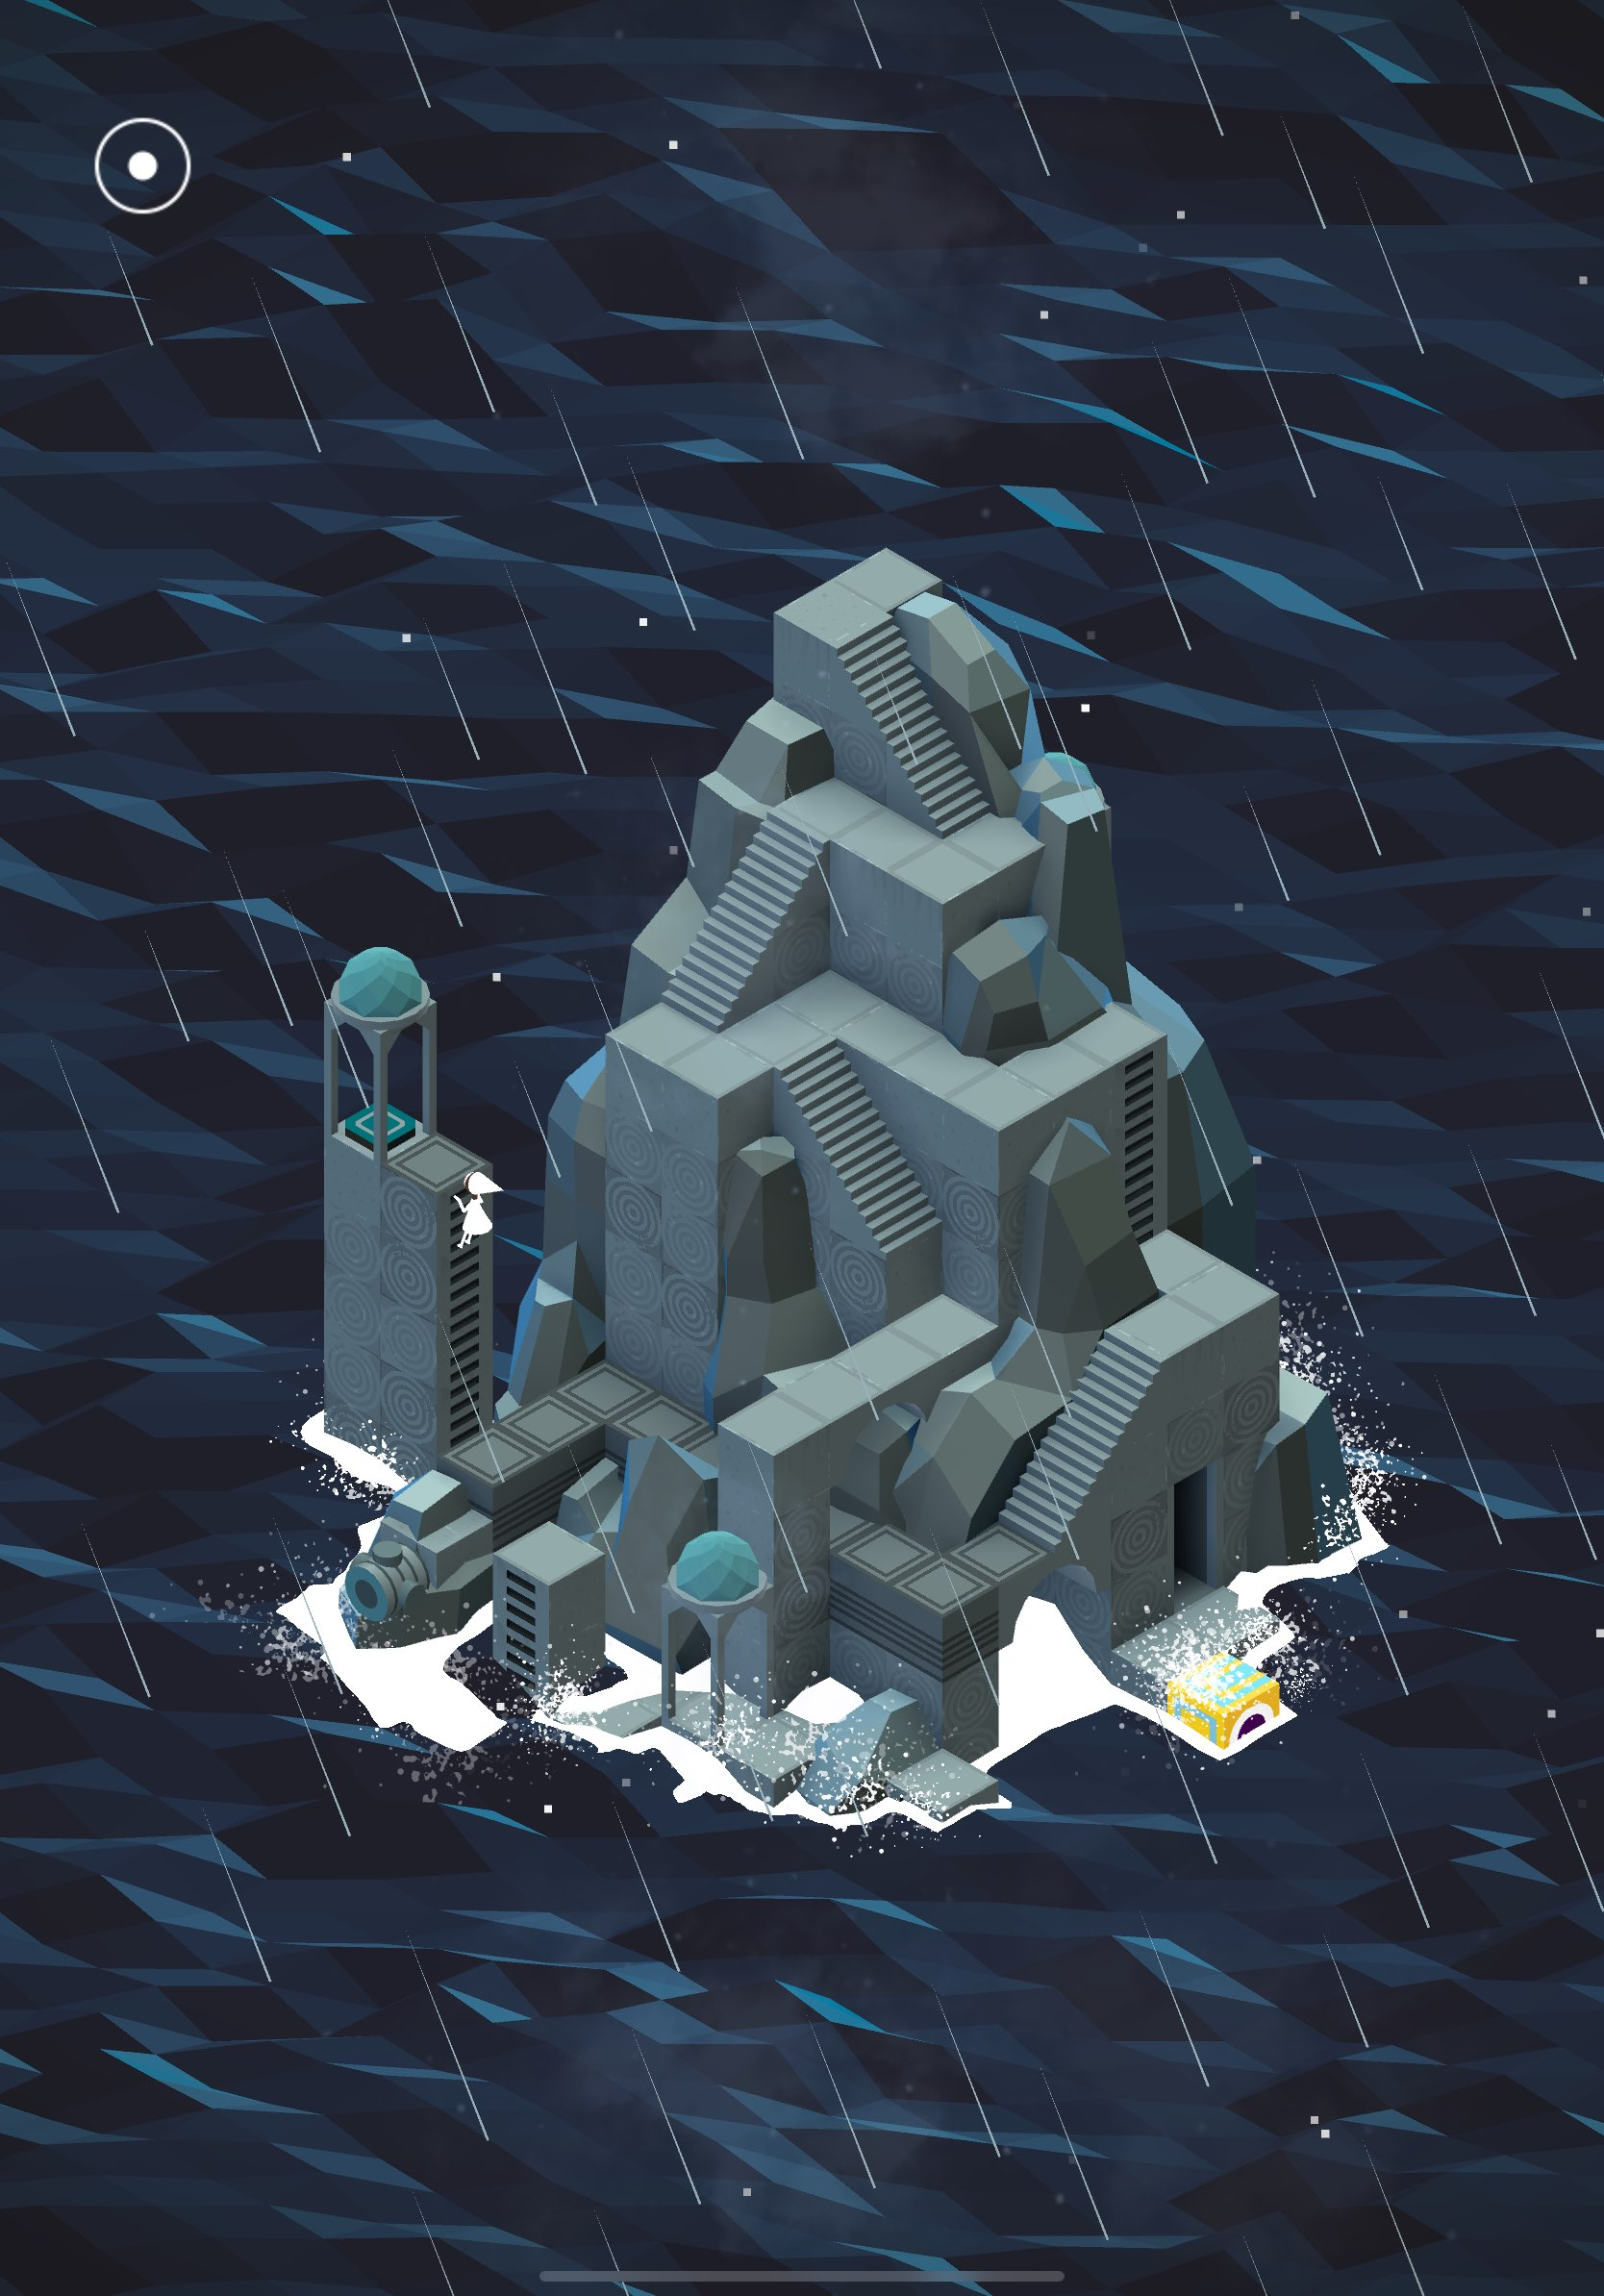
Chapter 9 – The Descent
The penultimate chapter of Monument Valley brings you down a rabbit hole of different environments. The name of the game here is to keep heading down at every turn.
You begin by picking up a red flower, which is used to complete the chapter. After picking up the flower, go down the stairs and continue heading down. As you go down further, the more of the level gets uncovered. Stay on the right side of the monument and you’ll find a ladder to go down. At the bottom of the ladder, make your way across the level to find a pillar with a button on top of it. Stand on the second tile from this pillar and then rotate the nearby wheel all the way to make a ladder appear in front of you. Go up the ladder, push the button, then come back down.
Rotate the wheel all the way again and go underneath the blue sphere awning. Go down the ladder under the blue sphere. Once you’re down the ladder, rotate the wheel another time to bring the ladder back down, allowing you to cross under the blue sphere again. On this side, rotate the wheel halfway so that the ladder to your left is accessible. Go down the ladder and then up another one at the end of your path. From here, use your old pal Totem, dragging it to you along the path, to guide you to the doorway.
The next level uses a new mechanic, which is a hook that you pull from the wall. Pull the hook so that it lines up with the first and second paths of the level. Move Ida onto the path and down the stairs on the second floor of the level. At the bottom of these stairs, look to your left to find a movable Lego piece on the wall. Move it slightly up so that you can cross to the other side and go down the ladder at the end of the path.
Now, move the piece again so you can cross the path and position Ida right underneath the button on the right side of the level. Use the large wheel at the bottom of the level and rotate it once to the left. Go down the steps to the far side of the level. Rotate the wheel once to the right and go up the steps to press the button. Go back to your former position, rotate the wheel to the left, and head back to where the Lego piece is. Cross the three new blocks that appeared and move the Lego piece so you can head down the steps. Keep going down until you reach the rotatable wheel. Rotate the wheel until you can go down some stairs and into the doorway at the very bottom of the level.

The final part of Chapter 9 is fairly straightforward. Move Ida so you can keep pushing all the subsequent buttons in front of you. There are four in total as soon as you reach the dark and dreary staircase level. Once you push all the buttons, go down all the steps and find the rotatable wheel on the wall. Rotate the wheel until it allows Ida to keep going down the stairs. Continue until you reach a section with a mirror. Simply walk straight using the mirror for guidance and go down the large ladder at the end.

Interact with the blue-glowing figure in the middle of the staircase, go through some dialogue, and continue down. At the end of all the steps, you can interact with a coffin using the red flower you got at the start of the chapter. That concludes Chapter 9.
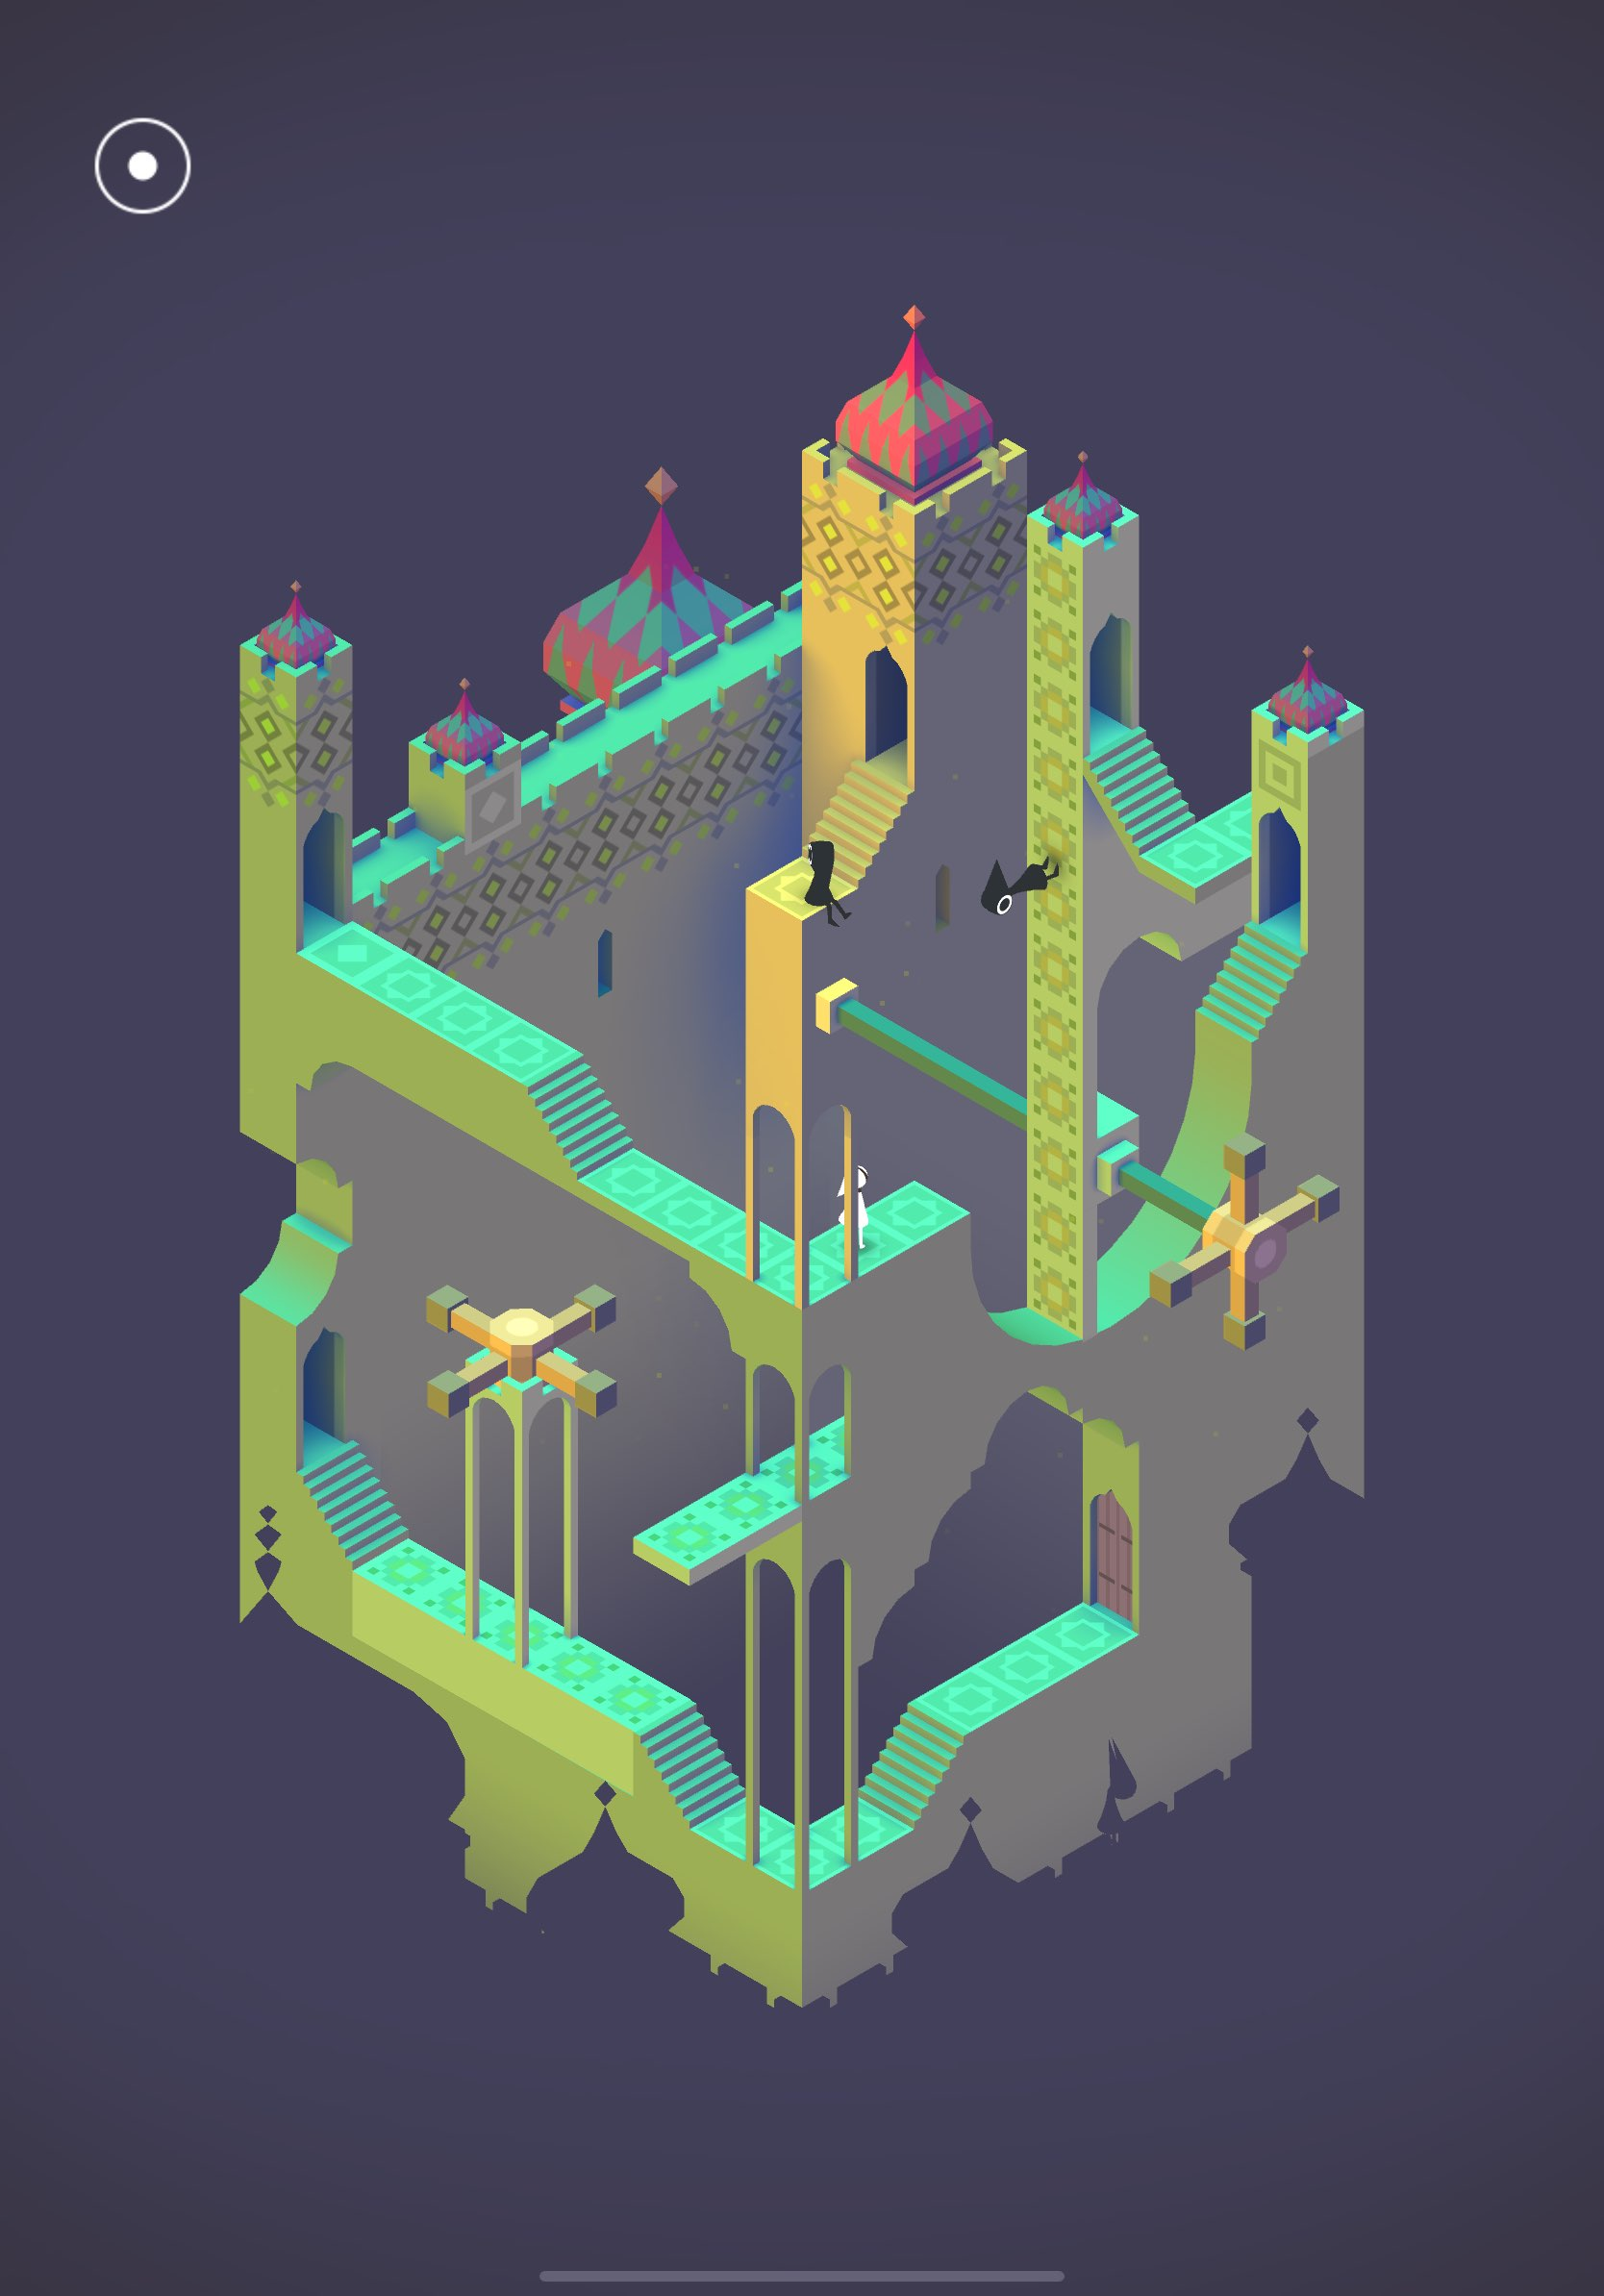
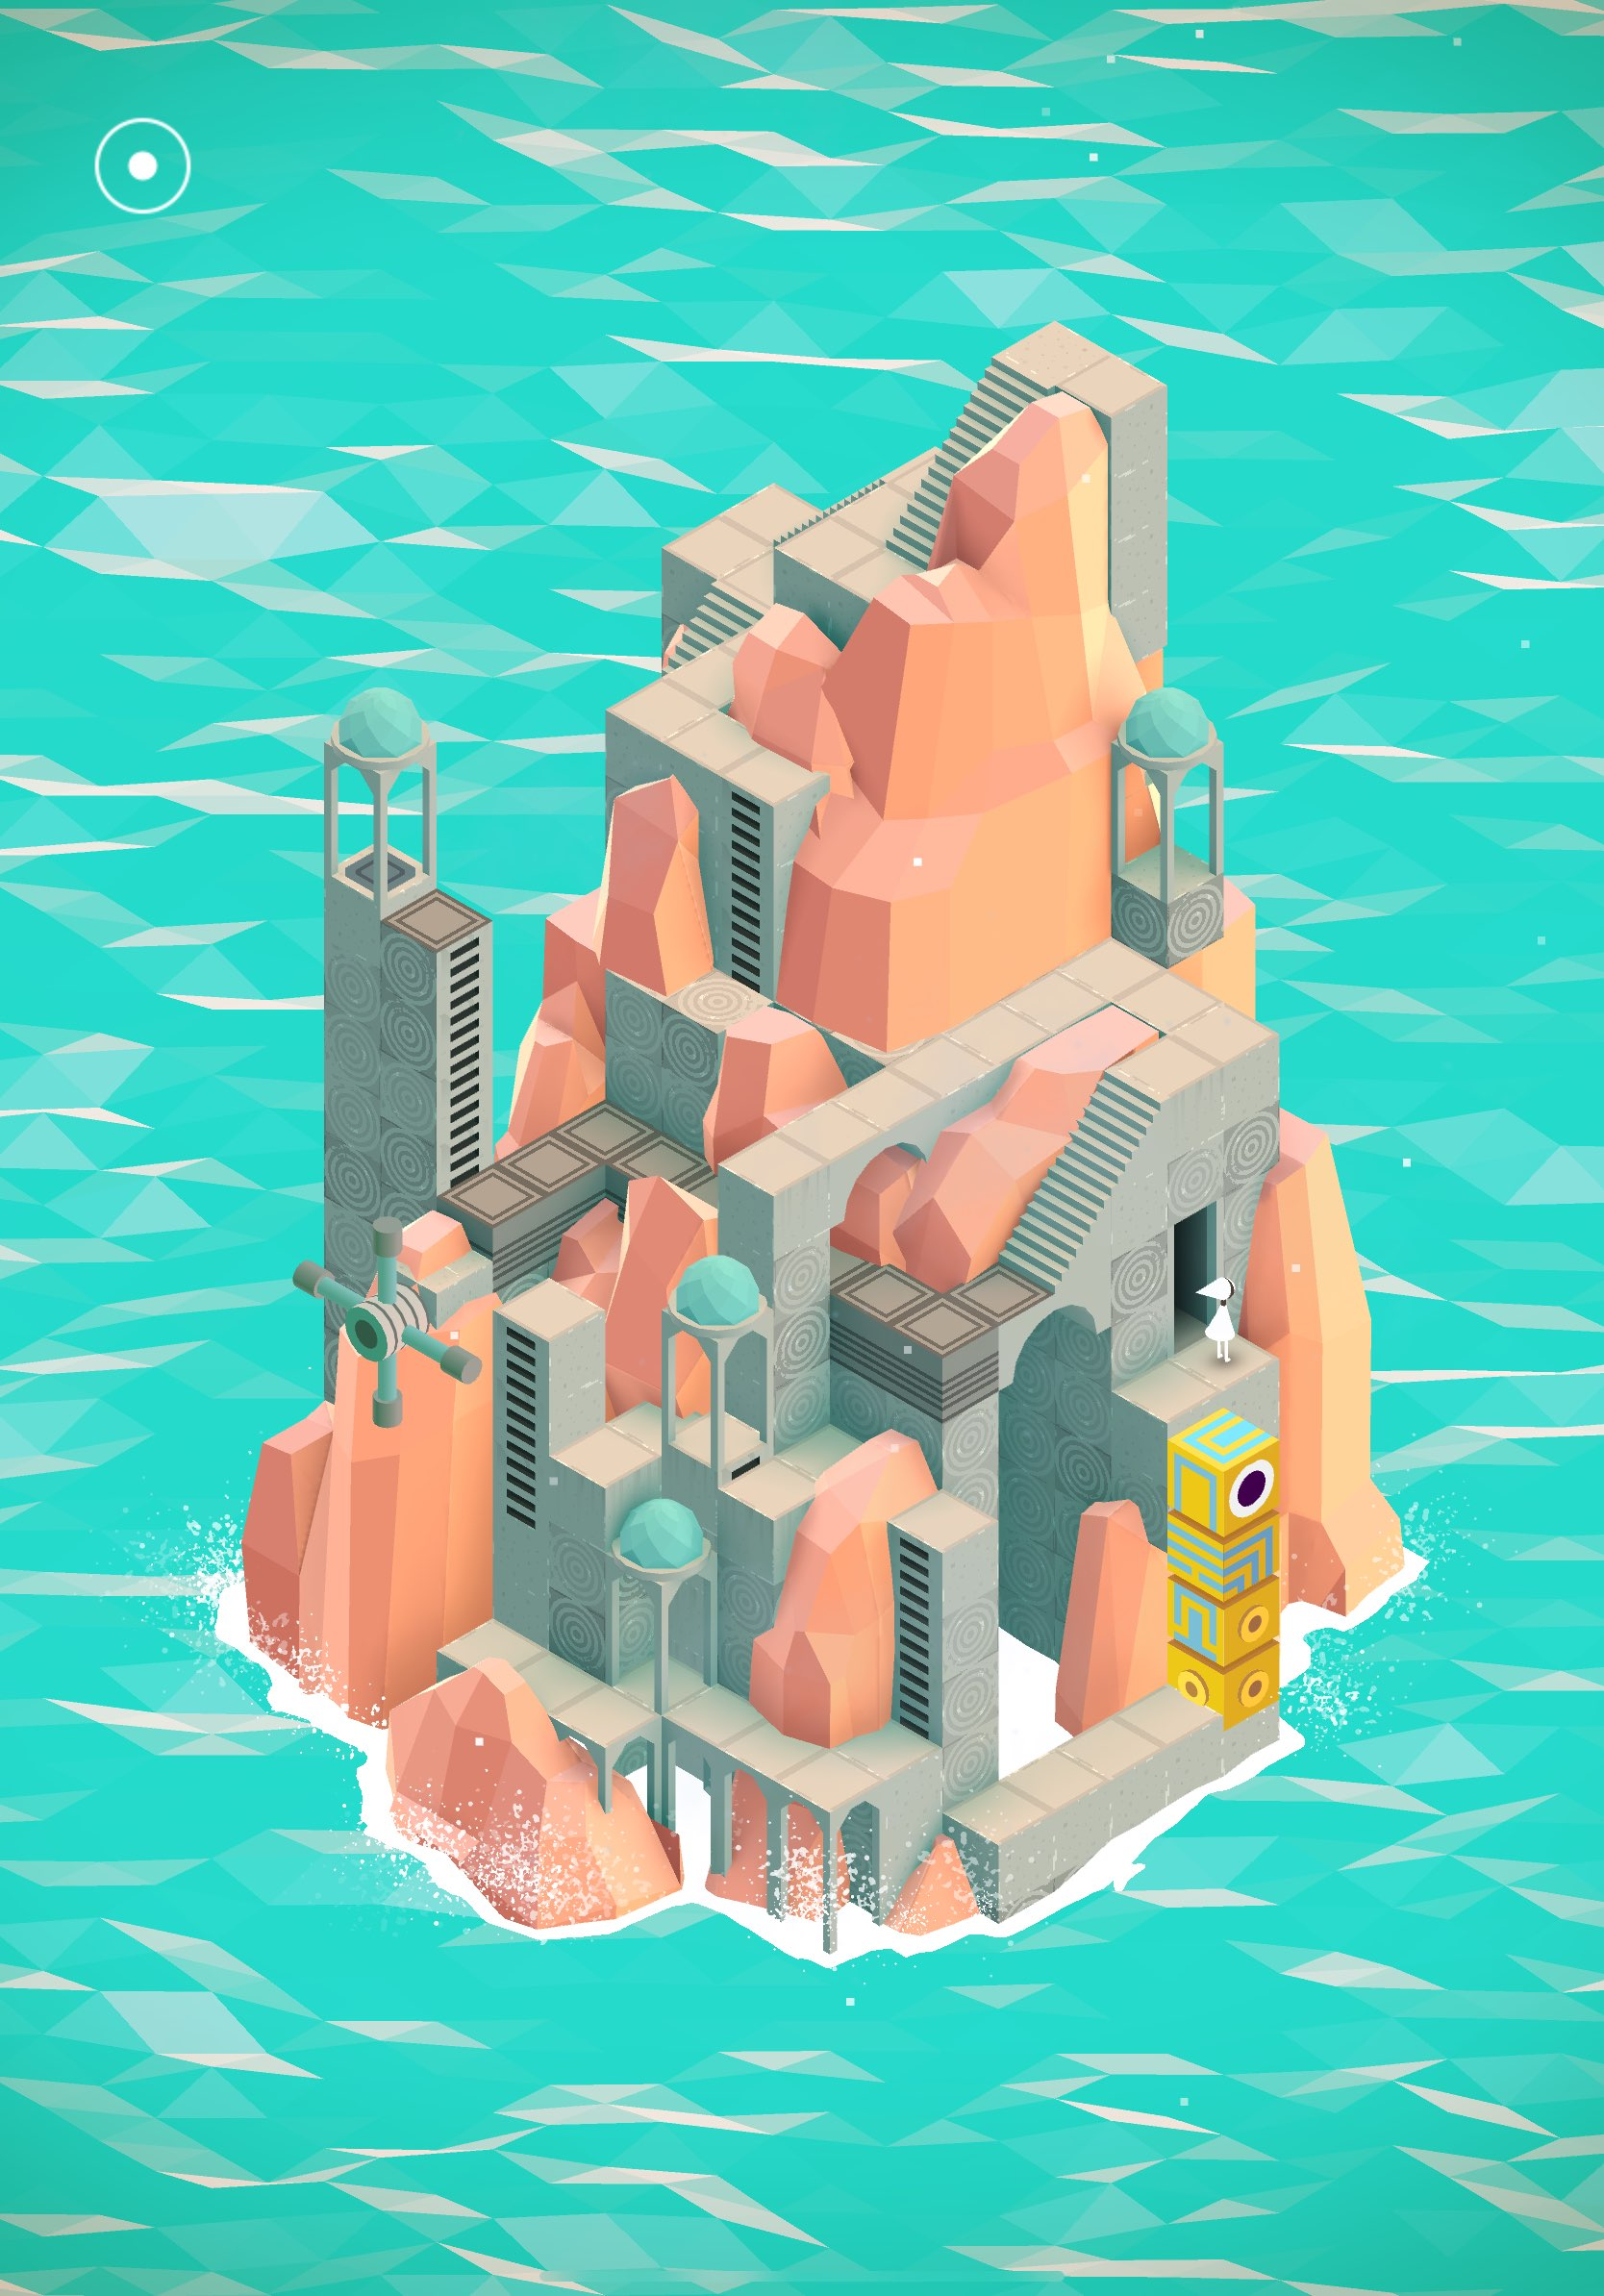
Chapter 10 – The Observatory
You made it to the final chapter of Monument Valley. The Observatory is by far the toughest chapter of the game, so prepare to display your full puzzle-solving abilities.
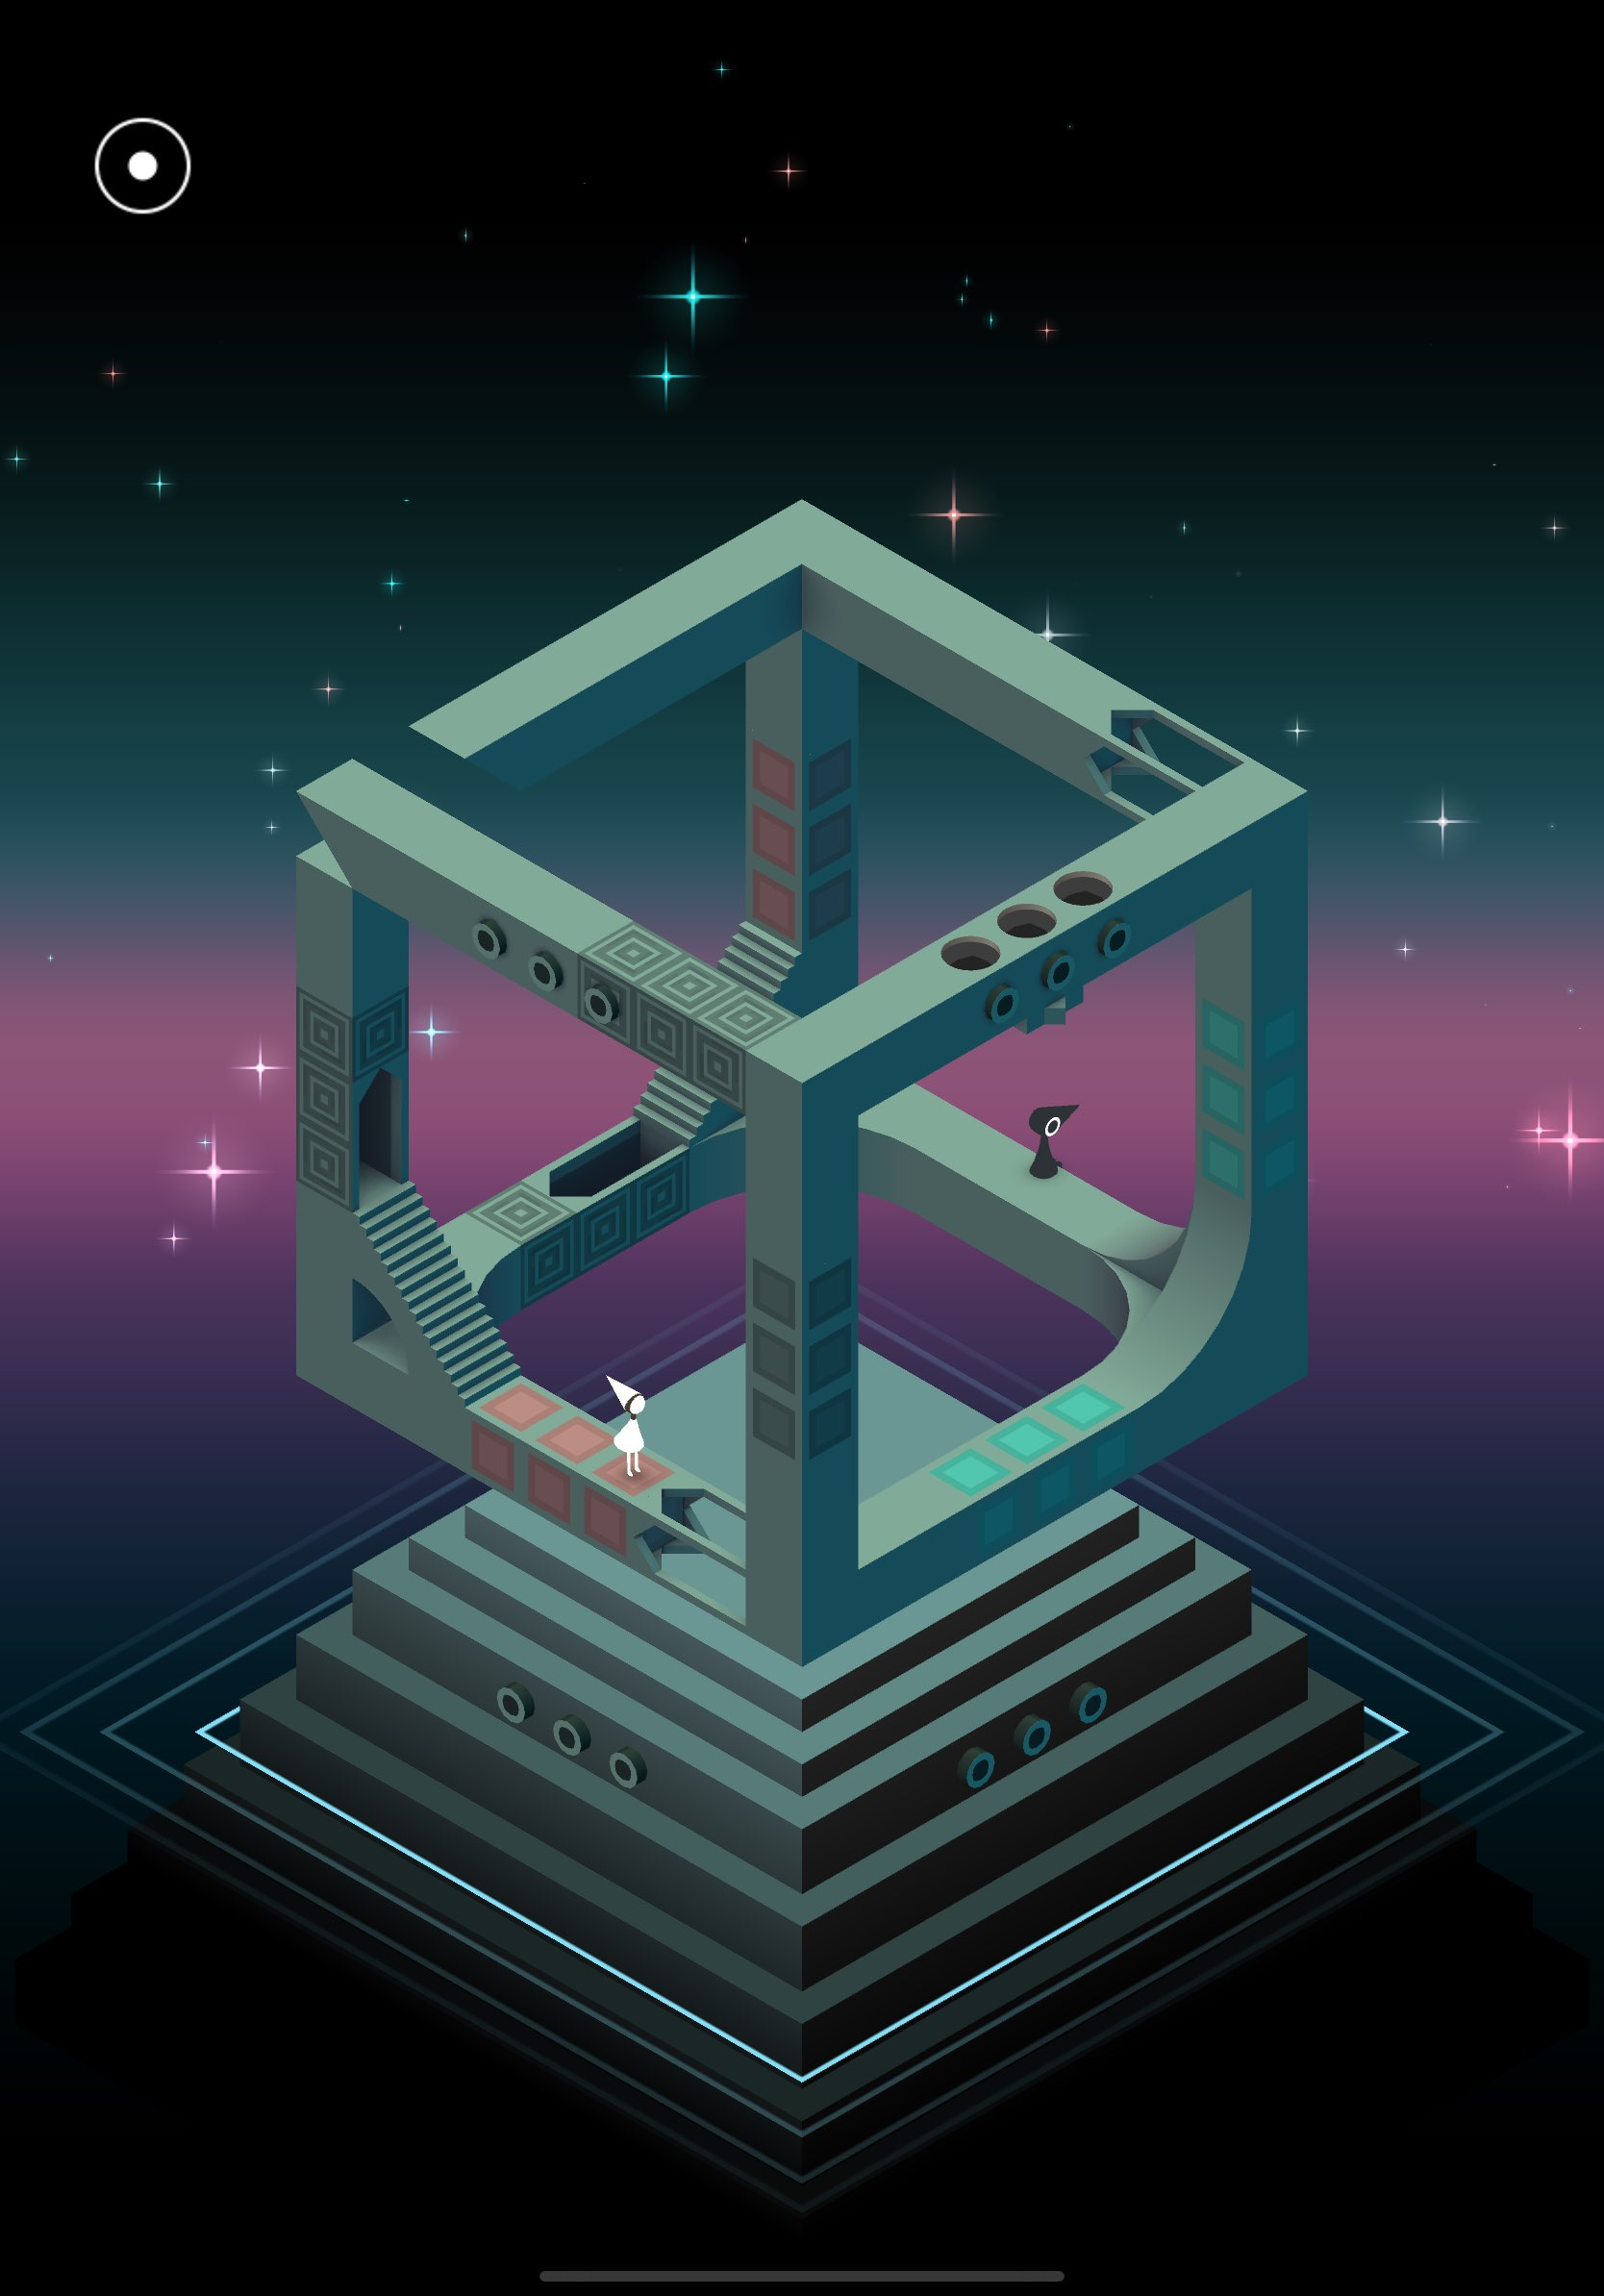
The main level in this chapter is a cube that you have to navigate. However, the cube leads to three different levels, which you need to complete to fulfill the cube and complete Monument Valley. I’ll break down the three different levels that the cube leads to below. Each of the levels is accessed via a different doorway on the cube.
Purple Doorways

The first level I was able to access is a large purple monument with several different doorways. Your job is to rotate the entire monument and access a new doorway to go up a level, eventually reaching the final doorway. The basic rule of thumb is to advance as much as possible on the current path you’re on and then rotate the monument so you can reach the other side. There are doorways scattered all across the various paths, so make sure you’re checking each one to ensure you don’t miss a door. Press the button at the top of the level and then exit out the final door to complete this section.
Related: Alba: A Wildlife Adventure Is a Peaceful Exploration Game from Monument Valley Dev
Green Maze

The next level I accessed is a maze that once again has you going through doors. You only rotate certain sections of the maze and your goal is to reach specific doorways so that you can press a button. Continue to rotate the maze until you find a new door to enter. Some of your actions close off certain doors, but that’s okay as long as you have another door to go through. Once you’re through all of the doors, you have to maneuver the gray part of the maze to situate yourself next to the green button. Press it and then head out the door to go back to the Observatory.
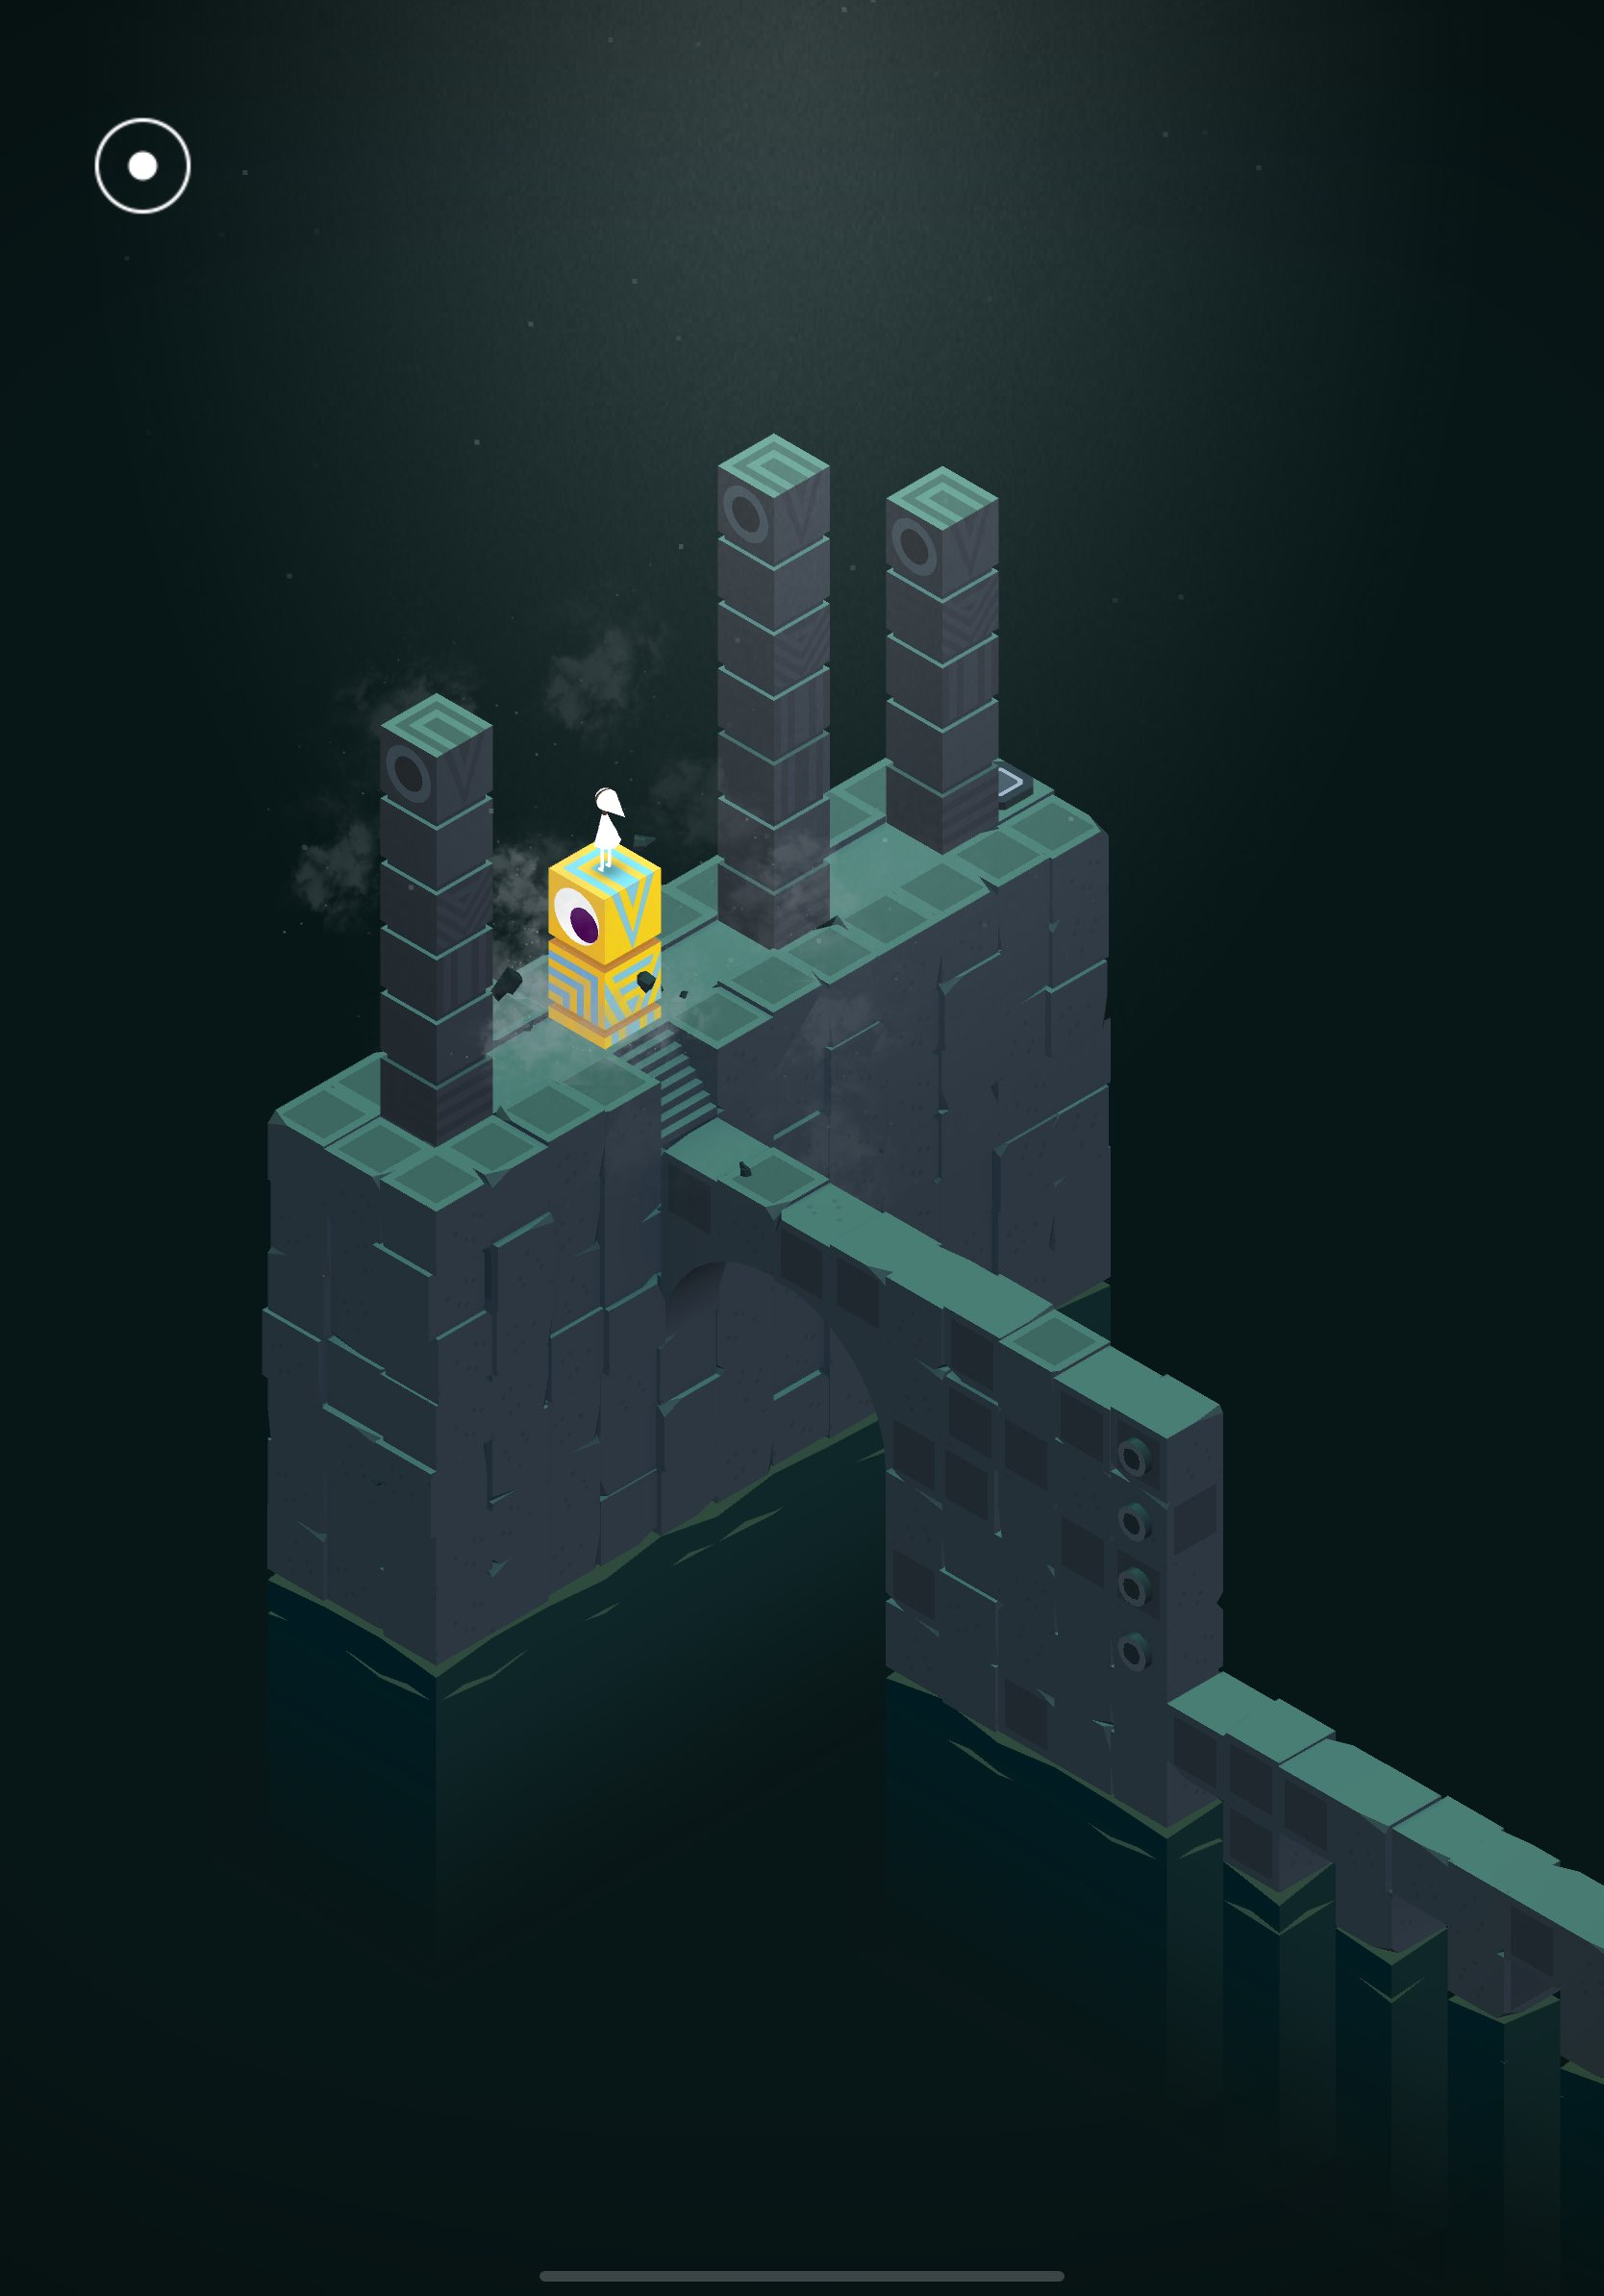
Orange Pillars
The final level you can access is a large, circular, and orange monument that has several pillars on it. This level requires you to press another button, but as you rotate the monument, new paths are opened up. Continue to move with the monument as you rotate it until you reach a square Lego piece that features nine holes on it (seen below). Stand on the side of this piece so that you can gain entry to the middle of the monument, which is where the button is. After you do that, rotate the monument a little more to gain access to the button.

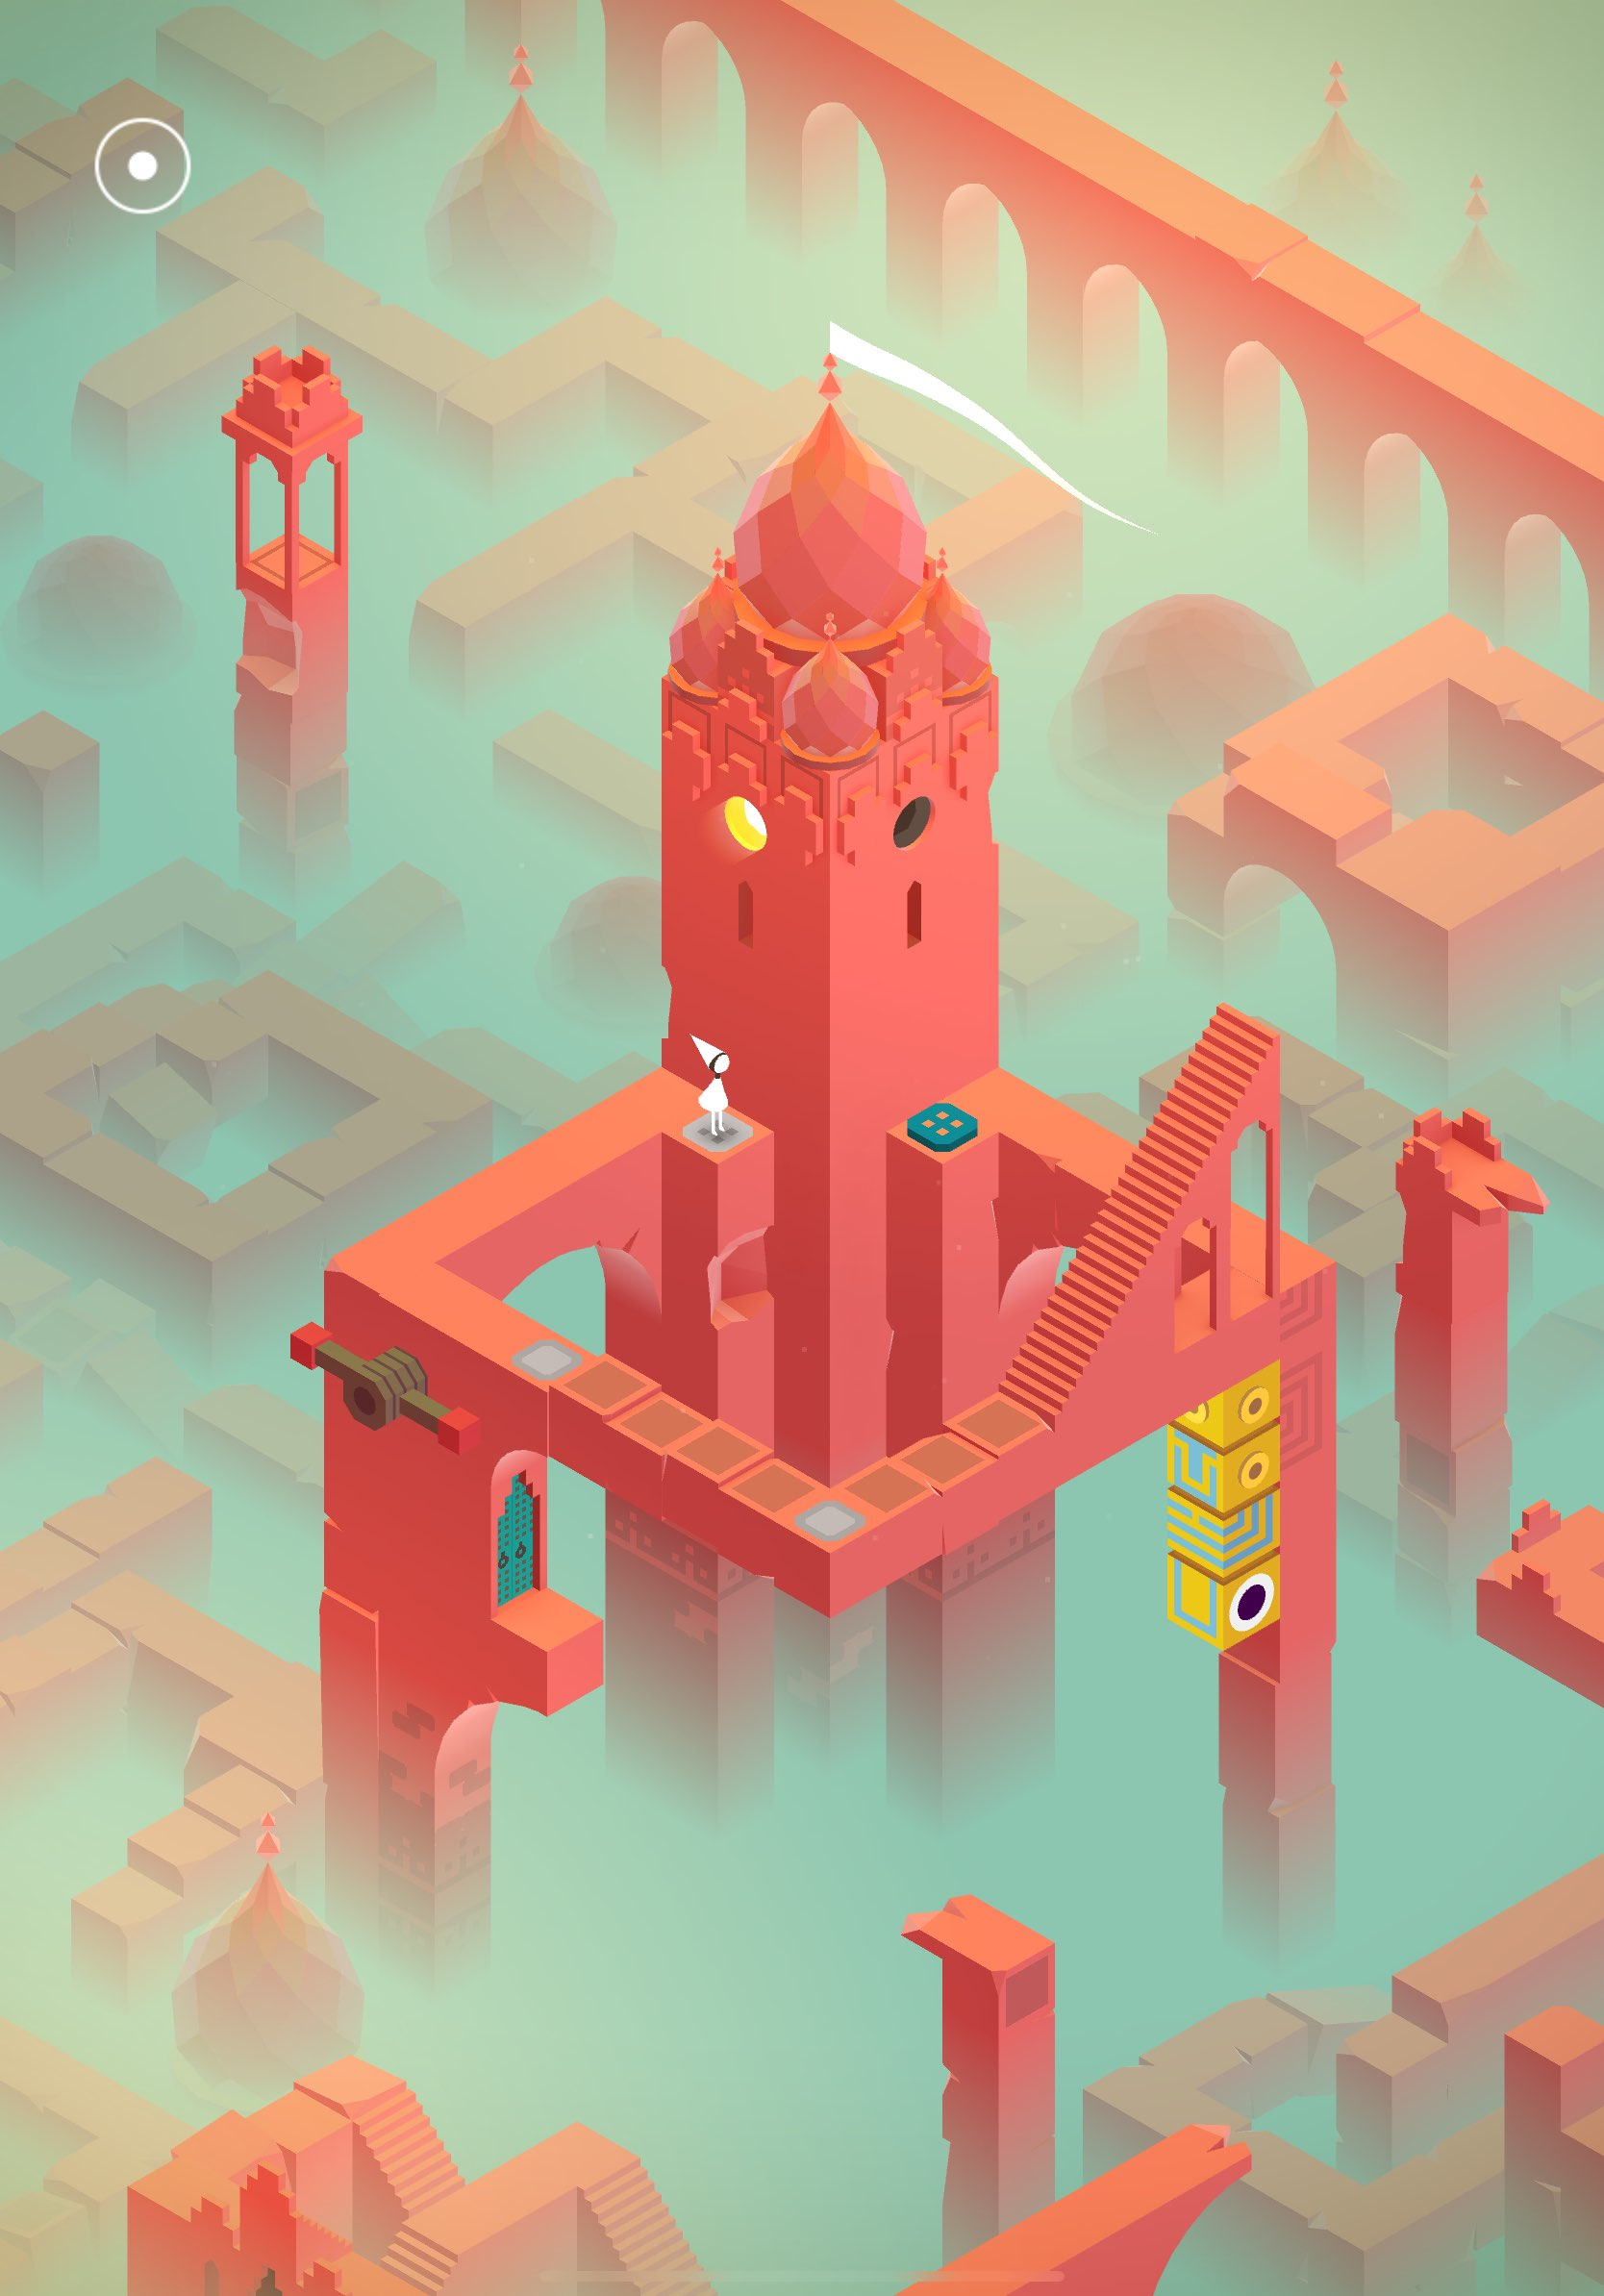
The final part of Chapter 10 requires you to reach the last square. However, the square is situated on top of the Observatory and it looks impossible to reach. To get to it, set up your Observatory exactly like I have mine in the screenshot below.

Once again, Monument Valley was playing tricks with your eyes, as the bottom and top pieces connect at the perfect angle to allow you to reach the square and finish the game.
Monument Valley is available now on numerous platforms.


Published: Sep 20, 2024 04:02 pm