
As with any good JRPG, there are plenty of great, memorable boss fights in Visions of Mana, and if you’re wondering how are on where are all of the bosses in this game, here’s a complete list of the major enemies you’ll be facing during the journey.
Table of contents
- All Bosses in Visions of Mana
- Gardlegrog
- Mantis Ant
- Kraken
- Fullmetal Hugger
- Du’Inke
- Jewel Eater
- Grapplavine
- Daelophos
- Garethe, Benevodon of Earth
- Zehnoa
- Zable Fahr, Benevodon of Darkness
- Frost Gigas
- Selpahia, Benevodon of Light
- Aello & Ocypete
- Besseroth, Benevodon of Wind
- Vampire
- Tor Marne, Benevodon of Moon
- Shreegill
- Gandoom, Benevodon of Water
- Floaret, Benevodon of Wood
- Axe Beak
- Vaulchibel, Benevodon of Fire
- Daelophos 2
- Boreal Gorg & Gaian Gorg
- Trent
- Daelophos 3
All Bosses in Visions of Mana
True to its elemental system, all bosses in Visions of Mana have an elemental weakness you can exploit to make them easier. Some of the fights also involve mini-puzzles for you to solve, and bringing certain Classes and skills can make each of the battles much easier.
Some story spoilers ahead, so be warned!
Gardlegrog

- Location: Gudju, the Earth Village (Prologue)
The tutorial boss you face while controlling Eoren. As expected from an early-game opponent, it doesn’t do much outside of teaching you about Weak Points and basic commands. You cannot exploit its weakness as you have no skills to do so, but it’s a fair enough initial challenge.
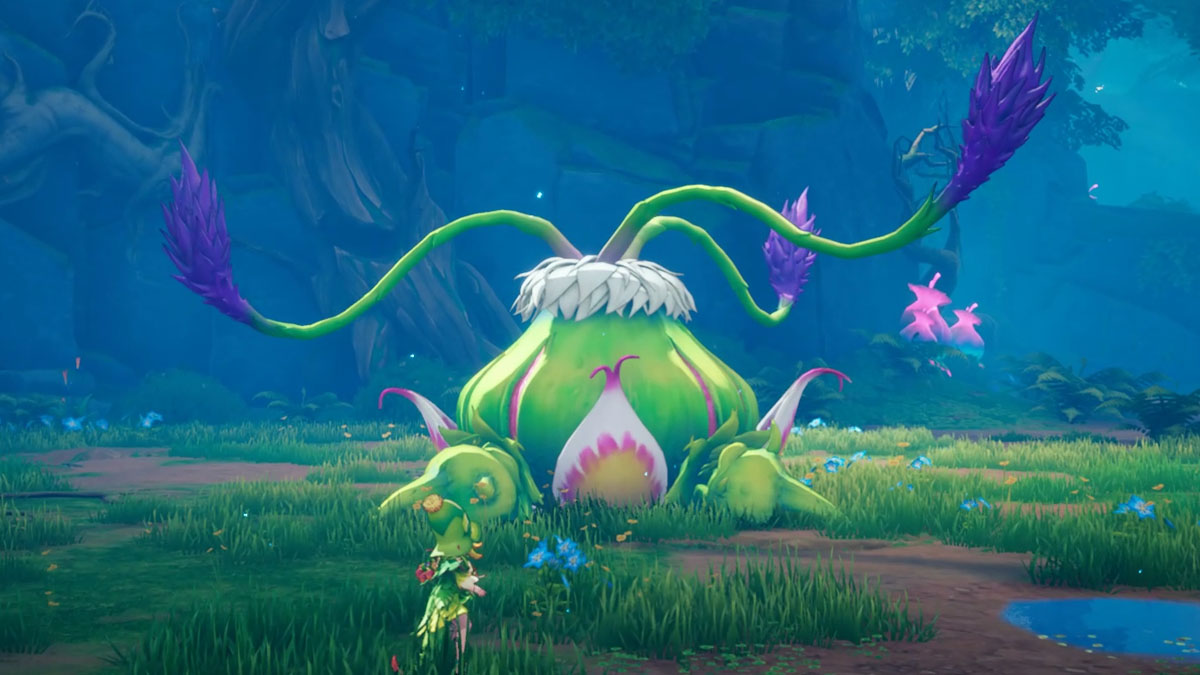
Mantis Ant
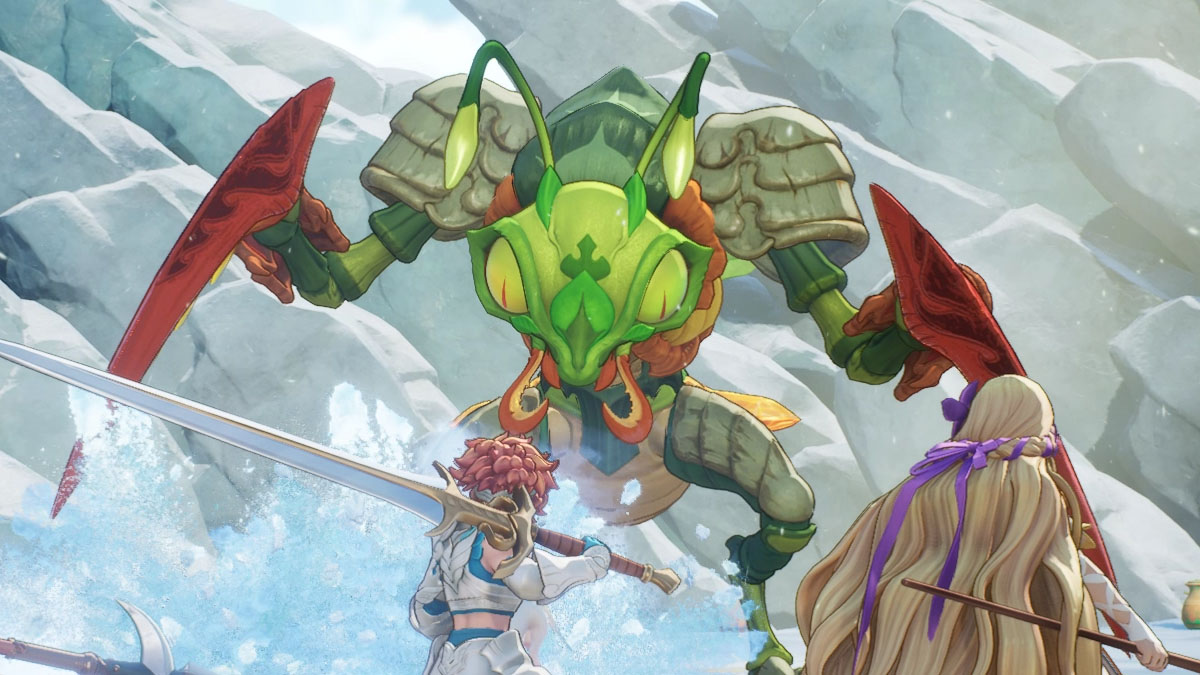
- Location: Mt. Gala (Chapter 1)
The first actual boss you encounter in the game. With its weakness to Wind, it serves as a good introduction to how to use elements to bring down bosses. Hitting its Belly while it’s shining will leave it stunned for a while, and it’s the go-to strategy to overcome the first big wall in the game.
Kraken
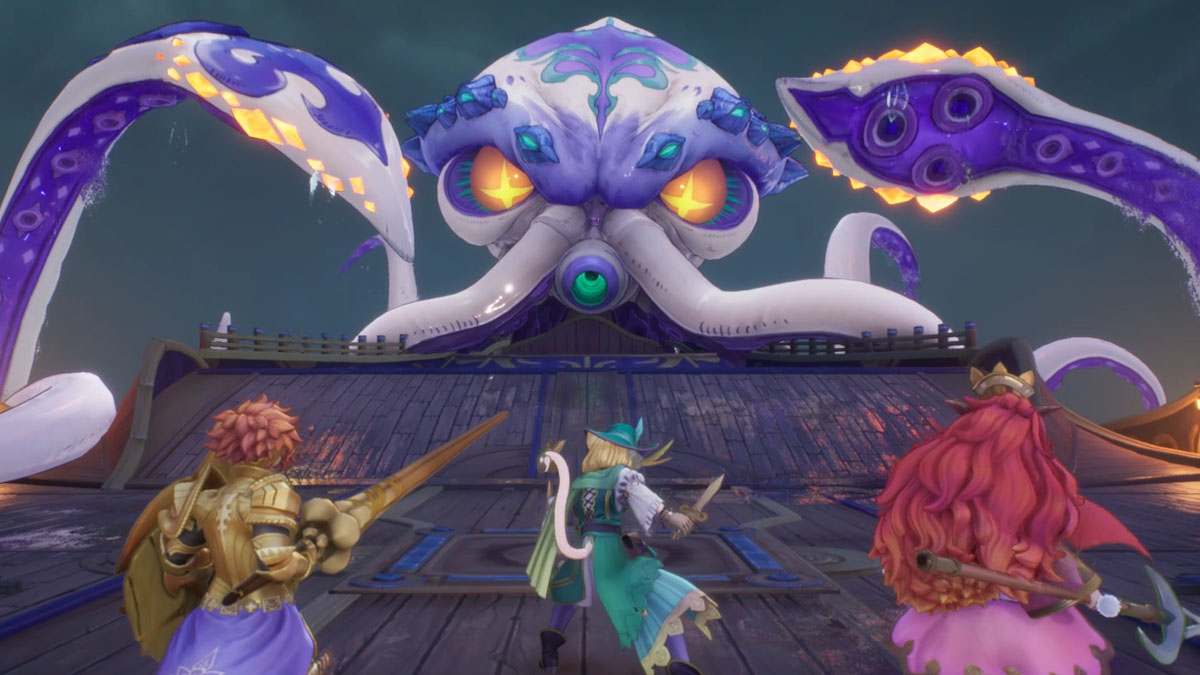
- Location: Rhata Harbor (Chapter 1)
Faced while inside the boat to Ledgas Bay, the Kraken unleashes its terror with its tentacles, bubble waves and plenty of extra monsters it summons to the field. You can exploit its Fire weakness easily by equipping the Flame Saber skill if you find it in Lefeya Drifts, which will make the fight go much smoother.
Fullmetal Hugger

- Location: Luka Ruins (Chapter 2)
The giant enemy crab found inside the ruins can be deadly, and it brings a few unique mechanics to the table like being able to blind it mid-fight. It also has a fitting weakness to Darkness, which you can exploit thanks to a Dark Saber Ability found in the same dungeon.
Related: Visions of Mana Complete Walkthrough
Du’Inke
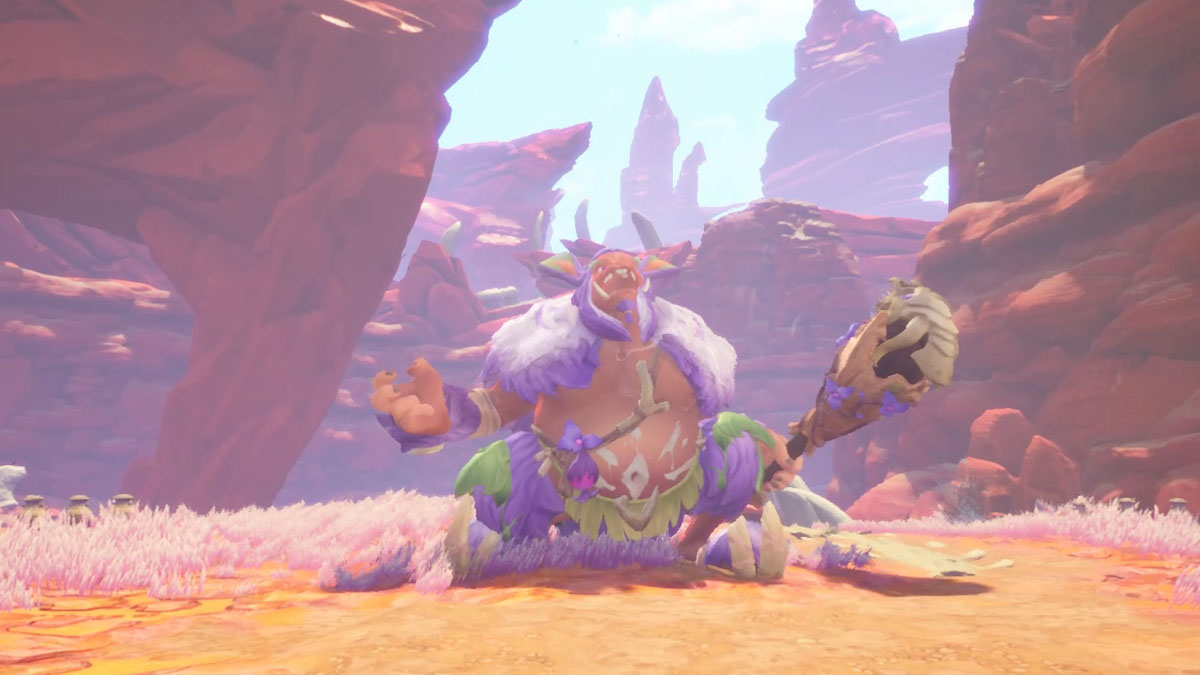
- Location: Dura Gorge (Chapter 4)
I was never a big fan of the “big guy with a club” boss archetype, but it works here, somehow. And it’s nice to have multiple ways of dealing with this boss, even if you can’t hit for his weakness. Some of his attacks require patience to avoid, which is nice to see from time to time.
Jewel Eater
- Location: Gamurda Mines (Chapter 4)
With both short and long-ranged attacks, this boss is quite peculiar. Its weakness to Wind makes it easy to deal with, but you gotta stay focused on not letting it heal itself by taking the small fruits from him, which adds a small extra layer of complexity if you want to get done with the fight as soon as you can.
Grapplavine
- Location: Mylos Woods (Chapter 4)
Weak to both Fire and Slash attacks, the Grapplavine brings another fight with multiple targets. You can hit its vines to stun it for a second, or just burn all of your resources to beat it all at once. As long as you dodge its poison, of course.
Daelophos
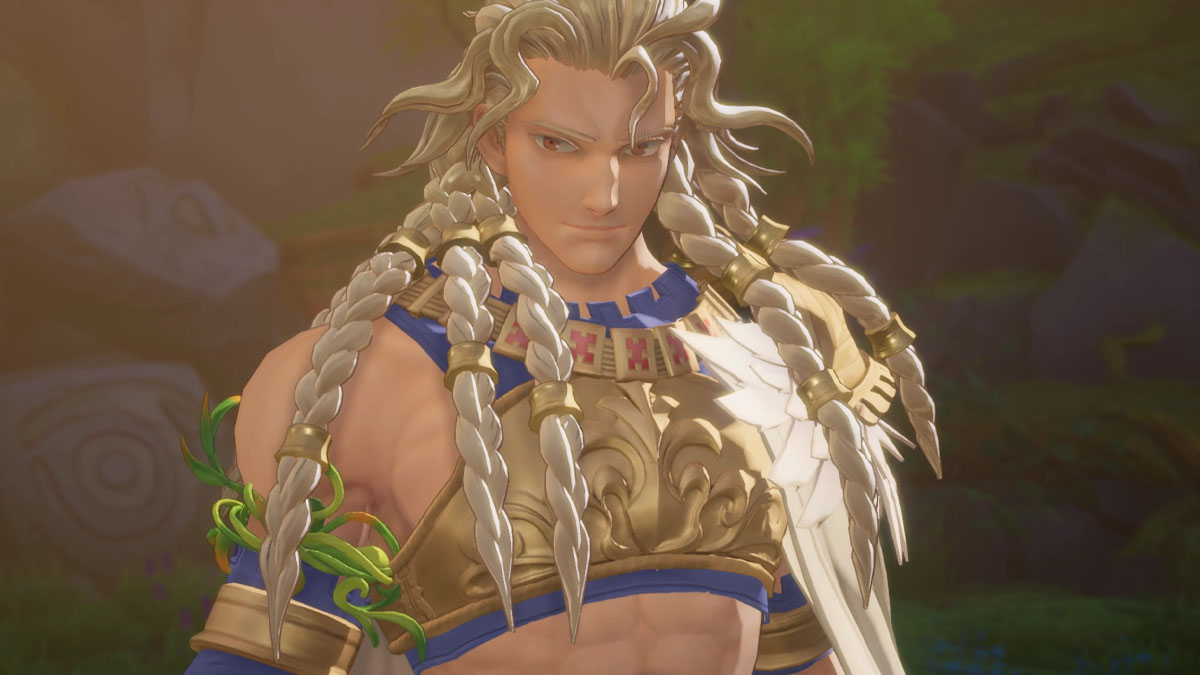
- Location: Sanctuary Entrance (Chapter 4)
The legendary hero of the tales, Daelophos is out for blood, and you’re unfortunately on his way. While resistant to Light, you’ll have a good result by using Darkness to face him. He hits much harder than other bosses, but you only need to take it down to half his health to proceed.
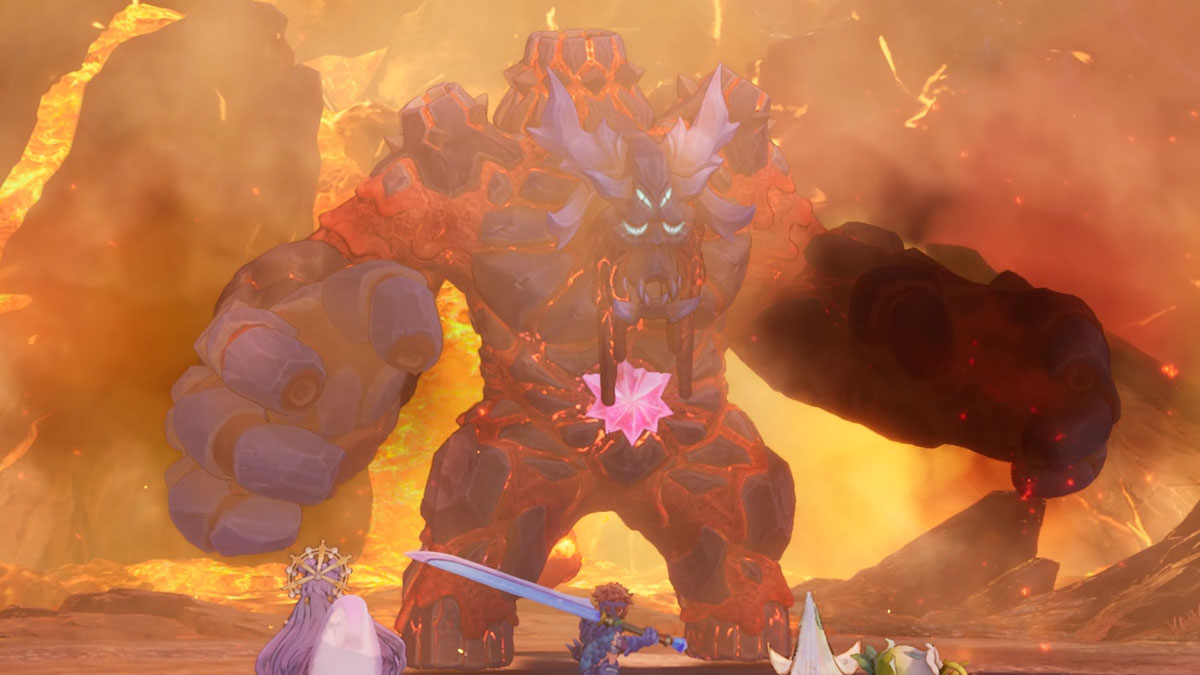
Garethe, Benevodon of Earth
- Location: Zawhak Desert (Chapter 5)
Perhaps the most unique of all bosses in Visions of Mana, you only fight Garethe by shooting the cannons from the ship, and you’ll never engage it directly. The Benevodon will try to sink you down in the sand, though. Wind classes will reduce the cannon’s cooldown timer, representing his would-be weakness if faced directly.
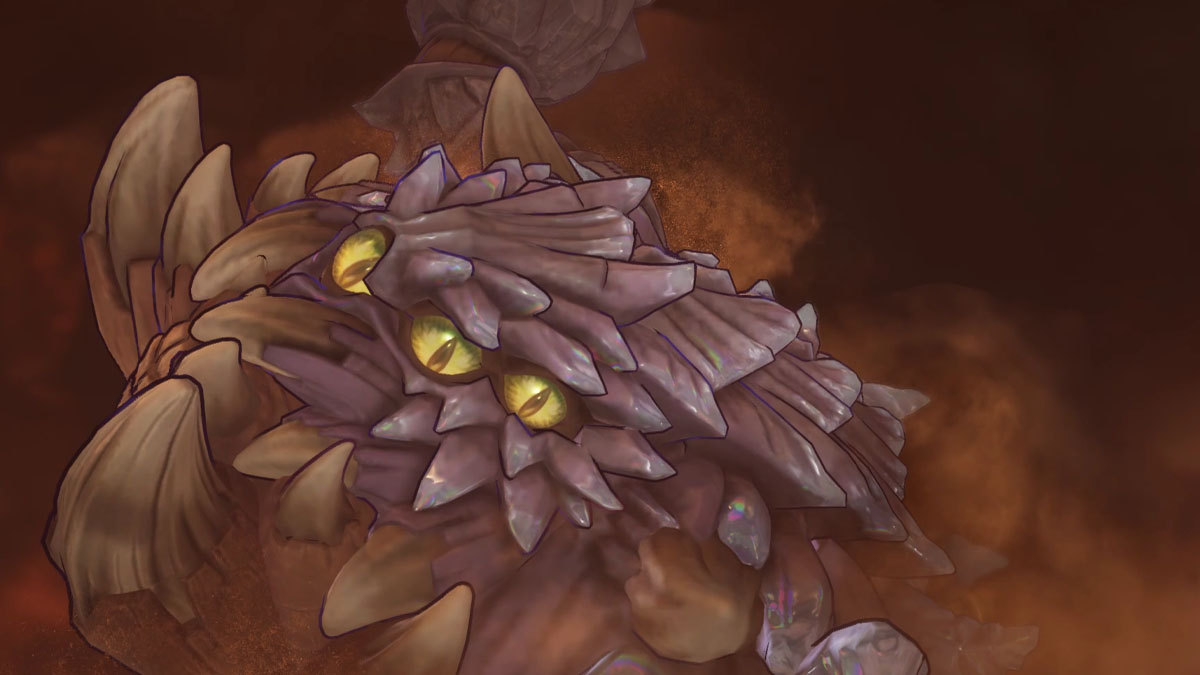
Zehnoa
- Location: Passagean Tomespire (Chapter 5)
A stationary boss that uses the room to its advantage. It’ll be summoning lots of strong monsters to the fight, and later start spinning the arena to try to hit you with the spikes on the ground. Fortunately, the Undine Flask is one of the strongest Vessels in the game, and Zehnoa just happens to be weak to Water.
Zable Fahr, Benevodon of Darkness
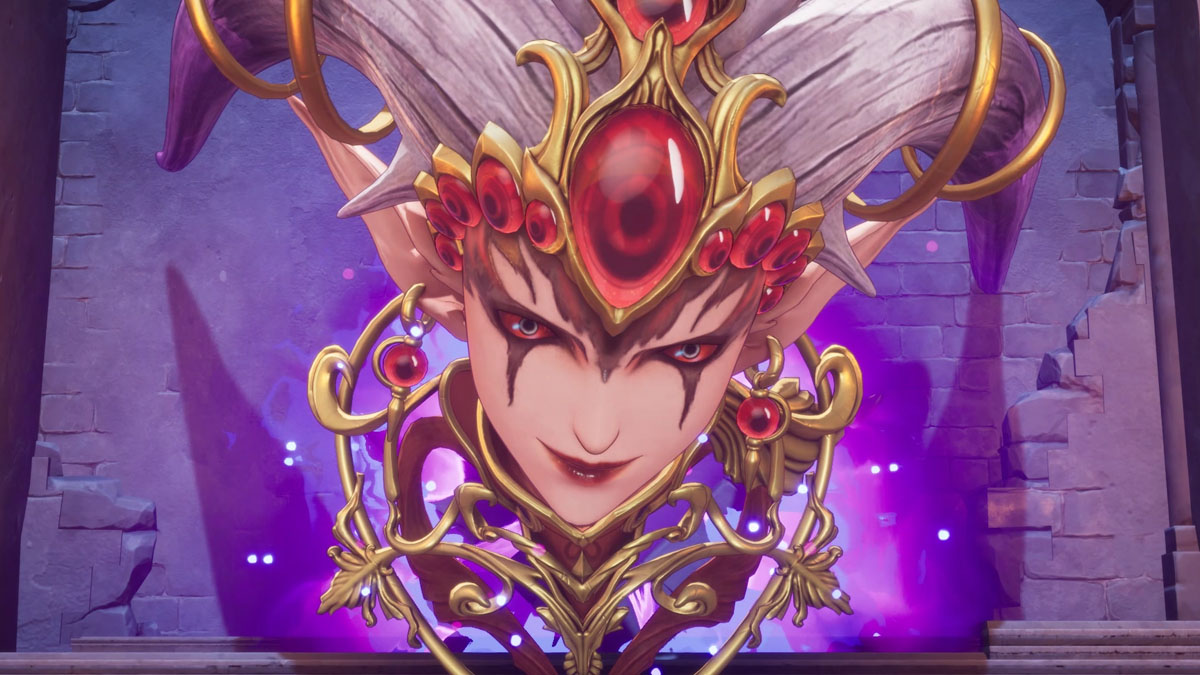
- Location: Passagean Tomespire (Chapter 5)
Technically a triple boss, Zable Fahr has multiple heads you need to dispose of before finally being done with the fight. Their weakness to Light can make things easier, as the Lumina Lantern helps with splitting the damage across them in a more balanced way. You still need some time and patience, though.
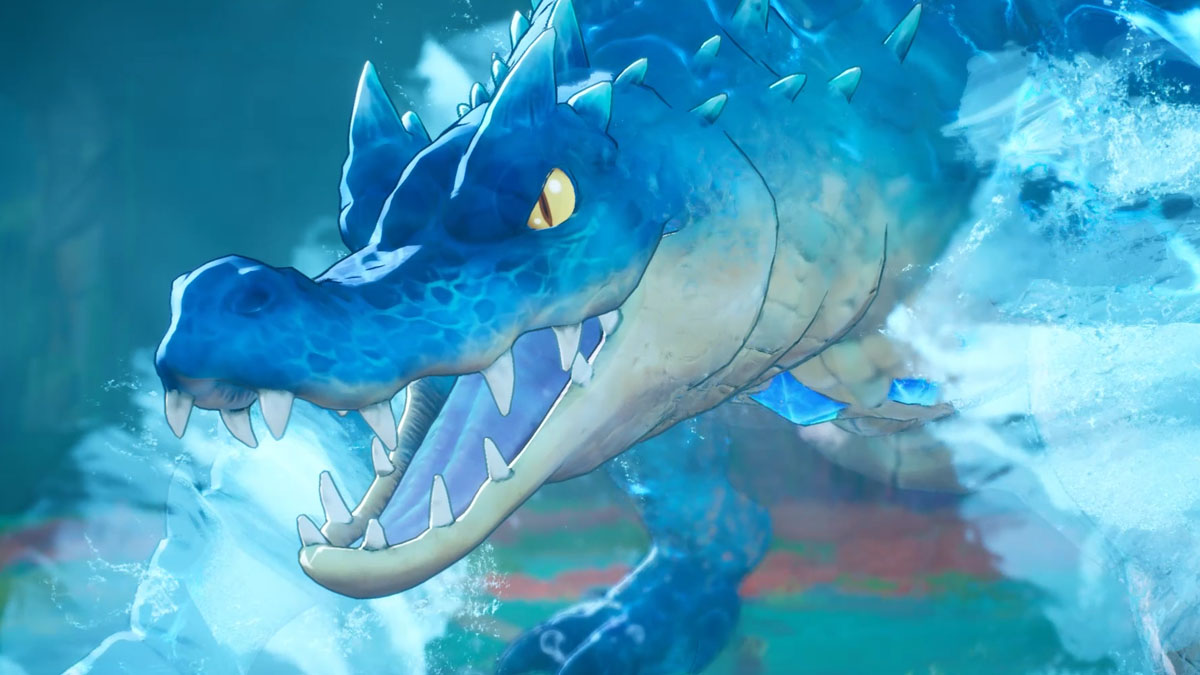
Frost Gigas
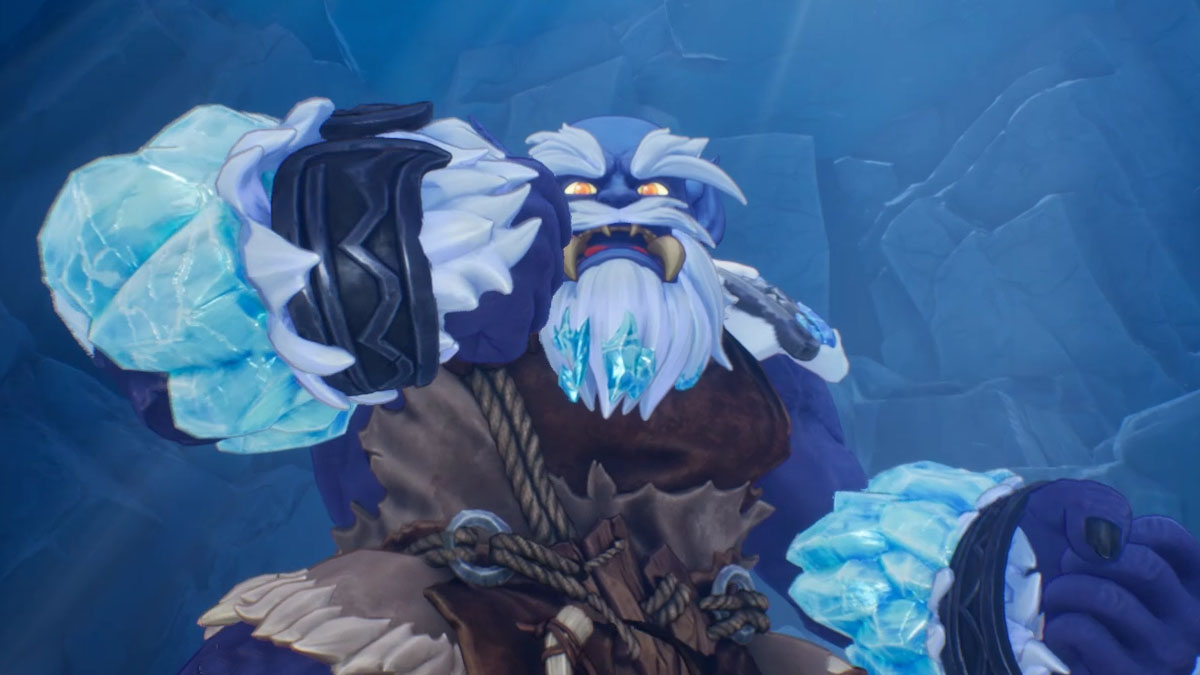
- Location: Temple of Wendel (Chapter 5)
A mid-dungeon boss faced before you reach the Benevodon of Light. Weak to Fire and very slow, it ends up being more of a pushover than anything, although it’s somewhat fun to fight against.
Selpahia, Benevodon of Light

- Location: Temple of Wendel (Chapter 5)
The Benevodon of Light is weak to Darkness, and the Vessel can also make her easier than you would expect. Her huge size makes it difficult to hit the correct spots, but this is balanced out by making all of her damage useless by using the correct Shields.
Aello & Ocypete
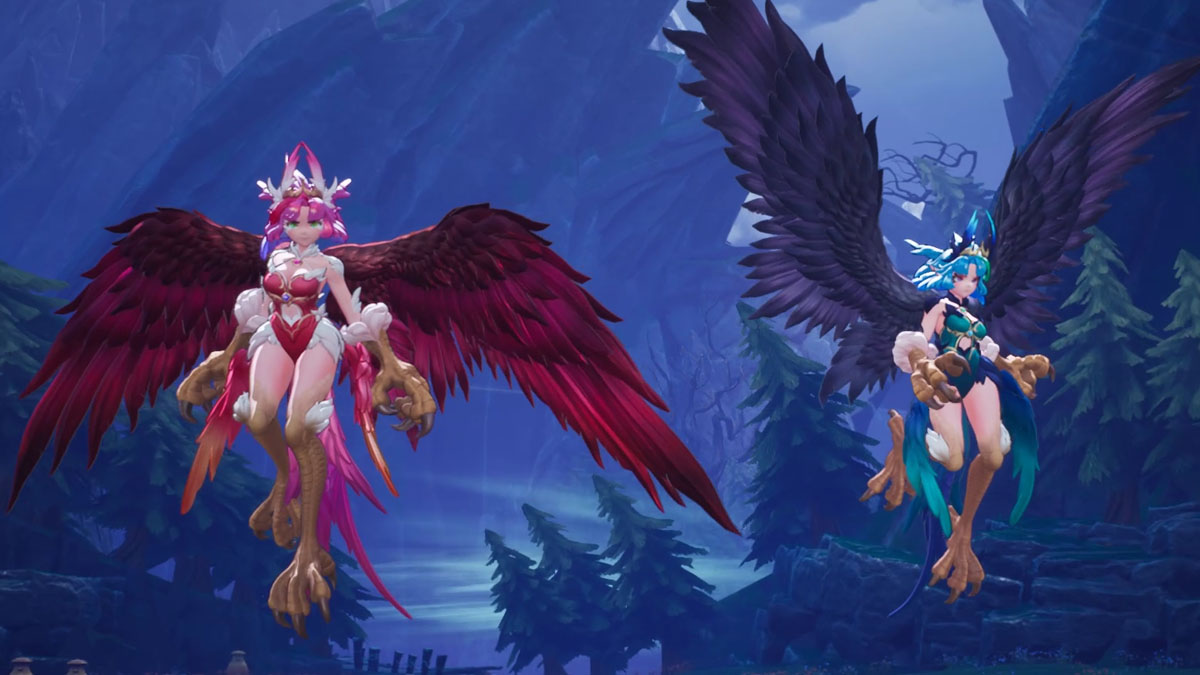
- Location: Wind Sanctum (Chapter 7)
A proper duo boss fight, where it doesn’t matter which one you’ll beat first. As long as you can cancel their team attacks when needed, the harpy sisters won’t be bickering you for long. They’re both weak to Earth, and you should have some good spells or abilities from that element at this point.
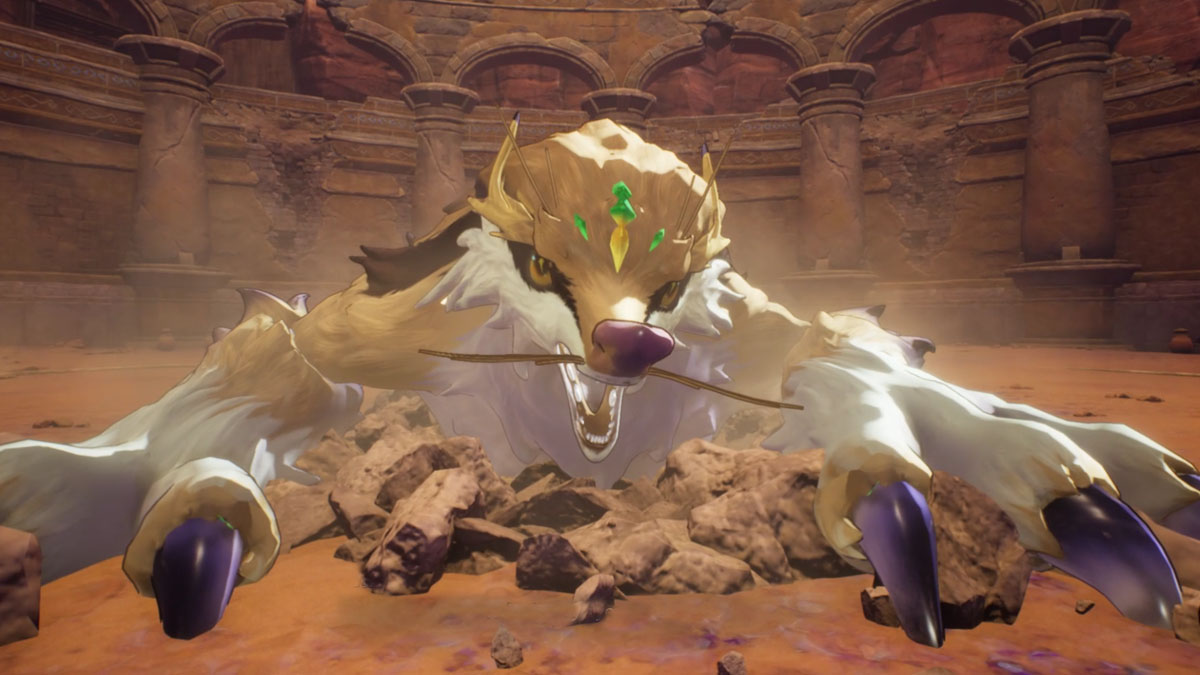
Besseroth, Benevodon of Wind
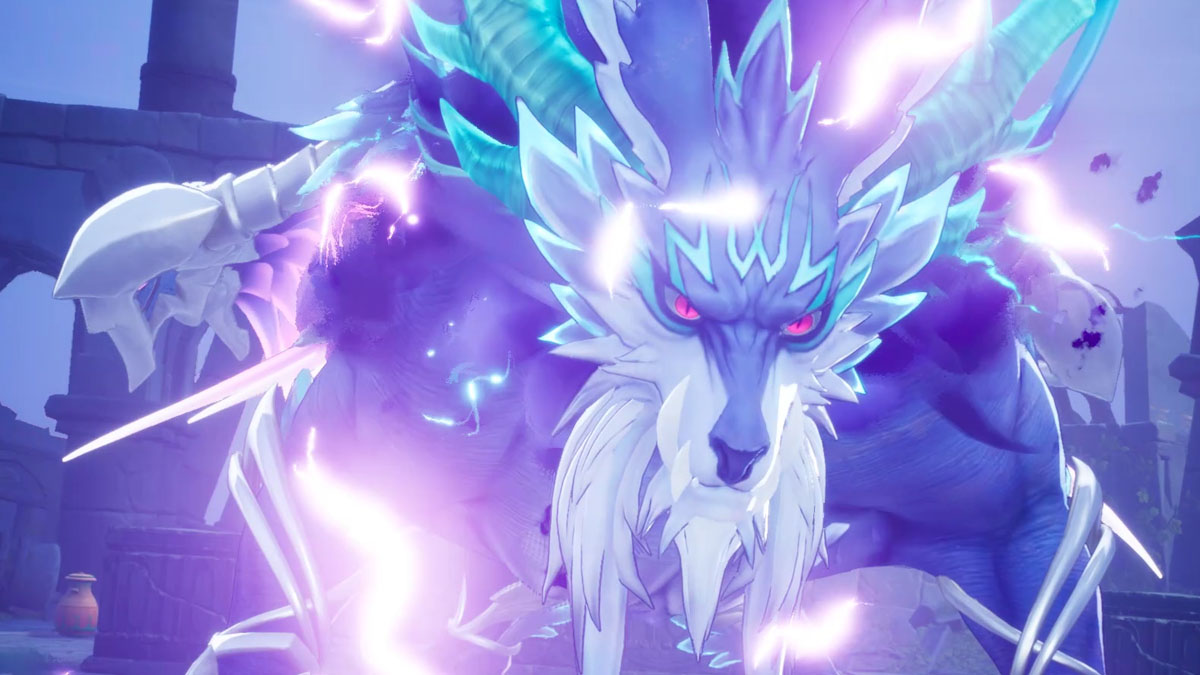
- Location: Wind Sanctum (Chapter 7)
A big wolf that’s more bark than bite, as its huge size makes it more difficult to hit you than the opposite. Its weakness is also Earth, so the same strategy used for the harpy duo will very likely work here too.
Vampire
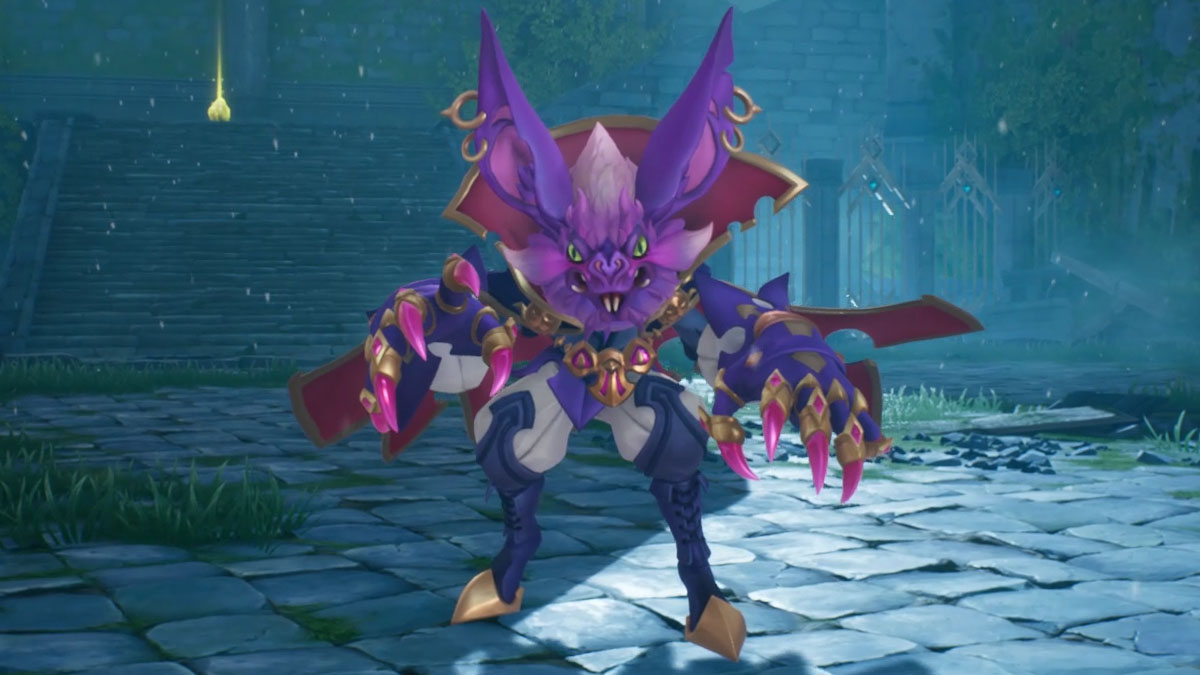
- Location: Castle Cresceno (Chapter 7)
Lurking in the darkness, Vampire can drain your health to himself, and despite its blatant weakness to Light, you can still struggle a bit to stun it before actually putting it down. A small difficulty spike, but very appreciated.
Tor Marne, Benevodon of Moon
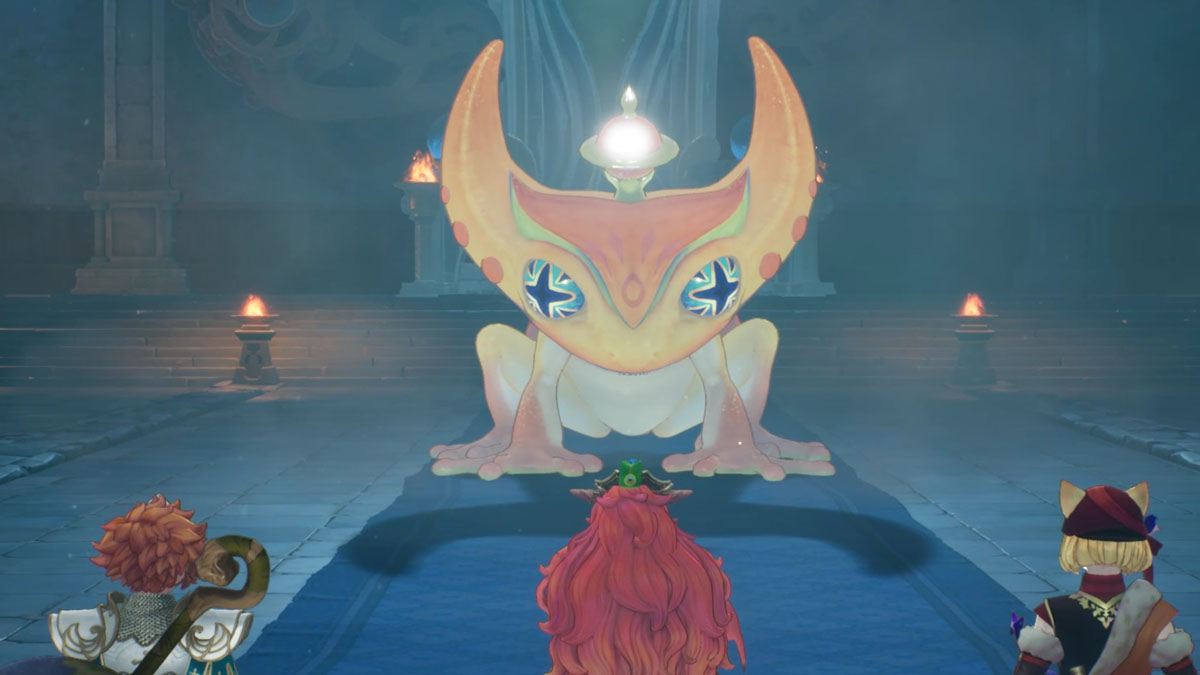
- Location: Castle Cresceno (Chapter 7)
One of the best mechanics in a boss fight is present here, where you can use the Darkness Vessel to pull its tongue out when it is used to attack you. This will stun the boss for a few seconds, giving you the perfect chance to burst this frog once and for all.
Shreegill
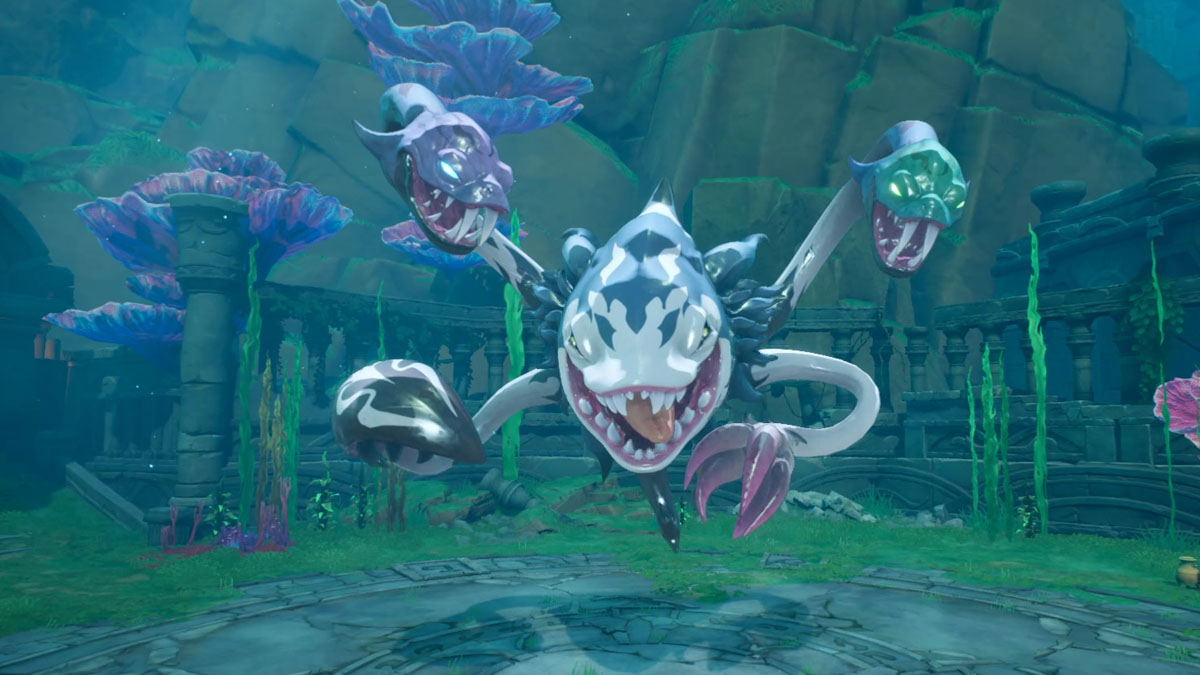
- Location: Luka Ruins Undertemple (Chapter 7)
Found in the middle of the Ruins, the Shreegill is a strange shark with tentacles, but doesn’t present a huge menace as other mid-dungeon bosses. As long as you respect its space when it starts attacking, it’ll be just another enemy that gives out more experience than usual.
Gandoom, Benevodon of Water
- Location: Luka Ruins Undertemple (Chapter 7)
The big bad of the ruins is very aggressive, but its huge size works against him just like other Benevodons. You should still be careful with his bubbles, as getting stuck on them can be deadly.
Floaret, Benevodon of Wood
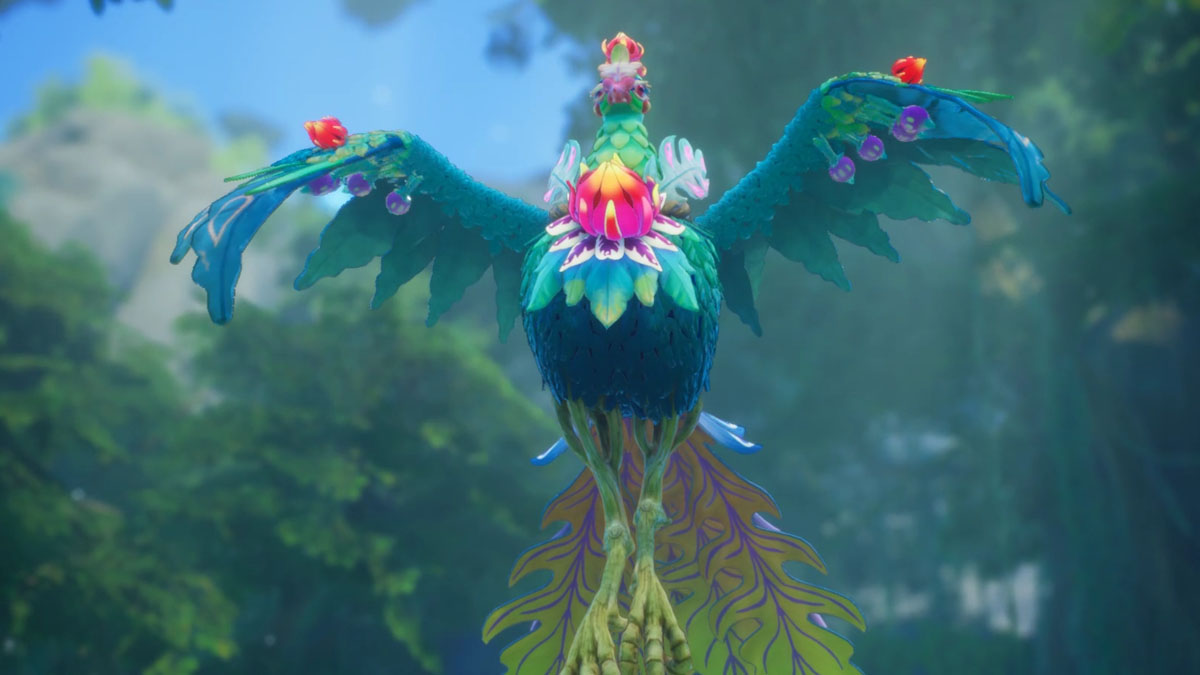
- Location: Floating Island of Ulul
Found in the depths of the Island, Floaret is possibly the most disappointing of the Benevodons. You’re already too strong by the point you reach him, and it brings no new mechanics or anything to the table, making it quite forgettable, unfortunately.
Axe Beak
- Location: Dorpher Volcano (Chapter 7)
The mid-dungeon boss for the Volcano. It’s hindered by its weakness to Water, much like the next big boss, but it still has some interesting flying attacks. Having to focus on his crest is also quite different from the usual, so it ends up being a good fight in the end.
Related: All Classes & How To Unlock Them in Visions of Mana
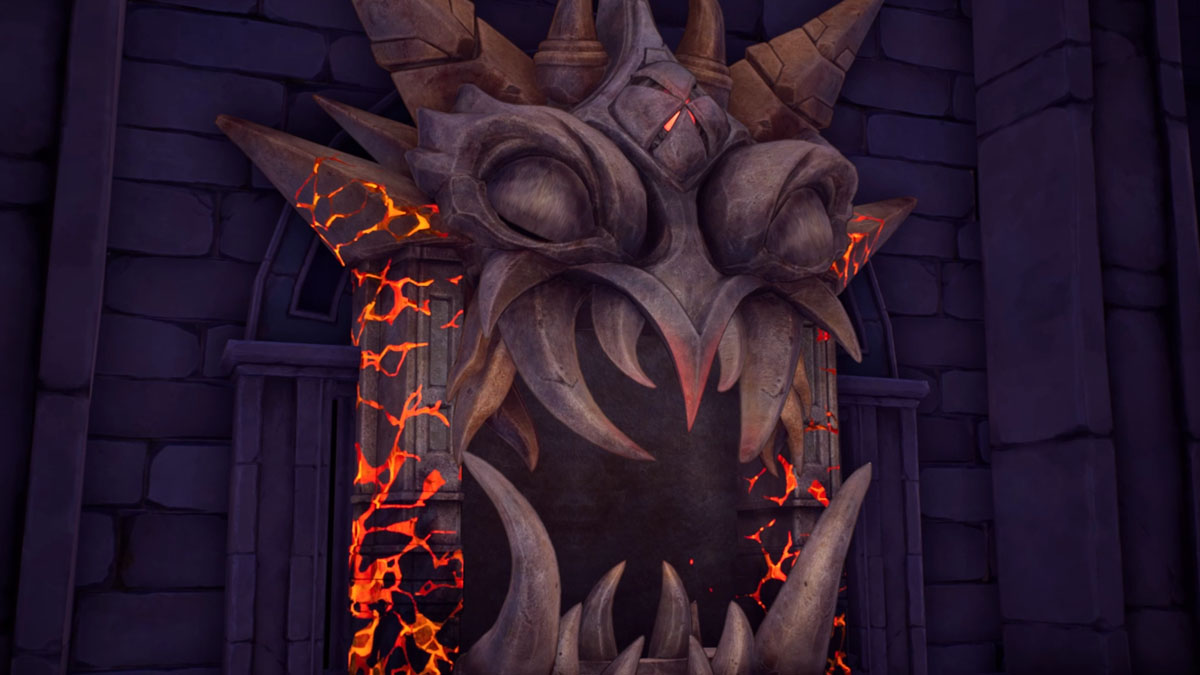
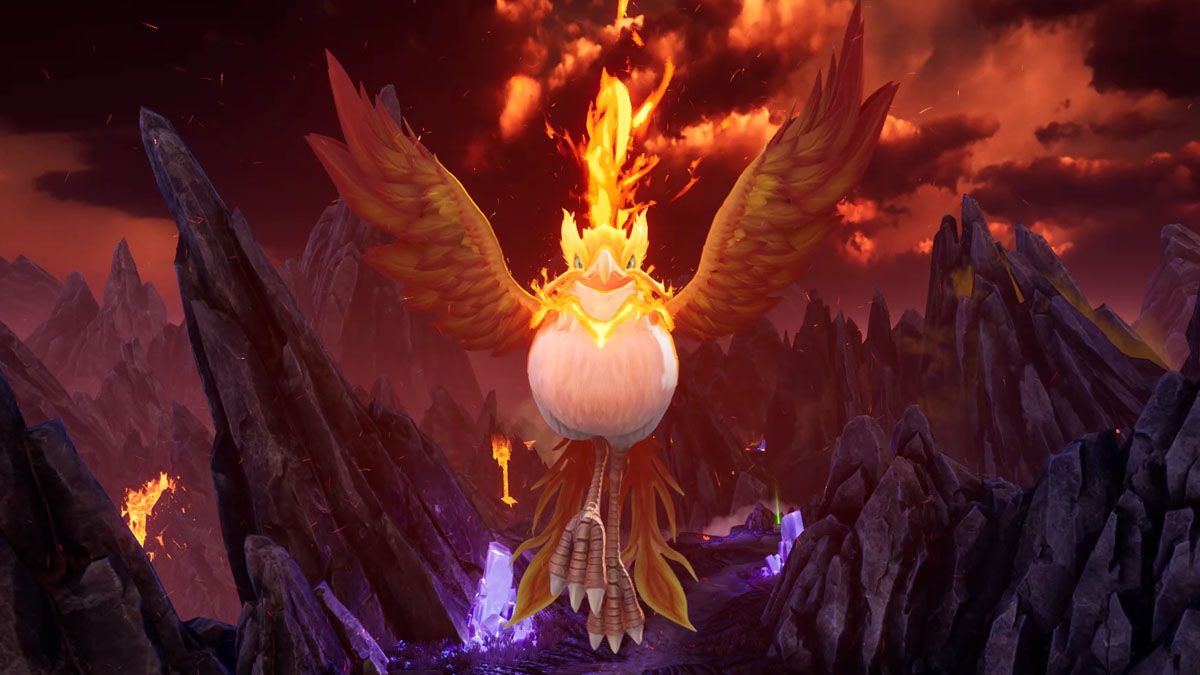
Vaulchibel, Benevodon of Fire
- Location: Dorpher Volcano (Chapter 7)
The final Benevodon is a big, slow opponent that can be made even slower with the correct attacks. Of course, this means being another simple fight that doesn’t live up to the climax moment it creates.
Daelophos 2
- Location: Entwine Bridgepass (Chapter 7)
We can finally beat Daelophos this time, but he also has some new tricks under his sleeve, such as a new form he acquires mid-battle. His resistences will be reversed during this second phase, and the battle can be as tough as the previous one, so get ready.
Boreal Gorg & Gaian Gorg
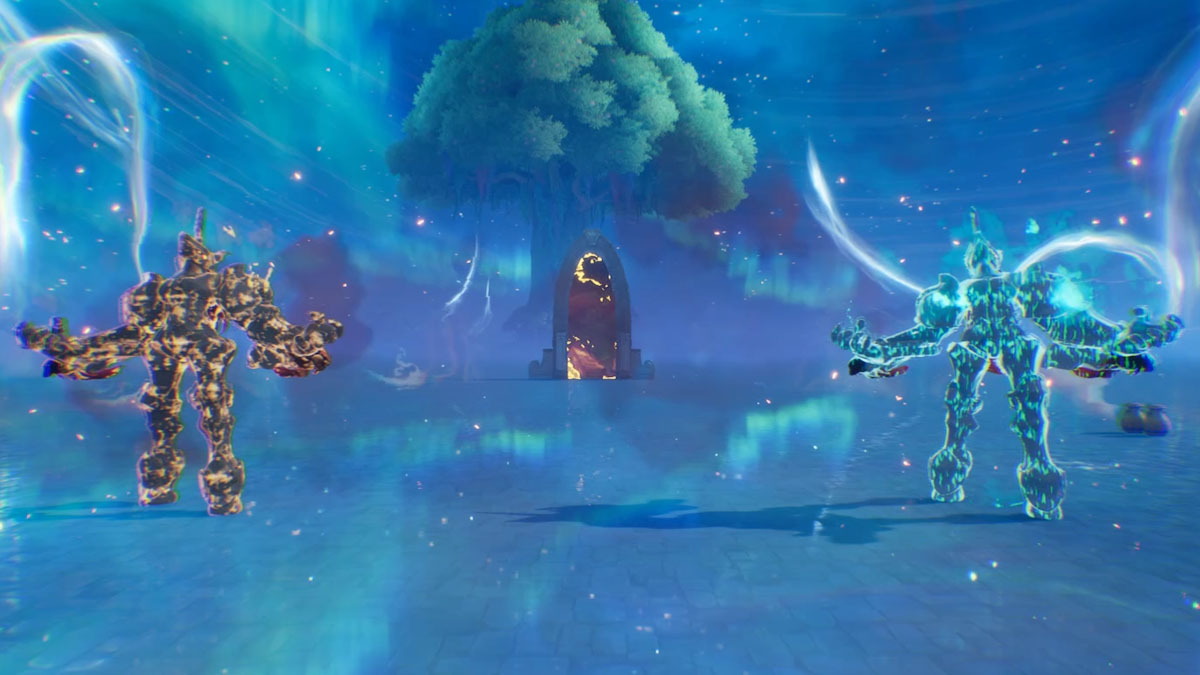
- Location: Distorted Sanctuary (Chapter 8)
A reprise of the game’s very first boss, but in a duo scenario. With few weaknesses to exploit here, your best bet is to keep pushing them (and their weak spots) until they’re done. This is the final rush of the game, after all, so you’ll probably just want to get rid of them as quickly as you can.
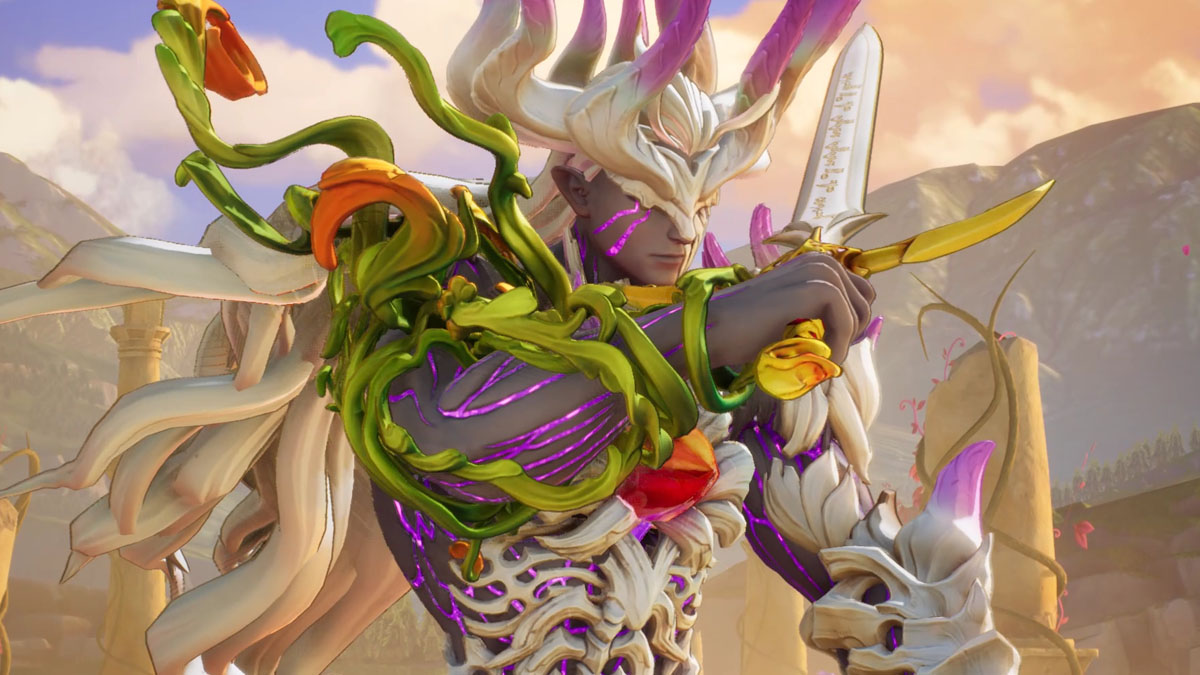
Trent
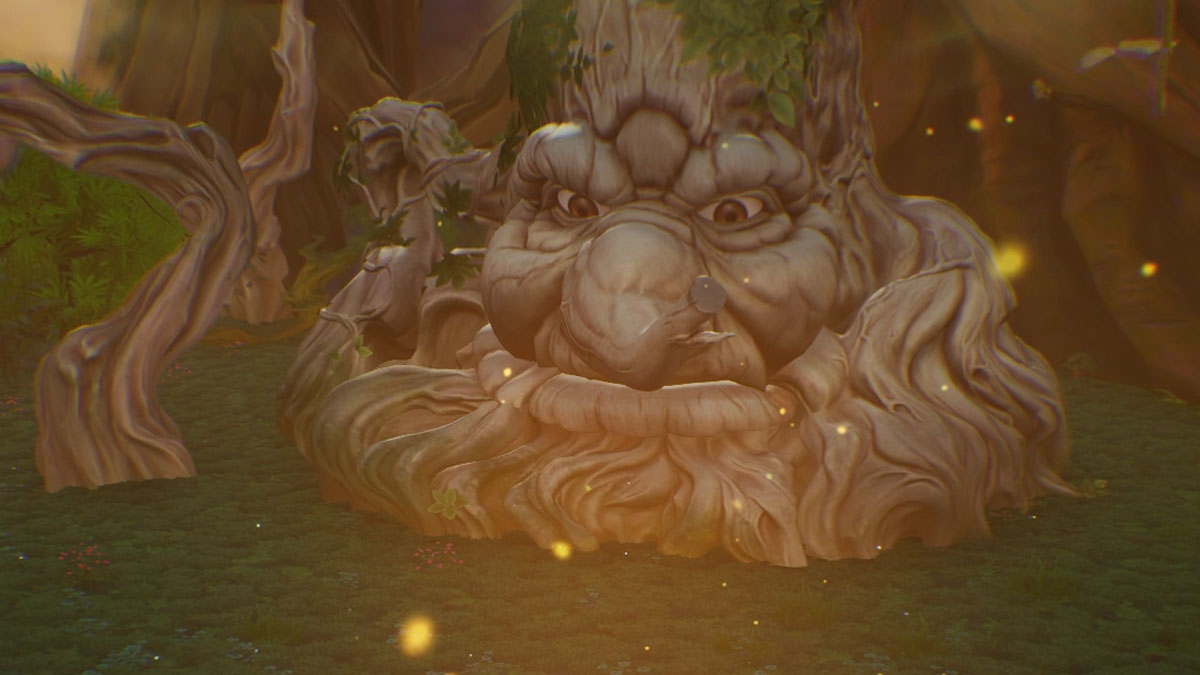
- Location: Distorted Sanctuary (Chapter 8)
A very real illusion, Trent uses the power of nature and vine attacks without mercy, but can also trap your companions temporarily. He’s weak to Fire and Slash attacks, which are fairly common, so while the fight can be difficult, it can also end very quickly.
Daelophos 3
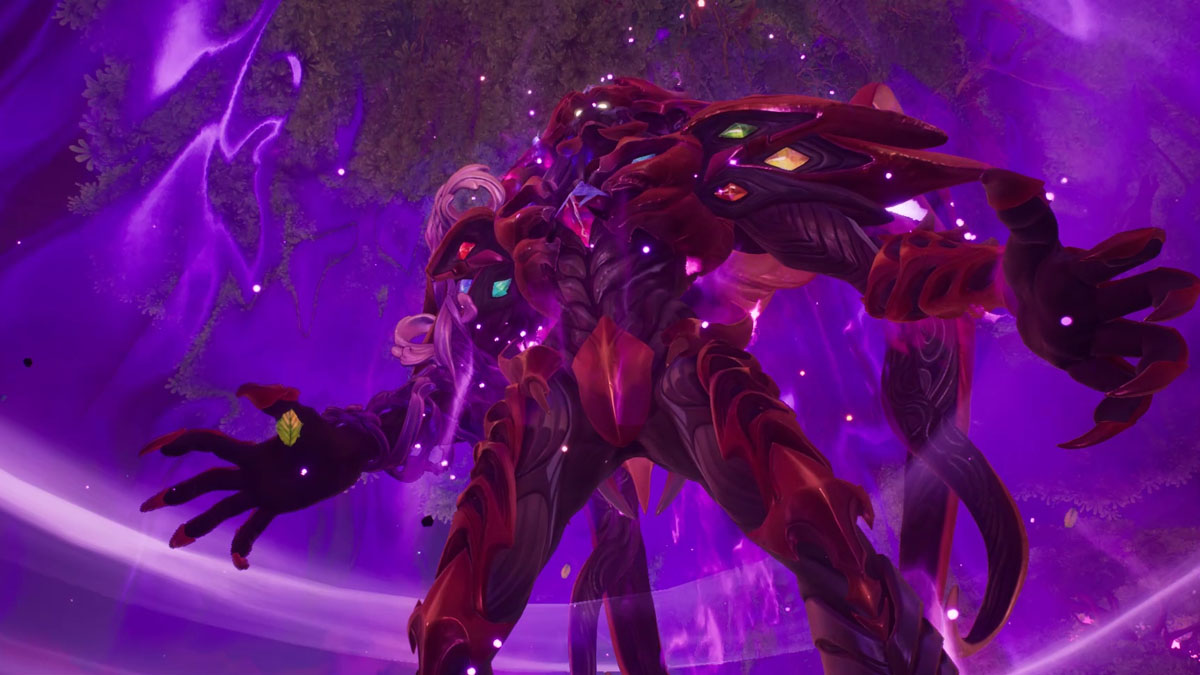
- Location: Mana Tree (Chapter 9)
Daelophos is faced one last time, and at his full corrupted power. He uses a mix of everything he threw at you previously, but with more elemental infusions. He even gets yet another power-up halfway through the battle, but this is the final conflict, so you cannot back down. Don’t stop until you see the credits rolling!
Visions of Mana is available for PC, Xbox and Playstation.


Published: Sep 2, 2024 07:28 pm