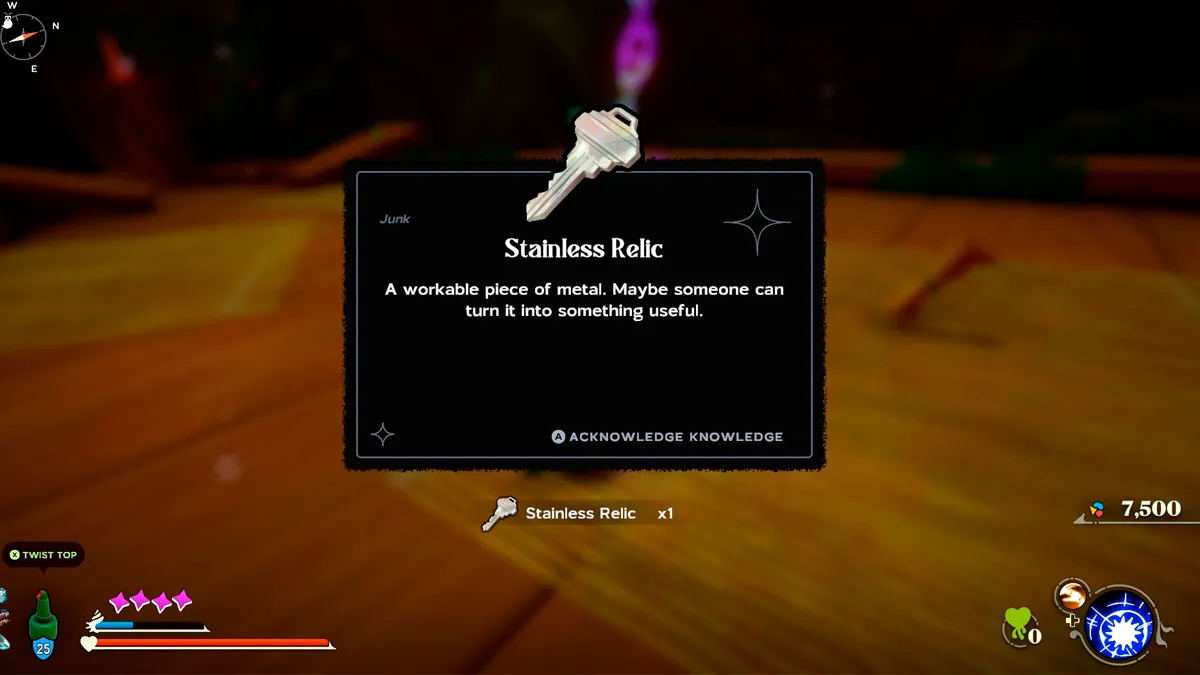
If you want to get stronger in Another Crab’s Treasure, one of the easiest ways is to find the many Stainless Relic items washed away by the sea. They can give your fork that extra punch you’re looking for, so here’s where you can find all of them.
Where to Find All Stainless Relic Items in Another Crab’s Treasure
There are 15 different Stainless Relic items you can collect in Another Crab’s Treasure. The first few of them are easy finds, but be ready to swim for your life for some others.
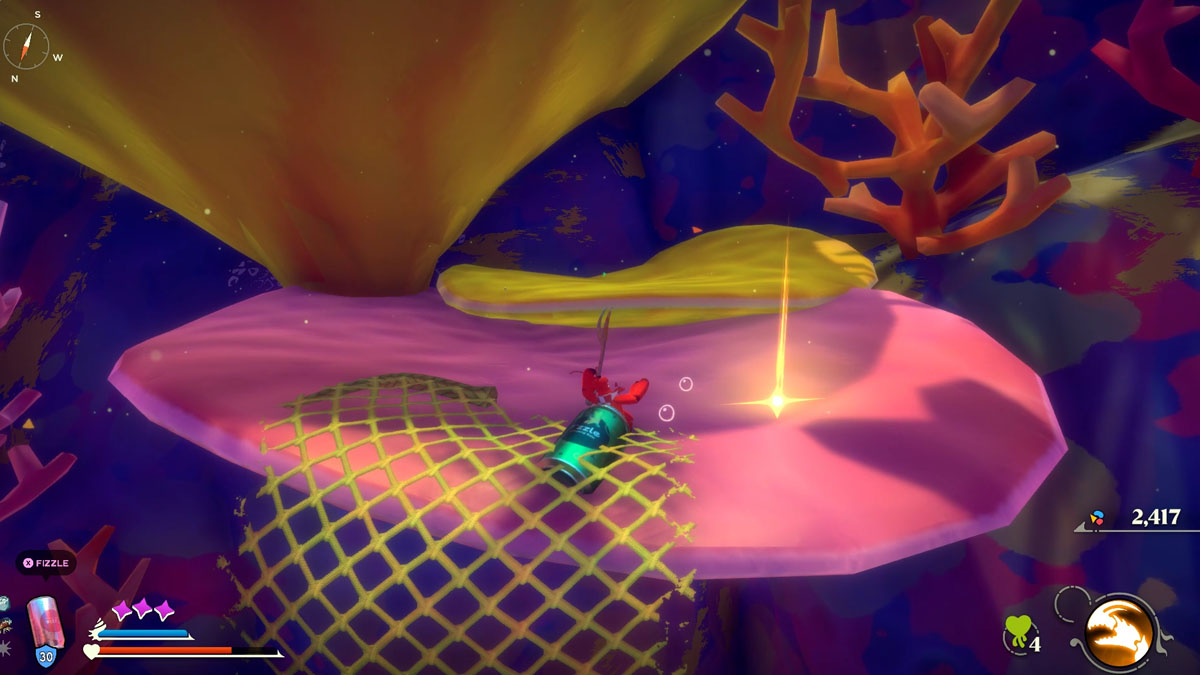
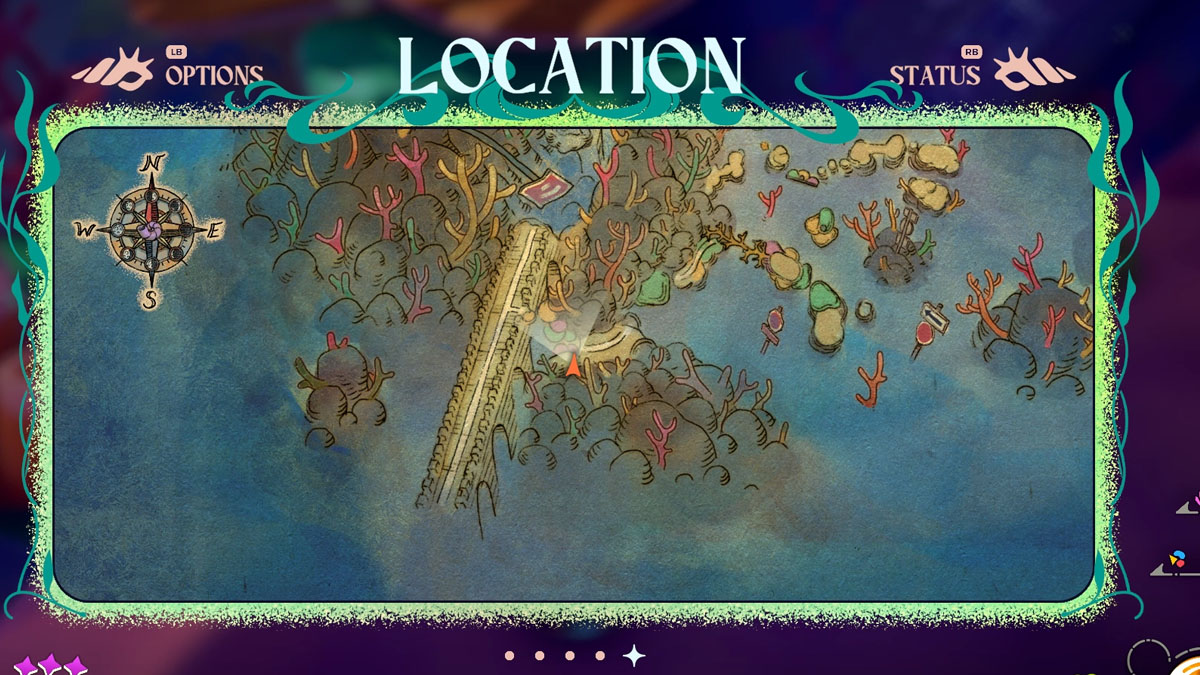
1 – New Carcinia (Reef’s Edge)
Found on the way to the city, quite hard to miss.
2 – New Carcinia (Prawn Shop)
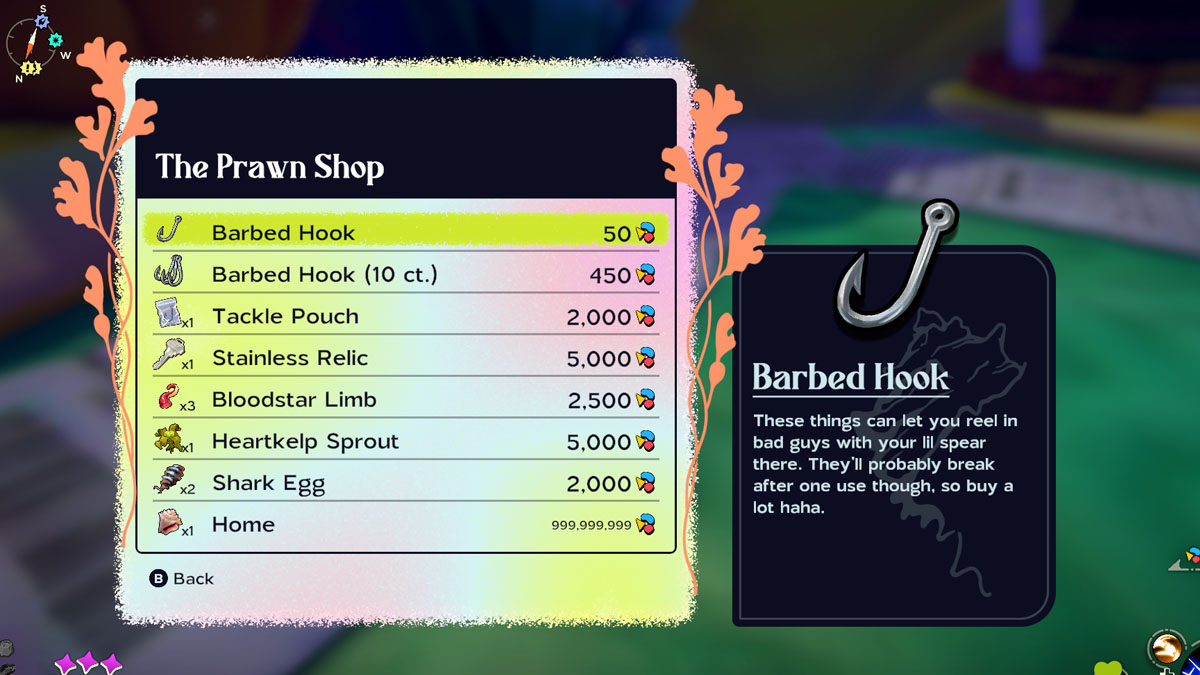
Bought from the Prawn Shop for 5000 Microplastics.
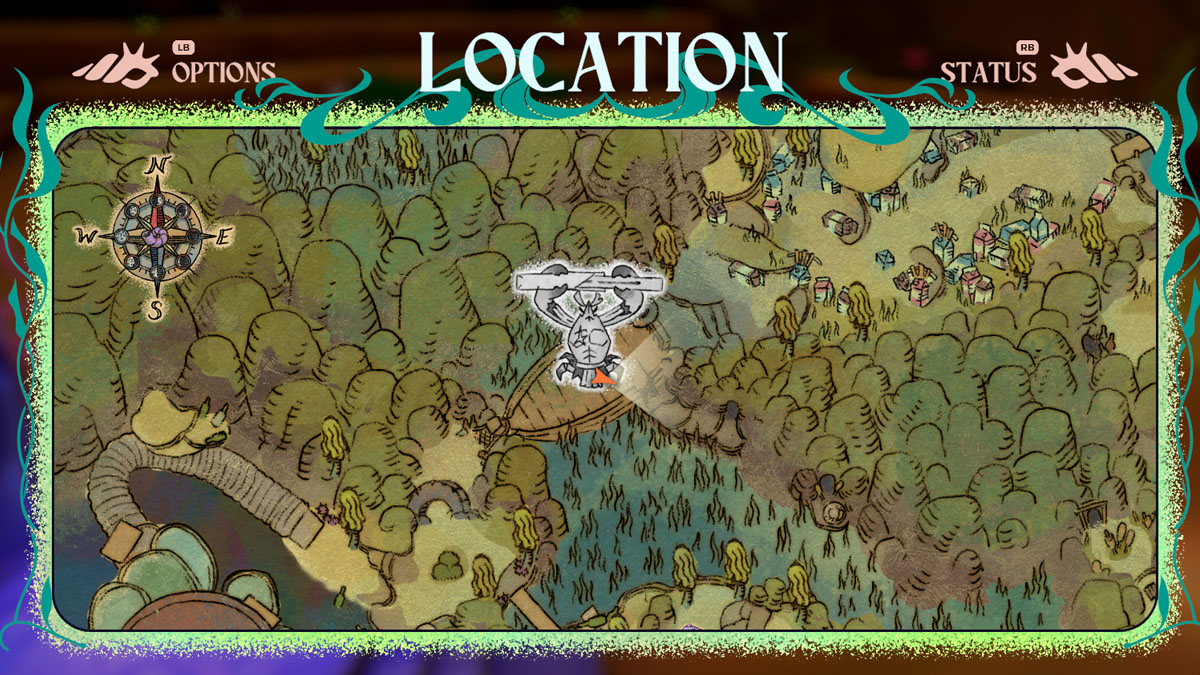
3- Expired Grove (Grove Entrance)
Obtained automatically after beating Heikea, Intimidating Crab.
4 – Expired Grove (Grove Entrance)
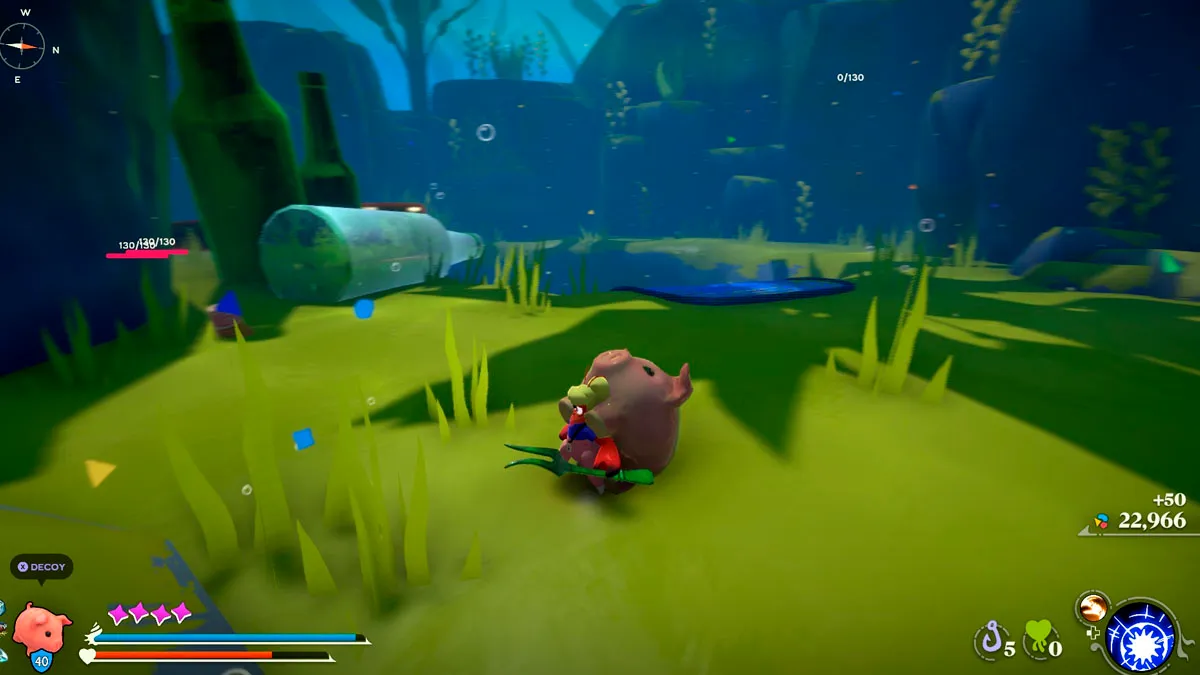
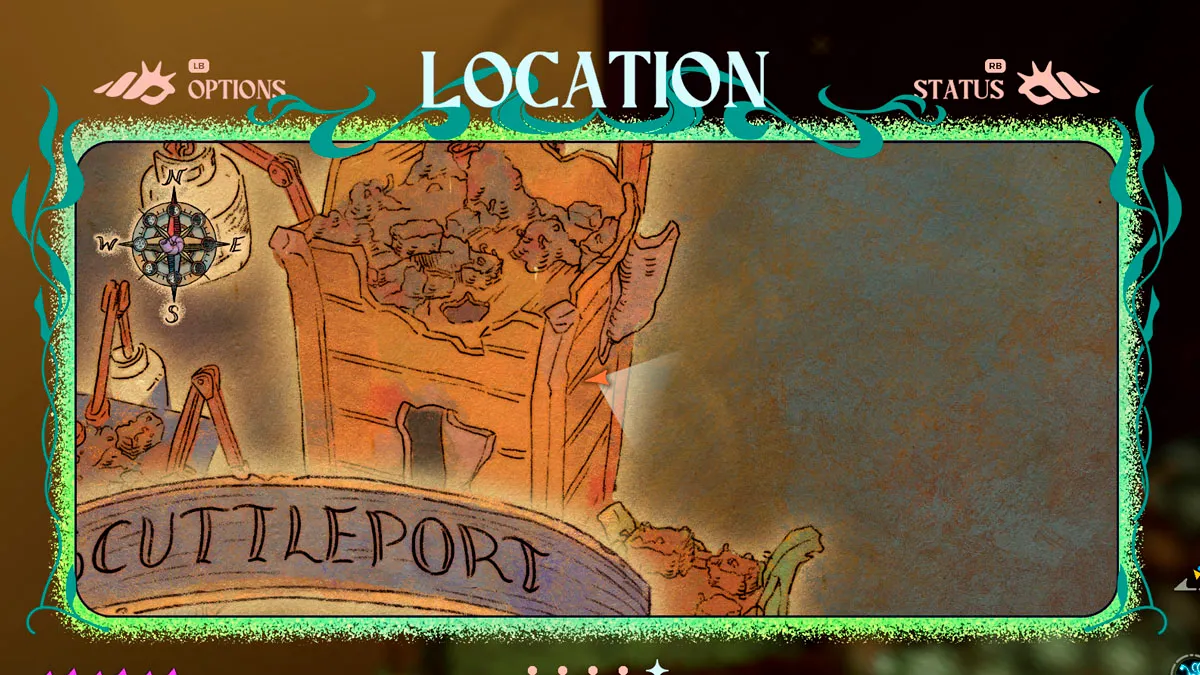
After opening the shortcut in the village (right next to where you fought Heikea), keep following the path through the hooks until you reach a pit. There are two purple-eyed giant crabs guarding a lot of treasures, with the Relic being one of them.
5 – The Sands Between (Expired Knoll)
After getting Mantis Punch, head east to the entrance of the Expired Knoll zone to find some crabs guarding an Umami block. Break it with the punch and keep following the way beneath it until you find another block. Follow the path from this second block until you reach some bigger crabs. They’re guarding the Relic as a reward.
6 – The Sands Between (Secluded Ridge)
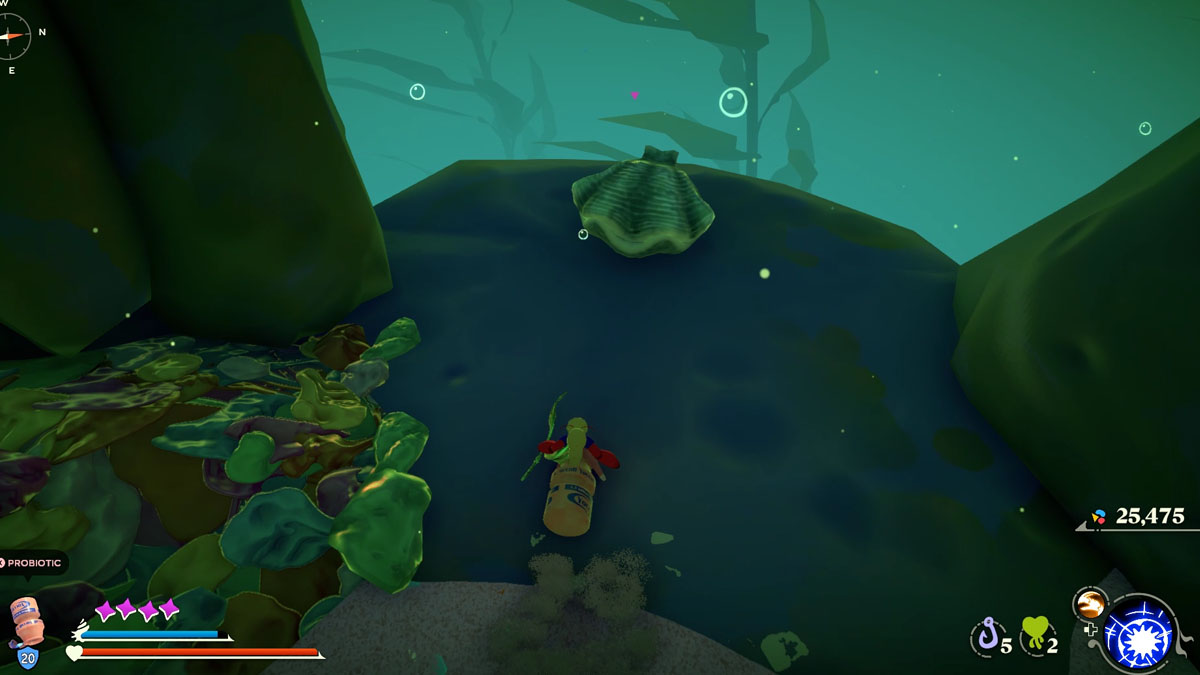
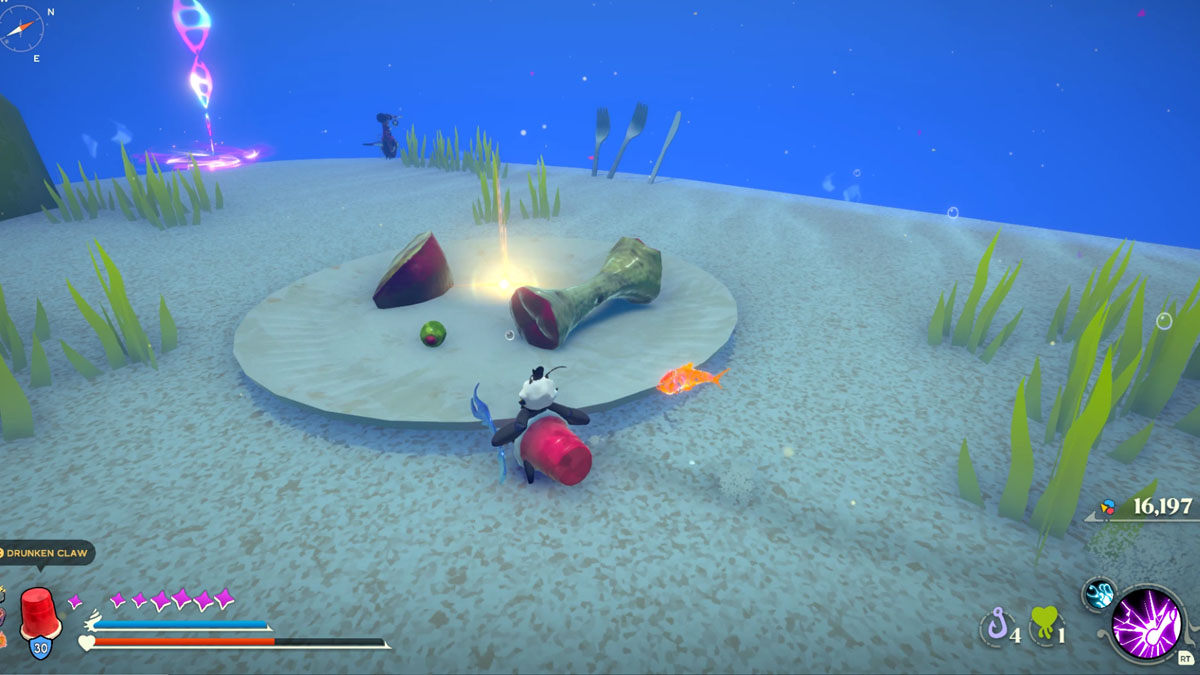
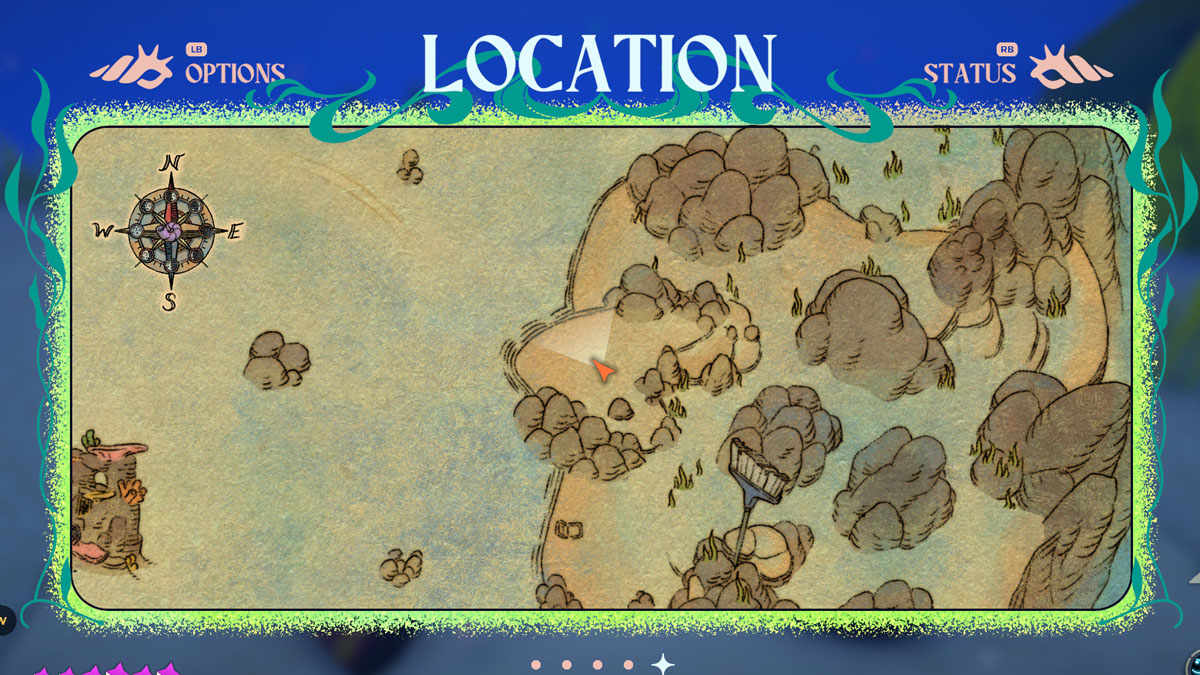
After finding the way to the Secluded Ridge, keep following its path until you find another Moon Snail Shell nearby, the Ridge Overlook. A Stainless Relic is found over a plate of food right before the teleport.
7 – Flotsam Vale (Locker Room)
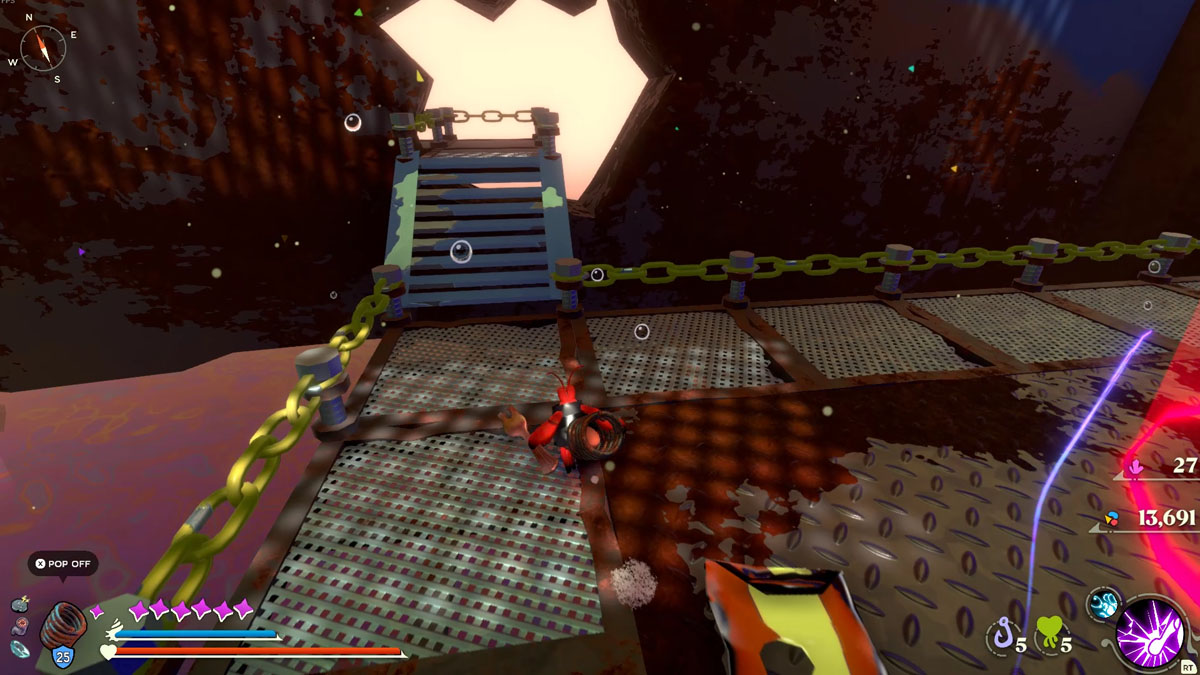
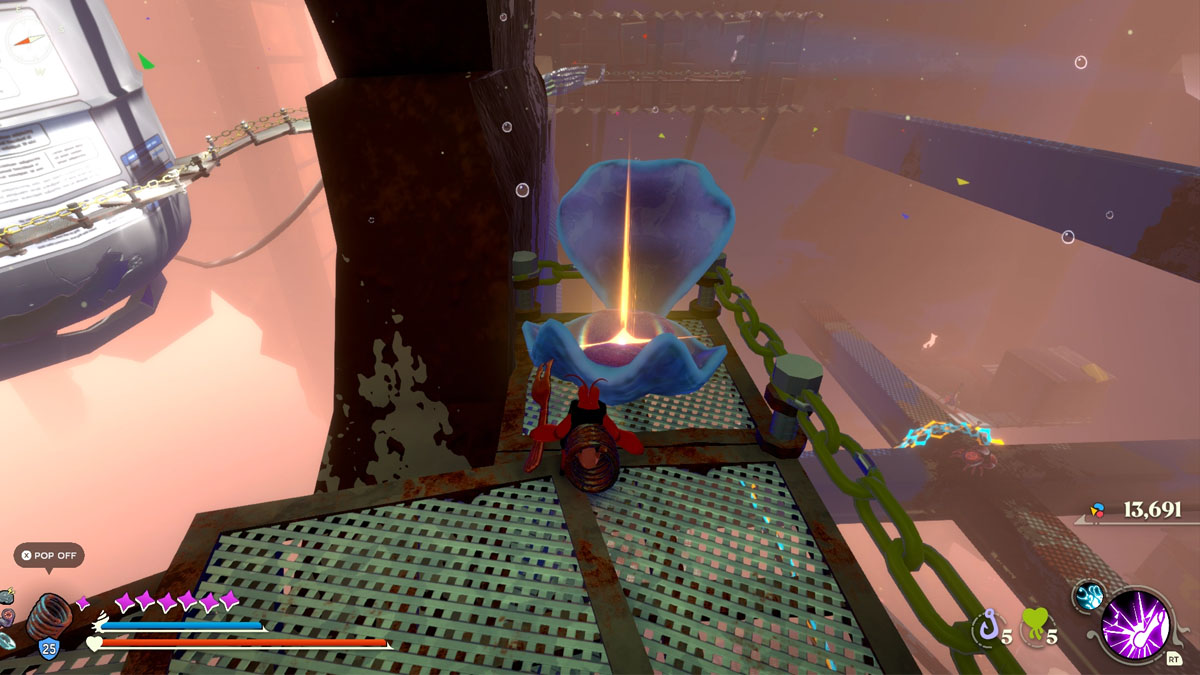
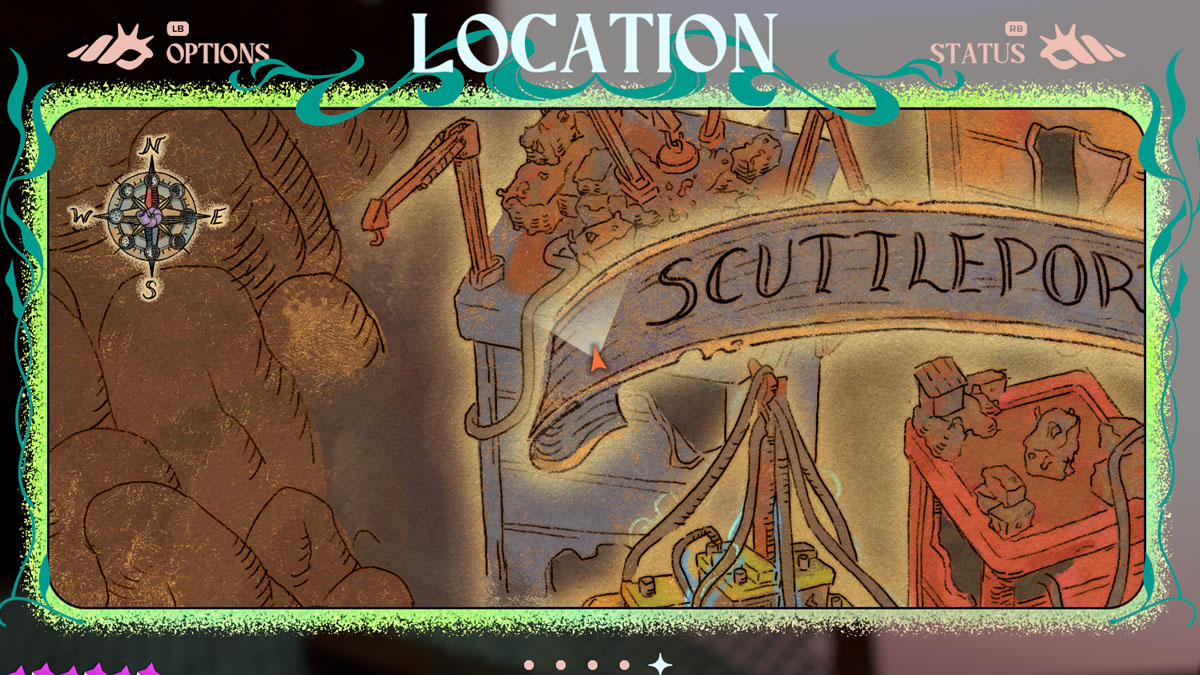
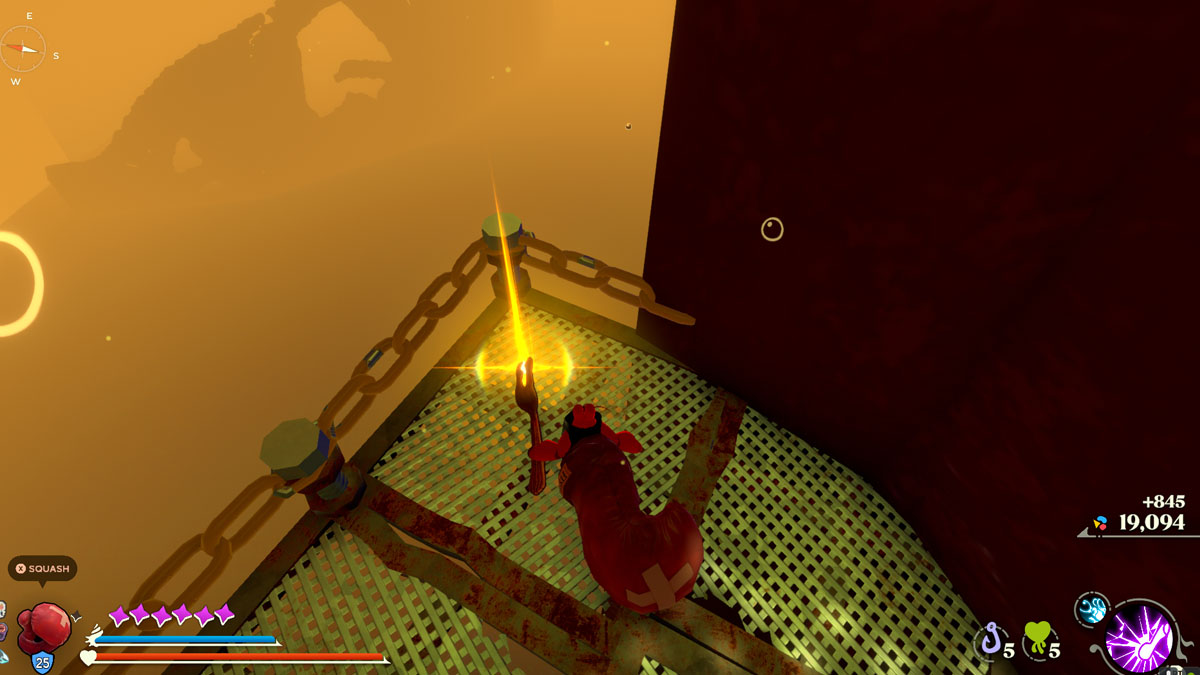
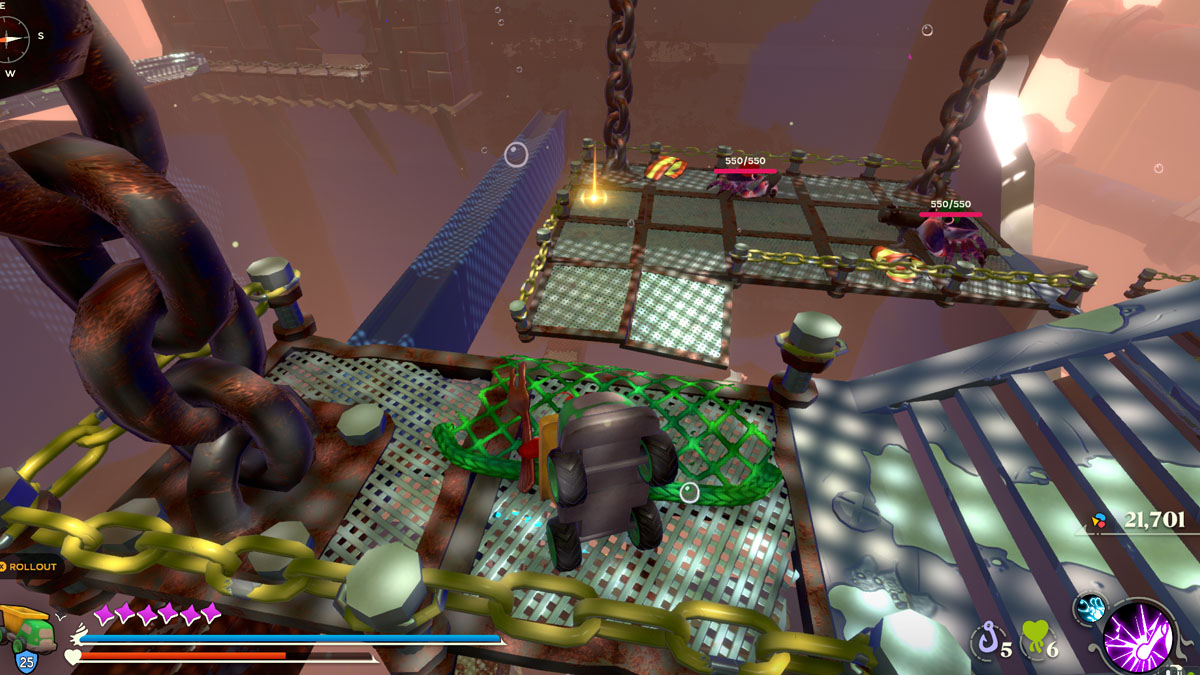
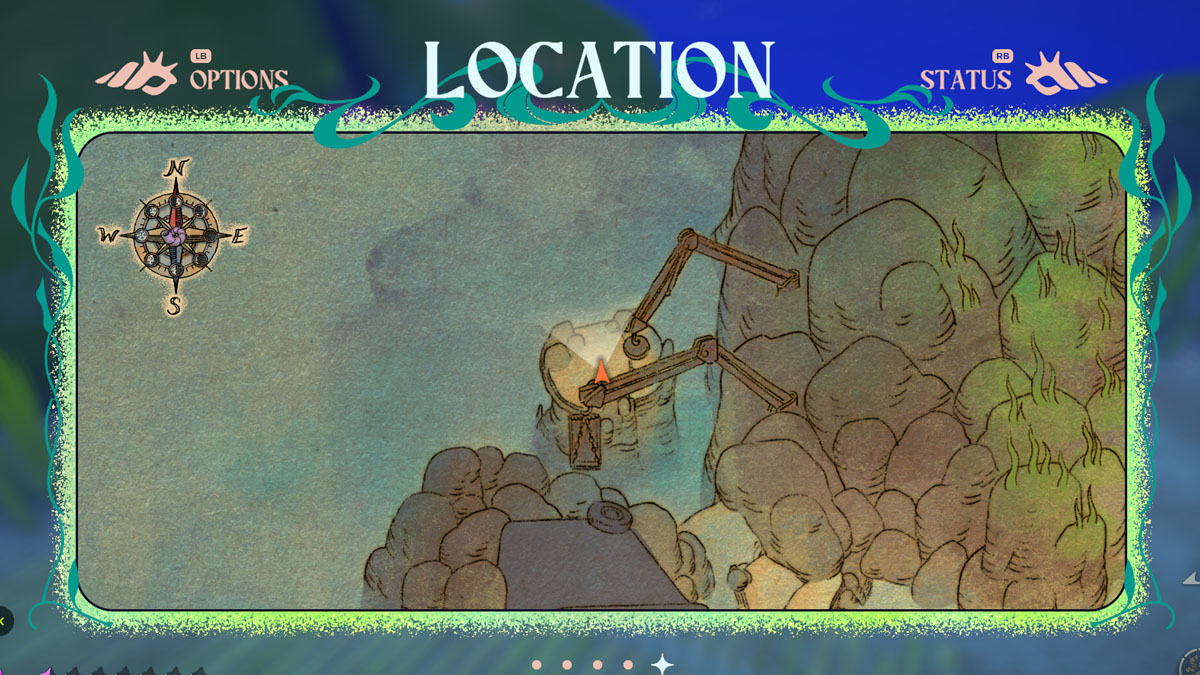
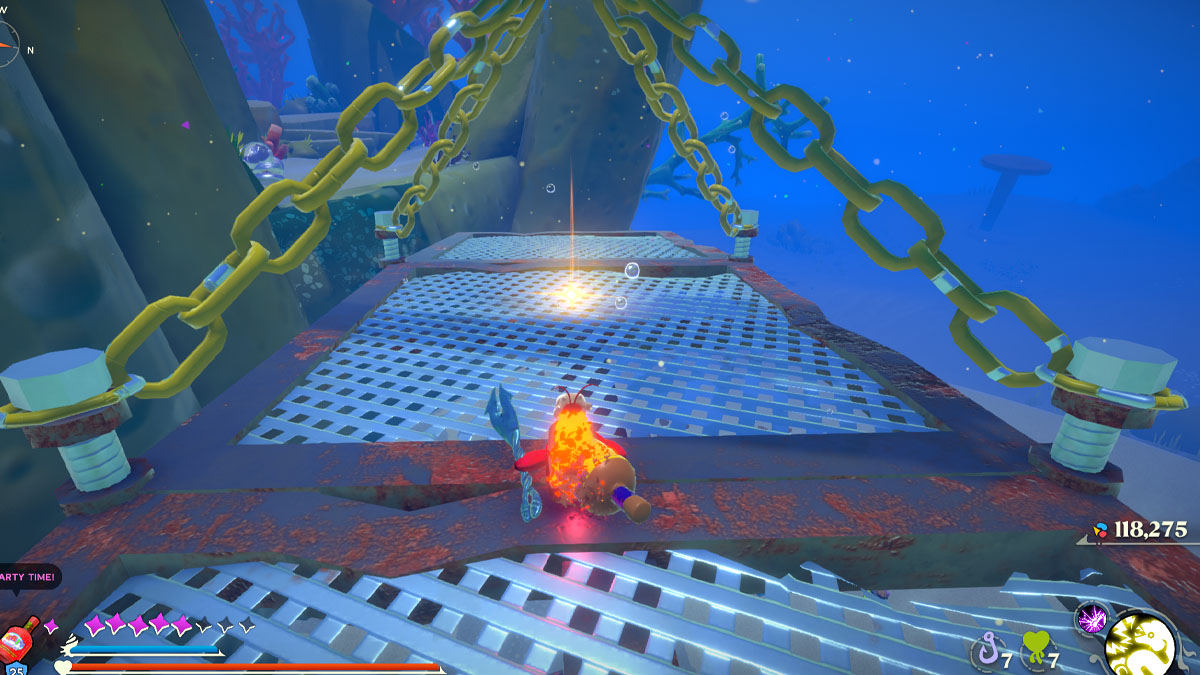
After being dragged by the magnet, head to the northmost exit. The Relic will be waiting for you after the whole platforming section.
8 – Flotsam Vale (Mag-Rail Platform)
Found on the way to the Mag-Rail Platform teleport, next to a crab enemy. It’s directly on your way, so it’s hard to miss.
Related: All Old World Whorl Locations in Another Crab’s Treasure
9 – Flotsam Vale (Mag-Rail Platform)
A bit further from the previous one, found on the way to the Voltai boss fight.
10 – The Sands Between (Expired Knoll)
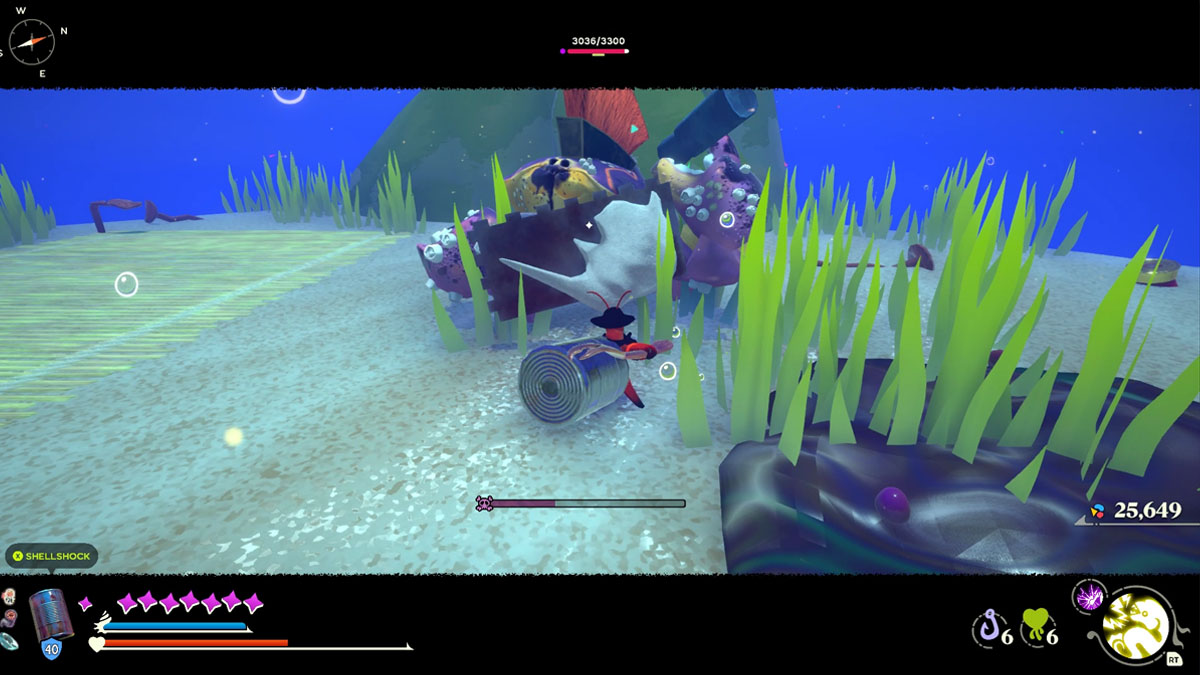
Return to the same place where you found the Stainless Relic 5. There’s a metal crab next to where the second Umami Block was. Use the Eelectrocute Adaptation on it to open up a way to a mini boss. He’s similar to the Scuttling Sludge Steamroller you fought back in the Flotsam Vale. Defeating it grants you another Relic.
11 – The Sands Between (Flotsam Runoff)
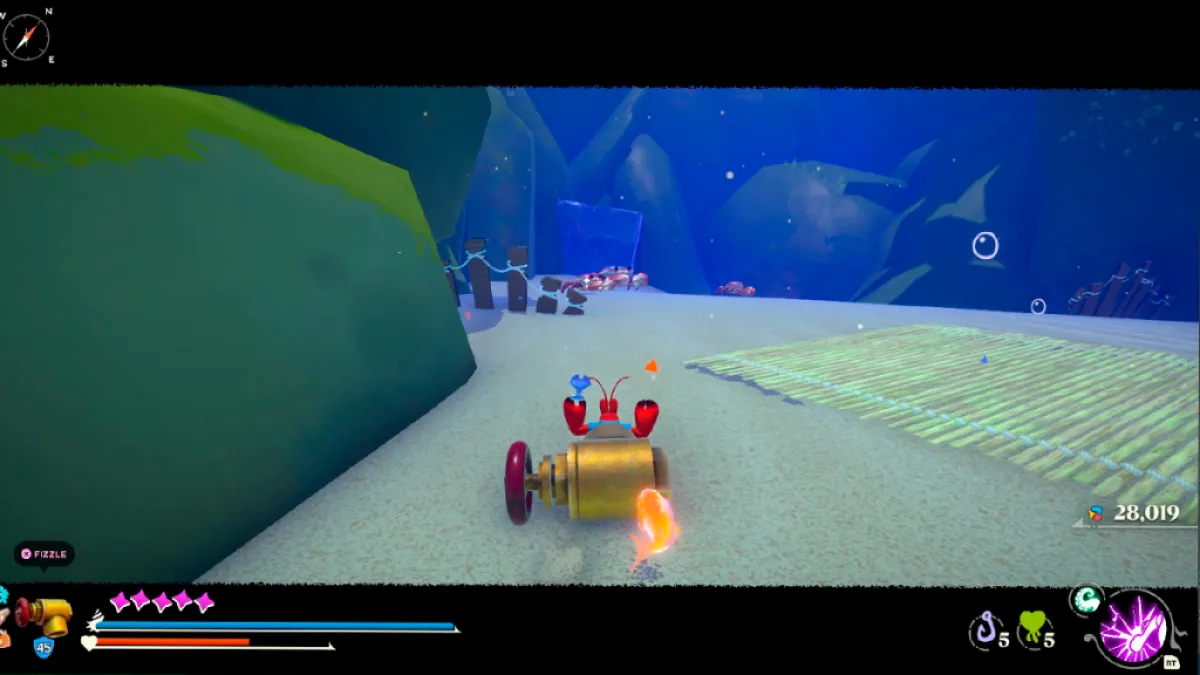
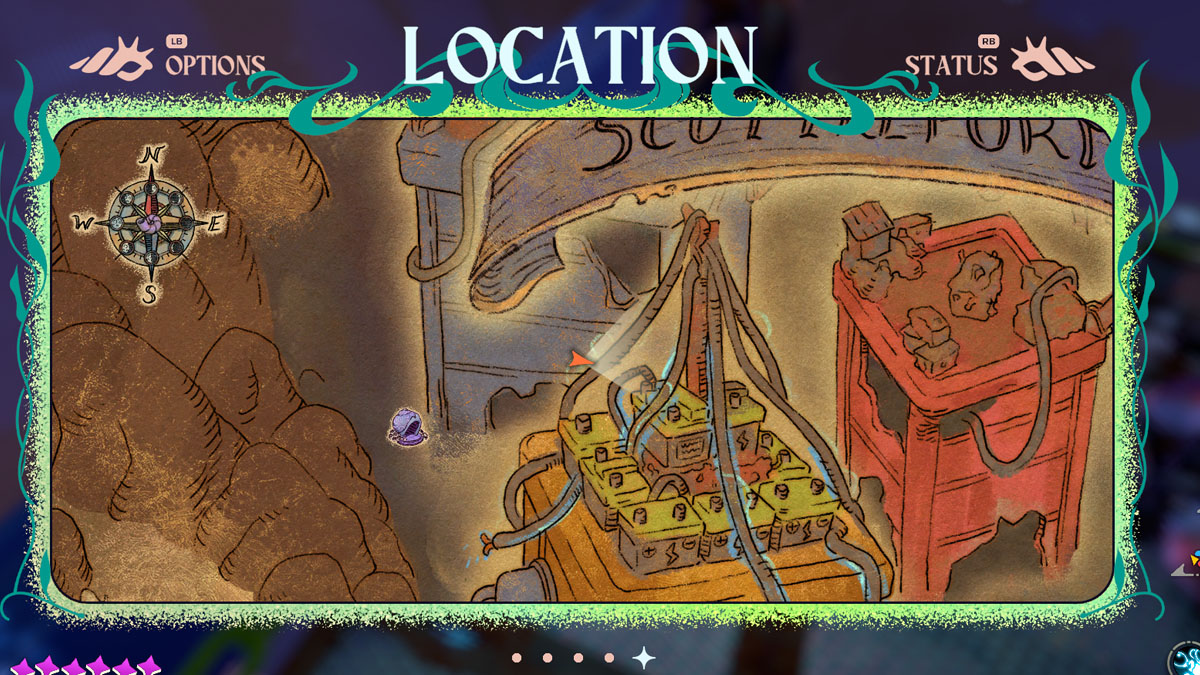
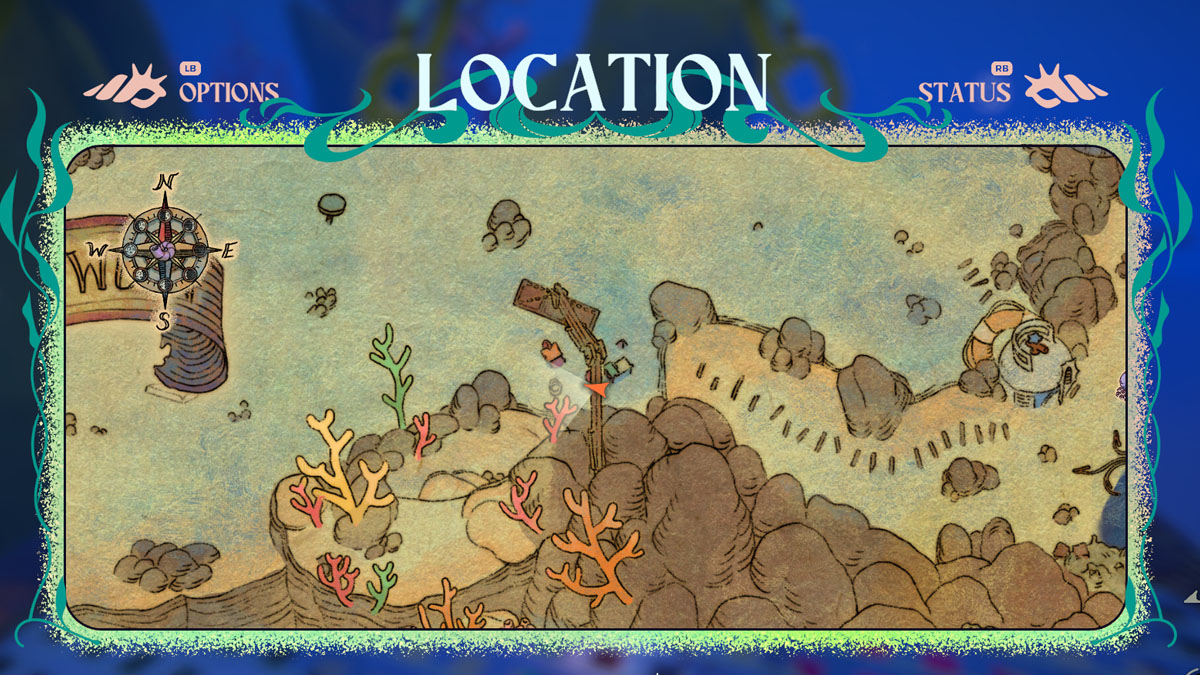
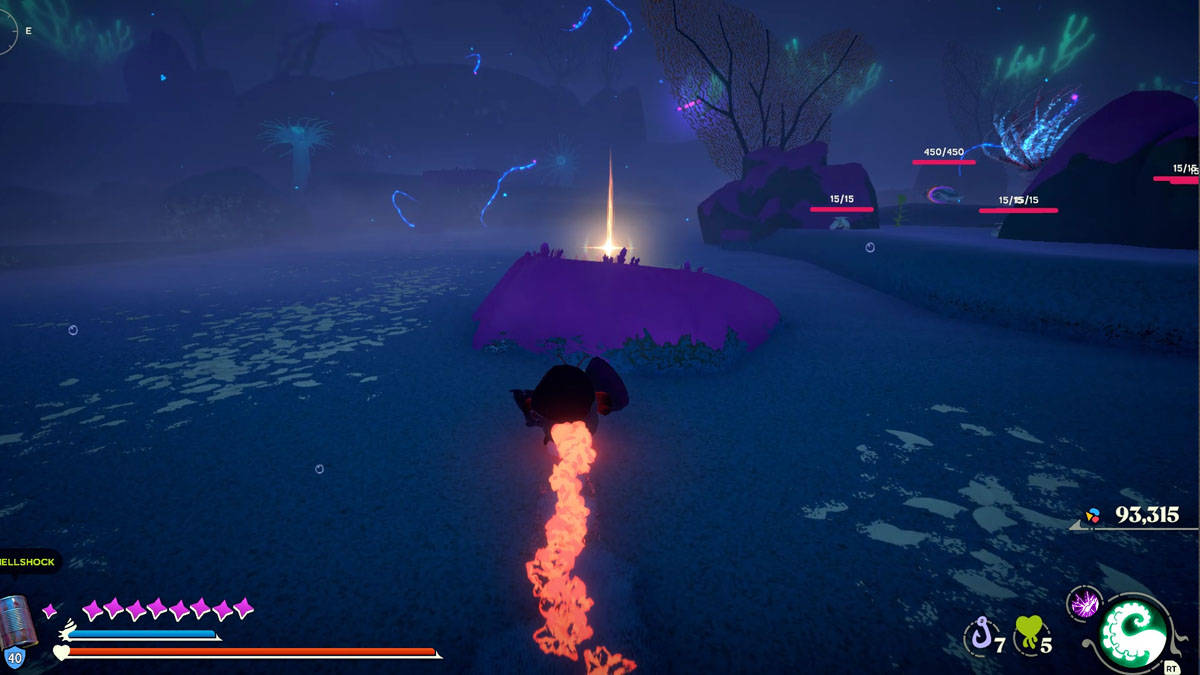
Use the Eelectrocute Adaptation on the metal crab around the Flotsam Runoff area. A platform will appear, containing the Stainless Relic in it.
12 – The Unfathom (Luminous Respite)
In the second area with the huge laser-shooting crabs, around the center. Good luck dealing with them before you can grab it!
13 – The Unfathom (Sleeping Giant)
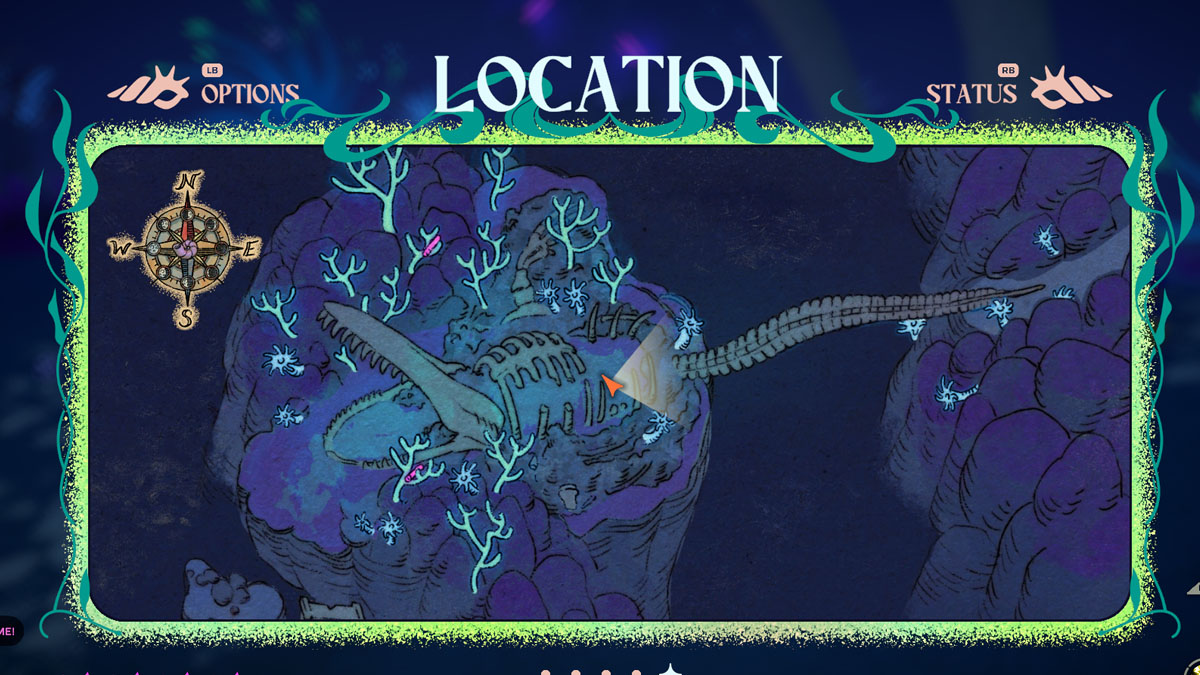
Obtained automatically after beating Inkerton for good.
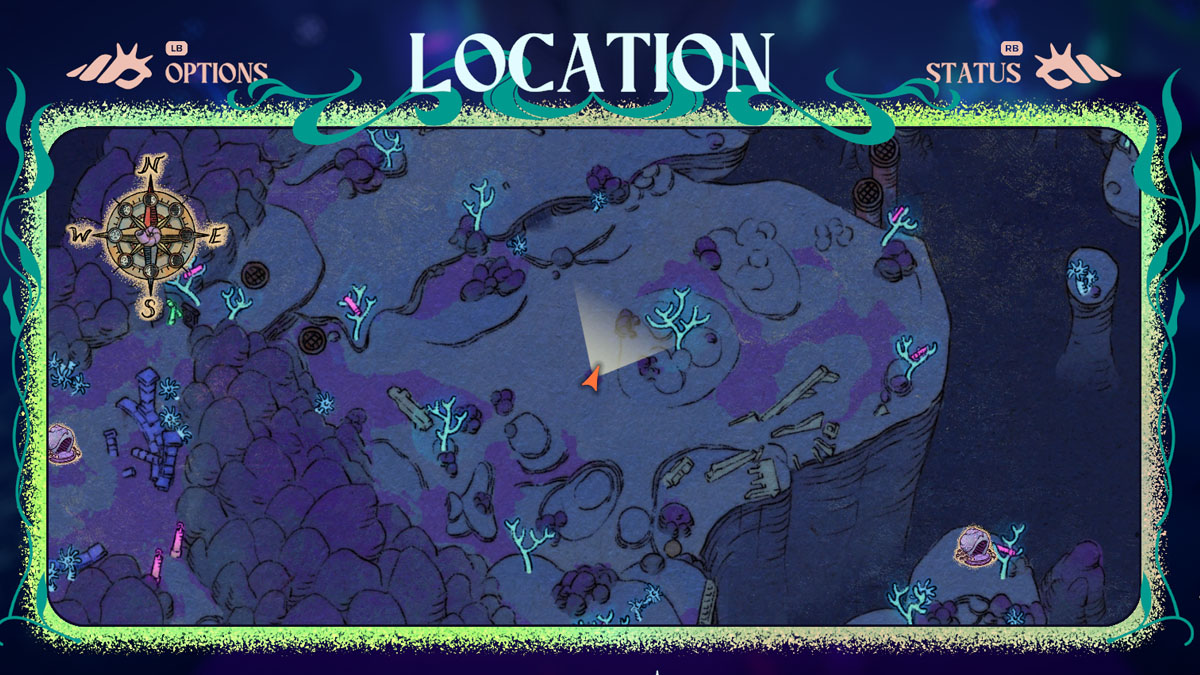
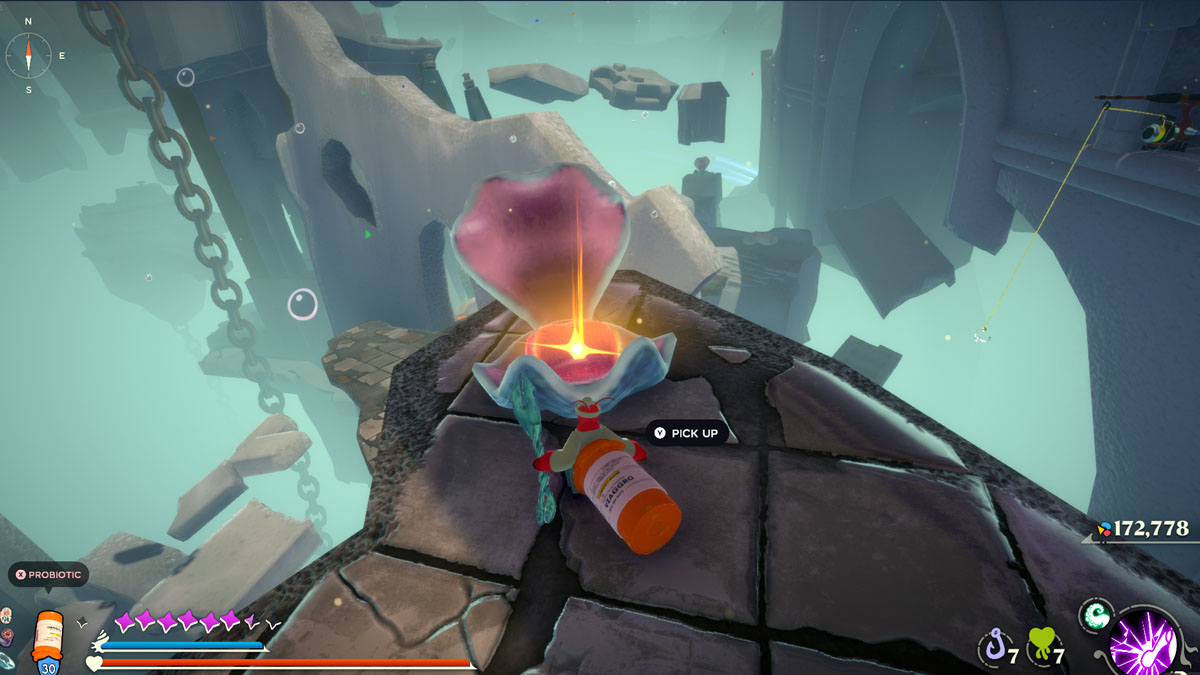
14 – The Old Ocean (Tower Lookout)
Follow the jumping sponge paths right next to the Moon Snail to reach the top of the tower. Keep jumping through the buildings until you beat the final two seahorses. The Stainless Relic is guarded by them.
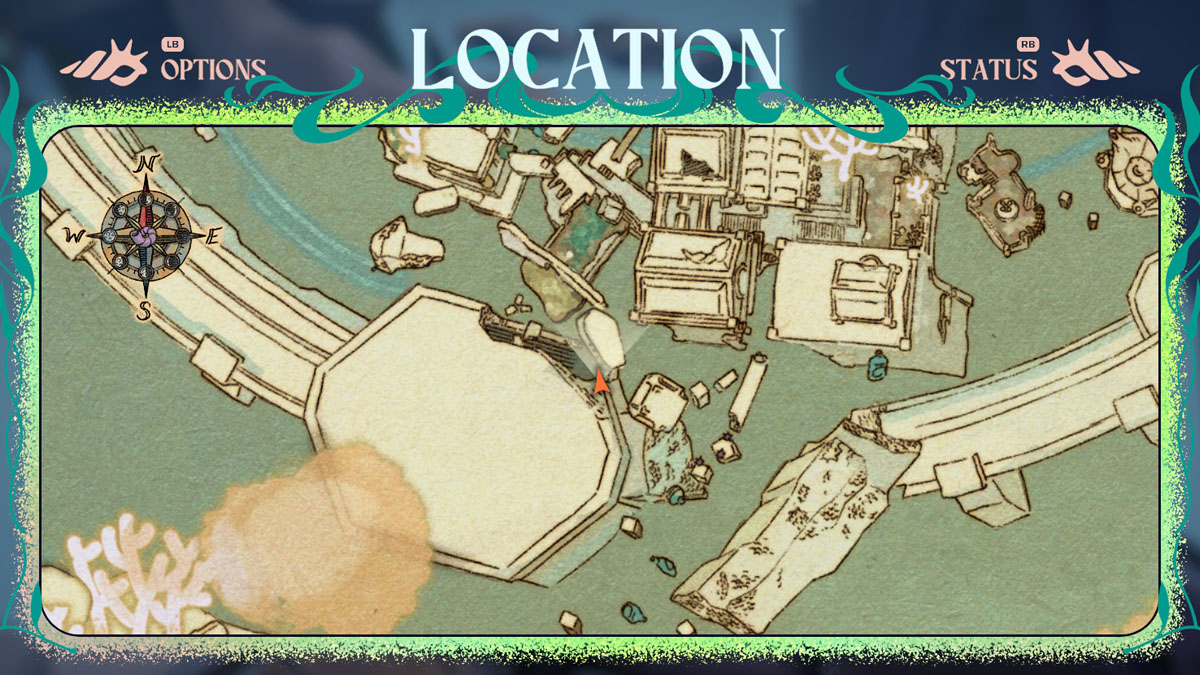
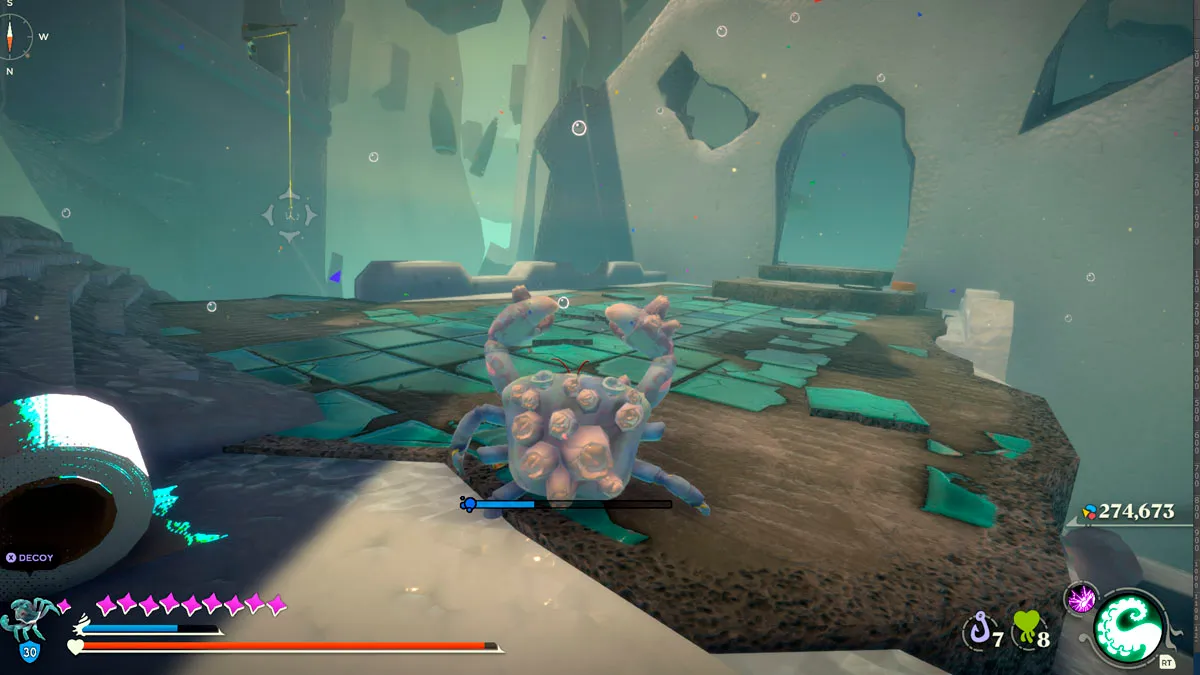
15 – The Old Ocean (City Gates)
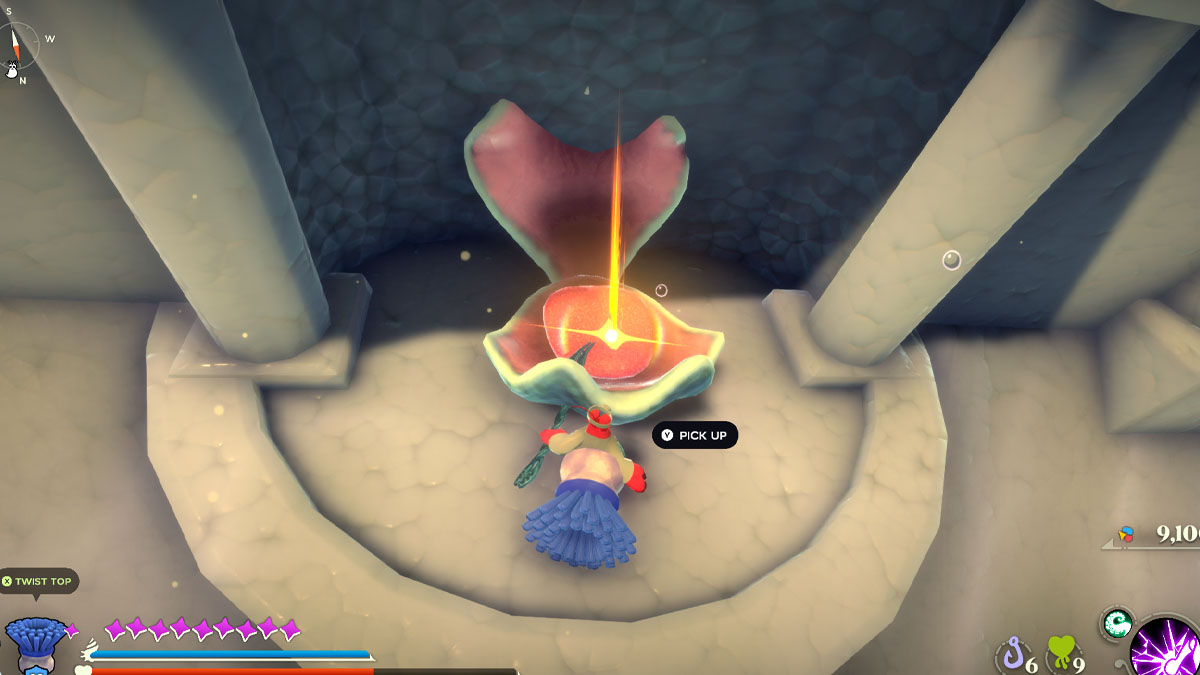
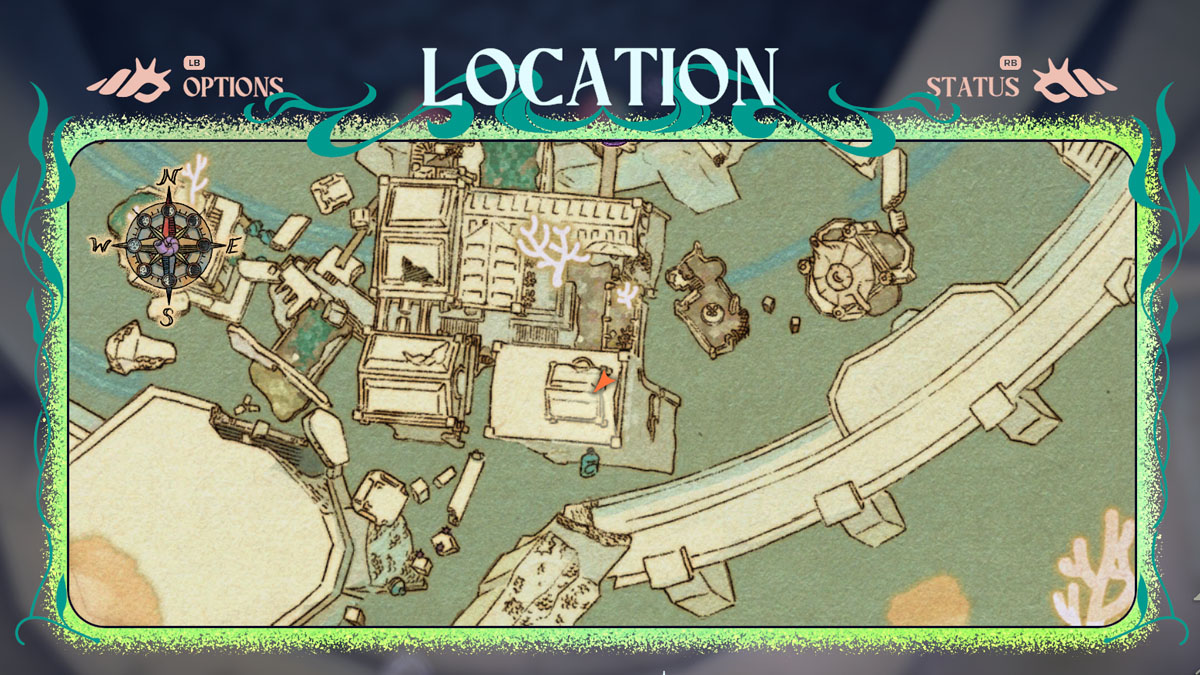
After going through the way in the City Gates teleport, you’ll find a Royal Lobster Guard in front of a passage to the right side. Head through this passage and jump through the blue sponge to find the shell with the final Relic in it.
Where to Use Stainless Relic in Another Crab’s Treasure
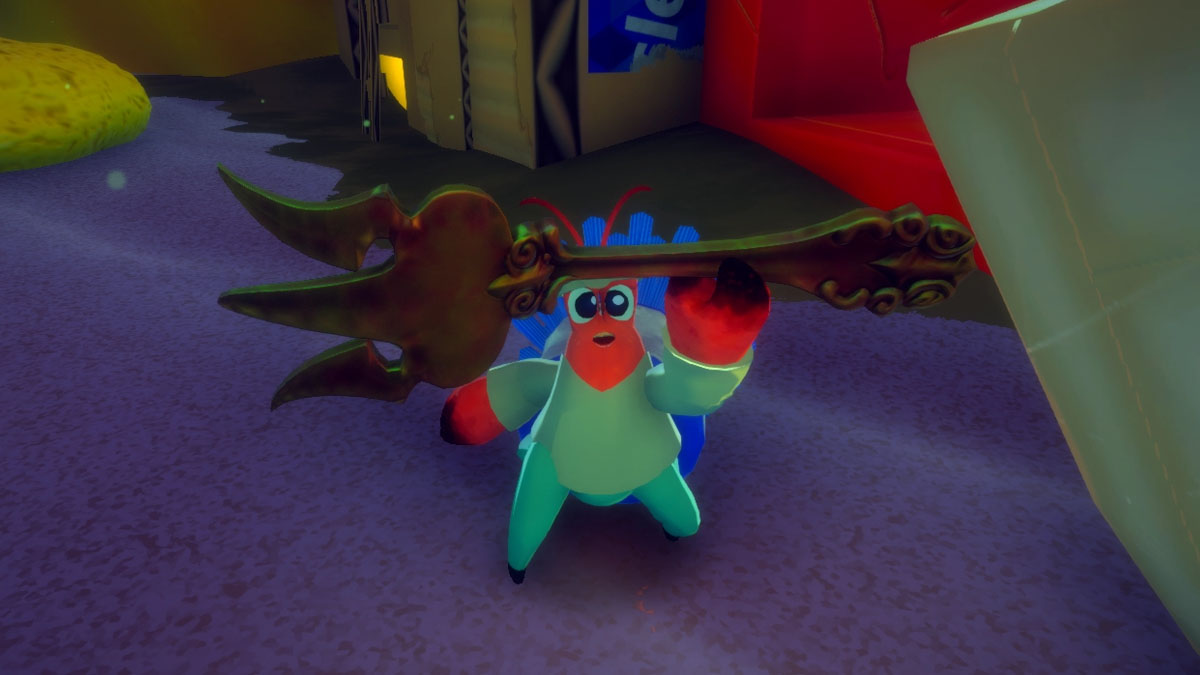
Stainless Relics can be used in the Hammerhead NPC in New Carcinia. By giving him one of your relics, he can upgrade your Fork to the next level, giving an instant +3 in Atk. Combined with an Attack-focused build, this makes for one of the easiest power boosts you can get in the game.
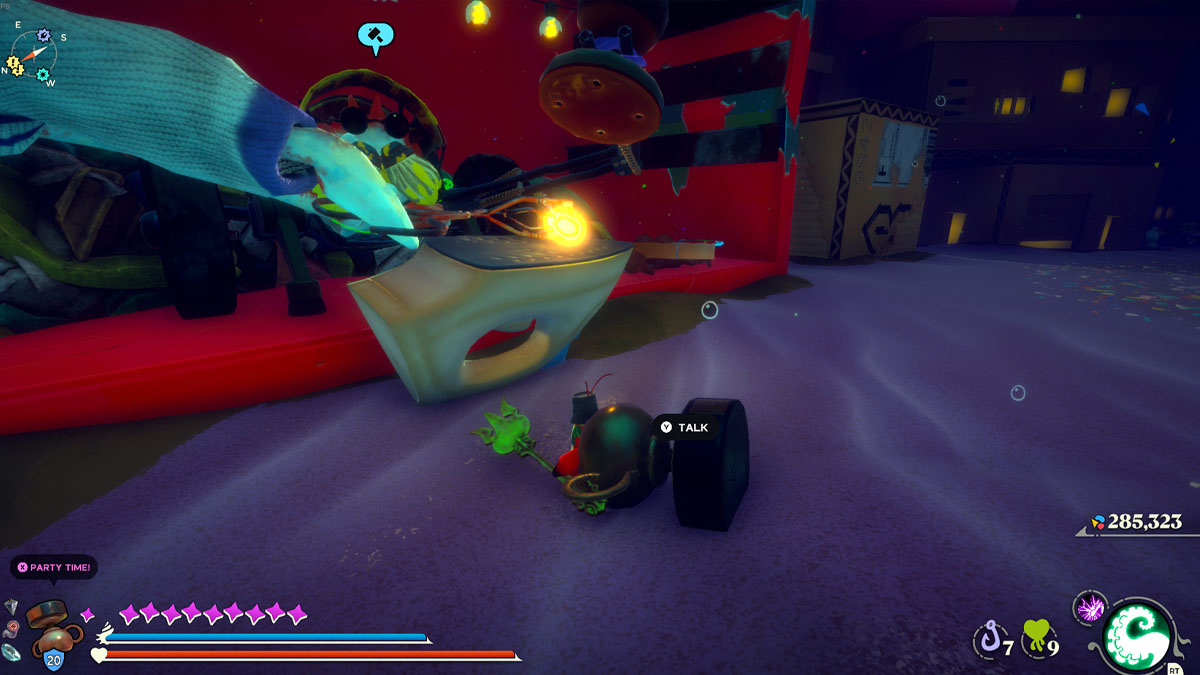
There is no extra cost for upgrading your Forks, and the blacksmith is conveniently positioned right next to the Moon Snail Shell in the Lower Crust. So whenever you find one, rush immediately back to the city to get that so-deserved boost to your seafood-killing abilities. Upgrades are given at 1, 2, 3, 4 and 5 Relics, respectively.
Completing your fork gives you a total of +15 boost in ATK and the Make it Shine achievement. Just like getting those Bloodstar Limbs, finishing the fork upgrades means basically getting a ton of free stats. Hooray for free Microplastics!




Published: Apr 25, 2024 12:35 pm