
Compared to other levels in Astro Bot, Bubbling Under is incredibly open and confined to one massive area for most of the collectibles. To help you finish your collection in this system, this guide will cover all of the puzzle pieces and Bot locations within the water.
Bubbling Under Walkthrough and Collectibles in Astro Bot

The start of this level is mostly an empty practice lane for the penguin ability. It helps you swim faster and is integral for traversal underwater. After you reach the massive lagoon further on, the real search for the Bots begins, and you can find the full walkthrough below.
Bubbling Under Area 1
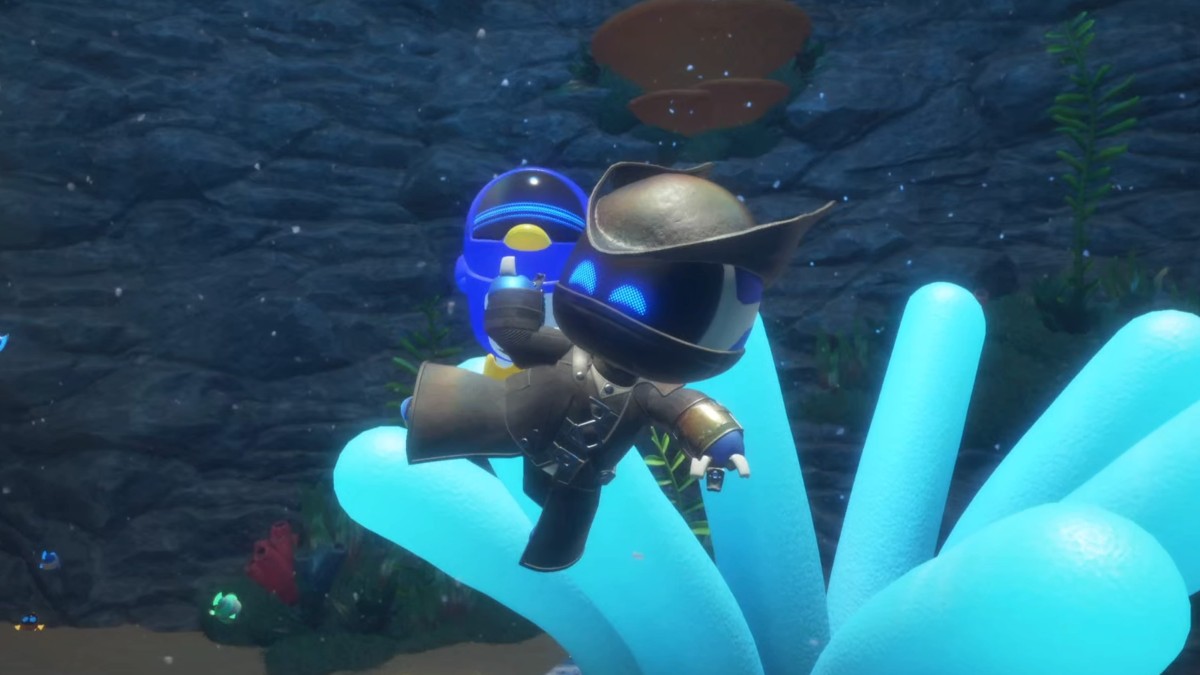
Get this section going by diving into the water over the edge. Swim toward the anemone in the center of the water and give it a smack to reveal a blue chest. These always indicate a level-based ability and this time is no different. A penguin pack will go on your back allowing you to swim much faster and with more momentum. By holding “R2” you can move like a fish or dive over obstacles above the water when following the arrows.
Use that speed to follow the blue arrows up ahead and angle yourself so that you can launch yourself out of the water. When there is land on the other side, it’s a simple jump. But if there is water, you can use this to continue the dive. In this case, it’s land and there are a few enemies ahead of you. Punch the purple dudes and hold “Square” against the bolt enemy to defeat it. Then you can jump back into the water.
Follow the arrows on the waterfall and hold “R2” to make sure you don’t lose momentum. You will be brought to another set of waterways full of jellyfish and small chests with coins. Keep using the dive to make your way over the obstacles and you will eventually find the entrance to the main part of the level.
Bubbling Under Area 2 (Puzzle Piece 1, Bot 1, Bot 2)

Start by going to the right side of the level where you can see a tall cylindrical tower that barely juts out of the water. If you get to the top of this tower and then continue to the right, you can avoid the spiky balls and find the first Bot on a floating platform. When you get close enough, there is a robot that will lift the Bot and speed away when you try to get closer. The trick is to swim underwater and use the dive to hit the Bot before it gets away.
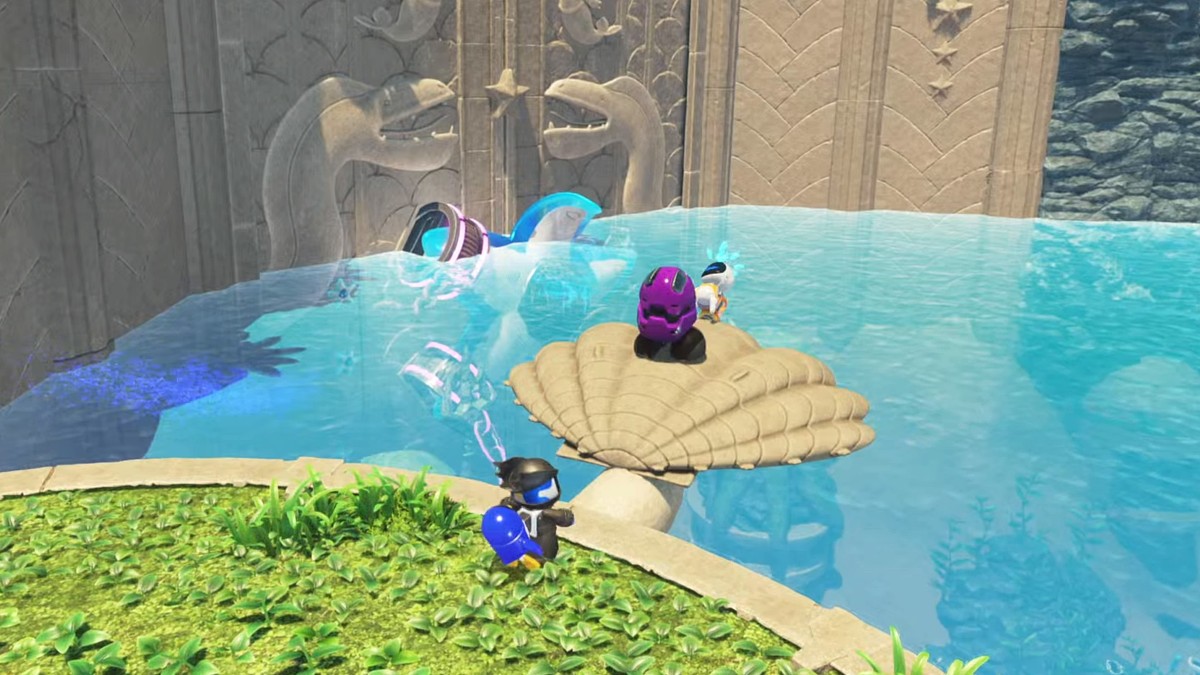
Once you have the Bot, head back on top of the cylinder and jump into the water within. In here you will find the first of four locks that are holding the giant starfish. Freeing the starfish is the goal for this level and you can break all the locks by simply punching them. Hit this one a few times to get started on the objective.

Before you go any further, swim to the bottom of this tower where there is a colorful bubble. Dash inside to quickly grab a puzzle piece and then dart back out. There is a trampoline you can use to jump out or you can use the penguin. Regardless of the method, aim toward where the first Bot was but remain underwater to find a second one.
You will find an entrance with a blue glow directly next to this tower that has three enemies inside. They are trying to move close to the second Bot but the current is pushing them away. Use the penguin to swim toward the Bot on the valve and give it a smack to add it back to the ship. That makes all the collectibles in this section of the map.
Bubbling Under Area 3 (Bot 3, Puzzle Piece 2)

Head back to where you started and swim straight into the colorful bubble near the entrance. You can see a couple of purple enemies lurking inside that you can quickly take out. When they are dealt with, start punching the purple lock to break the second major chain on the giant starfish.
If you continue forward and leave the bubble from the opposite side of where you entered, you can see much of the level below you. Look toward the left side until you find a blue volcano like the one from the Hieroglitch Pyramid level. There are a few below the surface but only one of them has a Bot that is hiding in the opening. Keep watching until it appears so that you can swim over and add it to the ship.
There is one more Puzzle Piece that you can easily reach from here before you go to the next section. Swim to the left to find another giant colorful bubble on a column. Within the bubble is one of the glass enemies swinging a spiky ball like the ones in the Slo-Mo Casino. Swim inside and break the enemy with a couple of punches. A blue glowing cross will appear under it that you can open with the standard “Square” sping. Beneath the dirt is a treasure chest you can hit to grab the piece.
Bubbling Under Area 4 (Bot 4)
Before we head into the dark depths of the map, we want to get the second surface level area. Look toward the surface on the left side of the water to see another tall structure with arrows. Swim at full speed on the arrows to dive on the grass. Now you can take out the electric enemy and use the ropes to get to the top of the structure.
A few more enemies will attack, including a pig. Break the enemies and then wait for the pig to charge you. After dodging the pig, jump behind it and hold “Square” to spin it and throw it at the purple lock on the pillar. This marks the third broken chain on the giant starfish.
Before you leave this area in Astro Bot, look at the shell on the ledge of the structure. Another Bot is being attacked by a purple spiky enemy. Quickly punch it to get rid of it and then you can smack the Bot to add it to the collection.
Bubbling Under Area 5 (Bot 5)
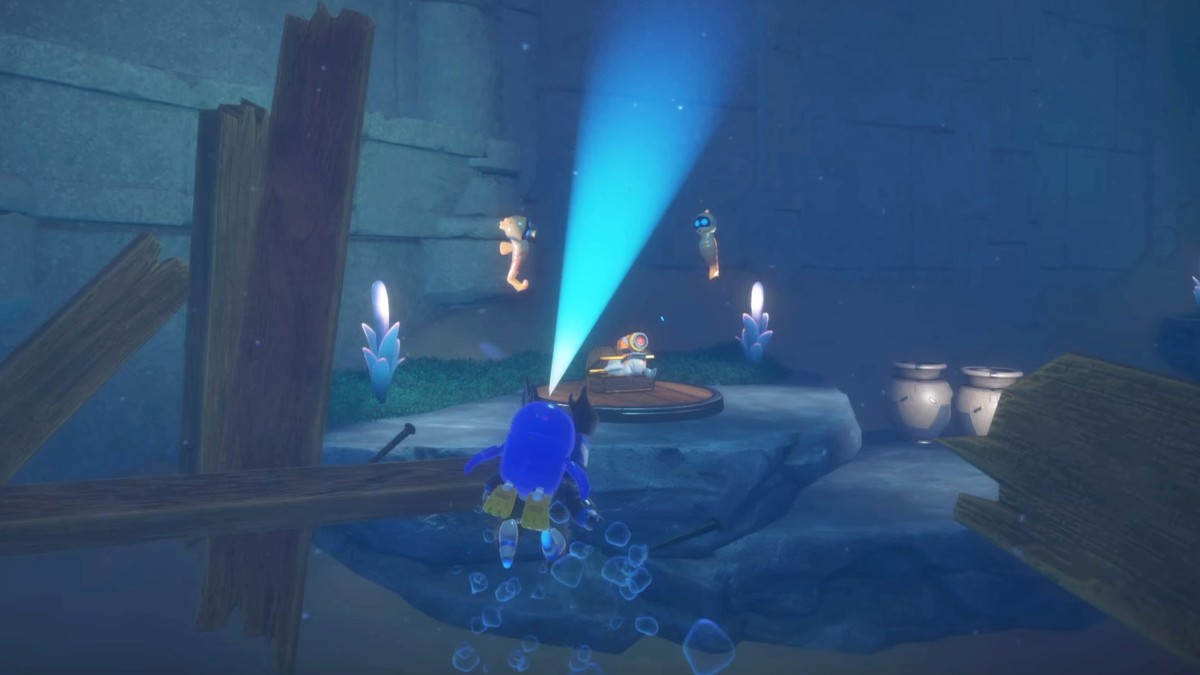
Swim directly beneath the structure you just left until you reach a sunken pirate ship. You will find yourself in an area that is deep enough to need some extra light and there are plenty of enemies. I recommend breaking the chest on the deck of the ship for some extra coins and then entering the ship through a broken hole on the right. This allows you to bypass all the jellyfish and reach the fourth purple lock. You still need to beat some extra enemies that are guarding the lock, but they are easy. Punch the lock to completely free the starfish.
With the giant starfish free, you can technically end the level. But there are a few more collectibles. If you look at the wall of the ship directly to the left of the fourth lock, there is a face symbol. Dash through that broken wood with the face to find a chest with a Bot on the other side. Smack the Bot and then start swimming to the right to reach another dark area.
Bubbling Under Area 6 (Bot 6, Puzzle Piece 3)

Head to the right side of the depths to find three anemones. Hit all three of them to light them up, pop some chests out, and cause the third puzzle piece to appear in the center of them. Grab the piece and then look toward the cove walls to see a giant green beast with scales.
In front of the green beast, you will see the sixth Bot in this level. As you get close, the beast will swallow both of you and you will fall into its stomach. Dodge the two spiky balls that roll back and forth. On the other side of them is the Bot tied to some kelp. Smack the Bot to add it to the ship and then head back out the way you went in.
Bubbling Under Area 7 (Bot 7)

As you head to the massive staircase where the starfish was, look at the base where a handful of fish are swirling. Between them all is the last Bot that can easily be hit and added to the ship. Now all that’s left is to dive a few times on your way up the waterfall.
When you reach the top, the giant starfish is waiting along with the usual end of the level flag. Either bask in your success and step on the platform to end the level and head back into the system.
Astro Bot is available now on PlayStation 5.


Published: Sep 11, 2024 05:33 am