
The frog gloves are back and it’s time to start punching your way through this neon-filled Astro Bot level. Our guide will cover how you can find all the Bots and the puzzle pieces scattered around these mushroom caves so you can keep the spaceship collection going.
Jump To:
- Wormy Passage Walkthrough in Astro Bot
- Wormy Passage Area 1 (Bot 1)
- Wormy Passage Area 2 (Puzzle Piece 1)
- Wormy Passage Area 3 (Bot 2)
- Wormy Passage Area 4
- Wormy Passage Area 5 (Bot 3, Bot 4)
- Wormy Passage Area 6
- Wormy Passage Area 7
- Wormy Passage Area 8 (Bot 5)
- Wormy Passage Area 9
- Wormy Passage Area 10 (Bot 6, Puzzle Piece 2)
- Wormy Passage Area 11
- Wormy Passage Area 12 (Bot 7, Puzzle Piece 3)
Wormy Passage Walkthrough in Astro Bot
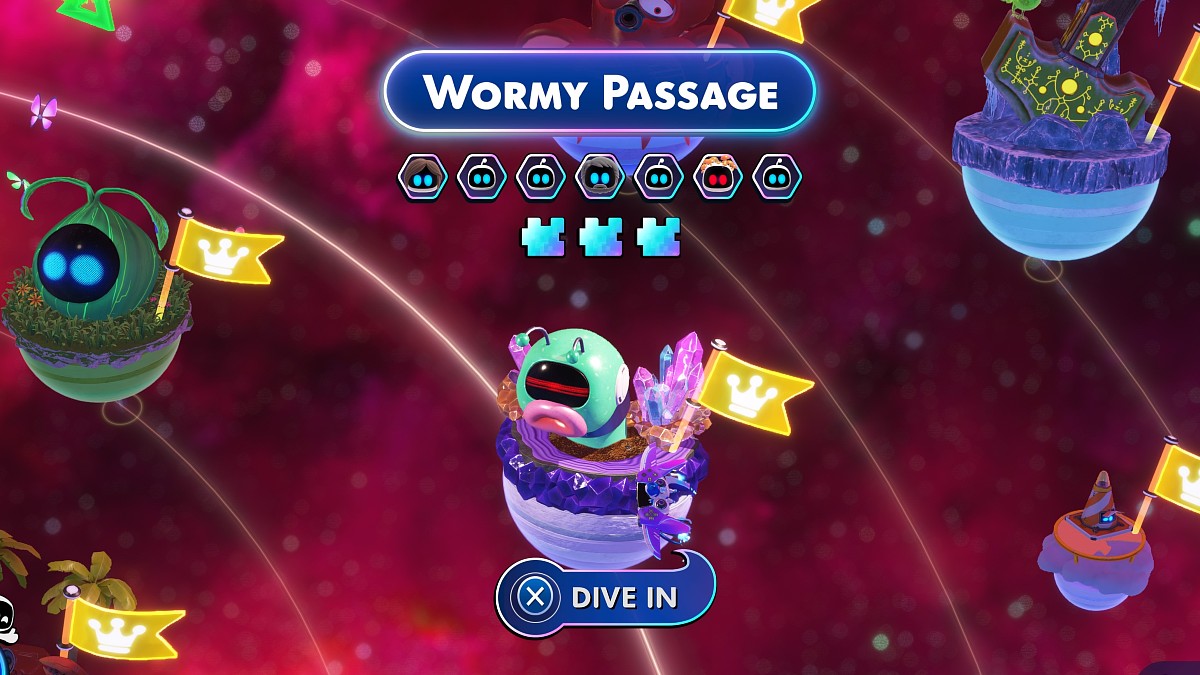
Compared to other levels, the passage can get dense. There are plenty of checkpoints to get through and not all of them have collectibles. Below you can find the full breakdown of Bot locations and puzzles that litter the caves.
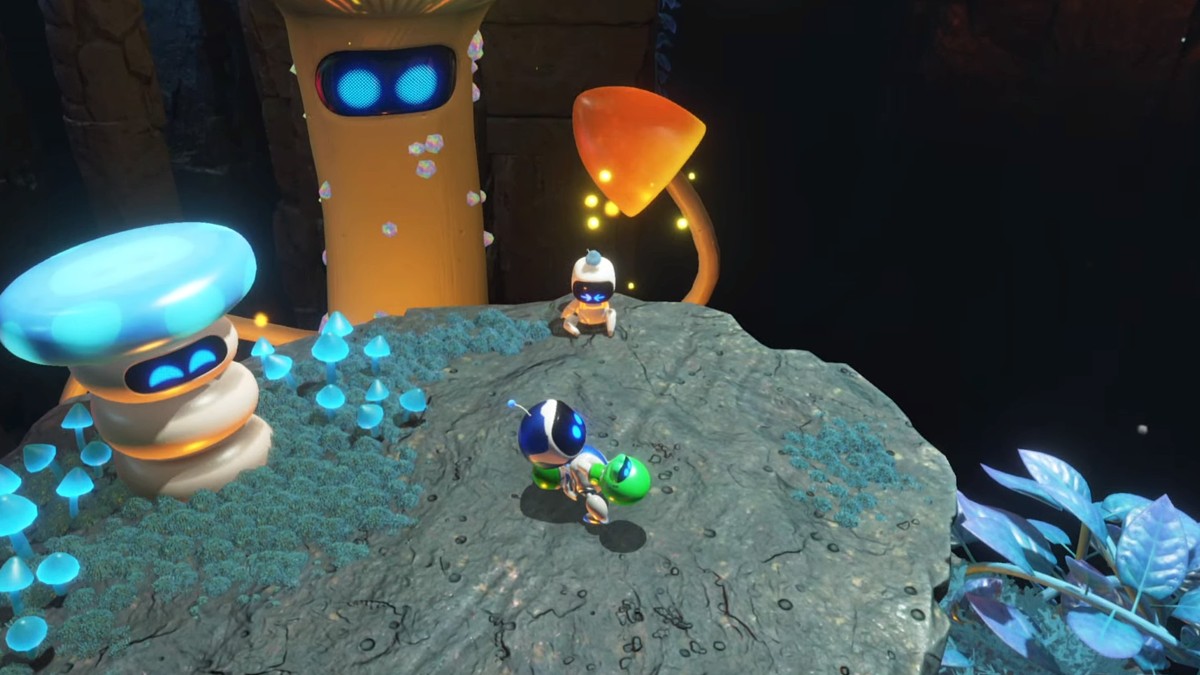
Wormy Passage Area 1 (Bot 1)
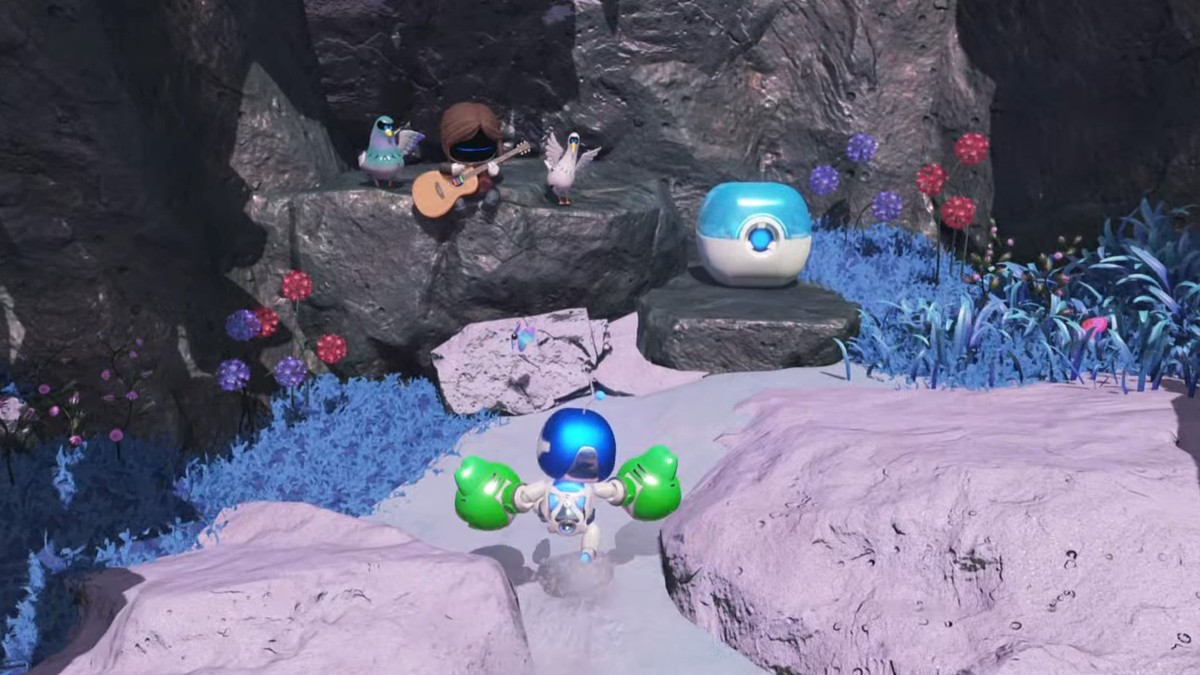
After opening the chest at the start of the level and grabbing the gloves, it’s time to grab an easy collectible. Head to the left side of the walls next to the golden door. You can find the Bot version of Ellie playing guitar. Quickly collect here and then head back to the golden door in the center of the walls. Use a nice combo of punches with “L2” and “R2” to break down the metal and reveal the next area.
Slide down the passage that follows the door. This brings you to the second checkpoint in the level.
Wormy Passage Area 2 (Puzzle Piece 1)
There is a ledge in this section with two golden crystals jutting up. Punch both of these with the gloves to shatter them and open some easy platforms. Jump across and watch out for the cactus enemy that will fly backward and start hurling bombs. You can punch the bombs toward the cactus just like the level in the Gorilla Nebula.
With the cactus out of the way, we’re already at the next section. Punch the golden crystals to your right before going on the main path. A few of them take up that space so it takes a few punches to shatter them as well. Underneath all the crystals is the first Puzzle Piece in the Astro Bot passage.
Wormy Passage Area 3 (Bot 2)
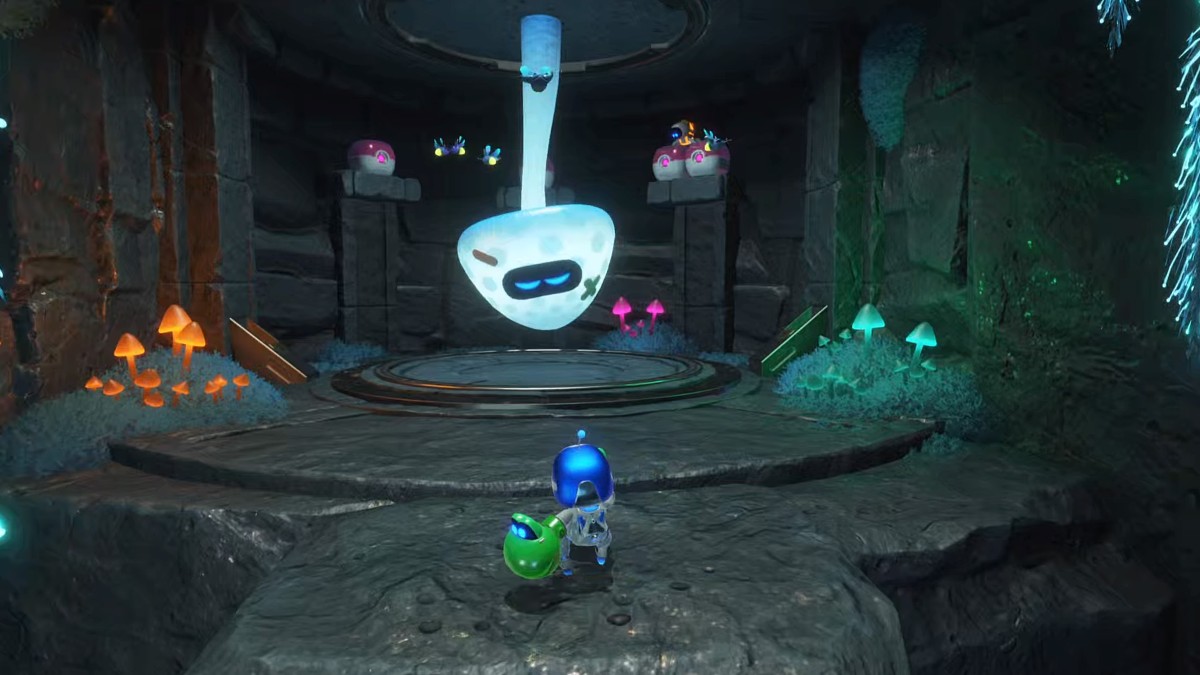
Go back to the left and punch the crystals to drop the full platform above. Head across until you encounter two more worms that can be punched and flipped like the one from the start of the level. Then you can go to the left and use the spinning platform to get up high. You will find a giant glowing mushroom hanging from the ceiling. Punch the mushroom from the opposite side of the Bot on the purple chests. It’s an easy way to get coins and another collectible.
Move back down to where you took down the worm enemies. There will be some cylinders waiting to be used to easily get across the chasm.
Wormy Passage Area 4
Punch the first red cylinder to stick the glove to the surface. Then you can spin and launch yourself to the second one. That will be enough to reach the mushrooms so you can continue platforming to the next area. This is a short area with some free coins you can grab before you get further.
Wormy Passage Area 5 (Bot 3, Bot 4)
Get ready to punch more cactus bombs at your enemies. After taking the cactus out, there is a giant gold mushroom ahead. Punch the mushroom to knock the next Bot on the ground. It’s easy to miss this collectible so watch for the gold glow as you move. After smacking the third Bot, jump up the mushroom path.
There are two paths you can take from here, but you want to move toward the left before anything else. Move up the mushrooms until you find a round cactus. Punch it until it glows orange and explodes. The fourth Bot in the level will appear from there.
Now head back down and you will find a stone platform to the right with a worm statue. On the statue is a red circle that you can punch and pull. A couple of red cylinders will appear on new platforms so that you can move to the next section.
Wormy Passage Area 6
For this checkpoint, the red cylinders will retract as the statue heads spin. You need to make your way across three of these to reach the other side, so timing is key if you don’t want to fall. Time your swing on the red cylinders so that you latch on as soon as the first one appears. Then you can confidently launch yourself to the next two and reach the other side.
Wormy Passage Area 7
Sand covers the platform here and as you approach, there will be four worms that pop out of the ground. Punch each one in the mouth and then pull to eliminate them. Just watch for ranged attacks as you keep your distance. If you manage to take all four out, then a giant worm will appear as you collect the coins. This worm requires both gloves to pull and throw but the idea is the same.
Wormy Passage Area 8 (Bot 5)
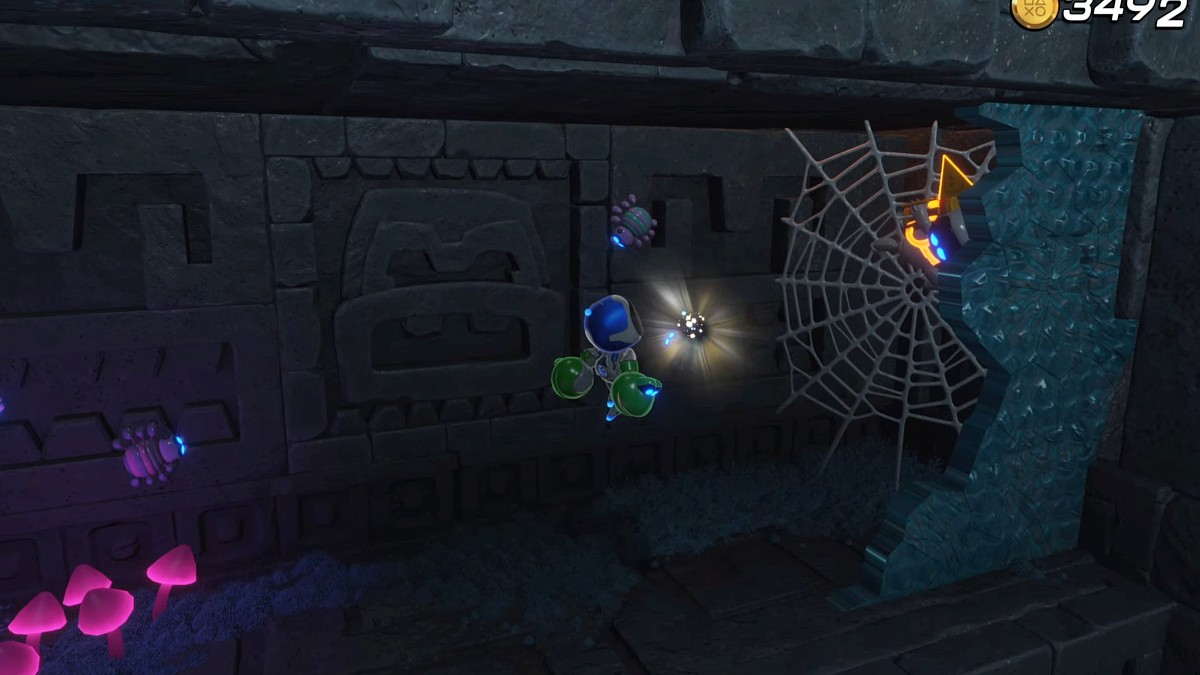
There is a trampoline that appears where the giant worm destroyed the rock. You can jump up and destroy all the blue glass that covers the wall. However, there are two levels. On the bottom level, there is a secret shelf. Within that shelf is a Bot stuck to a spider web. Break through and smack the Bot to add them to your collection.
Head back down and jump to the top glass level. Smash through and enter the other side to find a slingshot for the next area.
Wormy Passage Area 9
Prepare for two cactus robots to roll bombs at you at the same time. Give yourself some space and then punch the bombs right back at them. From there you are free to move forward until another giant worm appears. Flip it over to truly clear the way and earn yourself a giant coin as a reward.
Wormy Passage Area 10 (Bot 6, Puzzle Piece 2)
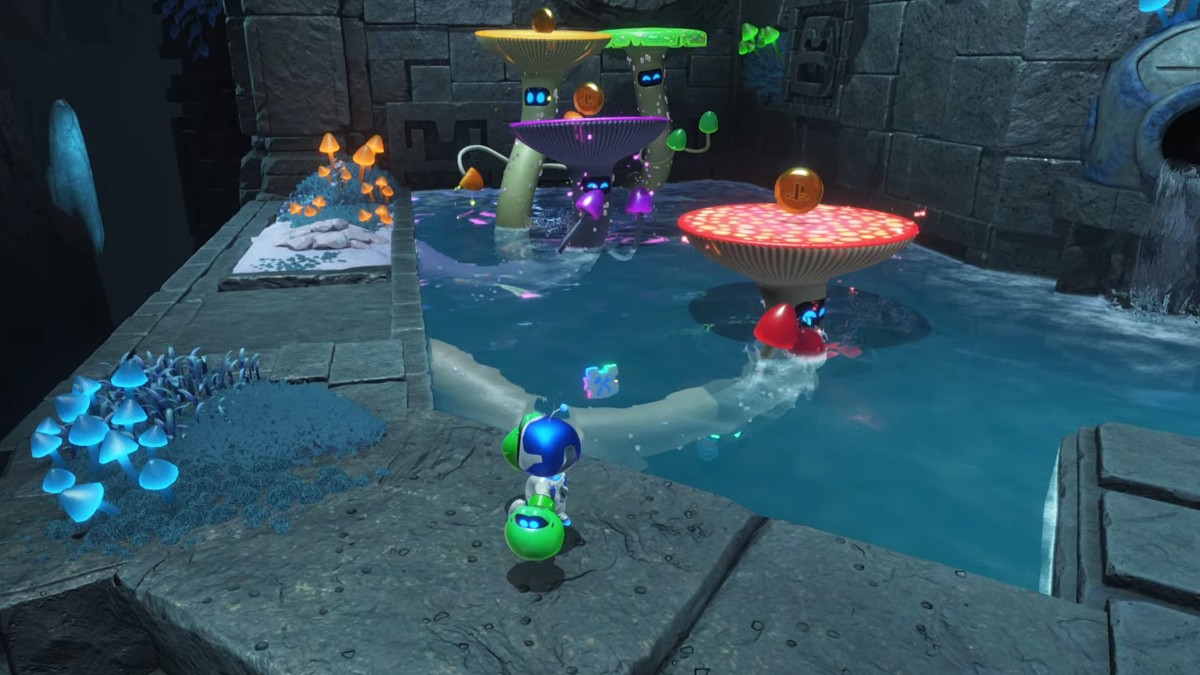
Walk on the stone ledge and go left to find a mushroom-covered Bot. He is hanging out right next to a bunch of other orange glowing mushrooms, so he can blend in a bit. However, there is no extra puzzle to reach him. Run right over, give the Bot a smack, and then head back to the front of the stone ledge.
At the edge of the platform you can reach the worm face statue with a red circle. Punch the circle and then pull so that water starts to fill the area below. Then you can jump in the water and swim toward the Puzzle Piece at the bottom left. As you grab the piece, you need to hold the surface button with “X” so that you don’t sink down to the spikes.
Now go back to the top and jump across the mushrooms until you reach the gold circle on the wall. Give the gold a good combo of punches so you can reach the other side.
Wormy Passage Area 11
Fly toward the sumo and let the enemy charge you. Jump over the attack and then punch the sumo in the back with the frog gloves. After the sumo is gone, jump on the platform with an apple which causes a massive worm to try and eat you. You will end up in the worm’s stomach for one final section.
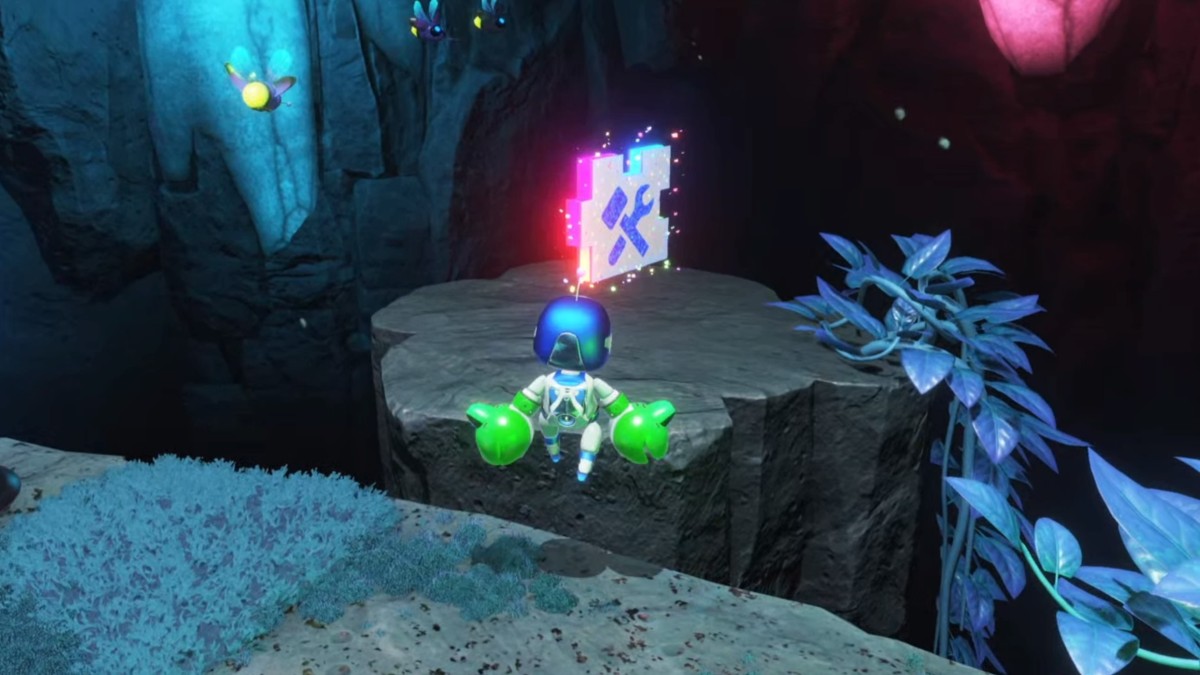
Wormy Passage Area 12 (Bot 7, Puzzle Piece 3)
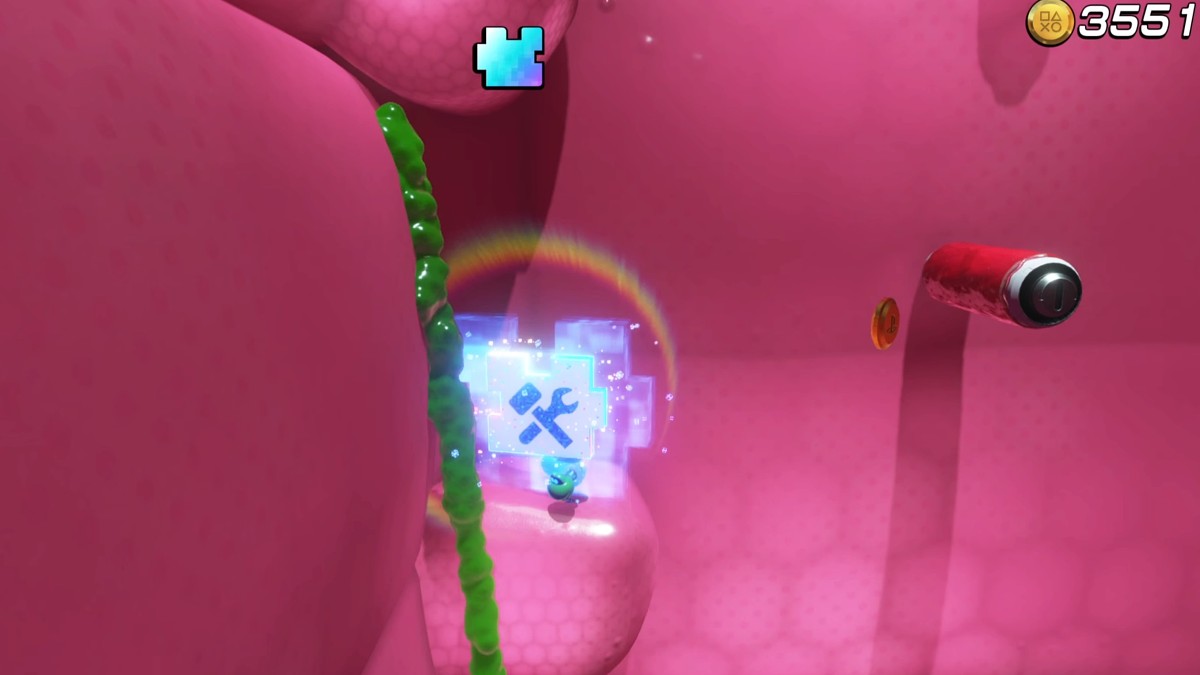
Right as you start this area, there is a Bot waving a flag. Simply jump on the platform ahead of you and grab the Bot. Then you need to use the trampoline and platform your way to the top before the acid gets you. On the way up you’ll find a puzzle piece on the left side of the screen. Grab the piece and continue up.
Pull the mouth of the worm open at the top with your gloves so you can escape. The worm will fall and you can jump on the flag to end the level for the Tentacle System.
Astro Bot is available now on PlayStation 5.


Published: Sep 10, 2024 1:48 AM UTC