With the release of Dead Rising Deluxe Remaster finally here, I’m here to help you make your way through this tricky, timed experience. We’ll be aiming for Ending A here and cutting the fat, so get ready to embark on a journey with us.
Table of contents
- Dead Rising Deluxe Remaster Walkthrough – All Cases
- Dead Rising Deluxe Remaster: Starting Mission
- Beginning Case 1-2 in Dead Rising Deluxe Remaster
- Carlito Keyes (Food Court)
- Beginning Case 1-3 In Dead Rising Deluxe Remaster
- Beginning Case 1-4 in Dead Rising Deluxe Remaster
- Beginning Case 2-1 in Dead Rising Deluxe Remaster
- Beginning Case 2-2 in Dead Rising Deluxe Remaster
- Carlito Keyes (Entrance Plaza)
- Beginning Case 2-3 in Dead Rising Deluxe Remaster
- Steven Chapman (Seon’s Food And Stuff)
- Beginning Case 3-1 in Dead Rising Deluxe Remaster
- Beginning Case 4-1 in Dead Rising Deluxe Remaster
- Beginning Case 4-2 in Dead Rising Deluxe Remaster
- Isabella Keyes (North Plaza)
- Beginning Case 5-1 in Dead Rising Deluxe Remaster
- Beginning Case 5-2 in Dead Rising Deluxe Remaster
- Beginning Case 6-1 in Dead Rising Deluxe Remaster
- Beginning Case 7-1 in Dead Rising Deluxe Remaster
- Beginning Case 7-2 in Dead Rising Deluxe Remaster
- Carlito Keyes (Maintenance Tunnel)
- Beginning Case 8-1 in Dead Rising Deluxe Remaster
- Beginning Case 8-2 in Dead Rising Deluxe Remaster
- Beginning Case 8-3 in Dead Rising Deluxe Remaster
- Beginning Case 8-4 in Dead Rising Deluxe Remaster
- Larry Chiang
- Starting “The Facts” in Dead Rising Deluxe Remaster
Dead Rising Deluxe Remaster Walkthrough – All Cases
We’ll be starting from the beginning, and working our way through every timed case in the game, trimming things down as we go to ensure that we can get Ending A without any issues. If you’re hoping to tackle all of the additional side Psychos beyond the mandatory ones we’ll encounter through the story, we’ve got a full guide on every Psycho in Dead Rising Deluxe Remaster and how to beat them.
Dead Rising Deluxe Remaster: Starting Mission

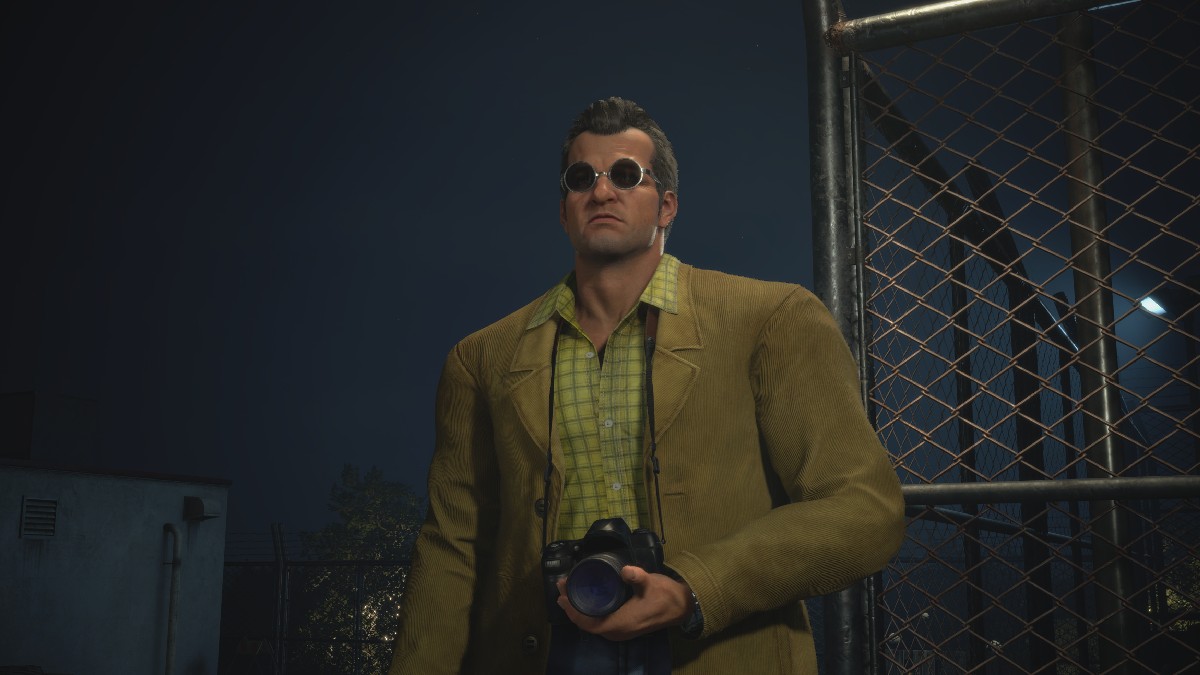
We start our adventure as Frank West, heading into the town of Willamette to catch the latest news break: something is going on at the Mall and in the town, and we’re here to get to the bottom of it. We come in by Helicopter and can snap some pictures of what’s going on in the town for an early PP/EXP boost before we even start the real adventure.

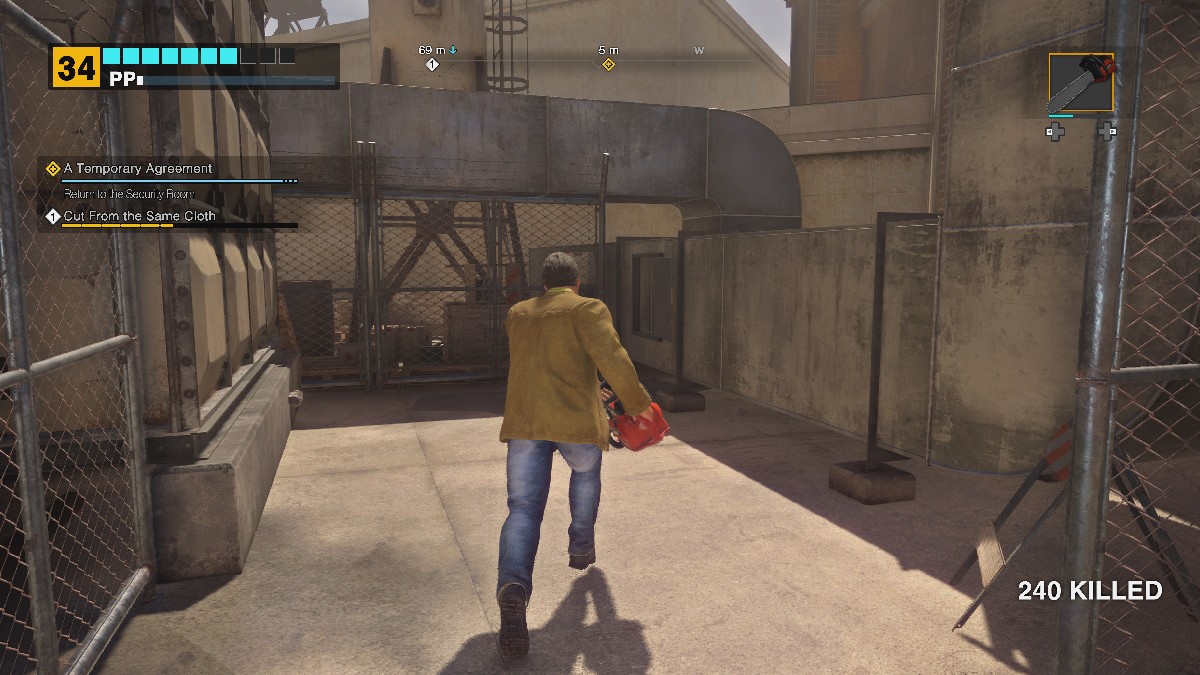
Snap pictures of everything happening along the way before we land on the roof of the Willamette Mall, where we’ll be greeted by a man named Carlito. We’ll need to head inside and start exploring if we want to get to the bottom of this case.


Head in through the door before you, and you’ll find yourself in the Security Room. Head down the stairs and you’ll find the Security Room door, as well as a large couch that serves as a place to save your game, as well as where you can Advance Time. Head through the Security Room door and take the first door to the right, then head down the hallway to head into the mall itself.
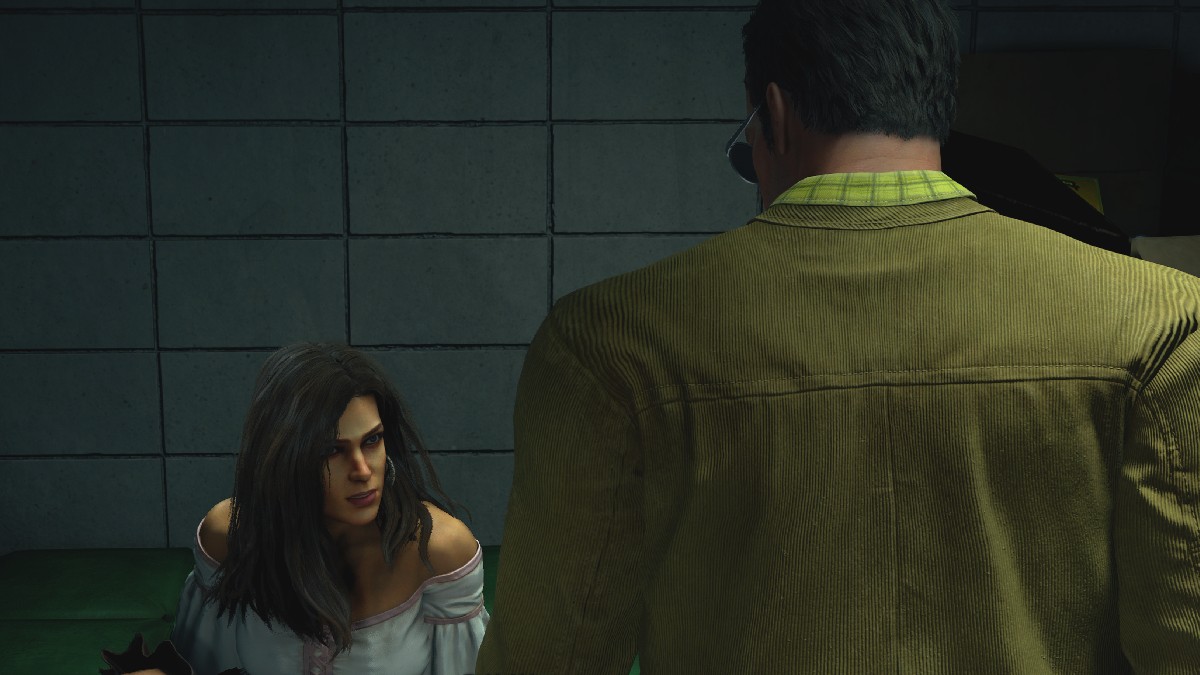
Frank will find himself with a group of folks trying to barricade the front doors before the Zombies can get inside. You’ll be introduced to the first few supporting members of the cast, including Isabella who plays a major part in the story. You’ll be asked to find something that can help barricade the door, so head to the end of the room and grab either a bench or a TV.

Before you can snag an item, however, you’ll encounter an old man who is behind a locked gate. He’s very angry that he’s here, and tragedy is about to strike. Madonna has been found, and the old woman opens the door to try and get her dog back. Well, she just unleashed hell upon the Willamette Mall and got herself eaten in the process. Get ready to run and make it to the stairs. Grab a weapon and get ready to start smacking.

Once you make it about halfway up the stairs, a cutscene will trigger and you’ll find yourself back in the Security Room with a few other survivors: Jesse, Brad, and Otis. They’ll weld the door behind them, and Brad will make his way into the Mall once again.

Head toward the vent, and Otis will give you the Transmitter and a Map. These will serve as the best ways to get around the Mall while getting Scoops that can help us save Survivors and find other Psychos. We’ll be starting the quest 72-Hour Nightmare, and we’ll descend back into the mall by using the Elevator at the top of the Helipad.

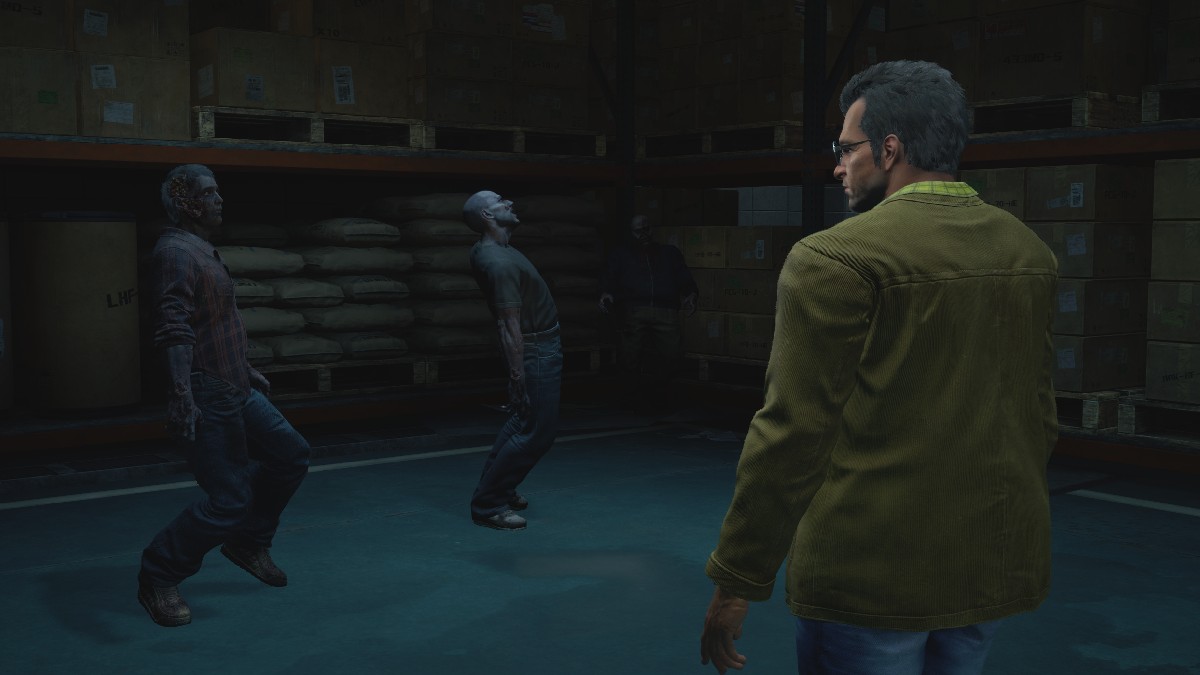
Snake your way through the Warehouse to be jump-scared by a “Zombie” and get the best line in the whole game. After this encounter, you’ll find yourself in Paradise Plaza, and you’ll need to head to the Food Court to find and help Brad against a mysterious assailant.
Beginning Case 1-2 in Dead Rising Deluxe Remaster

Head through the door to go to Paradise Plaza. After the previous cutscene, you’ll receive a Handgun with 30 rounds, but I would suggest going upstairs and grabbing a Baseball Bat, as well as a jug of Orange Juice from Columbia Roasters. You can also find a hidden Katana upstairs by jumping the wall in Columbia Roasters onto an awning.
Save your Handgun ammo for the upcoming fight, and use the Melee weapons that you’ve obtained to smack the Police Zombies who are carrying Handguns. The more firepower we have for this fight, the better.
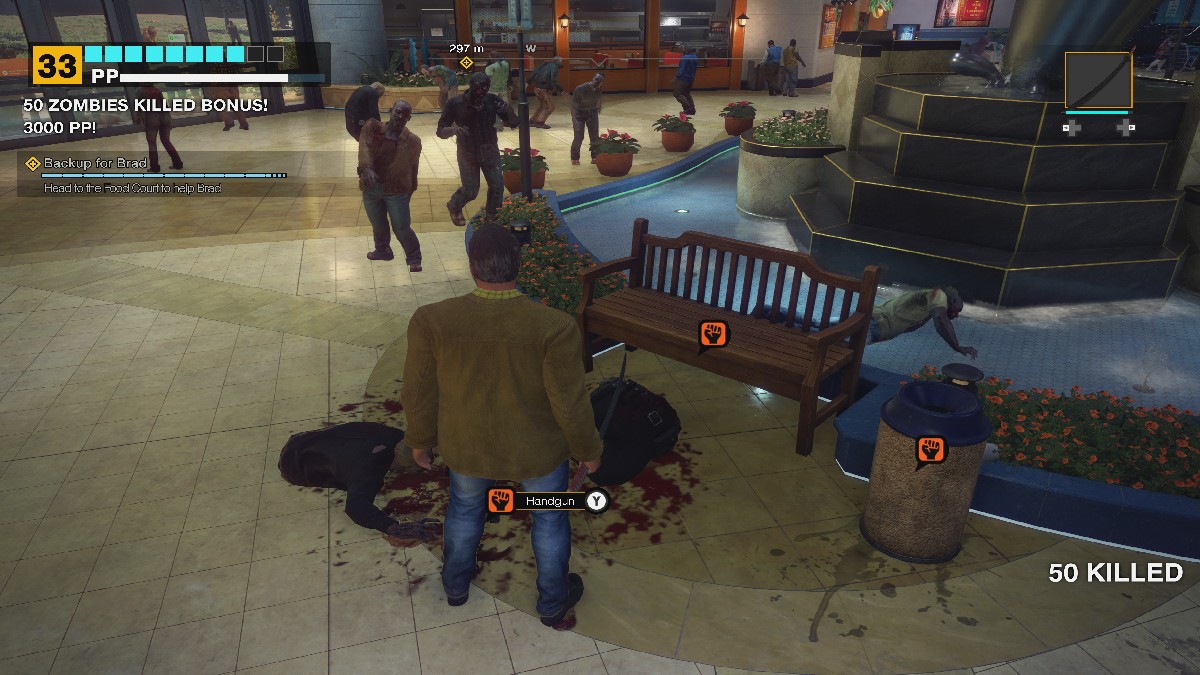
You’ll need to head to Leisure Park, which is found by walking through the Glass Doors that are at the bottom of the stairs. Do this and head toward the Food Court by following the blip on your Radar, where we’ll find Brad engaged in a battle for his life against the man that we met at the top of the Helipad. Now, we’ve got our first Boss Fight.
Carlito Keyes (Food Court)

- Location: Food Court
- Time: September 19
- Quest: Case 1-2
- PP Bonus: 20,000
The first fight against Carlito is one of the easiest in the game, especially now that the controls for the game have been drastically revamped. You’ll receive a handgun with 30 rounds, have access to plenty of food for health recovery, and can easily take Carlito out wherever you are on the map.
I would suggest rounding around the back of the food court, finding the box with the yellow UP arrow on it, and heading to the rafter above where Carlito is. You can shoot him with the Handgun, attack him with Melee weapons, and do whatever you need to to bring him down. He doesn’t have much health, so he won’t be much of a problem here.

After you have defeated Carlito, you’ll have the chance to progress the story, now that Case 1-2 is complete. You’ll need to fight Carlito again a little later, and this time, he’s got a bigger and better arsenal.
Beginning Case 1-3 In Dead Rising Deluxe Remaster
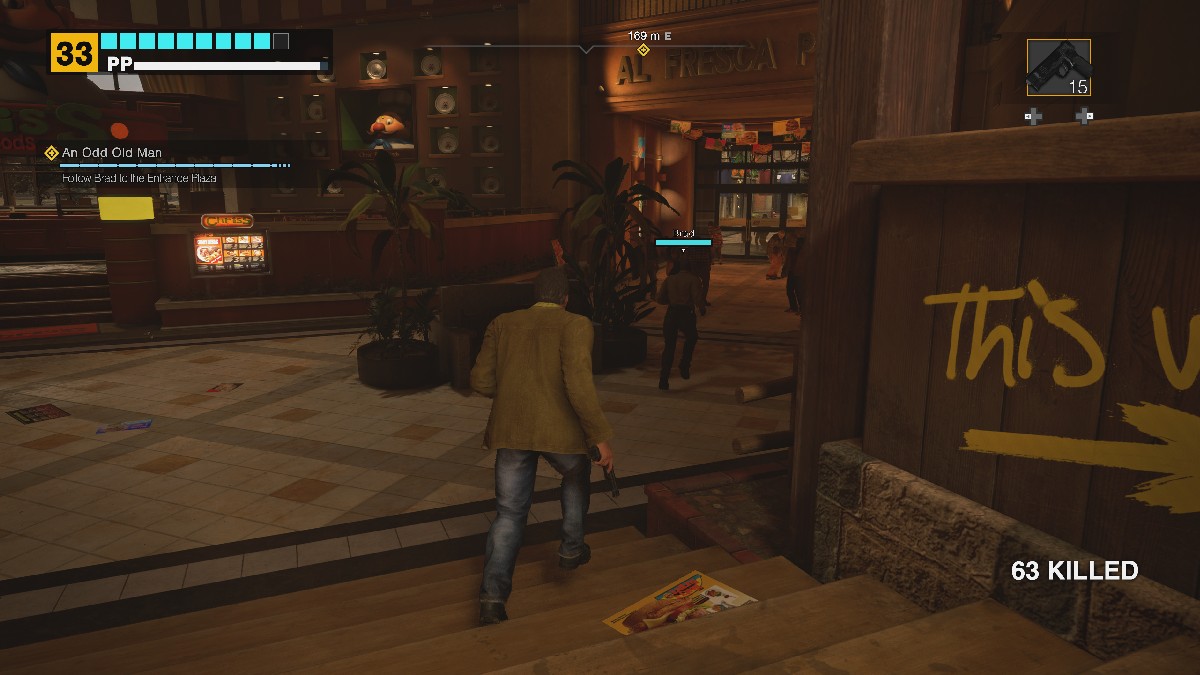
Carlito will rappel away into the darkness, and Brad will thank you for your help. You’ll need to now follow Brad to the Entrance Plaza to try and interact with the old man that you saw at the start of the game. Stick close to Brad and head to the Al Fresca Plaza.

Before going elsewhere, I would strongly suggest grabbing a Chainsaw from the Hardware Store to the left in Al Fresca Plaza, as it’s one of the most overpowered weapons in the game and you can just mow through Zombies by holding down the RT/R2 button while running. It’s a great way to level up Frank West and add to your total kill count, as well. Continue following Brad.
Before we go into the Entrance Plaza, I would cut up the middle of the Al Fresca Plaza toward the fountain. You’ll find a Submachine Gun inside with 100 rounds of Ammo, and this is a very valuable tool to hold onto for a future boss fight. Go meet Brad by the door to the Entrance Plaza.
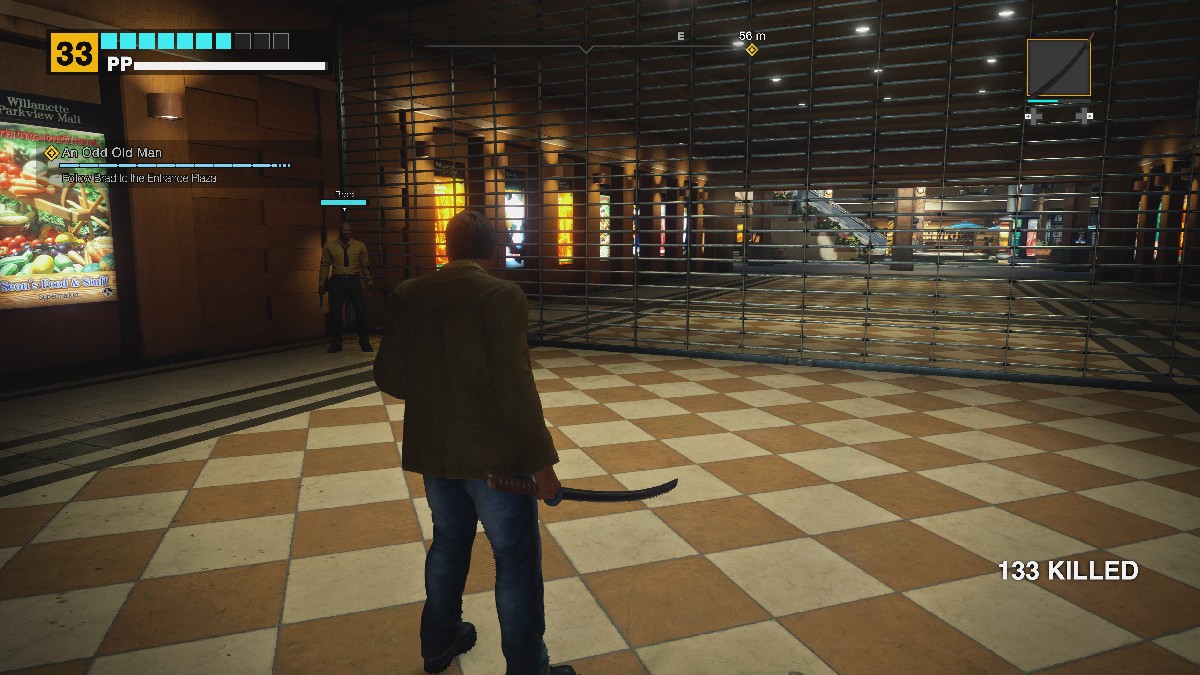
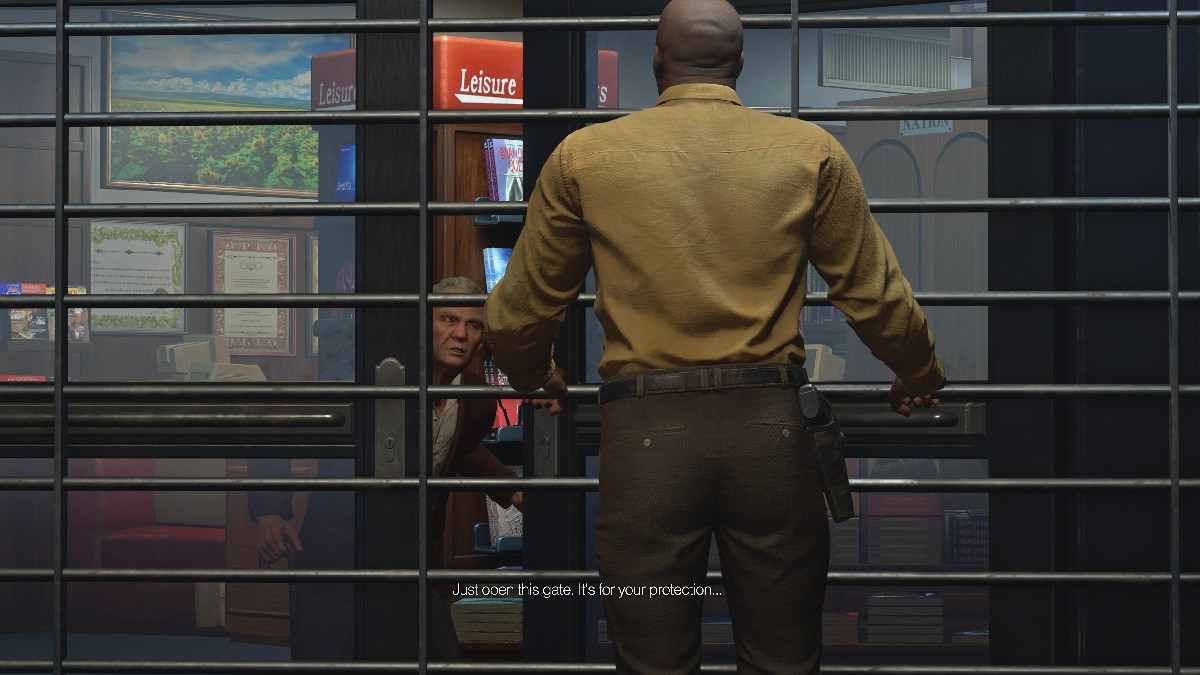
Brad will call you over to him, and you’ll receive access to the Entrance Plaza, which is where the start of the game took place. Follow Brad again, and he’ll lead you to Dr. Barnaby who has barricaded himself inside of a Bookstore.
After the cutscene has finished, you’ll be ready to wrap up this particular part of the case and move on to the next portion of the story.
Beginning Case 1-4 in Dead Rising Deluxe Remaster

To get to the next chapter of Dead Rising Deluxe Remaster, we’ll just need to head back to the Security office. Head back into the Al Fresca Plaza once again, and then into the Food Court. Again, I would strongly suggest stopping to grab another Chainsaw, as it’s going to be one of the fastest ways to carve through different zombies in the game.
Once in the food court, just keep going straight to head back into Leisure Park. You’ll need to cross over this area to get back to Paradise Plaza. Look around the Food Court for a bit to see what you can find, but grab a bottle of Wine or two to ensure you’ve always got enough health to survive the next onslaught of zombies.

Now that you’re outside again, head back toward Paradise Plaza. It’s just about a straight shot across this field, so you’ll just have to chop your way through some Zombies to make it back safely. There’s nothing too noteworthy about this area for the time being, so just get back to where we need to be.

Once you’re inside Paradise Plaza, you’ll want to head back to the Warehouse, which will lead you back into the Security Room. You’ll find the entrance door near Shoekins, so enter and snake back through the Warehouse to the elevator in the back. There’s a chance that it will be filled with Zombies at this point, so just be ready to start smacking.
Head up the ramp and up to the Vent to enter the Security Room once again, where you’ll have another cutscene, and Case 1-4 will be wrapped up with a bow on top.

The next Case starts at 6:00 AM, so you can either skip time to get to this point, or return to the mall and start chopping down Zombies and trying to save people. The choice is yours. For the sake of this Walkthrough, we’ll be skipping forward to Case 2-1.
Beginning Case 2-1 in Dead Rising Deluxe Remaster

Once we return to the Security Room at 6:00 AM, you’ll see Carlito dragging Dr. Barnaby into the Entrance Plaza. It’s time to head that way with Brad.
Beginning Case 2-2 in Dead Rising Deluxe Remaster

At the start of Case 2-2, you’ll want to head down the Vent, through the Warehouse, and back into the Mall once again. Hopefully, you didn’t use that Submachine Gun from earlier, because it’ll come in handy against the boss that we’re coming up against, but if you did, don’t worry; there are other ways to take him down.
You’ll also learn about what is controlling the Zombie horde: Wasps. Yes, Zom-bees, if you will. Frank will squish a Queen, and it will cause the Zombies in the area to convulse and die. You can absolutely use these Queens as weapons in the game, and they’re a valuable thing to have.

Once you’ve exited the Warehouse, head toward the Entrance Plaza to your left. There will be a fair number of Zombies over here, so smash them to bits and get that extra PP before heading in to help Brad fight Carlito once again.
Carlito Keyes (Entrance Plaza)
- Location: North Plaza
- Time: September 19
- Quest: Case 2-2
- PP Bonus: 20,000
The second fight with Carlito will begin on September 20 with Case 2-2. He’s got a Sniper Rifle, a lot more health, and he’s just generally a pain in the butt to deal with during this part of the fight. If you try to get too close, he’ll drop grenades at you, if you stay too far away, he’ll snipe at you. He’s just a jerk, and we’ll need to do whatever possible to eliminate him… for now.

Guns are pretty weak in Dead Rising Deluxe Remaster, so I would suggest bringing something like the Katana, use the Submachine Gun to help you whittle away his health. These will do quite a bit of damage against Carlito at this point, so you’ll just need to keep up with him and avoid his grenades to do damage.

You’ll also want to avoid his Sniper Slam attack, as it does a lot of damage. Just stay back a bit if you see him winding up his rifle to slam it down. Move in after he does this and start laying hits on him to bring his health down quickly. You can also use Brad to act as a Distraction, but just make sure that he doesn’t die.

Once you’ve whittled away enough of his health, you’ll defeat Carlito before he, once again, retreats. This progresses the story further, and you’ll be ready to face off against the next Psycho in your way, and the next Case in this story.
Beginning Case 2-3 in Dead Rising Deluxe Remaster

Brad is seriously hurt after his battle with Carlito, so you’ll need to get your hands on a First Aid Kit for him, which is found in Seon’s Food and Stuff in North Plaza. Head out of the vent, down the Elevator, and back into Paradise Plaza once again. Head for the Leisure Park and go outside.
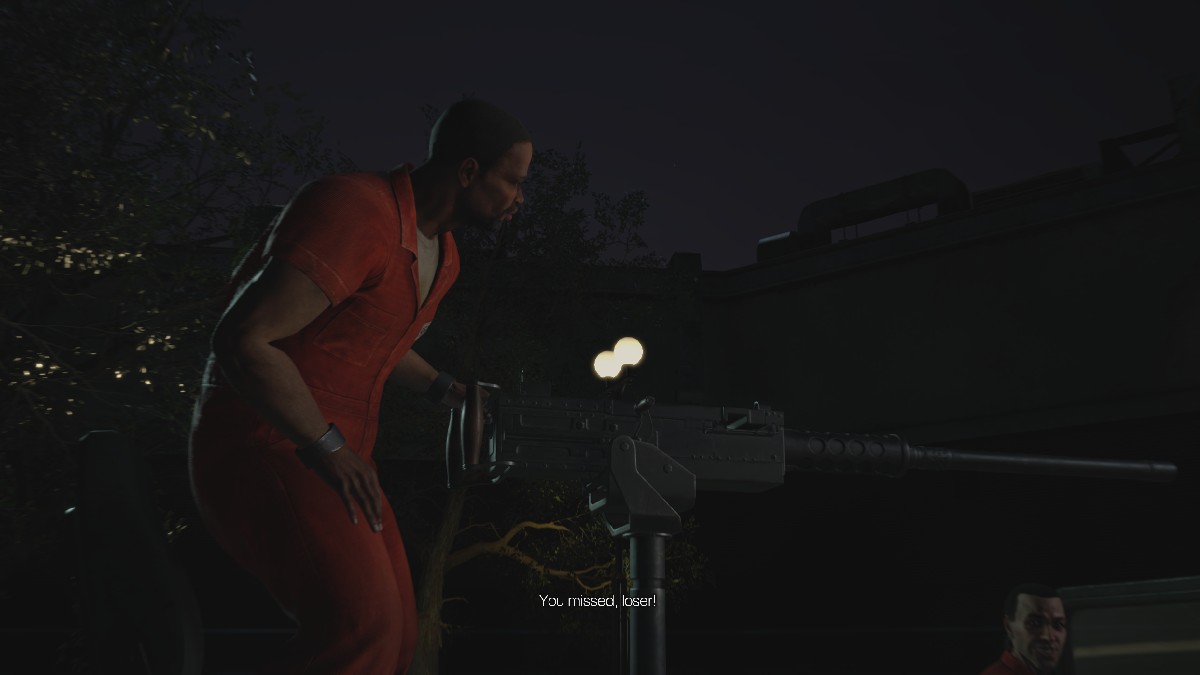
There’s a good chance that the Convicts will be roaming the grounds, so either take them down with our Boss Guide or avoid them by sticking to the right side of the Leisure Park. Just keep heading toward North Plaza, as the timer is ticking down quickly.

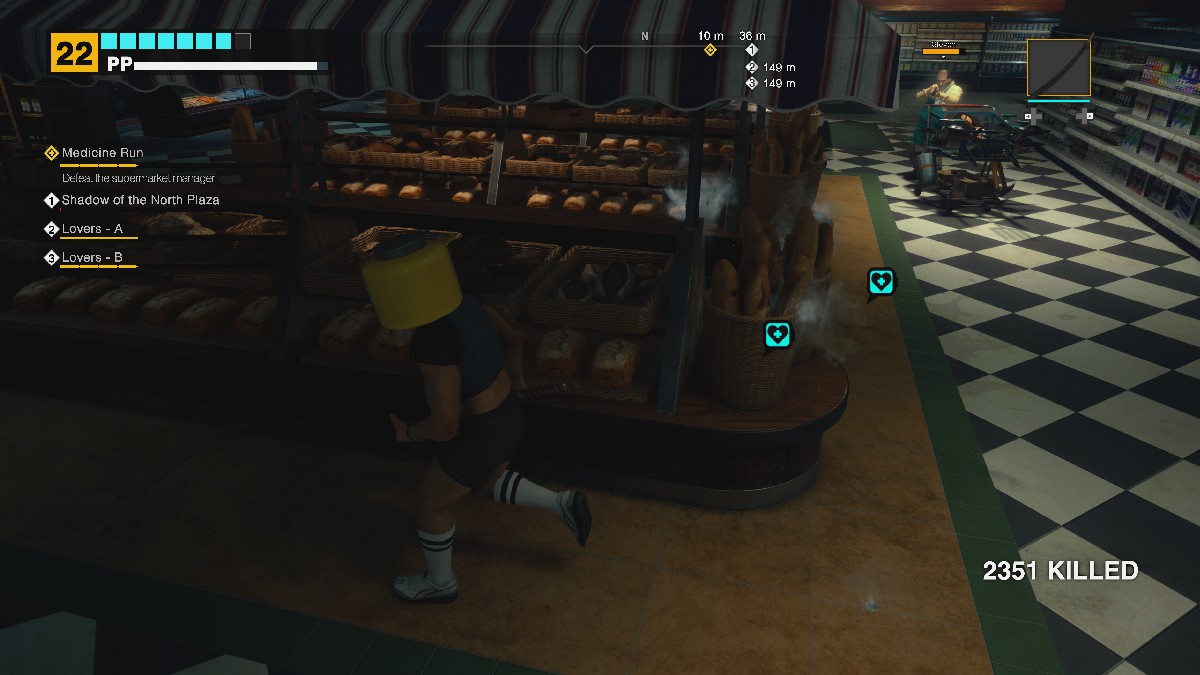
Once inside the North Plaza, you’ll need to head to Seon’s Food and Stuff. This can be found on the opposite end of the North Plaza, so you’ll need to make your way through hordes of Zombies to get here, so get ready to start smashing some skulls.

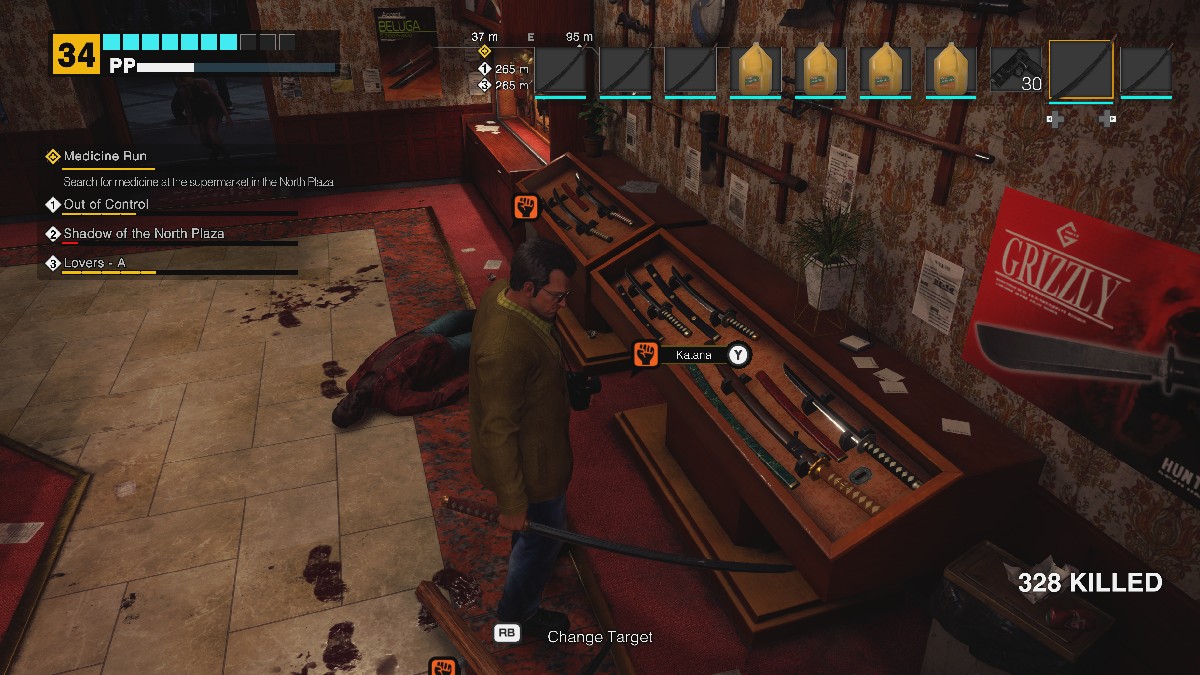
Before you go into Seon’s, I would recommend jumping into Rippers Blades and grabbing a Katana or two, as the Boss inside of Seon’s can be quite a pain in the neck. This will make quick work of him, so grab as many or as few as you need and head inside.
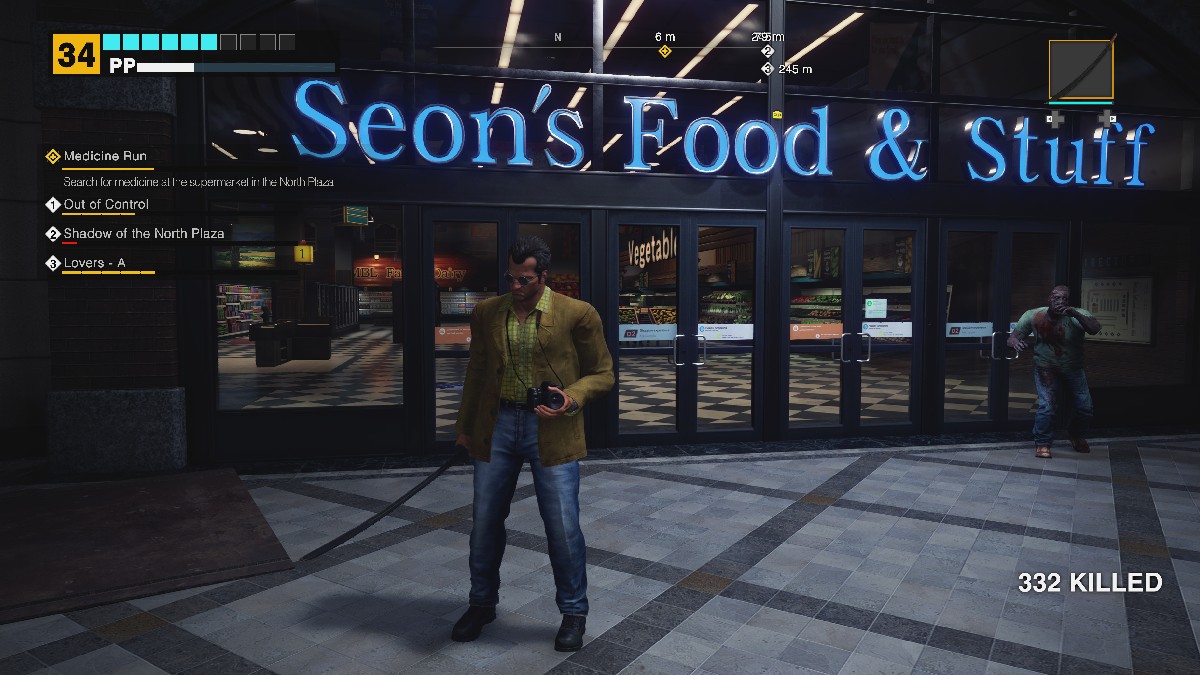

Once inside Seon’s head toward the back doors that lead into the Pharmacy, as that is where the First Aid Kit is waiting for you. Unfortunately, as soon as you try to open the door, you’ll have another fight on your hands; this time against Steven Chapman, the manager of Seon’s Food and Stuff.
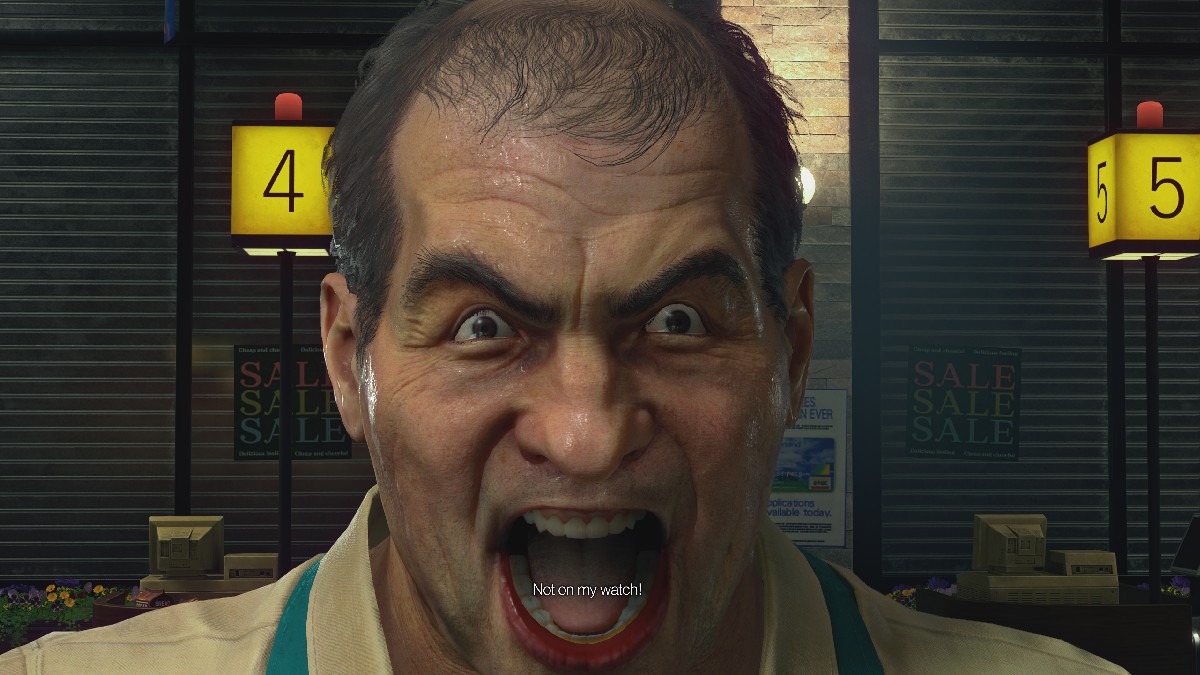
Steven Chapman (Seon’s Food And Stuff)
- Location: Seaon’s Food And Stuff
- Time: September 20
- Quest: Case 2-3
- PP Bonus:
It’s time to face off against the deranged owner of the Supermarket inside of the Mall, Steven. After emerging with a shopping cart full of weapons, alongside Isabella inside for the ride, you’ll need to bring the fight to him. He’s a slippery guy, but if you stop at Rippers Blades before this fight, you’ll be reasonably well-stocked to fight him. If you’ve already beaten Cletus, it may not hurt to grab a Shotgun, as well.

The fight starts almost immediately, as you’ll need to run away from Steven. Thankfully, there are several elevated surfaces that you can use to your advantage to avoid getting clipped by his terrifying shopping cart. The Meat Cooler is one of the best spots if you want to pop off a few shots with your weapon of choice.
Beside his Shopping Cart, Steven is also packing a shotgun. It’s lethal up close, but if you use the Aisles to your advantage, you can gracefully avoid taking damage while you restore some of your own health. There are plenty of restoration items in Seon’s, so grab some Milk or Orange Juice during this fight.
The easiest way to bring this fight to a close quickly is going to involve using the Bread Aisle to your advantage. Since the aisles are so small, Steven can’t get his shopping cart down the aisle and the bread can block his shotgun blasts, you’ll just need to weave between the aisles, taking cheap shots at him as the fight goes on.
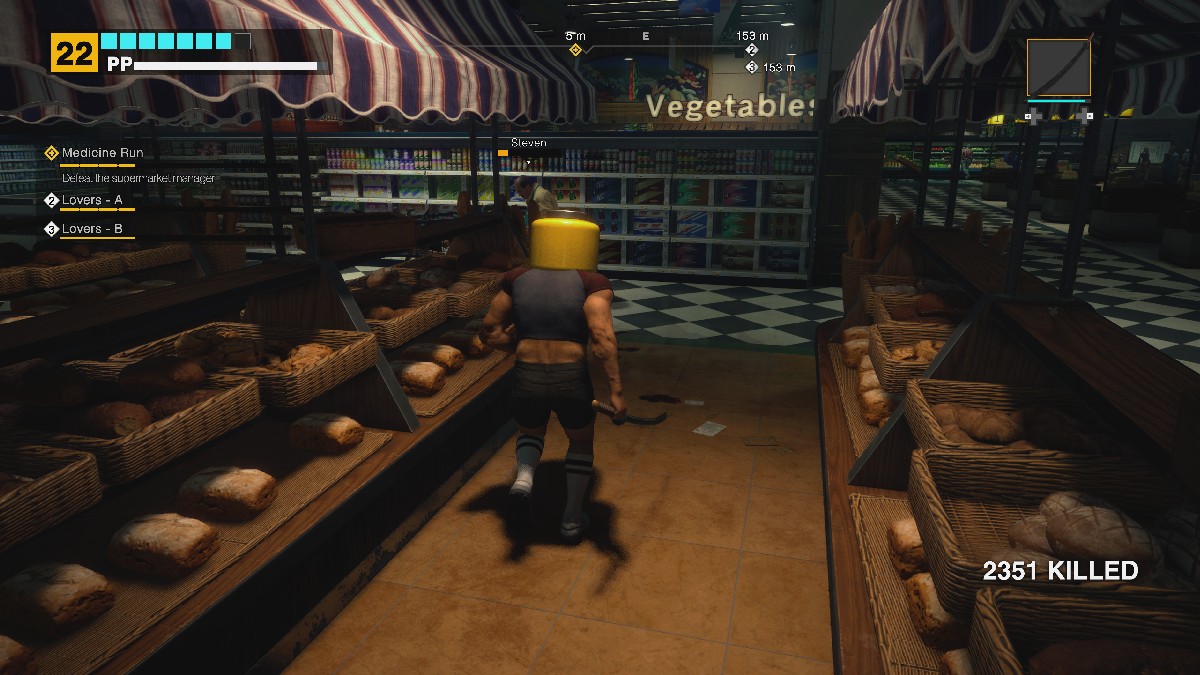
Since Steven is going to be taking a lot of potshots at you while you’re in the Bread section, you’ll find that the best time to run up for an attack is going to be when he’s reloading. Throw one or two different attacks his way before escaping back down the aisle to avoid getting shot again. Do this a few times and you’ll have this fight the bag.

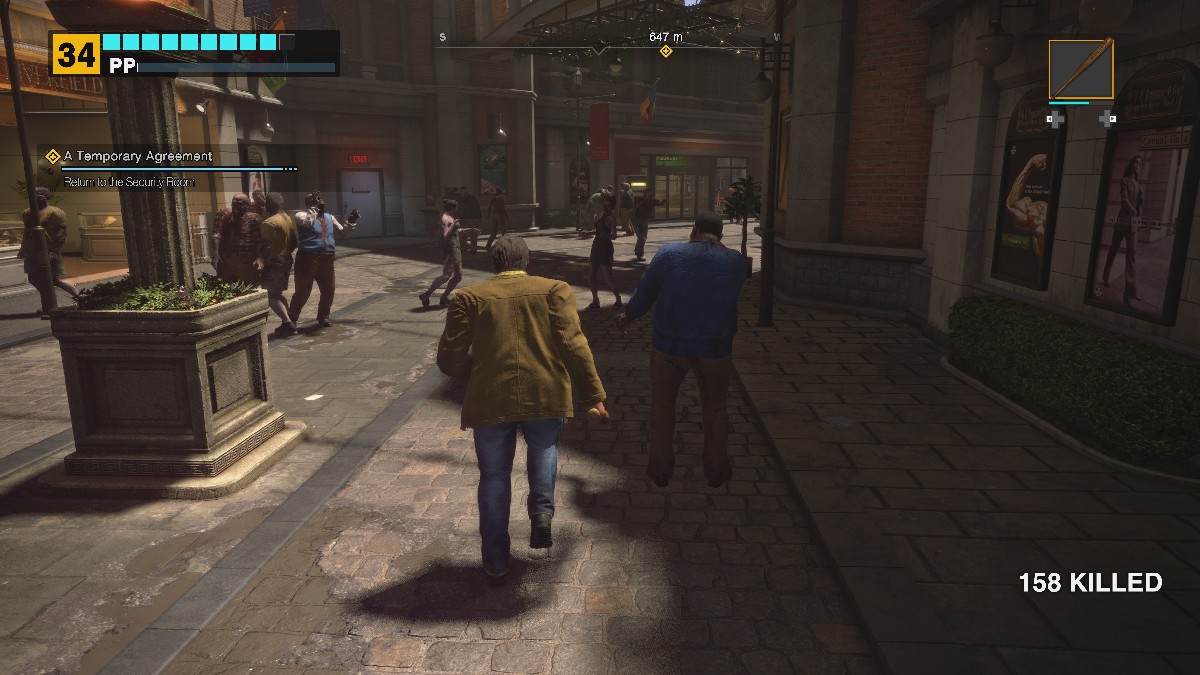
Once the battle has ended, you’ll get the Pharmacy Key. Use this to get the First Aid Kit for Brad, and continue with the story. You’ll need to head back to the Security Room, so exit the North Plaza into Leisure Park, go back into Paradise Plaza, back into the Warehouse, and up to the Security Room once again to drop it off.

After giving Jesse the Medication, you’ll be alerted that the next case, Case 3-1, will begin at 11:00 AM. For the sake of this walkthrough, we are going to Advance Time again and get to 11:00 AM to start the next Case.
Beginning Case 3-1 in Dead Rising Deluxe Remaster

You’ll come to find that Case 3 is only 1 case long and that it’s only a cutscene. This is by far the easiest chapter of the game since you’ll just need to watch a cutscene happen, and you’ll be starting on Case 4.

The next Case, Case 4-1 will begin at 3:00 PM, so we will once again advance time to get to this point. If you would prefer, you can enter the Mall to partake in the side quests and chop down some zombies.
Beginning Case 4-1 in Dead Rising Deluxe Remaster

Once we return to the Security Room, Frank will notice a Woman riding a Motorcycle up to Seon’s Food and Stuff. She looks familiar, so we should set off on an adventure to the North Plaza and see who this is.
Beginning Case 4-2 in Dead Rising Deluxe Remaster
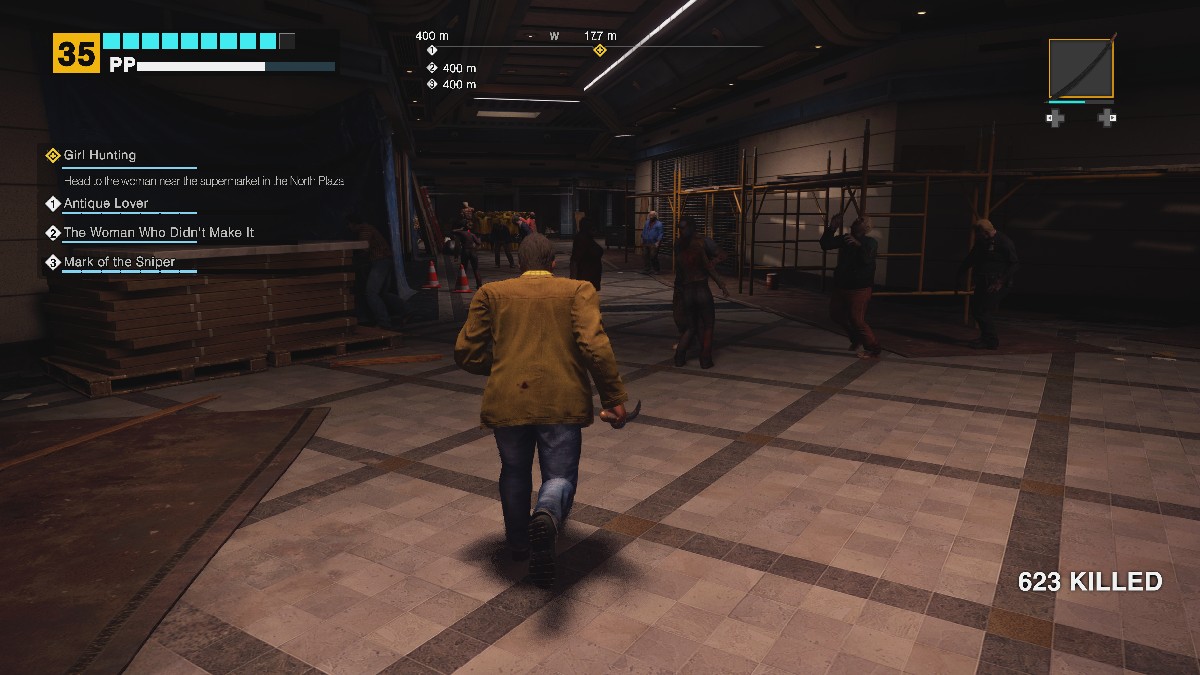
You’ll need to head toward the North Plaza, which is going to be quite the adventure in itself. Head down the vent and go through the Warehouse as you normally would to get into Paradise Plaza. However, once you enter this area, there’s a good chance that you’ll find a new enemy type: Cultists.

You’ll see a cutscene that showcases a new enemy, creepy men and women wearing raincoats and masks. You can choose to fight them, earning 500 PP for each Cultist that you kill, or you can head to the North Plaza. I would suggest wiping out a few of them first, so you can level up a little bit.
Head through Leisure Park and head to the North Plaza, making your way toward Seon’s Food and Stuff once again. Once you arrive, you’ll be greeted by Isabella, the girl from the start of the game, and she’s not happy.
Isabella Keyes (North Plaza)

- Location: North Plaza near Seon’s Food and Stuff
- Time: September 20
- Quest: Case 4-2
- PP Bonus: 20,000
The boss fight against Isabella can either be the easiest fight in Dead Rising or one of the most frustratingly difficult, depending on how you approach it. She’s a badass on a bike, and she’s not afraid to bring the fight directly to you, so if you’re planning on bringing a knife to a bike fight, you’re going to have a bad time. Instead, head to the Huntin’ Shack and grab a few Shotguns.
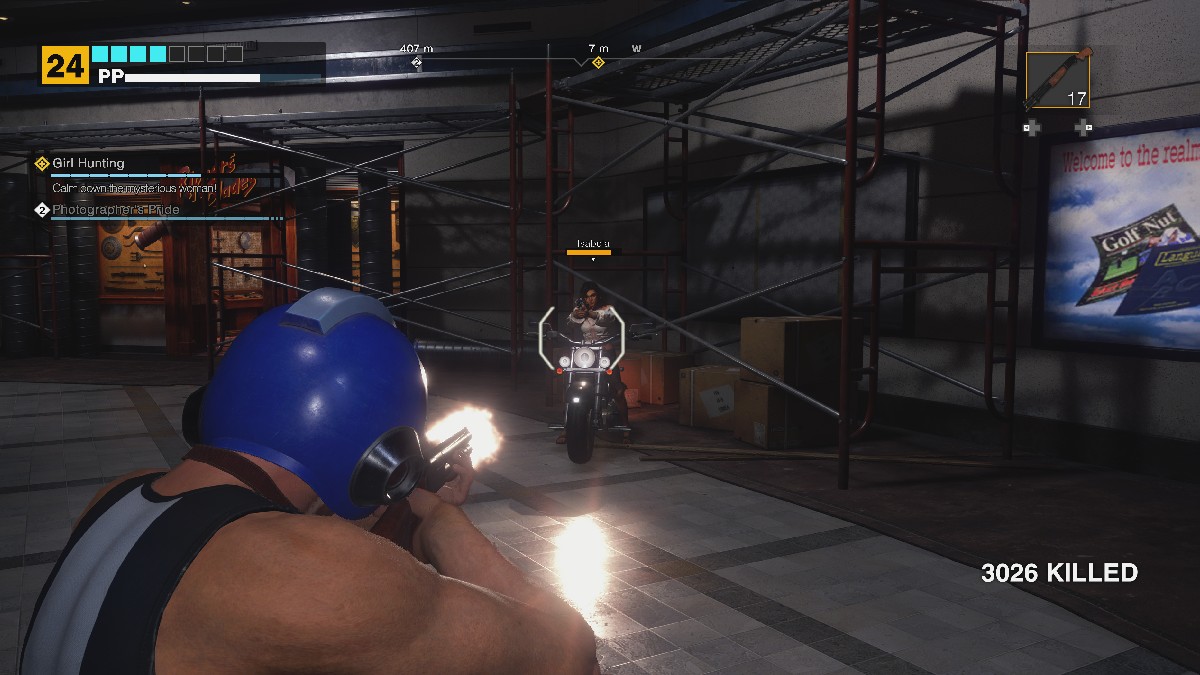
Isabella is going to spend a lot of time moving around this small arena, so you need anything possible to turn the tide in your favor. That’s where the Shotgun comes into play. Once she stops to either rev her bike to prepare an attack or to start shooting at you with her handgun, unload your Shotgun at her as many times as you can.
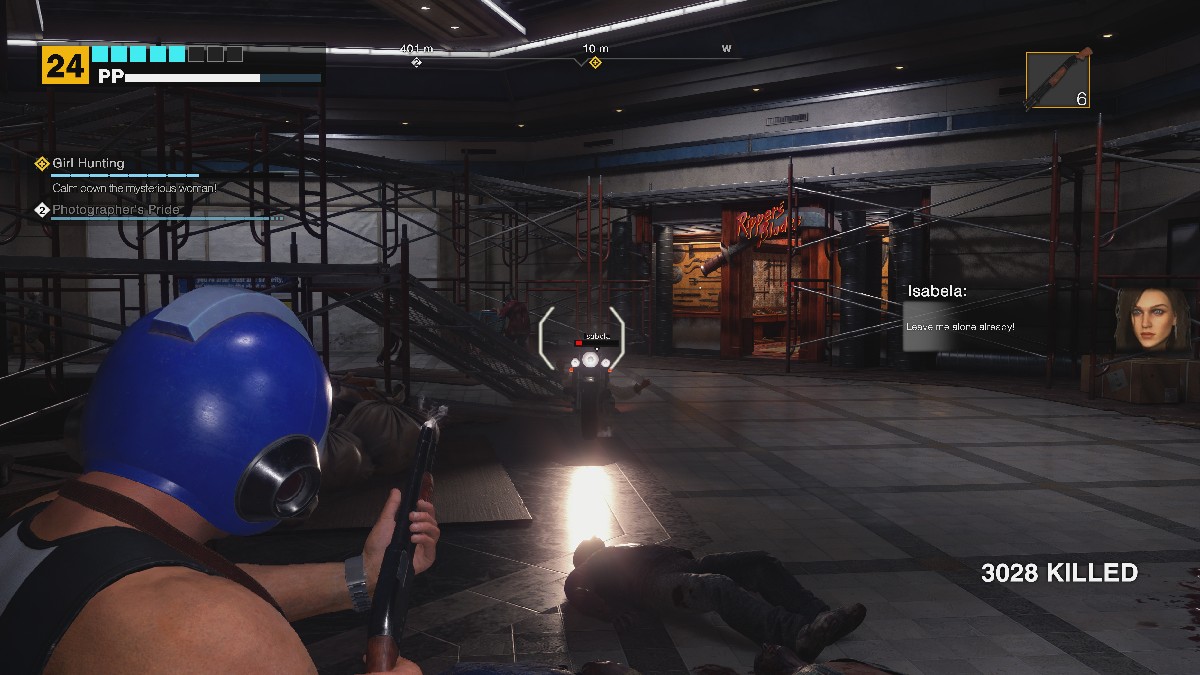
She can take about 6 Shotgun shots before she drops off her bike, making this one of the easiest fights in the game if you approach it right. If you have hand-to-hand weapons, you’ll need to stop and wait for her to try and attack or shoot, run in, take damage, and repeat. It’s a war of patience, and if you enter the grocery store for health, she’ll leave and the mission will end, bringing your run to a close. Just grab a Shotgun or two.

After you defeat her, you’ll let her know that you are both on the same side; you’re not just some creepy pervert and you’re not trying to hurt her. She’ll fill you in on some important details regarding the ongoing situation, and it’s time to start the next case.
Beginning Case 5-1 in Dead Rising Deluxe Remaster

Case 5-1 will start at Midnight, so either advance time until this point, or head around the mall killing more Zombies to increase your level. For the sake of this walkthrough, I’ll visit the restroom and advance time to continue with our case.
You’ll meet with Isabella inside the room that she asked you to in the North Plaza, and she’ll be attacked by a Zombie. You’ll need to act quickly and kill it before it can kill her, ending your run where it stands. You’ll see that she’s injured, and it’s time to get her back to the Security Room in Case 5-2.
Beginning Case 5-2 in Dead Rising Deluxe Remaster
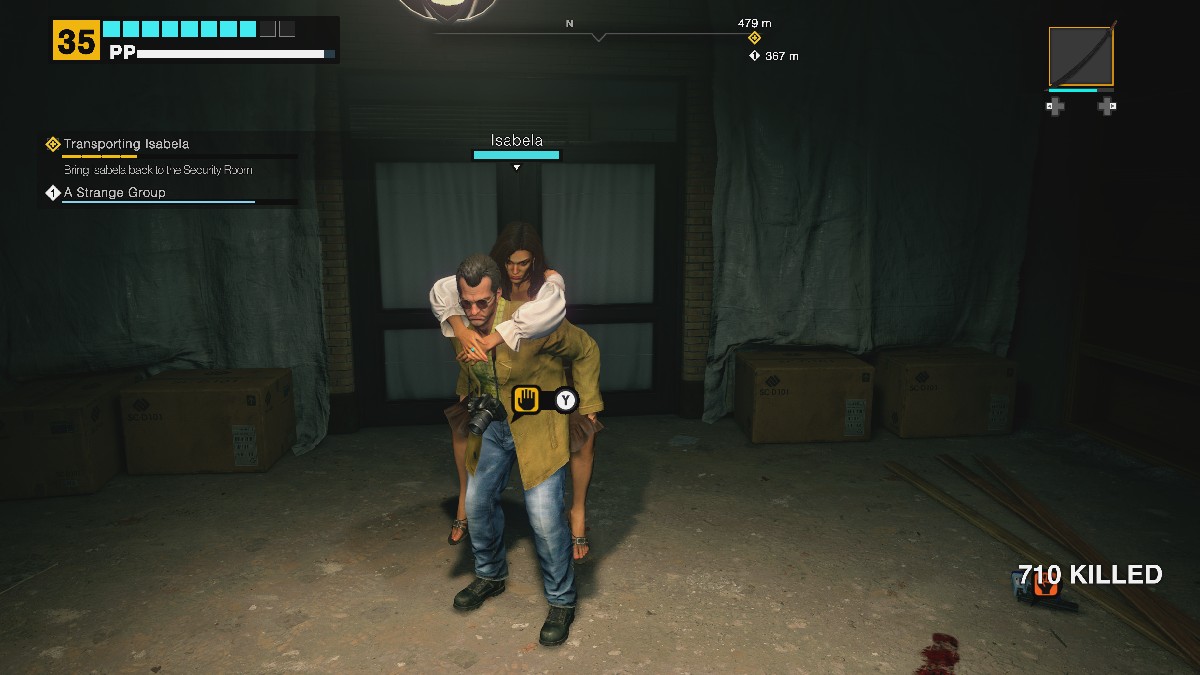
For this portion, I would suggest carrying Isabella back to the Security Room to avoid any further injury. Just duck and weave out of the way of the Zombies, as they’re slow and shouldn’t hopefully be able to hit you during this time. If they do, wipe some out, put Isabella back on your back, and keep making your way toward the Security Room.
Head into Leisure Park and make your way back toward Paradise Plaza. Once inside, head through the Warehouse, up the Elevator, and into the Security Room to drop her off safely. I would suggest putting Isabella down for a moment once you reach the Elevator, as there is a good chance it will be filled with Zombies, so wipe them out, pick her up, and head up.

The next case will occur at 3:00 AM, so you’ll either want to advance the time or head back into the mall to kill some more Zombies and complete side-quests. For the sake of this walkthrough, I’ll be advancing time to the next mission.
Beginning Case 6-1 in Dead Rising Deluxe Remaster
Once 3:00 AM rolls around, it’s time to go back into the Security Room to start the mission. Brad will ask Isabella for more information about herself, and explain her role in the story. You’ll find out a shocking revelation, and then it will be time to start the next case since this is just a cutscene. This is tied with Case 3-1 for the easiest case in the game.
Beginning Case 7-1 in Dead Rising Deluxe Remaster

The next case will begin at 11:00 AM, so you can either go into the mall and kill Zombies, or advance time. For the sake of this walkthrough, I’ll be advancing time. You’ll find out that Carlito has planted time bombs in the Parking Garage. This is going to be interesting, isn’t it? We’ll need to hurry up and get out there before it’s too late.
Beginning Case 7-2 in Dead Rising Deluxe Remaster
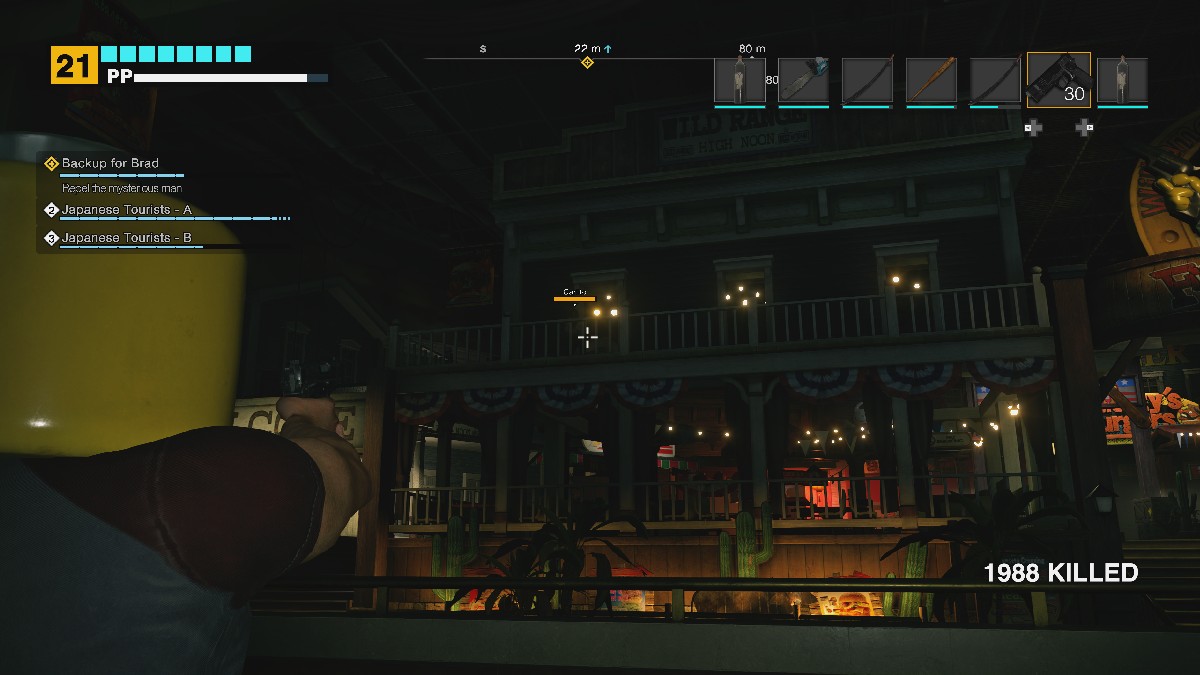
This is one of the most stressful missions in the game, so you’ll need to head to the Parking Garage as quickly as possible. I would suggest stopping at Columbian Roastmasters to grab some OJ, and some weapons from Paradise Plaza before heading outside. If you remember at the start, find and grab the Katana from the awning just outside of Columbian Roastmasters, as we can use it against the boss.

Head out into Leisure Park and start making your way toward the Parking Garage. You’ll find a large hallway full of Zombies here, so just keep pushing through until you see a Red convertible on the other side of the horde. This is going to feel like heaven.

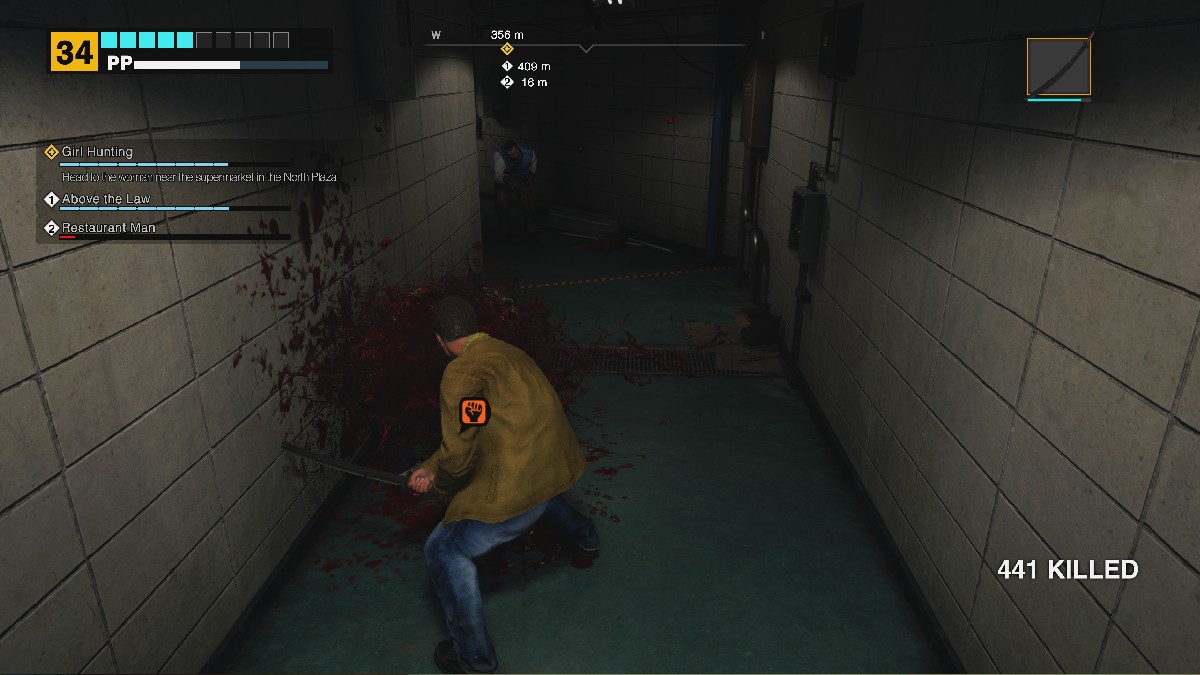
Hop inside the car, and head down into the Maintenance Tunnel. Take the first left and head toward Section A, as you’ll find not only a bomb here but also a Delivery Truck. This is much stronger than the car, so take this as you head toward the other bombs. There’s also a chance for an optional boss fight here.
Carlito Keyes (Maintenance Tunnel)
- Location: Maintenance Tunnel
- Time: September 21
- Quest: Case 7-2
- PP Bonus: 50,000
Alright, so you don’t technically have to fight Carlito in Case 7, but where is the fun in that? You’ll need to get your hands on five time bombs, and Carlito is incredibly annoying in this portion, so we may as well try to get rid of him. Grab some firearms from the Huntin’ Shack, or grab a few Katana and Battle Axes before heading down into this miserable pit of zombie infestation.

Head directly to Section A and grab the truck that is over here. It’s going to come in handy once Carlito starts prowling around, and it’s more resilient than the car or the motorcycle that are outside. If you see Carlito coming, try to get him pinned up against the wall, or slow down and hit him head-on. This will cause a little bit of damage.
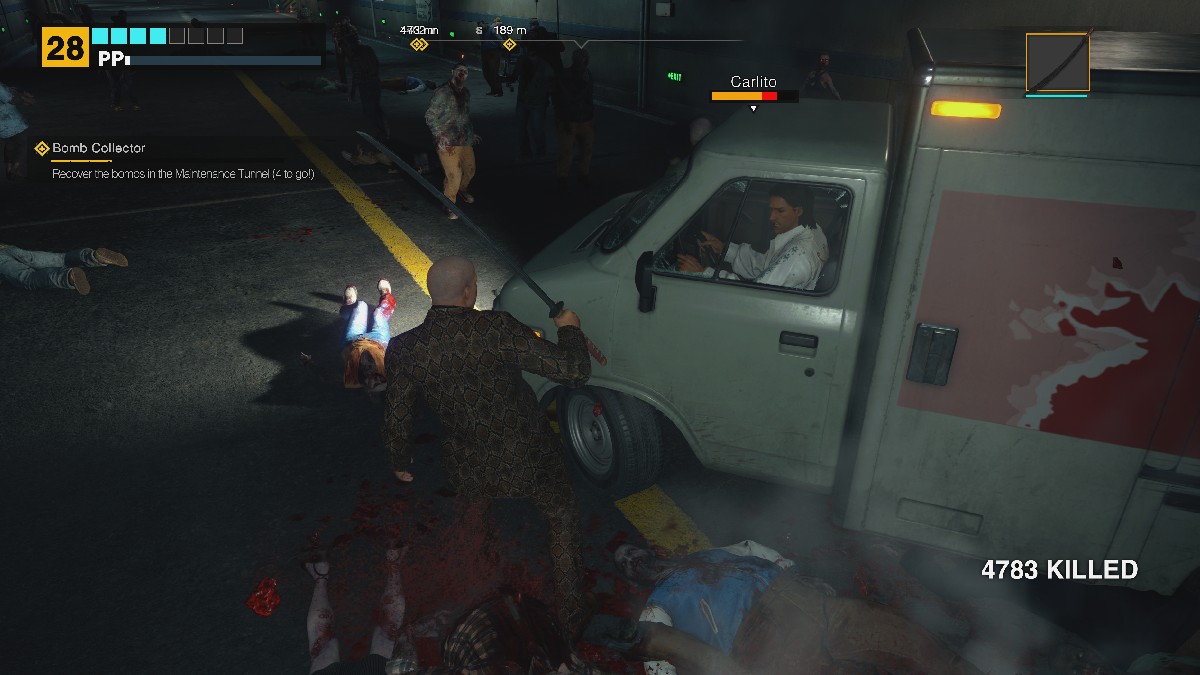
Avoid his Grenades, and start slashing at him from the driver’s side of the vehicle. Even a little tap from the car can cause damage, so make sure you have healing items on your person and just keep putting in the work. Eventually, Carlito will retreat for a while but do the same thing once again when he shows back up to get a quick and easy 50,000 PP bonus.
And yes, the car from the Zombie Annihilator Achievement is still in Section F if you need another ride.

I would strongly suggest at least doing a bit of damage to Carlito so he leaves you alone for the majority of this trip. Otherwise, he’ll be a pain in your side and will constantly be throwing grenades at you, so if you have a Katana, just give him a few solid whacks with it and he’ll go away for a while.

Follow the blips on your radar and snag all five of the bombs before heading back to the Entrance. Just keep an eye peeled on the Exit signs, and head up the ramp to complete this case. Frank will load all of the bombs into a cart, and head outside.
You’ll also see a cutscene that, unfortunately, seals the fate of one particular character. However, we can’t let this sidetrack us for now, as we’ve still got a case to finish and a scoop to score for the paper. We’ve covered wars, and zombie outbreaks now.

The next case will begin at 5:00 PM, so you can either stay out hunting zombies, or advance time. For the sake of this walkthrough, I’ll be advancing time to the next case.
Beginning Case 8-1 in Dead Rising Deluxe Remaster
You’ll return to the Safe Room, and ask if Carlito could have anything else planned for the citizens of the area, and Isabella will mention that he has a safe room hidden somewhere in the mall and that she will take you there. It’s time to head out on the open road once again.
Beginning Case 8-2 in Dead Rising Deluxe Remaster
Leave the safe room and head out of the vent once again. You’ll find Isabella waiting outside for you at the top of the stairs, interact with her to have her follow/lead the way for you. If you don’t interact with her, she’ll just stay where she is. Escort her to the North Plaza, but be careful not to hit her; she will take damage from your attacks if you accidentally strike her.

After you’ve made your way through Leisure Park with her, you’ll find yourself in the North Plaza once again. Thankfully, unlike most Survivors in the game, Isabella isn’t afraid to use her handgun to try and protect herself. You can move on ahead, and you’ll find yourself going down the same hallway that the Huntin’ Shack is hiding.

She’ll wait for you by a large stack of boxes, which leads upstairs into Carlito’s secret lair. You’ll have a cutscene before you enter, and find a room full of computers and plenty of other valuable information.

Approach Isabella at the end of the room to trigger another cutscene, and you’ll have completed Case 8-2. You’ll need to head back to the Security Room next, so be prepared for a bit more backtracking once again.
Beginning Case 8-3 in Dead Rising Deluxe Remaster

You’ll need to head into the Mall once again, so use the hatch to return to the North Plaza once again. From here, I would recommend going into the Huntin’ Shack, as there should be no survivors, or Cletus to bother you, and grabbing a few different weapons. Consider stopping at Rippers Blades and grabbing a few more Katanas for good measure, as well.

Make your way through North Plaza, head back out into Leisure Park, and return to the Security Room after cutting through Paradise Plaza once again. You’ll enter the Security Room to find Jesse watching some security footage, seeing Carlito being drug into a room by a very large, very scary-looking man.

This will lead us into the final case of the game, and the boss fight against the hardest mainline Psycho in the game, so be sure to stock up and save before you jump in.
Beginning Case 8-4 in Dead Rising Deluxe Remaster

If we want to get to Carlito in time, we’ll need to do whatever possible to get into that Meat Processing Room. That means we’ll need to, once again, head into the Public Parking area. Head into Leisure Park and make your way toward the Public Parking garage.

Grab your vehicle of choice, and you’ll want to head back into the Maintenance Tunnel once again. In this example, I grabbed the Motorcycle, since it is a very short drive to our destination. Head to the left and head down Section A.

Head up to Section A, where you found the Bomb Truck and the extra delivery van during Case 7-2. You’ll find that the Meat Processing Door is also in this location, and likely surrounded by a fair number of zombies, so smash into them to clear the entrance.

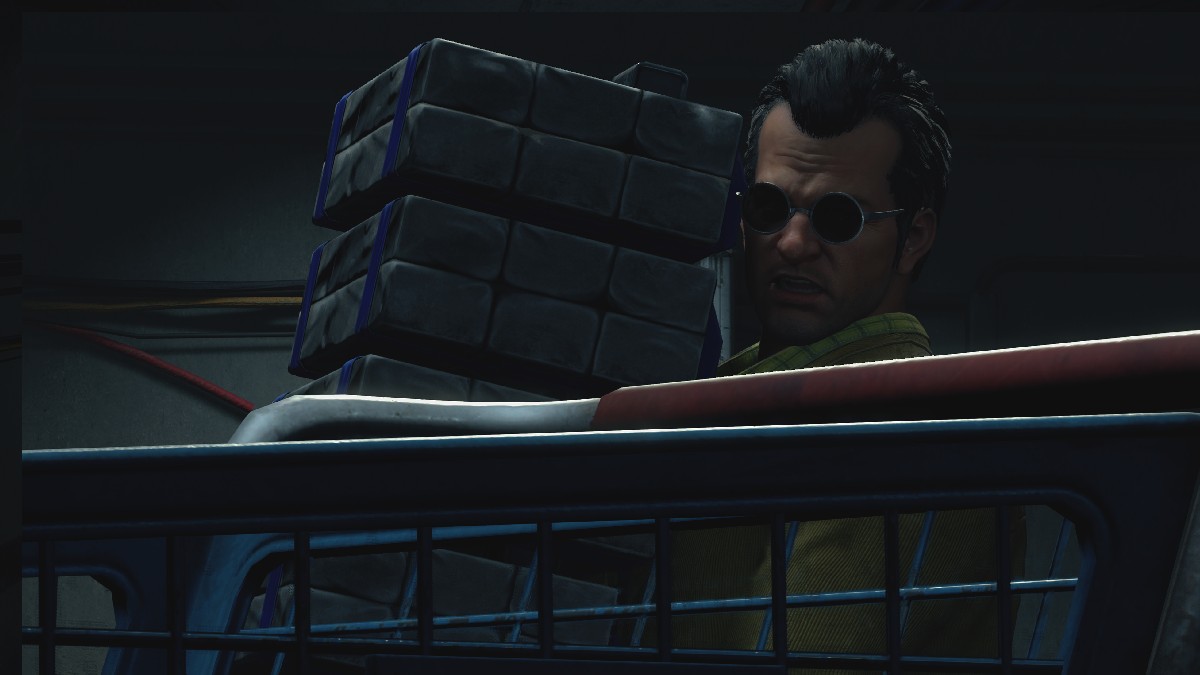
Use this Door to enter into the Meat Processing Facility and you’ll find yourself face to face with Larry, the man who drug Carlito off in the Security Footage. This fight can be quite a bear to deal with, so we’ve got your back on beating him easily.
Larry Chiang
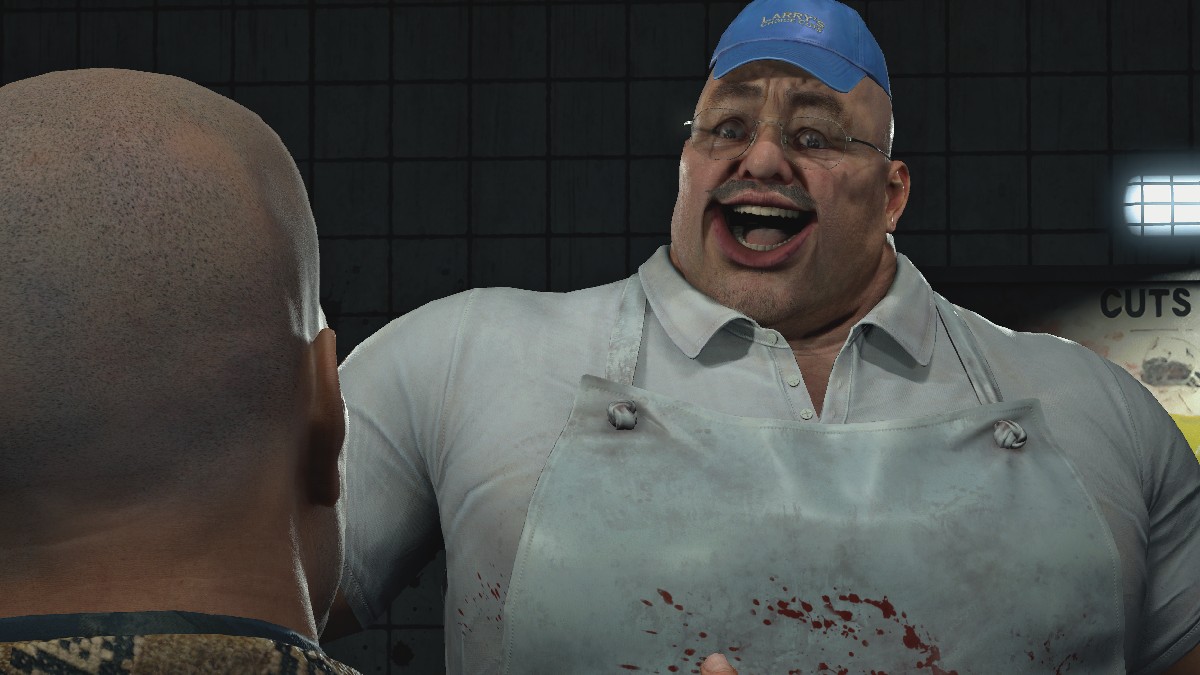
- Location: Meat Processing Room
- Time: September 21
- Quest: 8-4
- PP Bonus: 50,000
Larry is the final boss of the main game in Dead Rising, and he’s worthy of his title. He hits hard, does a lot of damage, and can be a real pain in the rear if you aren’t sure how to deal with him. Thankfully, once you learn his quirks, he becomes a much more manageable task to take on. Oh, and what the game doesn’t tell you is that this mission is timed. If you take too long, Carlito will become ground beef, so no pressure.

When it comes to fighting Larry, I would strongly suggest grabbing some OJ and a few Katanas before jumping into the fight against him. He hits hard and has a ton of health, and the Katana can carve through him quickly. Larry has a few main attacks:
- A Bull Rush attack that will send you flying
- Throwing Knives/Carcasses at you
- Chopping at you with his Cleaver
- Picking you up and putting you on a meat hook, then slashing you
Use the meat around the area as a defensive barrier. It’s a great way to cheese the fight, as Larry’s Bull Rush attack will be canceled by the meat, his Throwing Knives will hit the meat, and any meat he throws is blocked by the meat. Meat.
When Larry takes a moment to sharpen his knives, normally after throwing a few of them at you, rush up and hold the Attack button to give him a few hits. You can do the same if his Bull Rush is blocked by the slabs of meat hanging in the room. If he does smack you around a bit, there is plenty of milk around the Meat Processing Plant that you can use to heal up quickly. Keep this up to win the fight easily.

Once you defeat Larry, you’ll receive a Locket from the mortally wounded Carlito, which is used to unlock the Computer that is in his hideout. Leave the Meat Processing Plant, get into the Delivery Vehicle that is outside of the door, and head back into the world.

The next case will occur at 10:00 PM, so you can either decide to keep chopping up Zombies or advance time. For the sake of this walkthrough, I’ll be advancing time until 10:00 PM.
Starting “The Facts” in Dead Rising Deluxe Remaster

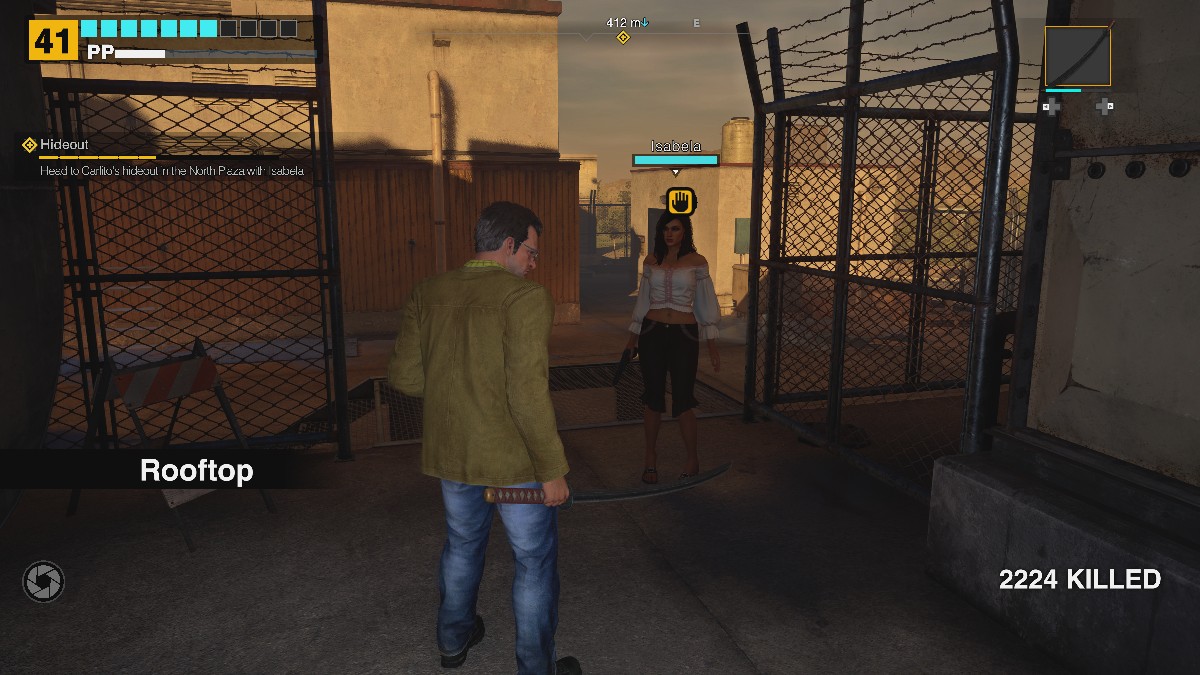
Once it hits 10:00 PM on September 21, you’ll need to return to Carlito’s Hideout. This is found in the North Plaza, near the Hunti’ Shack. Jump onto the boxes and climb into the rafters once again to return to this particular portion of the map.

Once inside, you’ll need to speak with Isabella once again, who will give you all of the details that you need to know about what’s going on in Willamette, and possibly around the world. You’ll also realize at this point, all of the cases will be complete.

You’ll have a final quest, however; making it out alive to the Helipad at Noon on September 22. There are a few ways you can do this, but the easiest way to escape this part of the game alive is to return to the safe room, continue to Advance Time until around 11:50, and then head out onto the Helipad.
You can stay inside and fight off the Special Forces if you so choose to do so, but you’ll be seeing enough of them to make you sick in Overtime Mode, so maybe give yourself a break and do it this way.

And there we have it; a step-by-step walkthrough on obtaining the best ending possible in Dead Rising Deluxe Remaster. Don’t hang up your controller yet, however. We’ve still got Overtime Mode to look forward to, or a return trip to the mall with our more powerful version to take on the optional Psychos in the mall, and some time to save the Survivors in the mall this time around.
Dead Rising Deluxe Remaster is available to play now.


Published: Sep 24, 2024 2:54 AM UTC