
The best part of The Final Shape is that Cayde and Crow are developing a bromance for the ages. And now we can help them on a quest! Here’s how to complete Wild Card in Destiny 2.
How to Get Still Hunt and Complete Wild Card in Destiny 2
So! To grab the Wild Card exotic quest, you’ll need to complete the campaign and speak to your Ghost, who will give you the quest Destined Heroes. And part of the Destined Heroes quest line is actually speaking to Cayde-6 in the Lost City and grabbing the Wild Card quest from him!
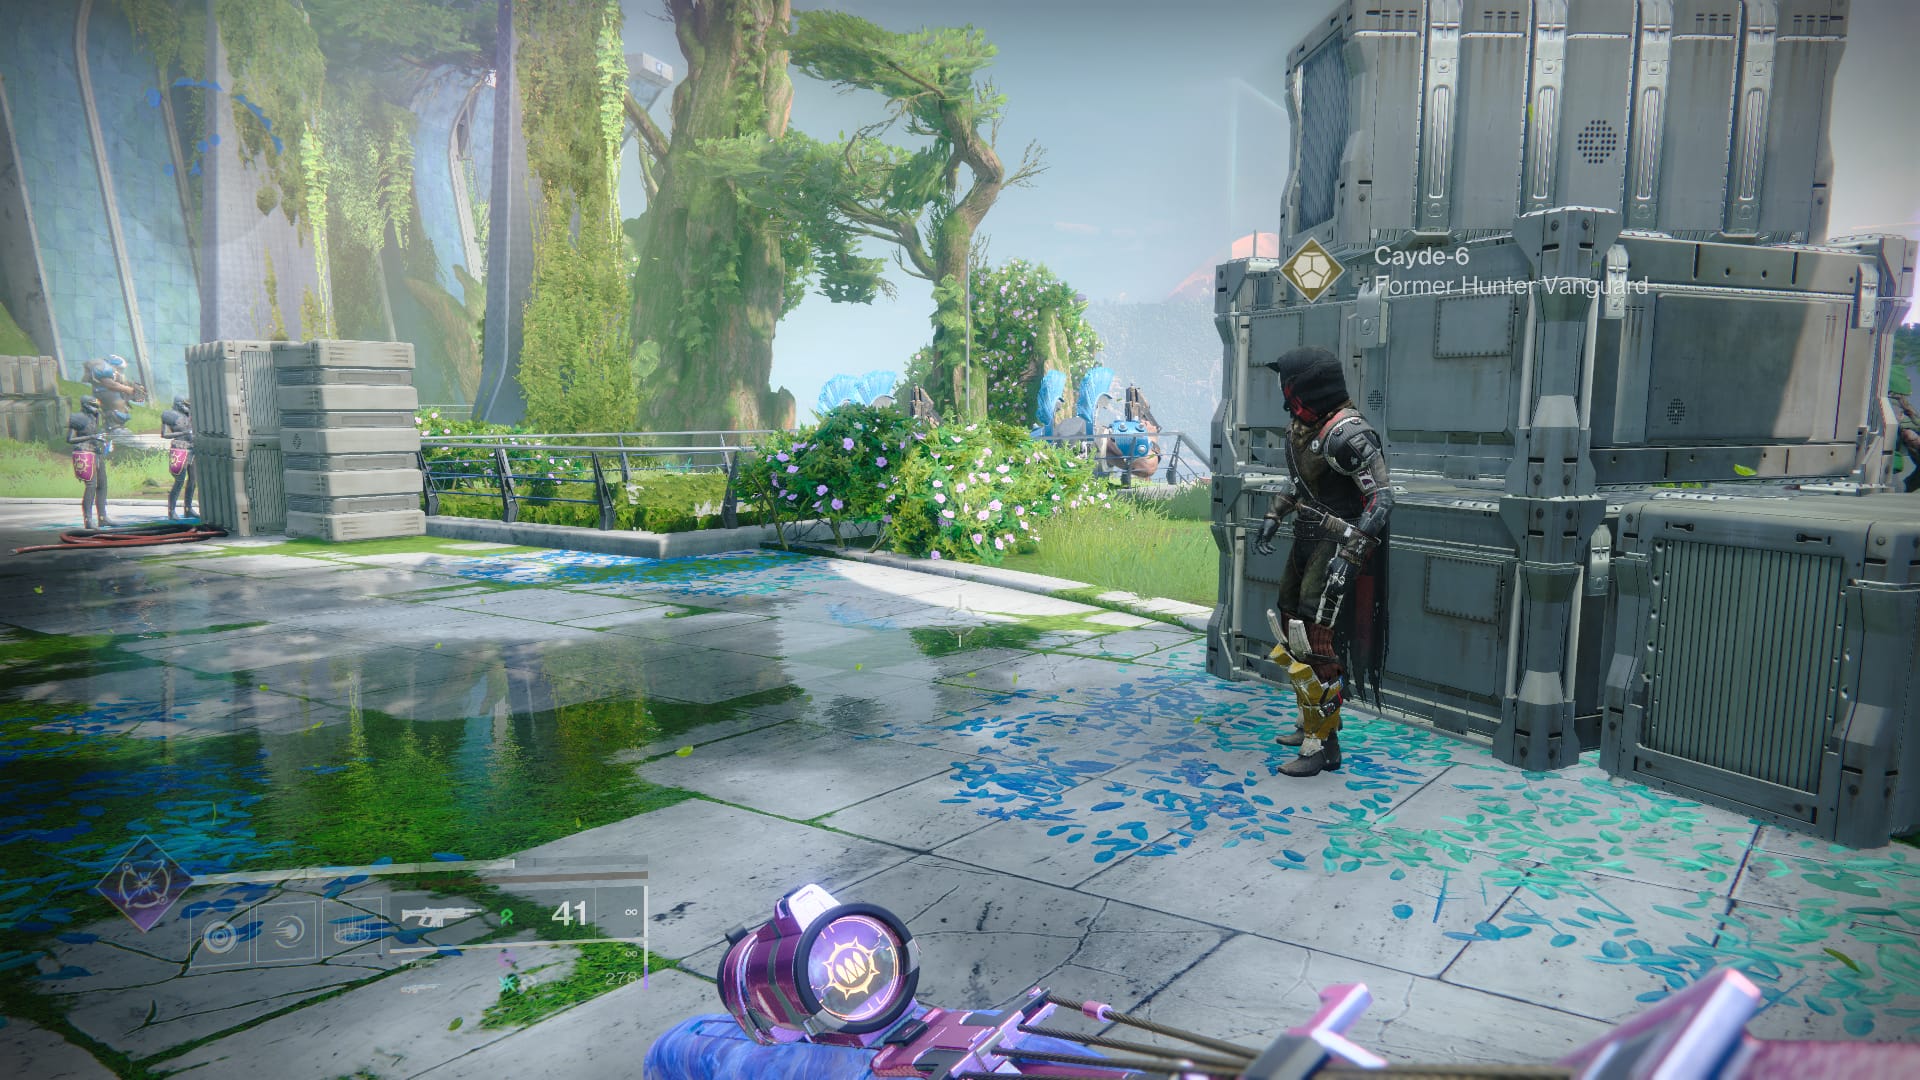
You can find Cayde-6 behind the boxes near the stairs that lead into the viewing room. Once you have the quest, you may run into some trouble actually finding the Mission. Here’s how to find it.
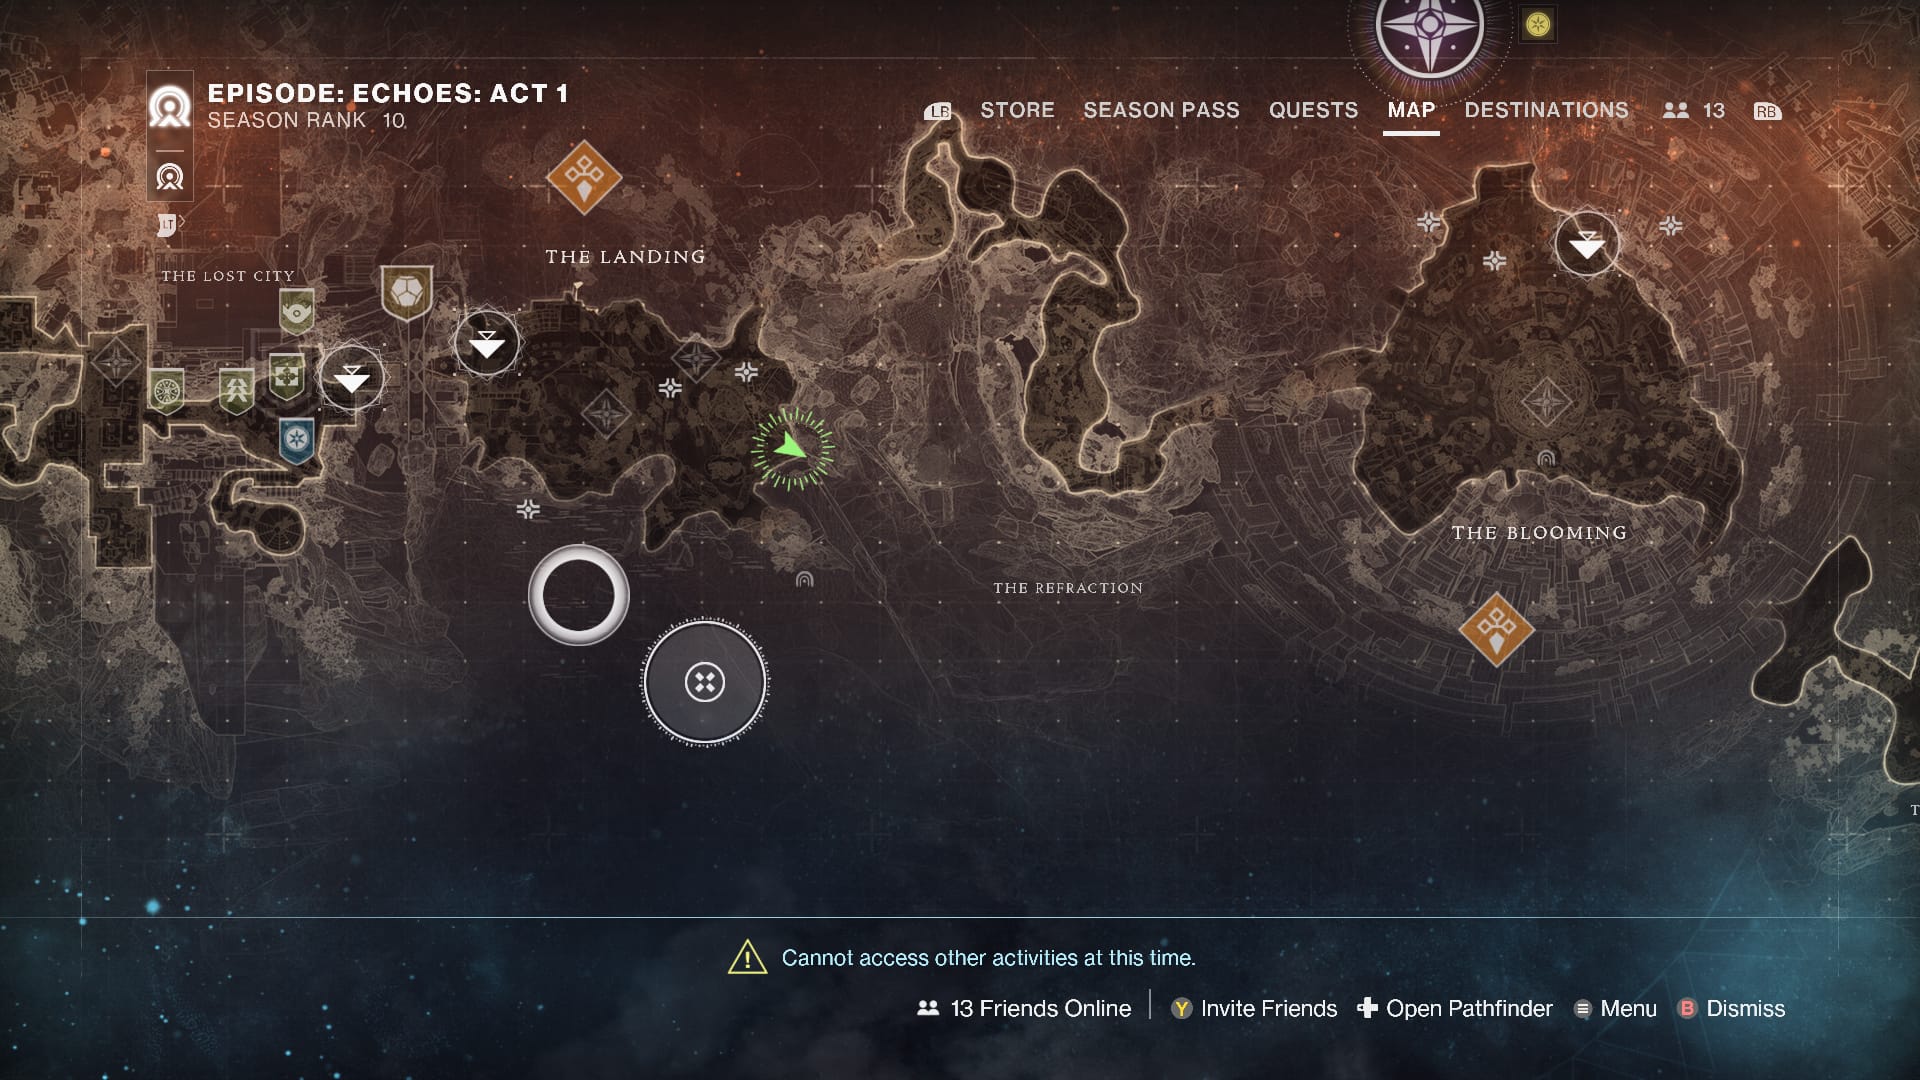
Load into The Landing. Once you’re there, turn immediately right, following the walkway. You’ll find some stairs that go up, into a red room. This will only be a few meters from where you spawn in.

Go up the stairs and keep moving up until you reach the “Lost City”. Darkness vines may temporarily block you, but this is actually a loading screen. Wait and they’ll dissipate.
The mission flag will be here, on the roof. Don’t stand on the portal unless you want to be brought back to the Lost City. This is a one-way trip! When you’re ready, boot up the mission quest Wild Card and we can get started.
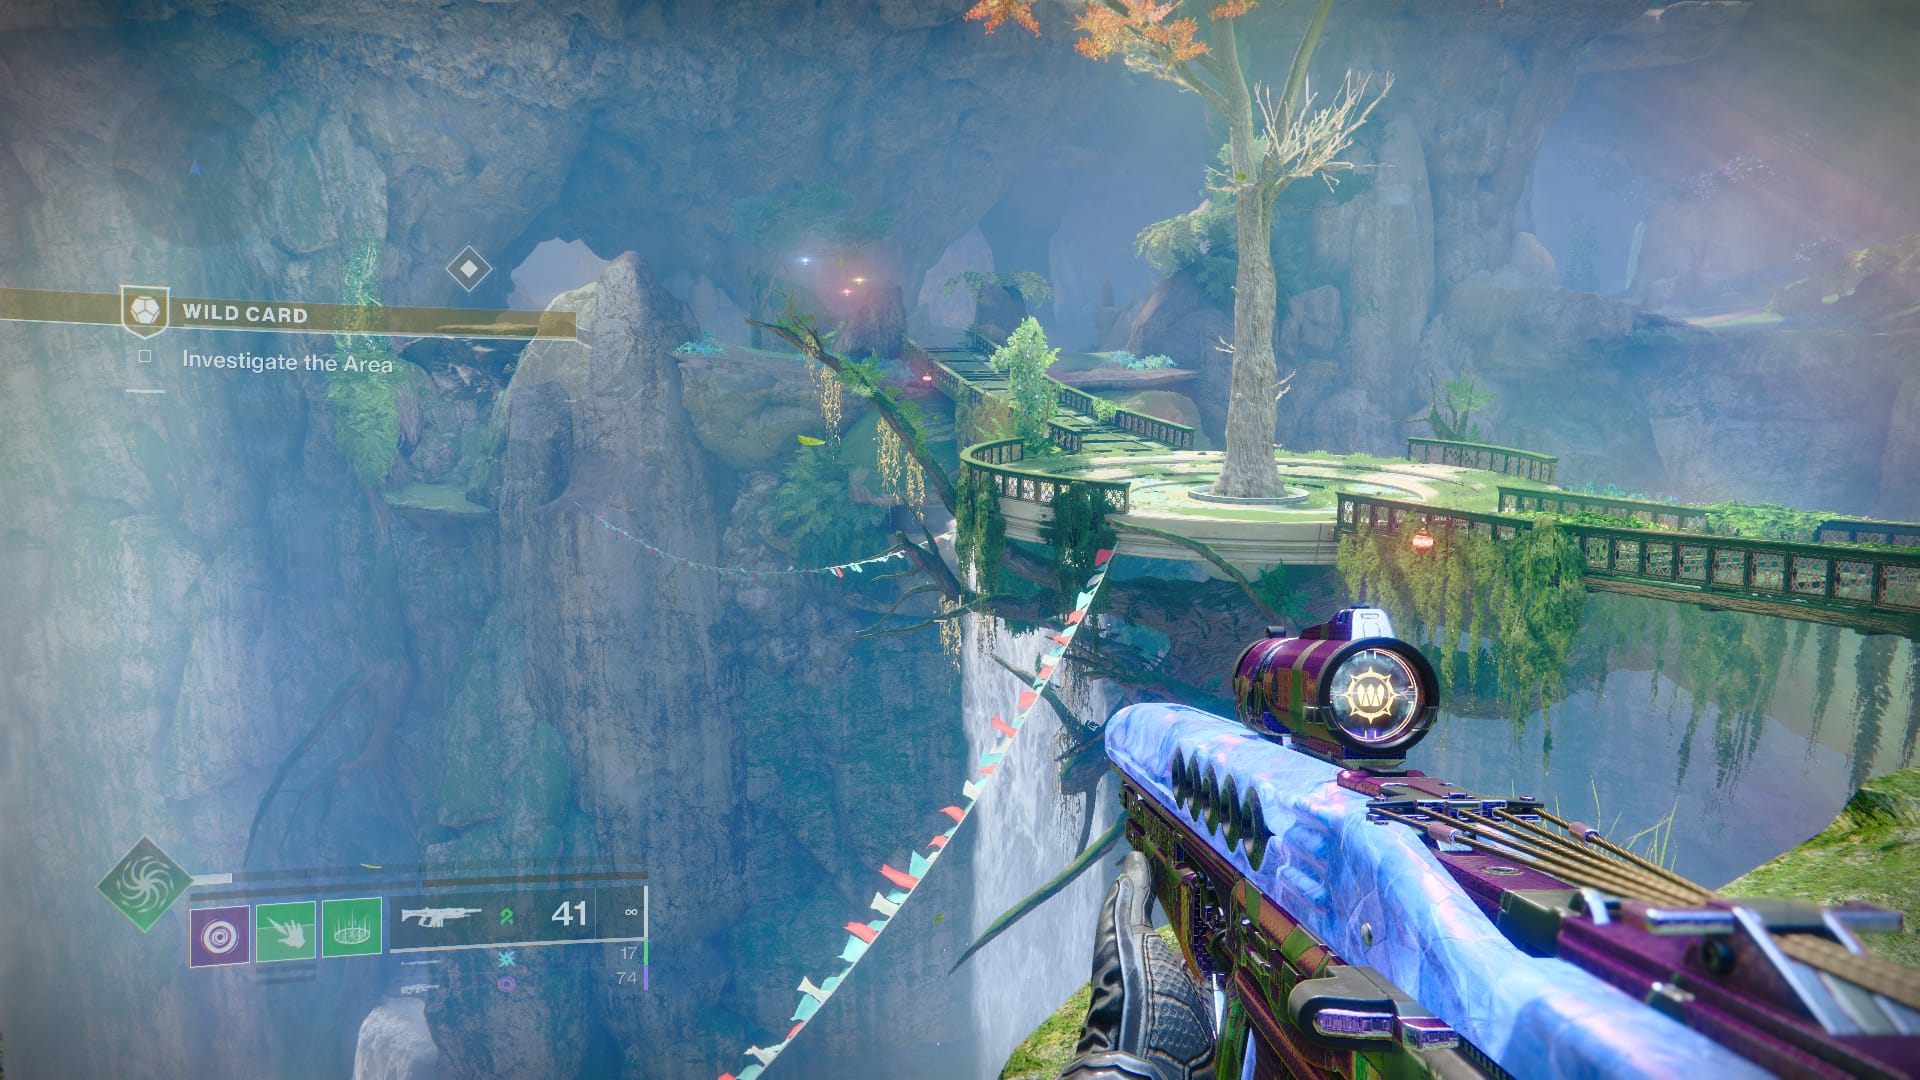
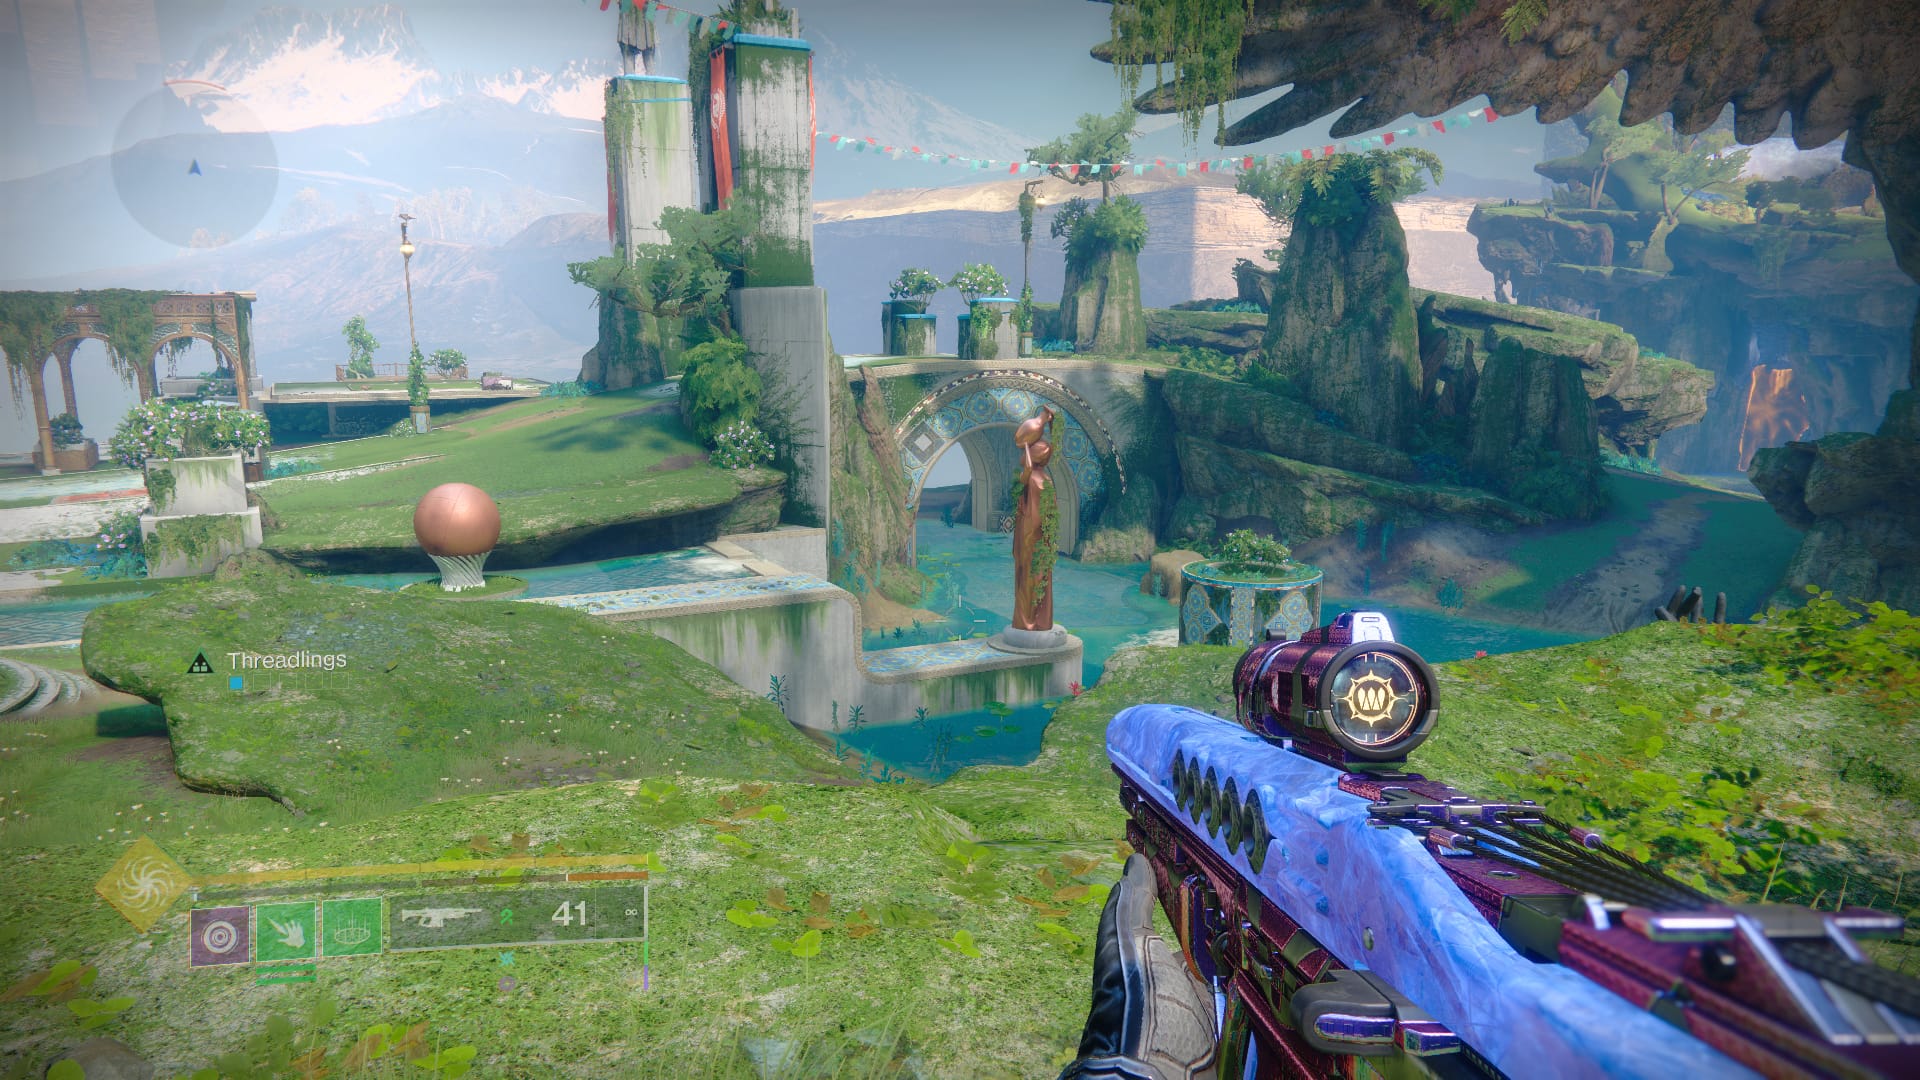
Once you’ve loaded in, you’ll get a little banter from our boys. Turn left, and you’ll see a bridge stretching to the left, into a cave. This is the direction we want to go.
When you cross the bridge, you’ll find some Cabal war dogs and some Screeb, but nothing too serious. Don’t enter the cave yet, though. Instead, look left, at the person-shaped bush. Interact with the space in front of it.
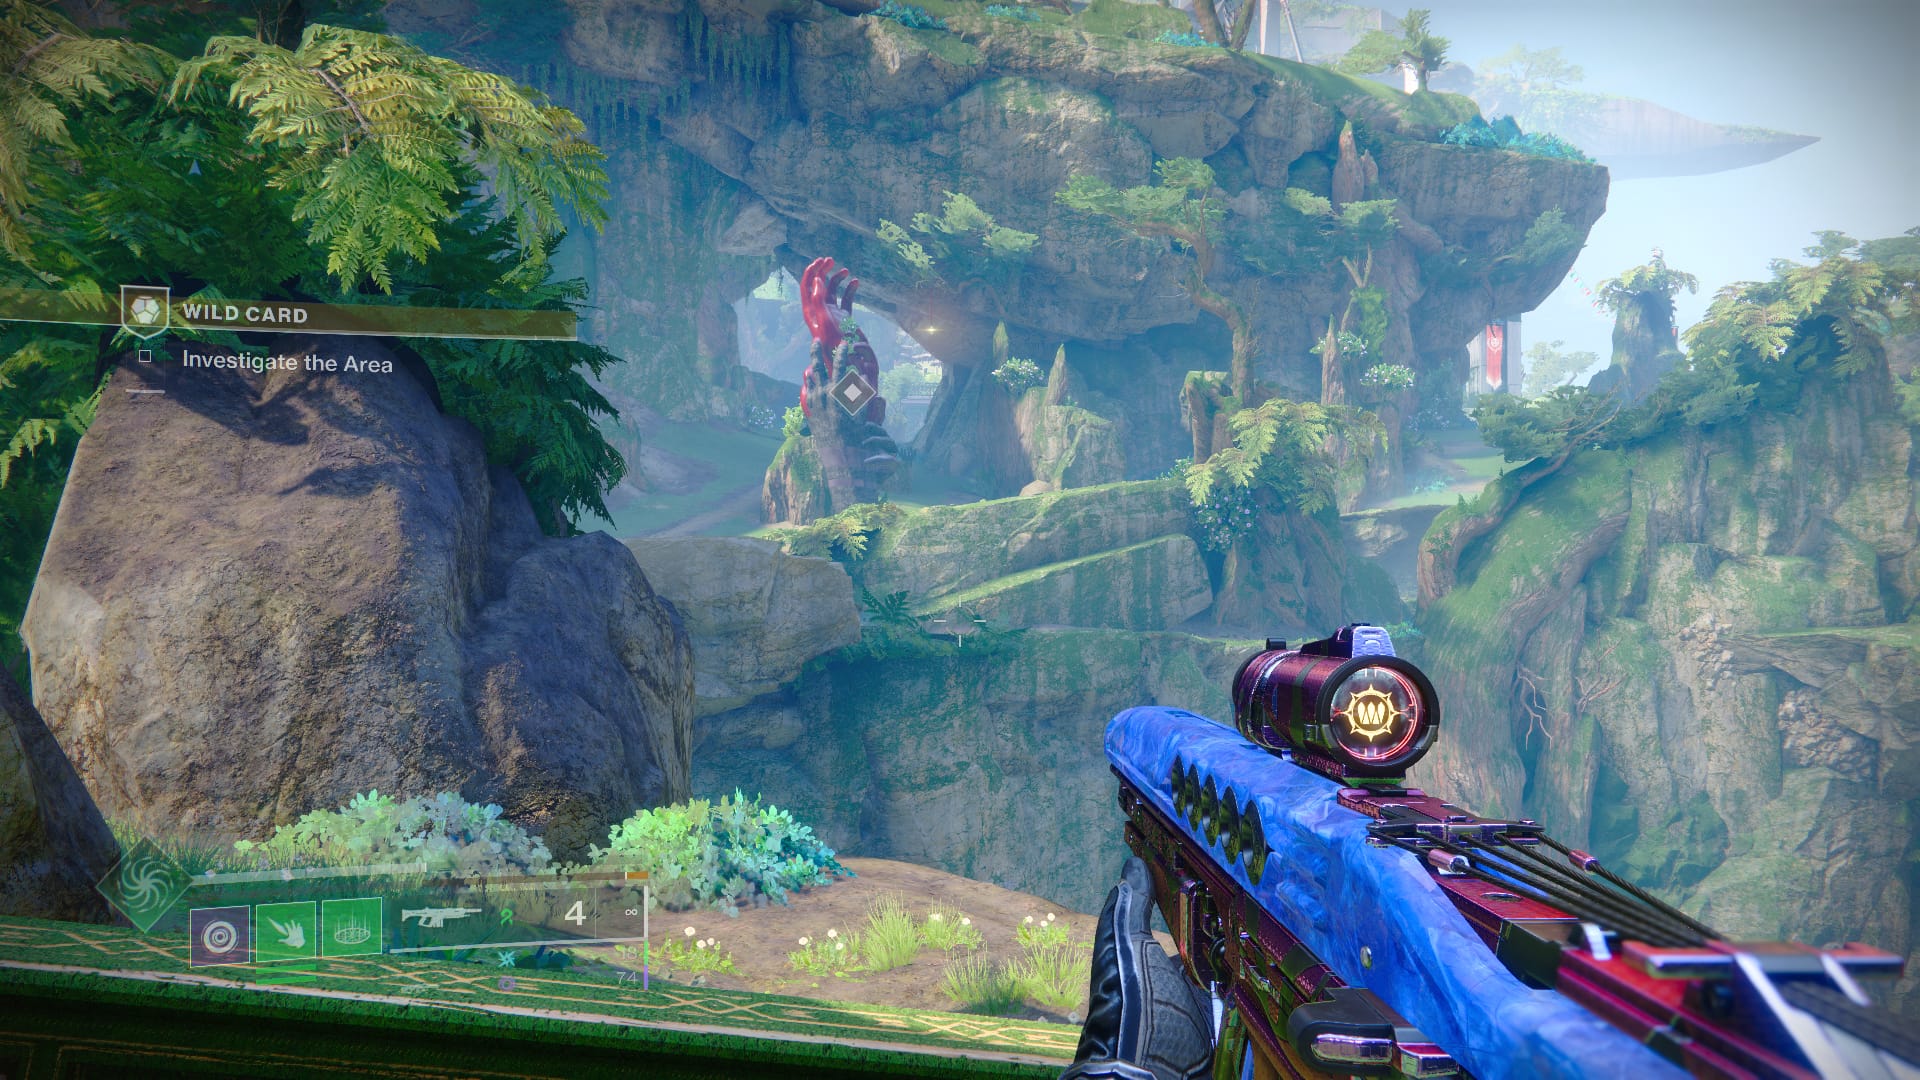
Crow will tell you to keep investigating, but we won’t be going into the cave. Instead, head West, through the giant stone arch. Expect plenty of Screeb resistance, which will be a theme.
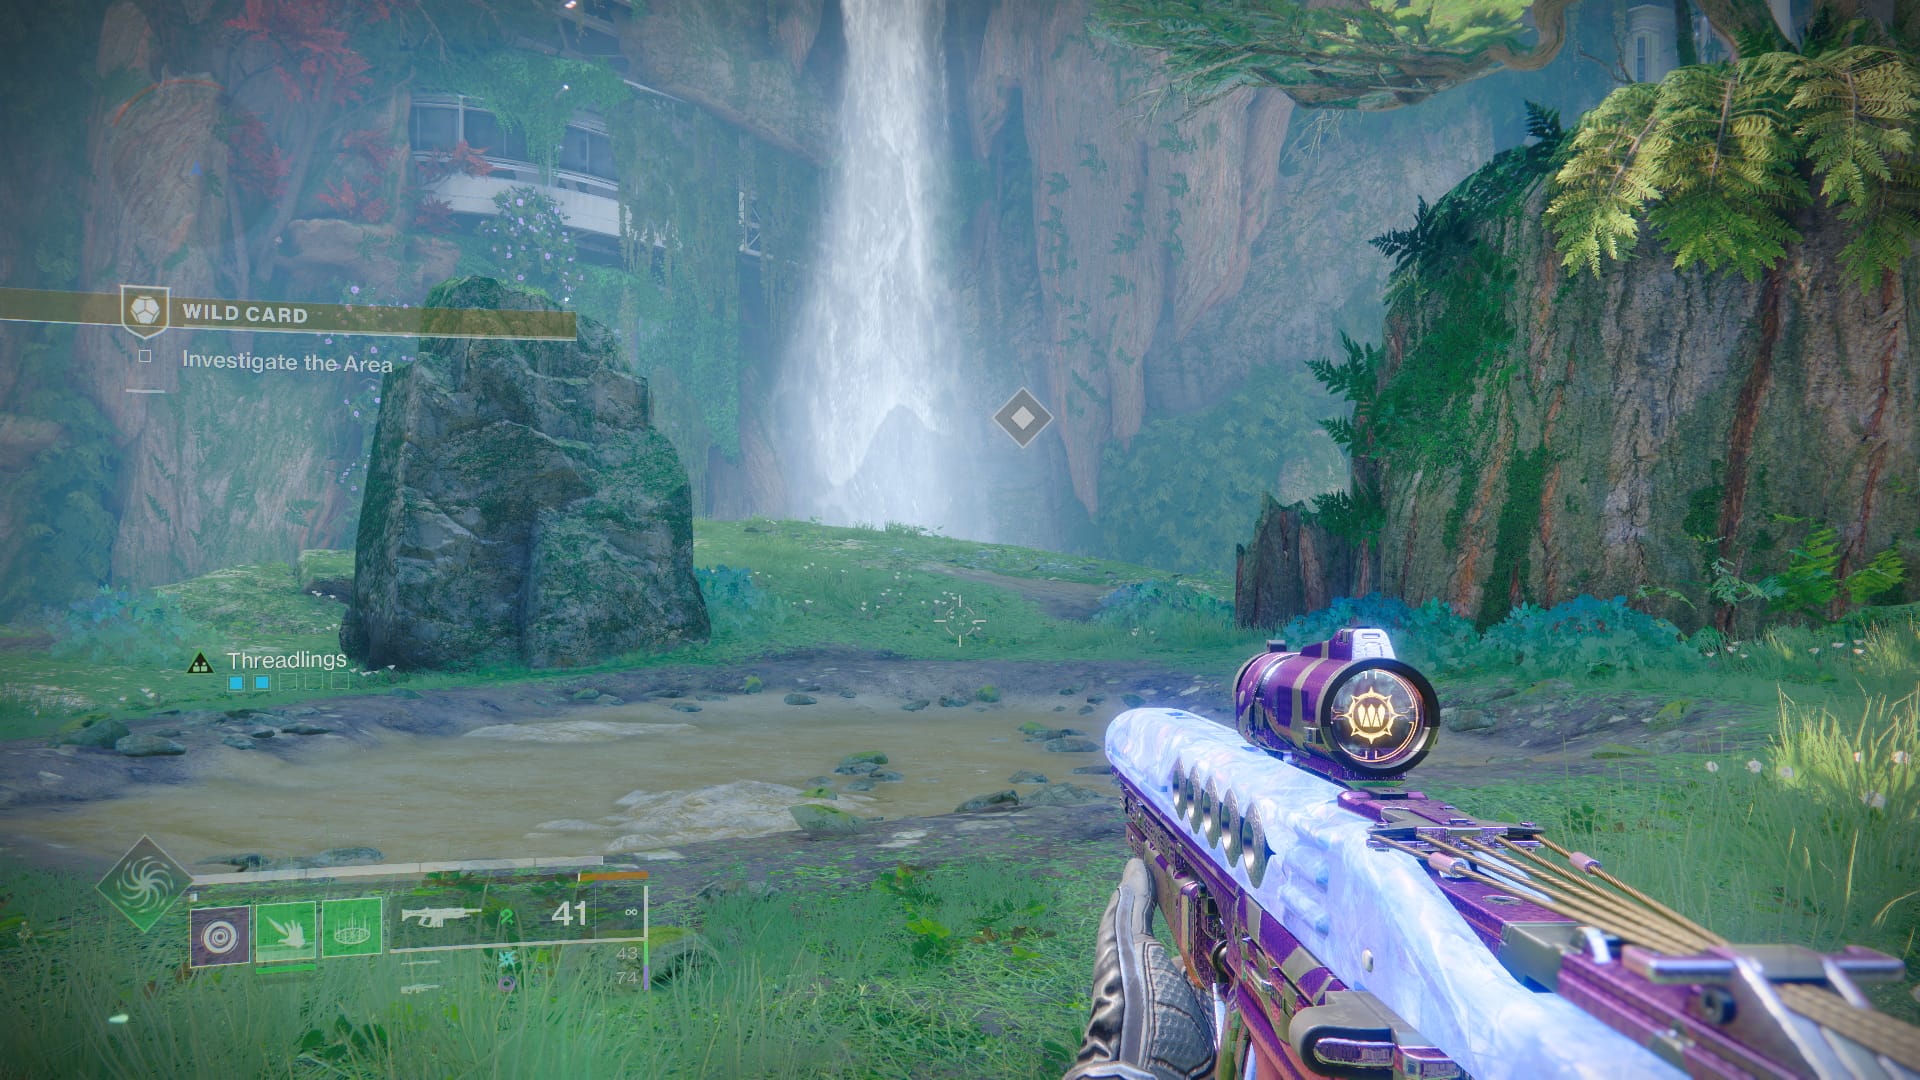
When you reach the white waterfall and mud puddle, interact with the mud puddle. When Cayde and Crow are done talking, we’ll continue our investigations.
If you’re facing the waterfall, do a complete 180.
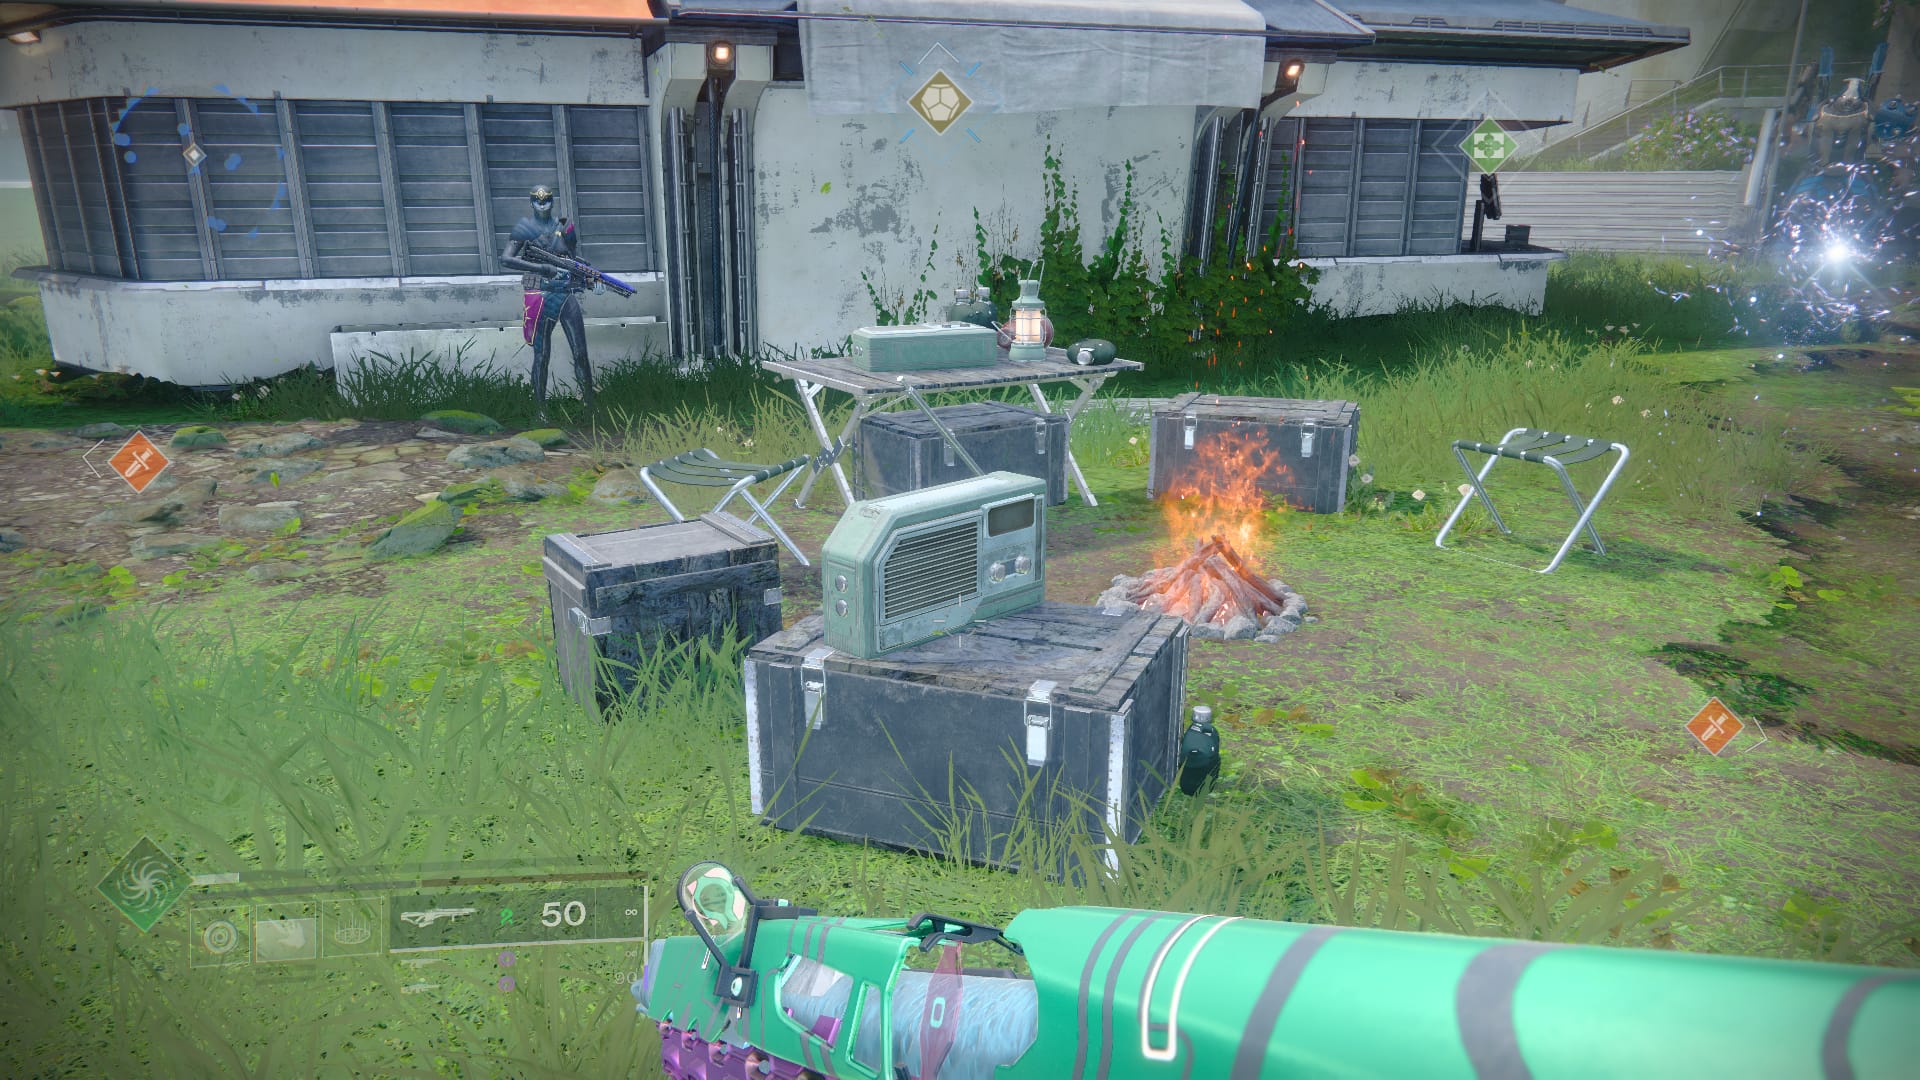
Head under the mosaic bridge. Beneath the bridge will be another waterfall and a mud puddle. Investigate the mud puddle. You’ll then be able to set up camp. You’ll need to set up three items: the tent, the campfire, and the Dark Ether collector. When all three are set up, you’ll be tasked with your first combat objective.
Collect Tainted Dark Ether
We’ll need to collect Tainted Dark Ether. And we can do that by going back towards where we came from and killing Screebs and war dogs. Screebs you kill have a chance to drop Dark Ether. When all the Screebs are dead here, head back through the stone arch towards where we came.

You’ll see a concentration of war dogs and Screeb gathered under a bridge. Kill them and collect the Dark Ether. Once the Screebs are all dead, an Energy signature will appear.
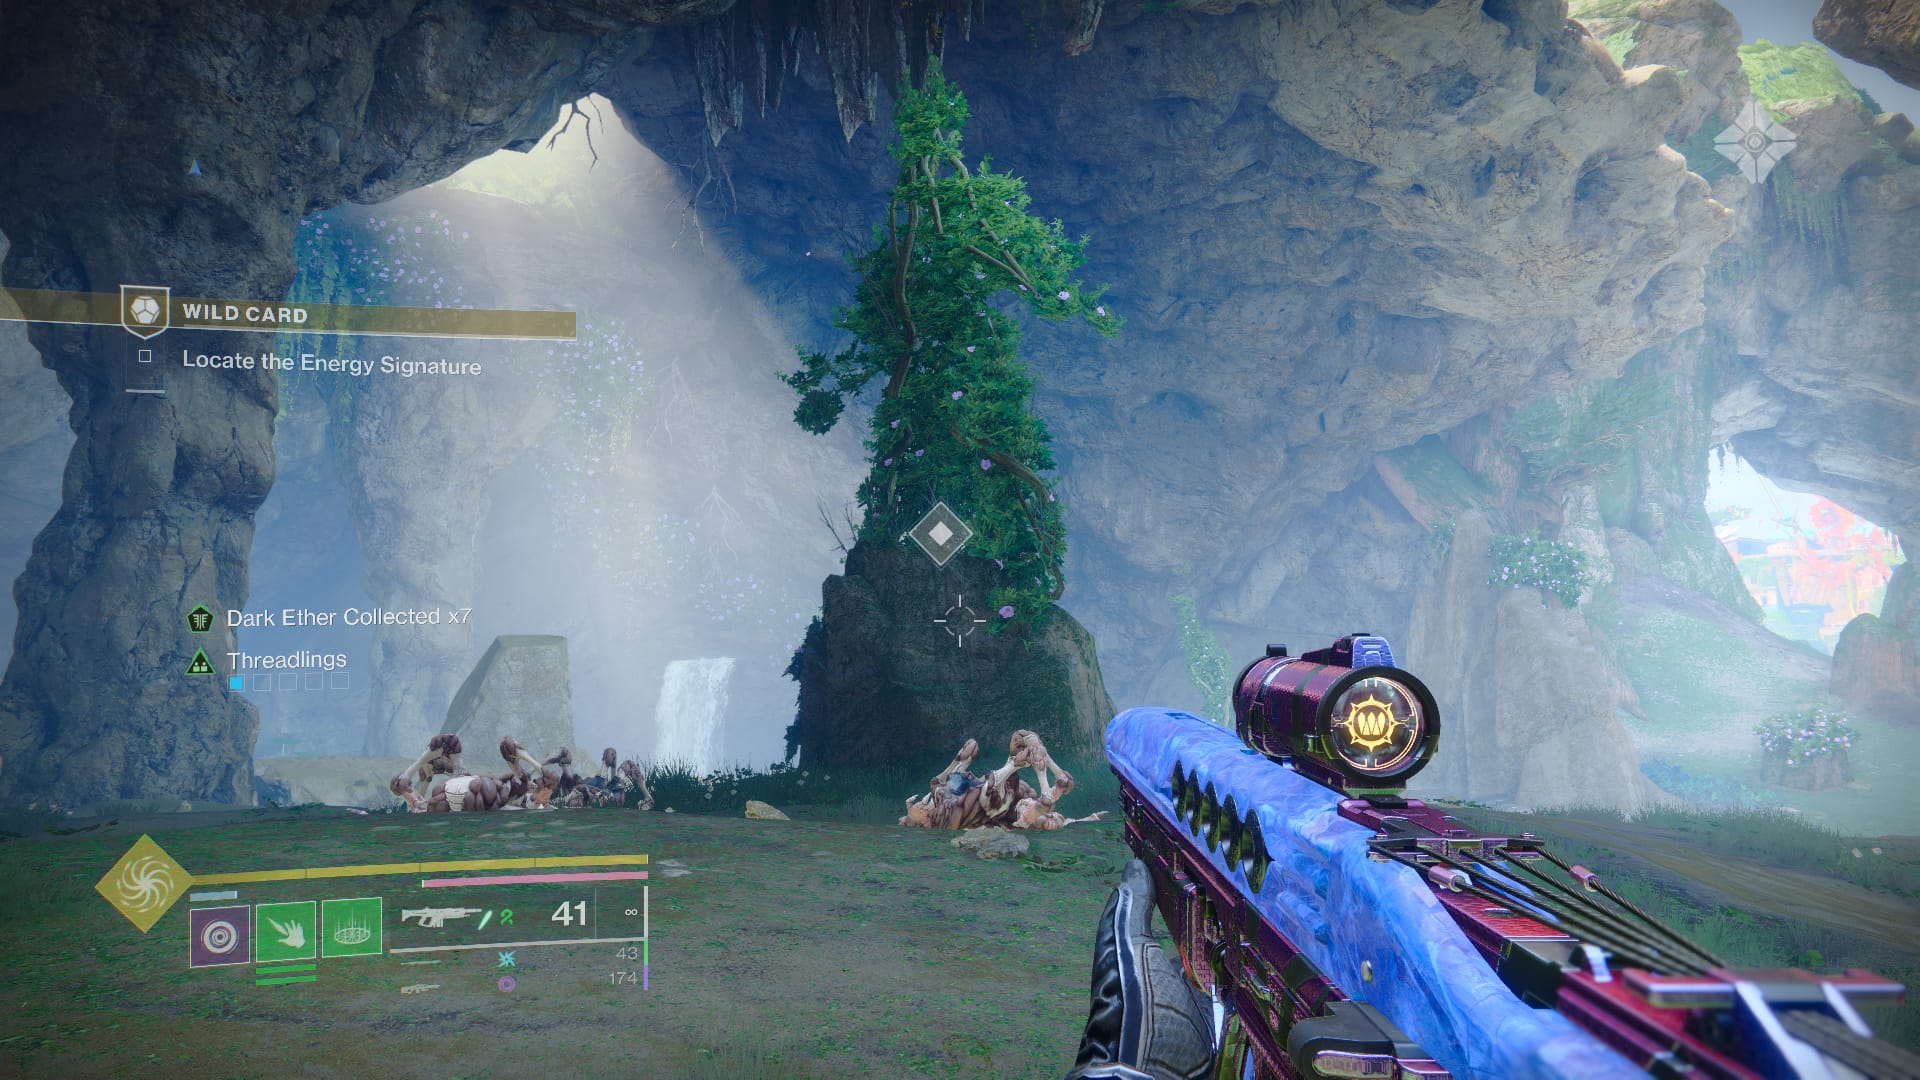
Head back towards the caves where we first investigated that bush person. There will be another bush person to investigate, which will have several corpses in front of it. Investigate this area. You’ll find that something has been eating the Screeb. Gross.
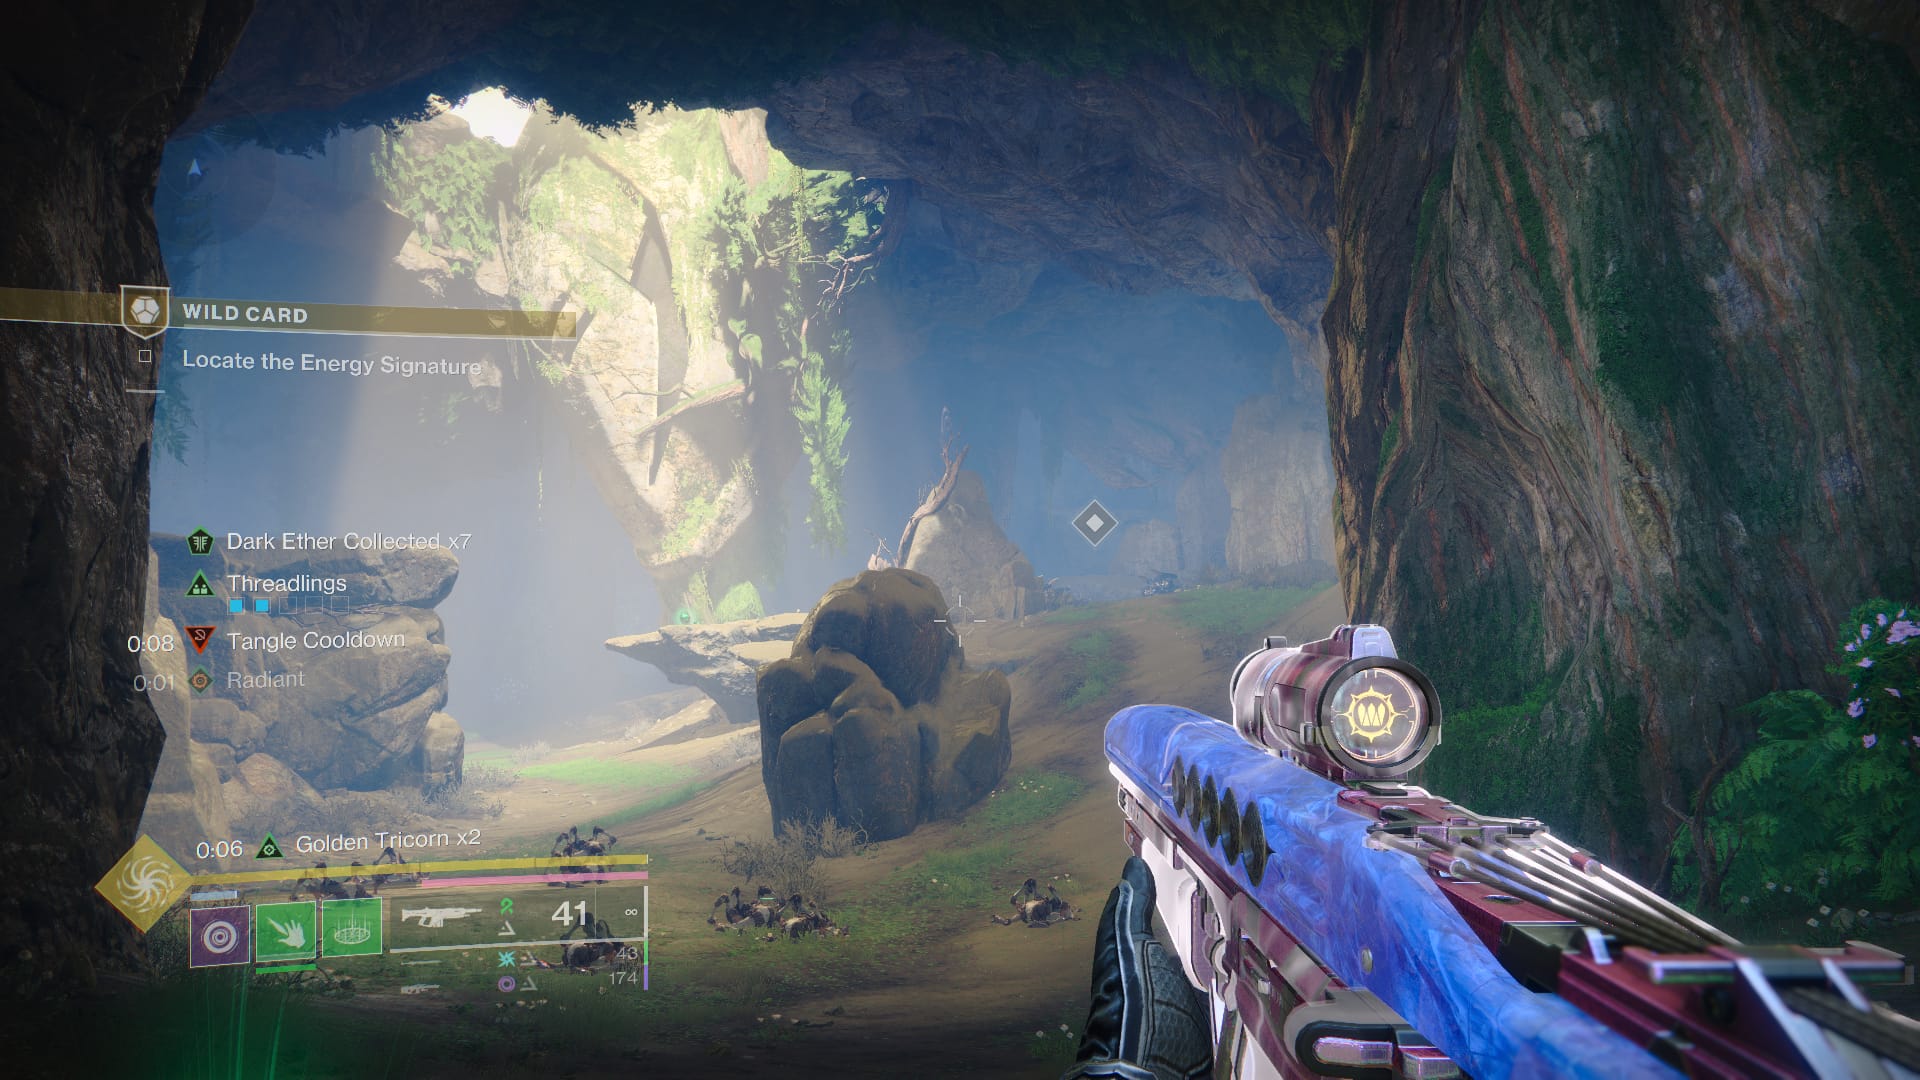
Anyway, head into the caves, towards the Scorpius turrets. Where the Scorpius turrets were, you’ll find a place to put your rally banner. Once the rally banner is down, investigate the dead cabal beside it.
This will start a fight against a giant war dog called the Devourer of Corrupted Light. This fight is a little strange. The Devourer is very tanky, and he comes with an entire host of comrades. His first wave of allies will be standard War Dogs. But when you lower his health by one third, he’ll gain an impenetrable barrier.
Related: How to Get Prismatic Aspects and Fragments in Destiny 2
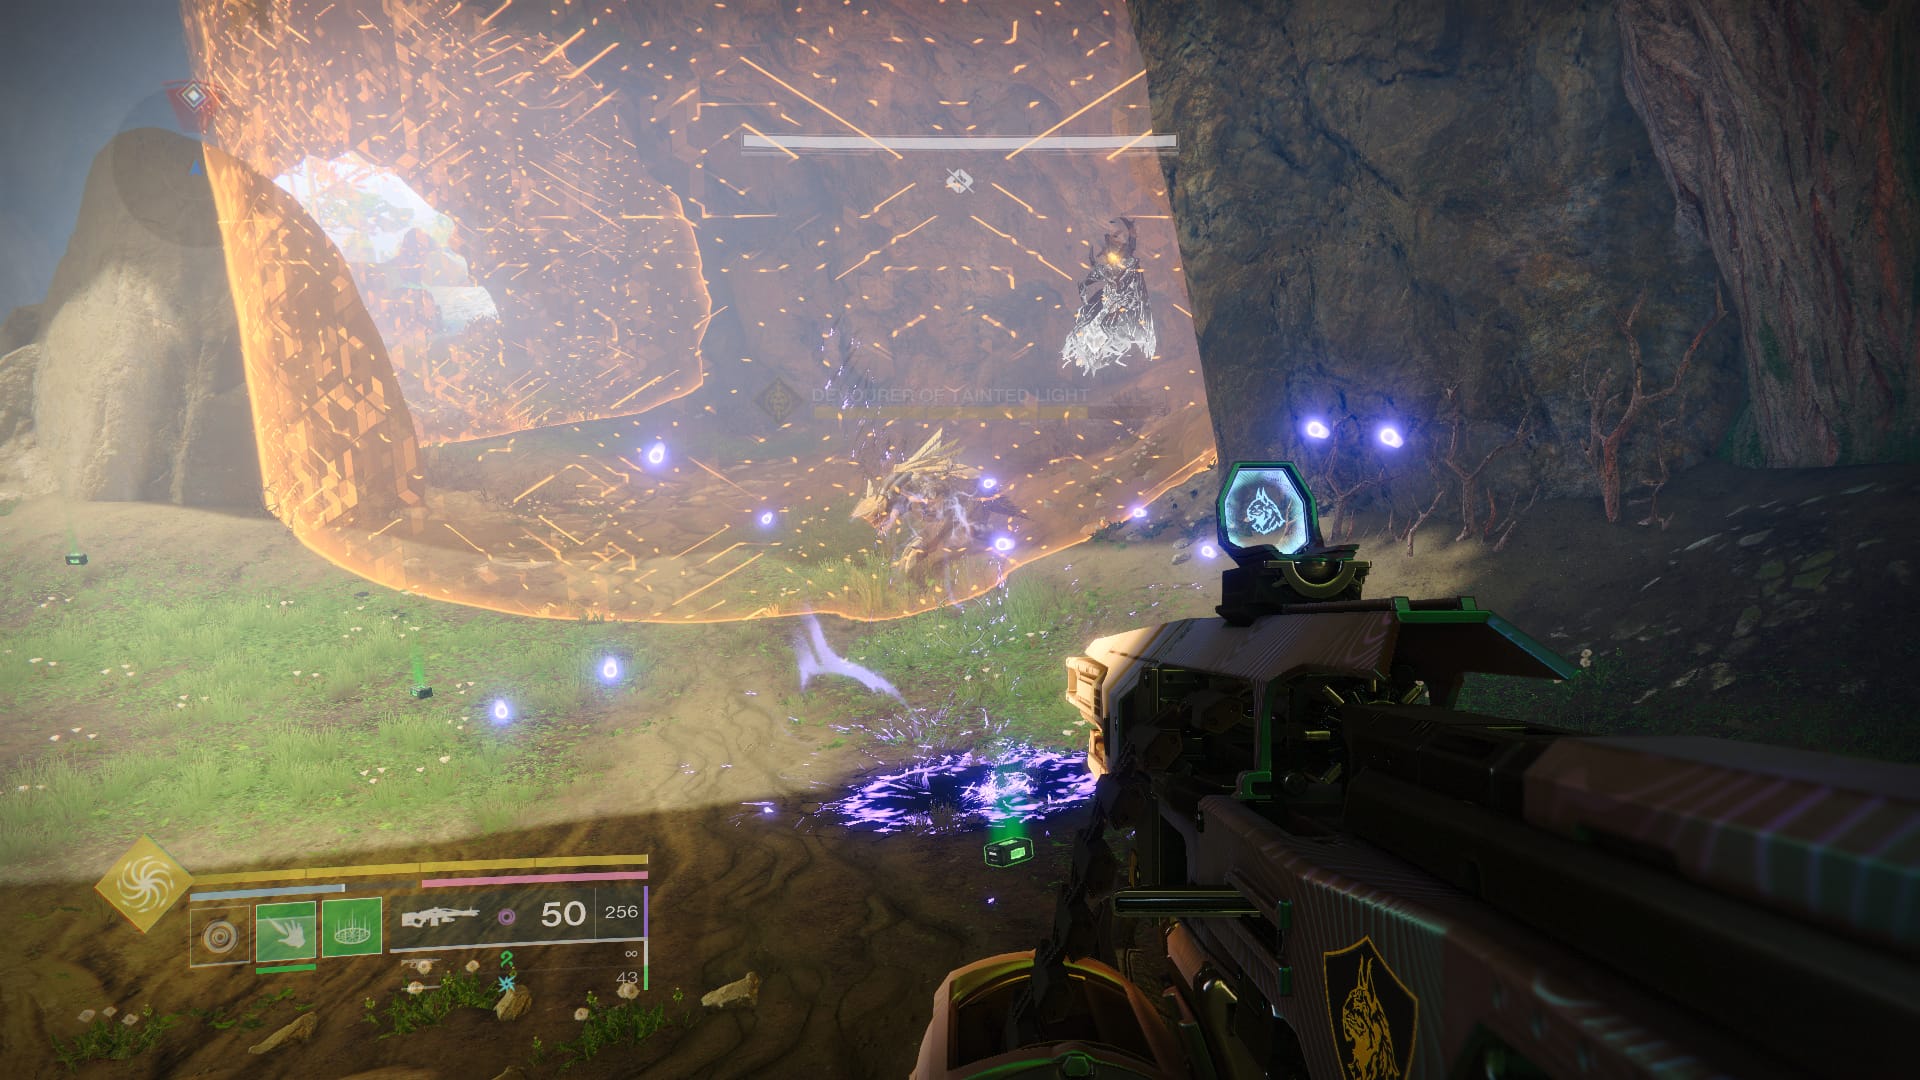
An orange force field will appear in the arena and he’ll run inside. You can shoot through the force field and there’s Taken and a Hive wizard inside, too. But here’s the thing. You can simply walk through the force field and kill everyone inside.
Once you’ve done this and lowered the dog’s health by another third, he’ll run to the other side of the arena where another force field will appear. There will be even more mobs now, including Attendants and a Scorpius Turret. But there’s no other gimmick to the fight. So, simply walk inside the force field or wait for him to run out and come for you.
Track Down the Barrel
When the fight’s done, return to base camp. Once you’re there, you’ll find three Shank and a Dark Ether spill. Kill the shanks and examine the spill. Turns out the barrel’s been stolen. We’ll need to track it down.
But before that, talk with Cayde-6 and Crow. After their heart-to-heart, approach the tent to meditate.
Related: Destiny 2 The Call God Roll – PvP and PvE
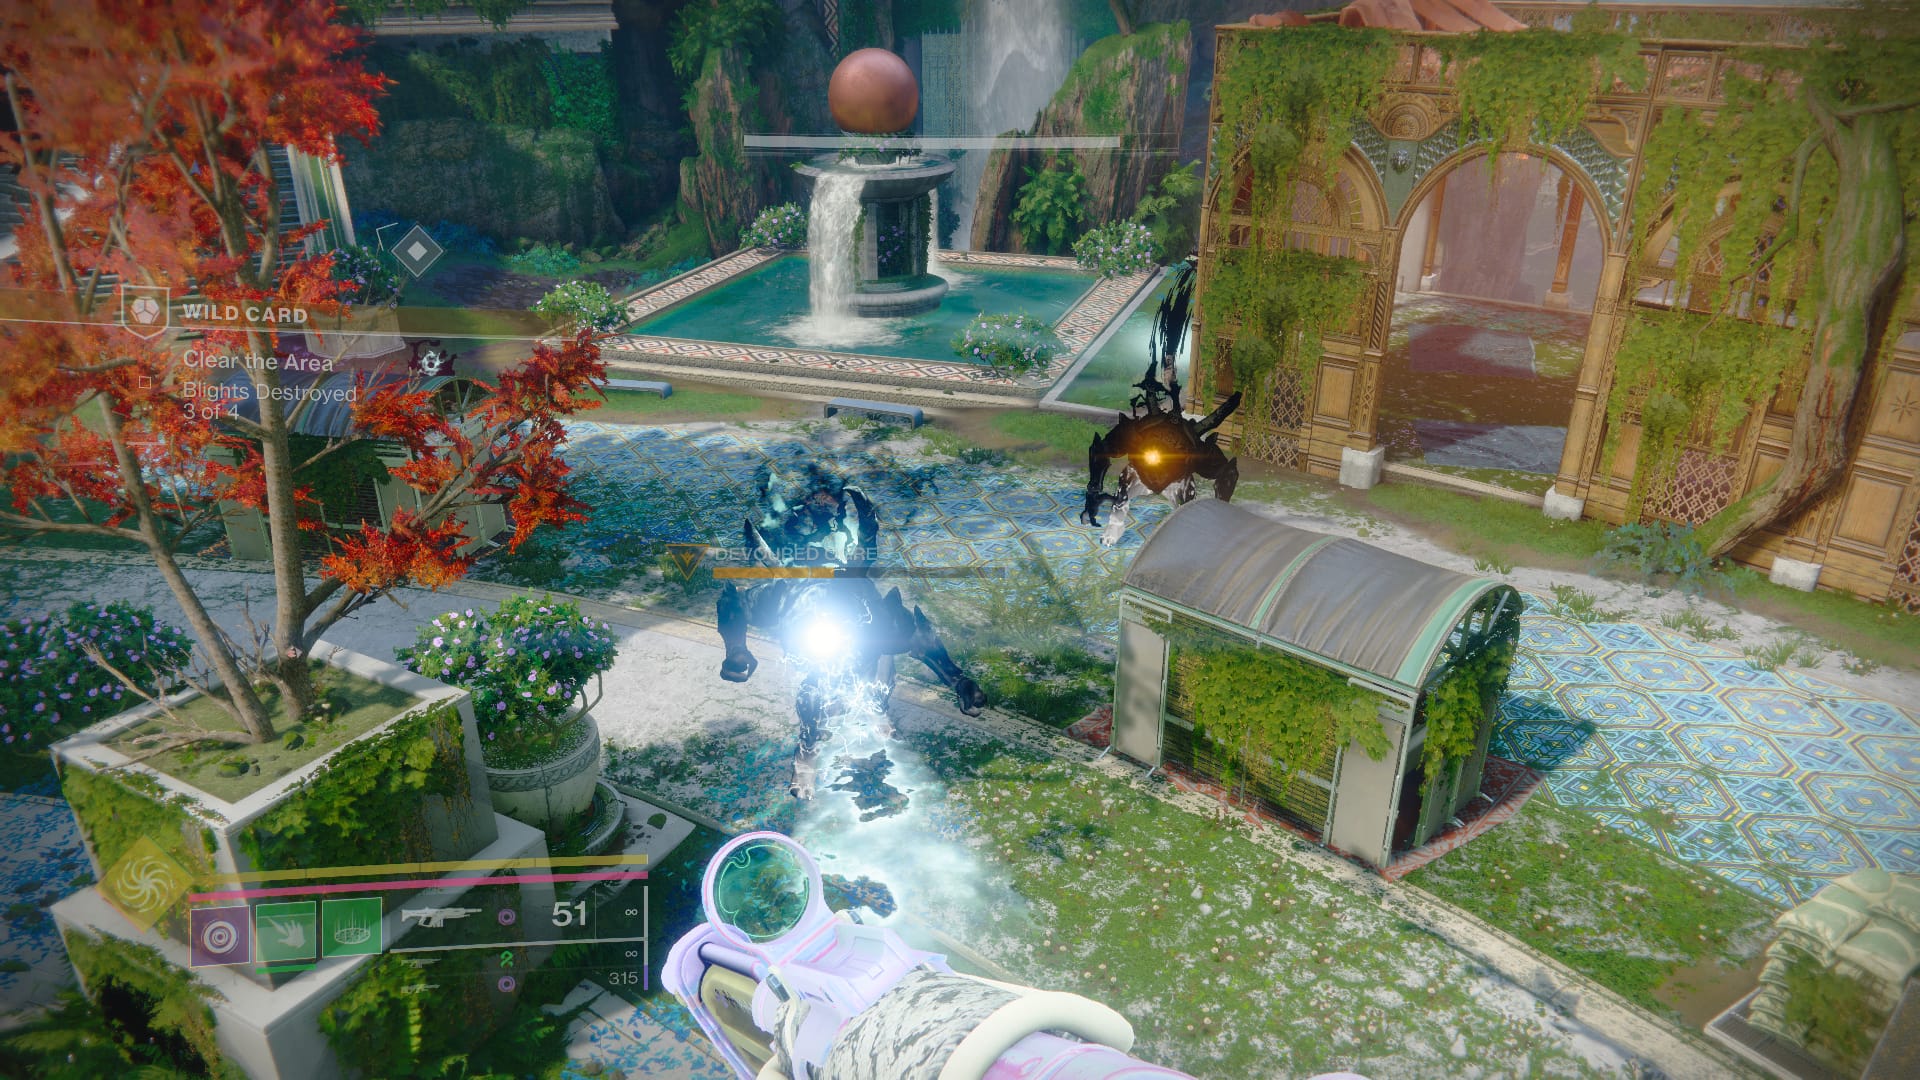
You’ll then wake up to a wave of enemies. There are four blights you’ll need to destroy, two on each side of the Landing. At the base, there will either be a Servile Wizard or an Ogre. Kill these yellow bars at the base of the Blight and the Blight will be destroyed. There are always two Servile Wizards. But there can be one or two Ogres.
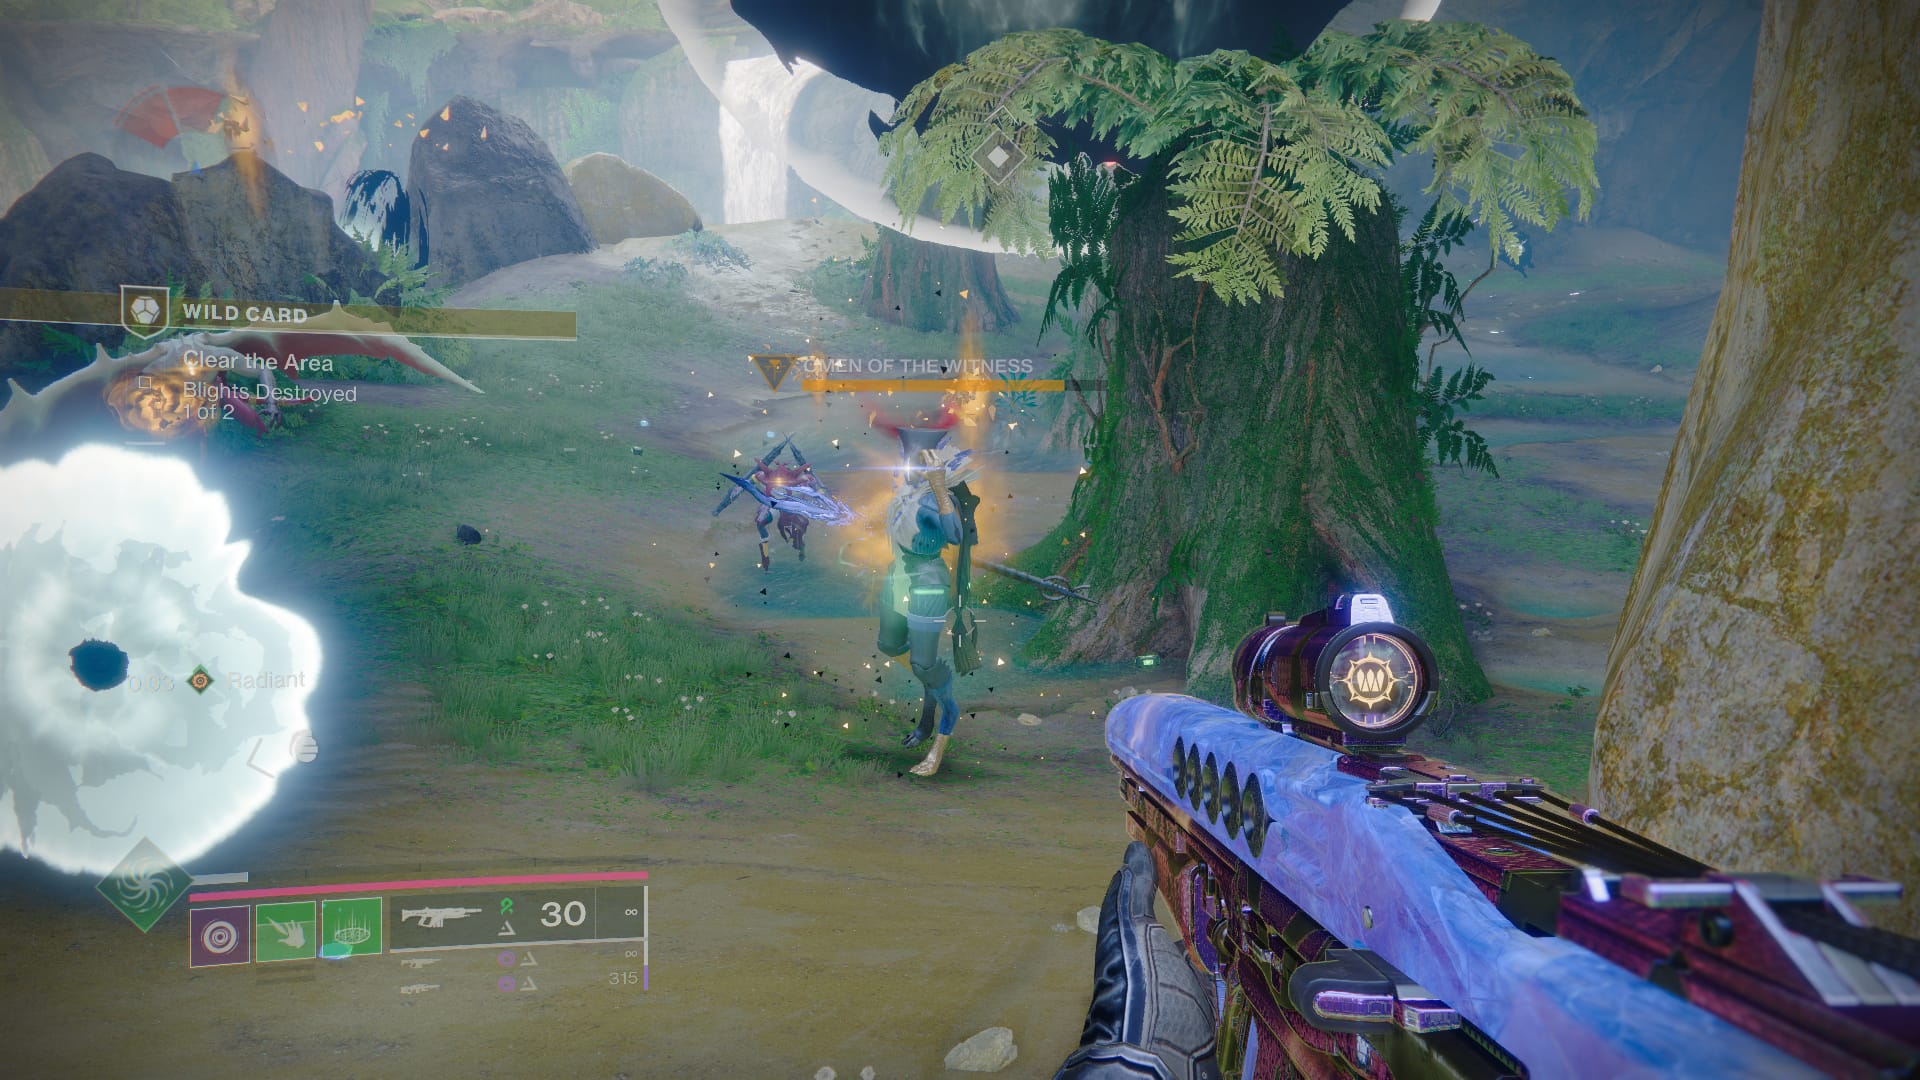
Once the Blights are gone, Crow will say he’s got a lock on the location of the leaders. Two new Blights will appear. At the base of these Blights will be Omens of the Witness. One Blight will have a Strand Omen, the other will have a Stasis. Kill the Omen and the mob it brings with it and the Blight will explode.
When the enemies are dead, go back to base camp and speak to Crow. After he tells you about how much he respects Cayde, go back to your tent to meditate.
After you wake up (sorry, once you’re done meditating), you’ll need to find the shortcut. The shortcut is actually at the feet of the first bush man we examined! You know, the bush man in front of the tunnel. Look down over the ledge and you’ll see a platform you can jump down to.
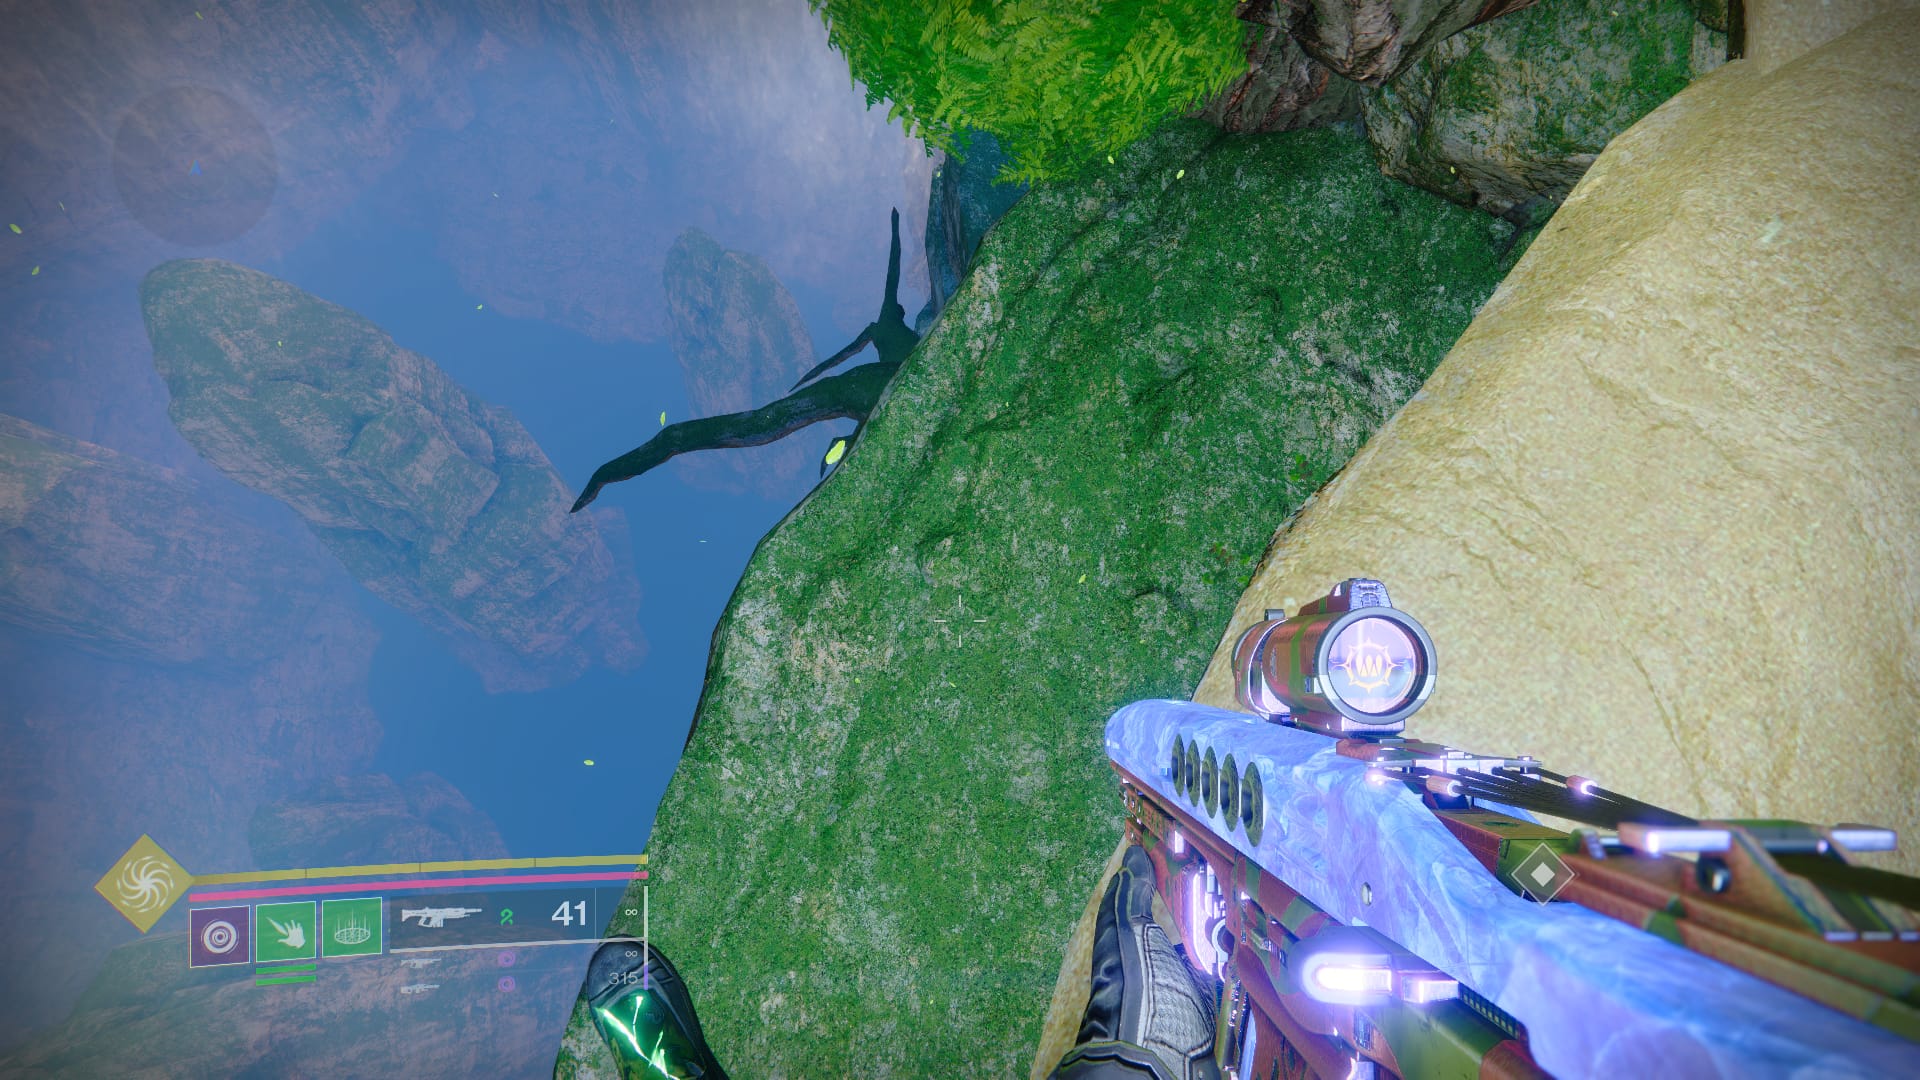
Once you’re on the platform, hold down the interact button to use the shortcut. This will take you to Refraction, where you can examine some dead House of Salvation. Examine them.
With that done, place a rally banner. Three shanks will appear. Destroy them, but don’t jump across. It’s not a real area and you’ll likely immediately die. Instead, this section is like a shooting range!
Take Out the Mega Shank
Pul out your favorite long-range weapon, like a scout rifle, and start shooting Shanks. Kill half a dozen and the Mega Shank will appear. The best way to handle this fight is to keep the mobs relatively clear before focusing fire on the Mega Shank. Linear fusion rifles, machine guns, and, fittingly, sniper rifles will do well for this fight.
Once the Mega Shank has lost a third of its health, it will call in exploding shanks. It’s a very good idea to have volume on during this section, as the exploding shanks can easily fly in over the rock walls and penetrate your sanctuary.
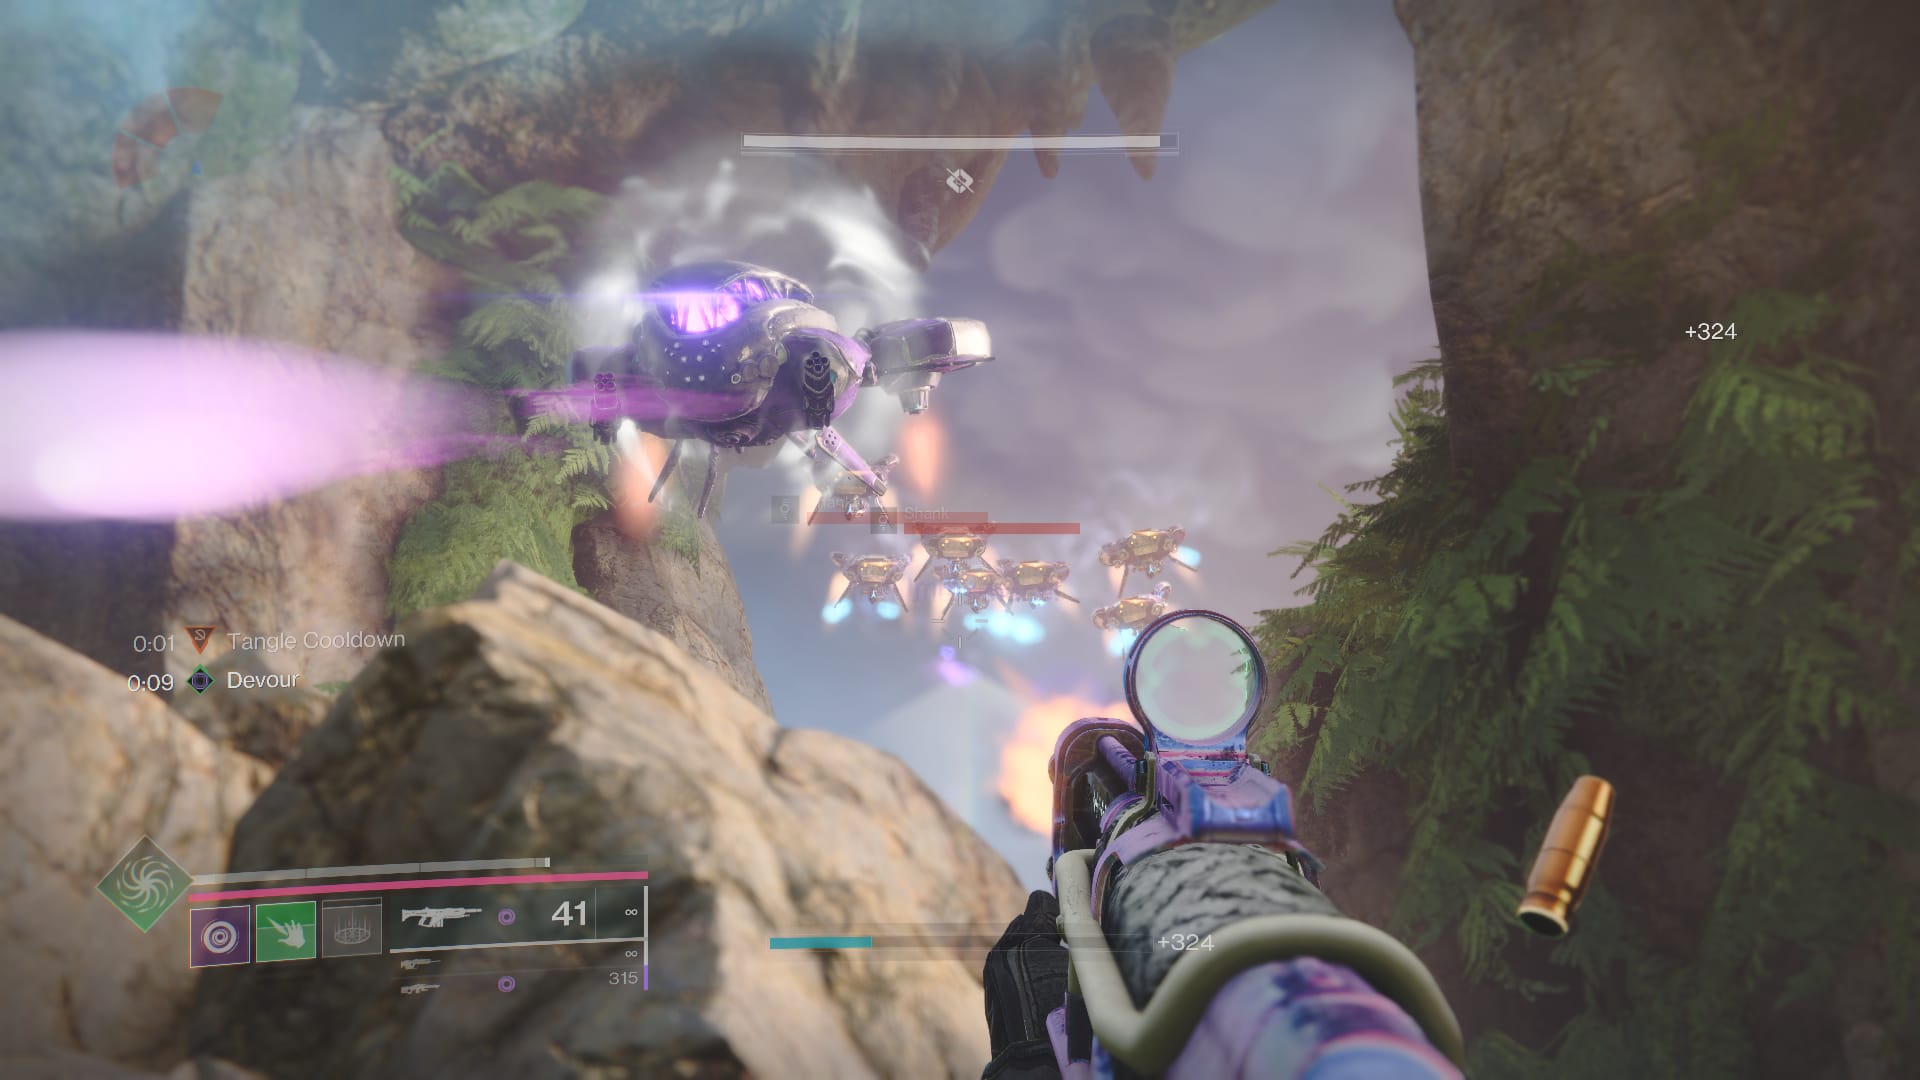
When the explosive shanks are dead, you can damage the Mega Shank until its final third of health. When this happens, you’ll need to clear mobs until the Mega Shank, and all the other Shanks, start flying towards you and enter your arena. At this point, you should try to clean up Mega Shank as quickly as possible as the space will get very tight. But once you kill Mega Shank, the rest of the enemies will die.
Return to base camp. Once you’re there, speak to Cayde and Crow. When they’ve had their chat, examine the nearby dirt spot to “Track energy source”. This will send you to the final stretch of this part of the mission.
Track the Energy Source
Jump down and head left, where you’ll see an entrance into the mountain. When you’re through the cave, jump down again and turn left gain, following the purple light. This purple tunnel is the screeb hole. Expect screeb. A lot of screeb.
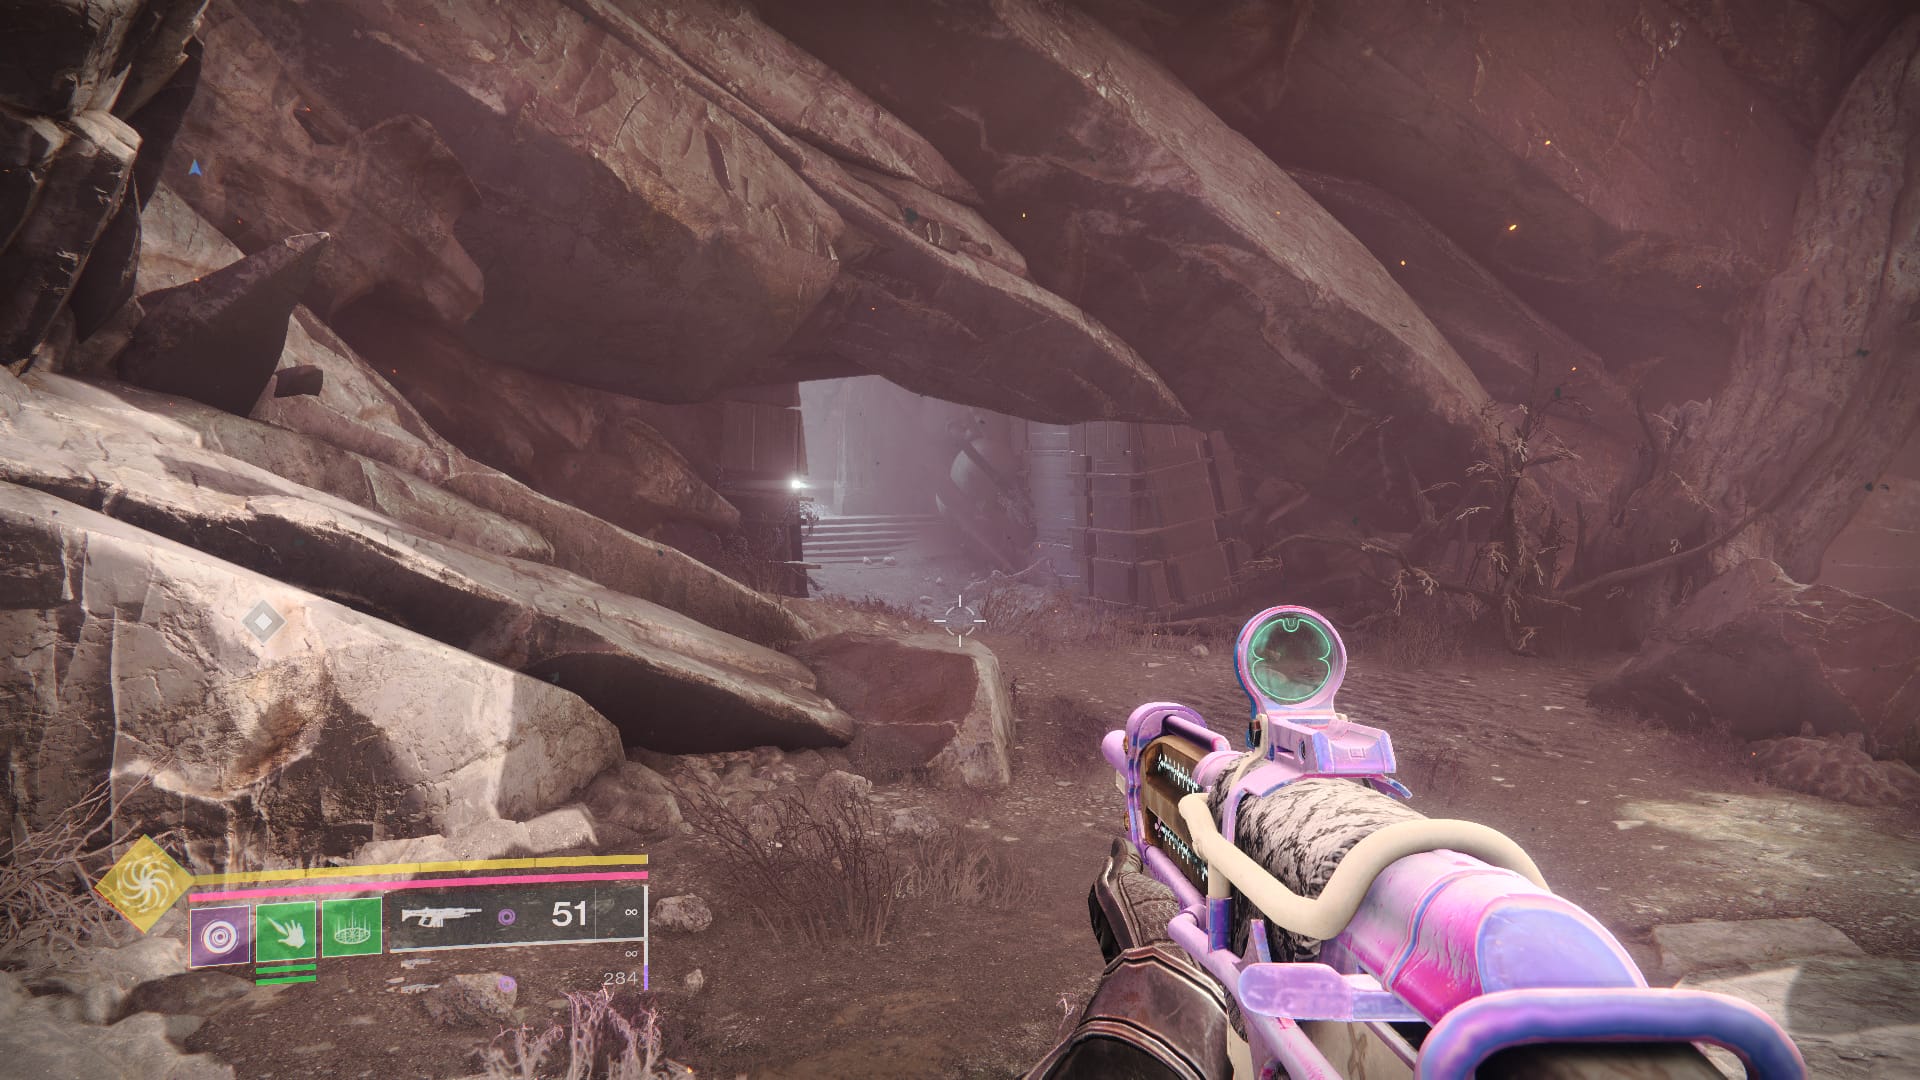
The tunnels all lead to the same place, and eventually you’ll reach a cavern where you can place a rally banner. Do so. Then investigate the barrel and get ready for a big fight.
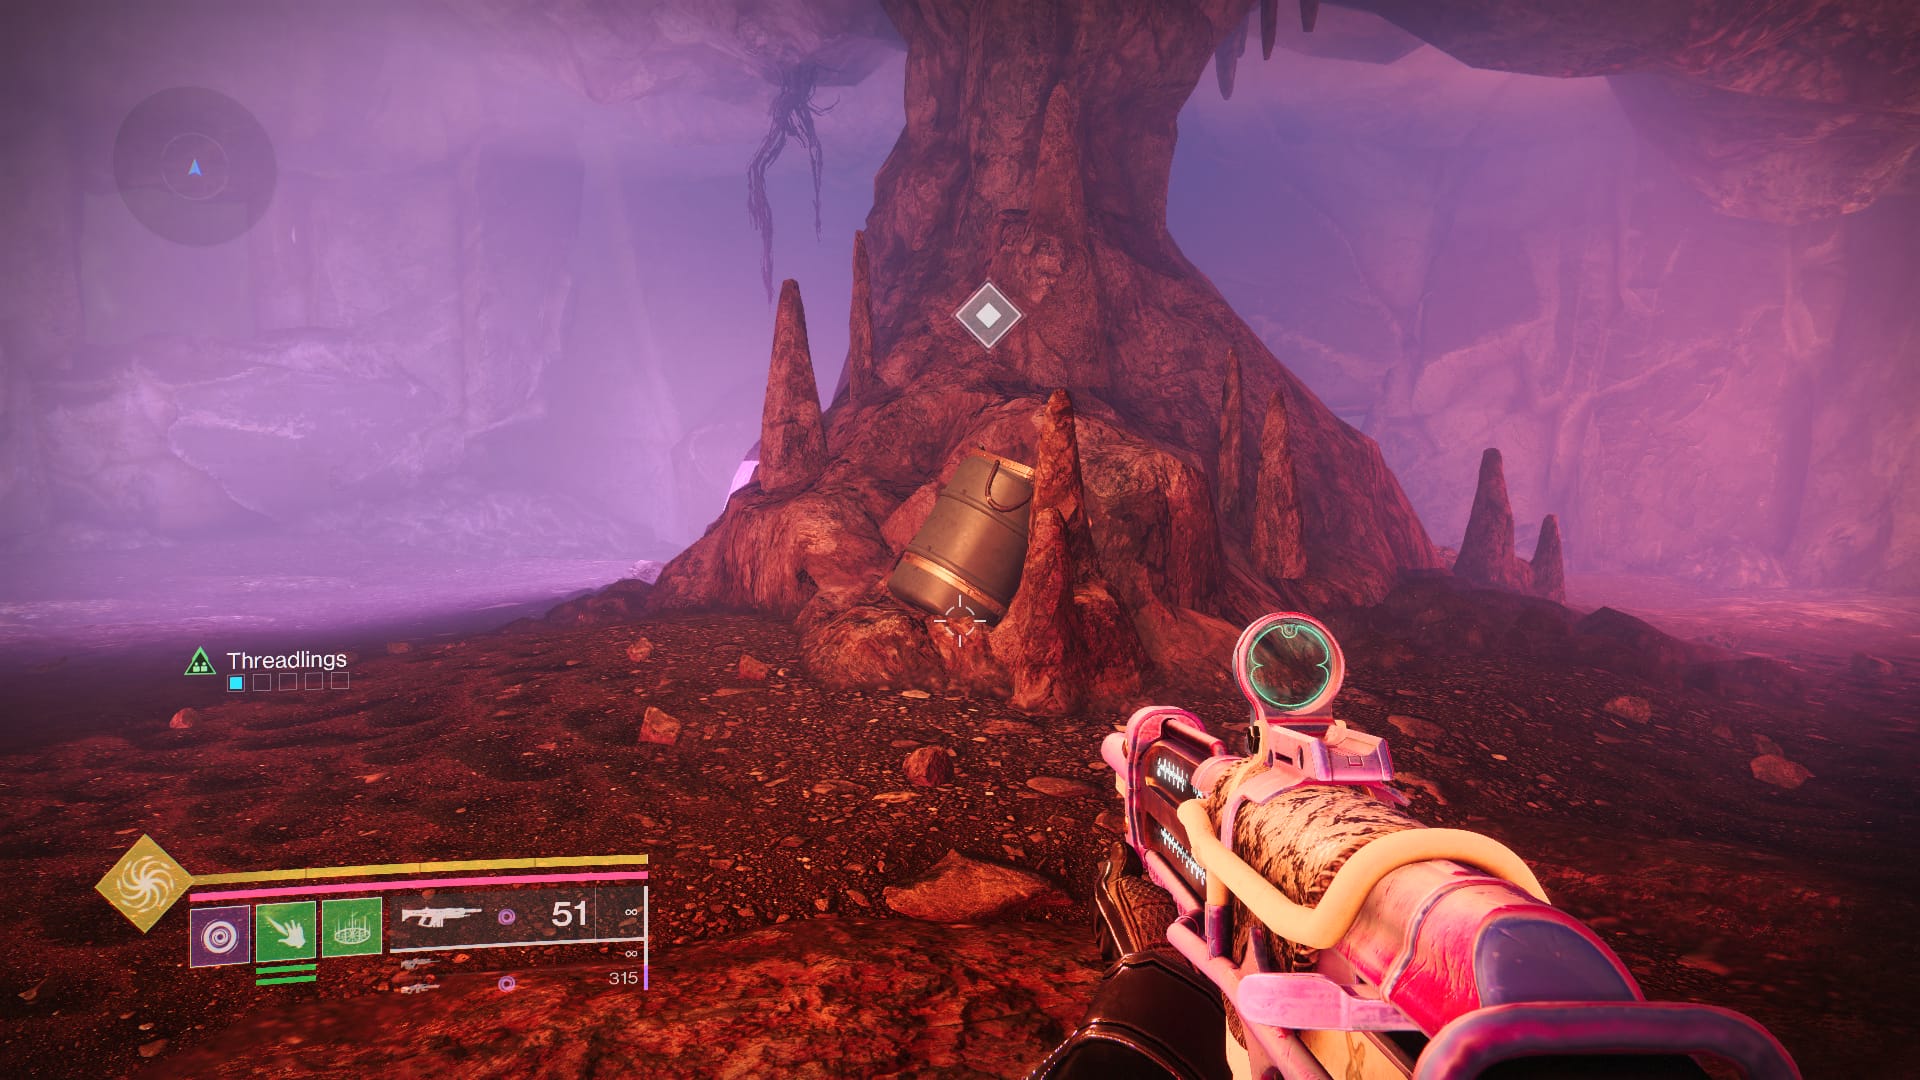
You’ll be going again, Lil’kis the Harvester. He fights with plenty of Taken Vex and Screeb, so mob control is very important here. Use the pillars to your advantage to avoid his arc attacks.
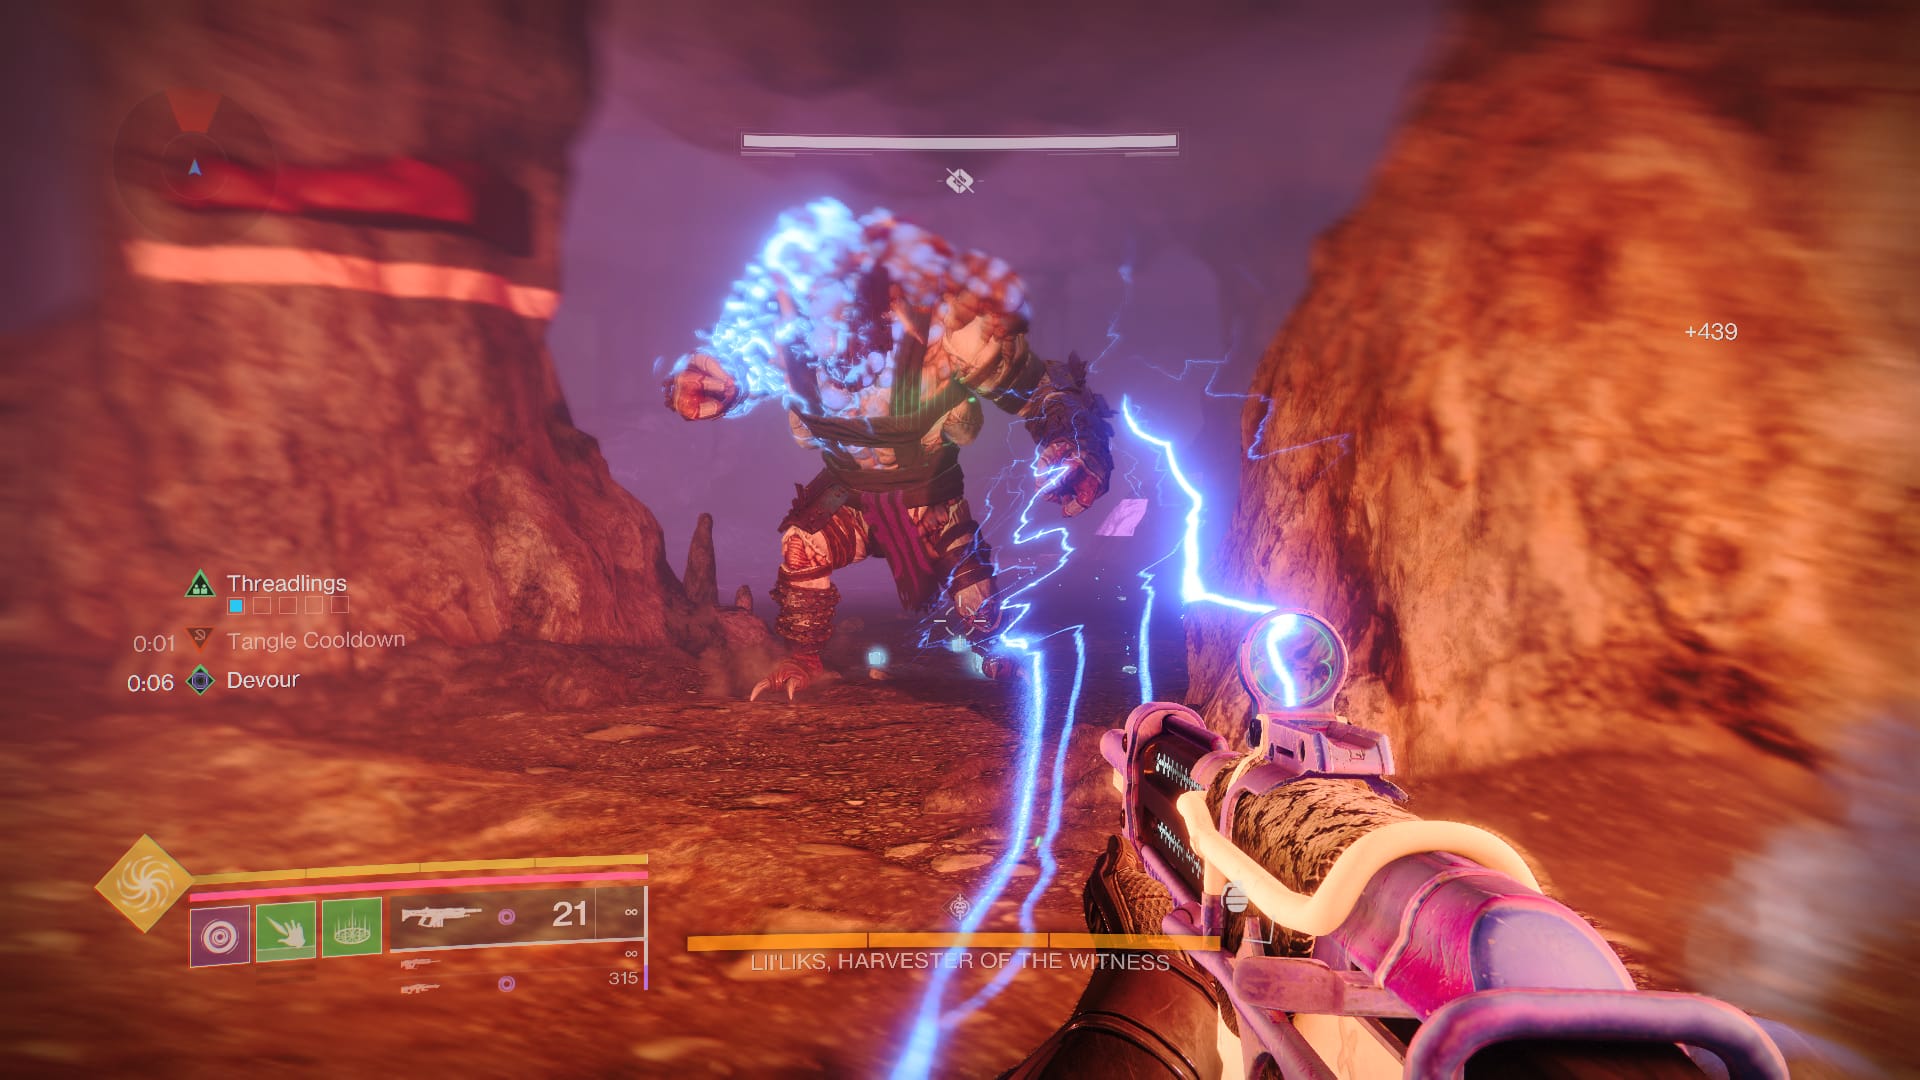
He’ll become invulnerable once you’ve done one third of his damage. You’ll then need to clear Taken mobs until the Screeb appears. Once the Screeb appear, kill them, then pick up the Dark Ether they drop and deposit it into the tank in the pillar. You’ll need to deposit ten Dark Ether. I recommend saving a grenade for this point, or just letting the Screeb explode themselves. Play it safe and patiently.
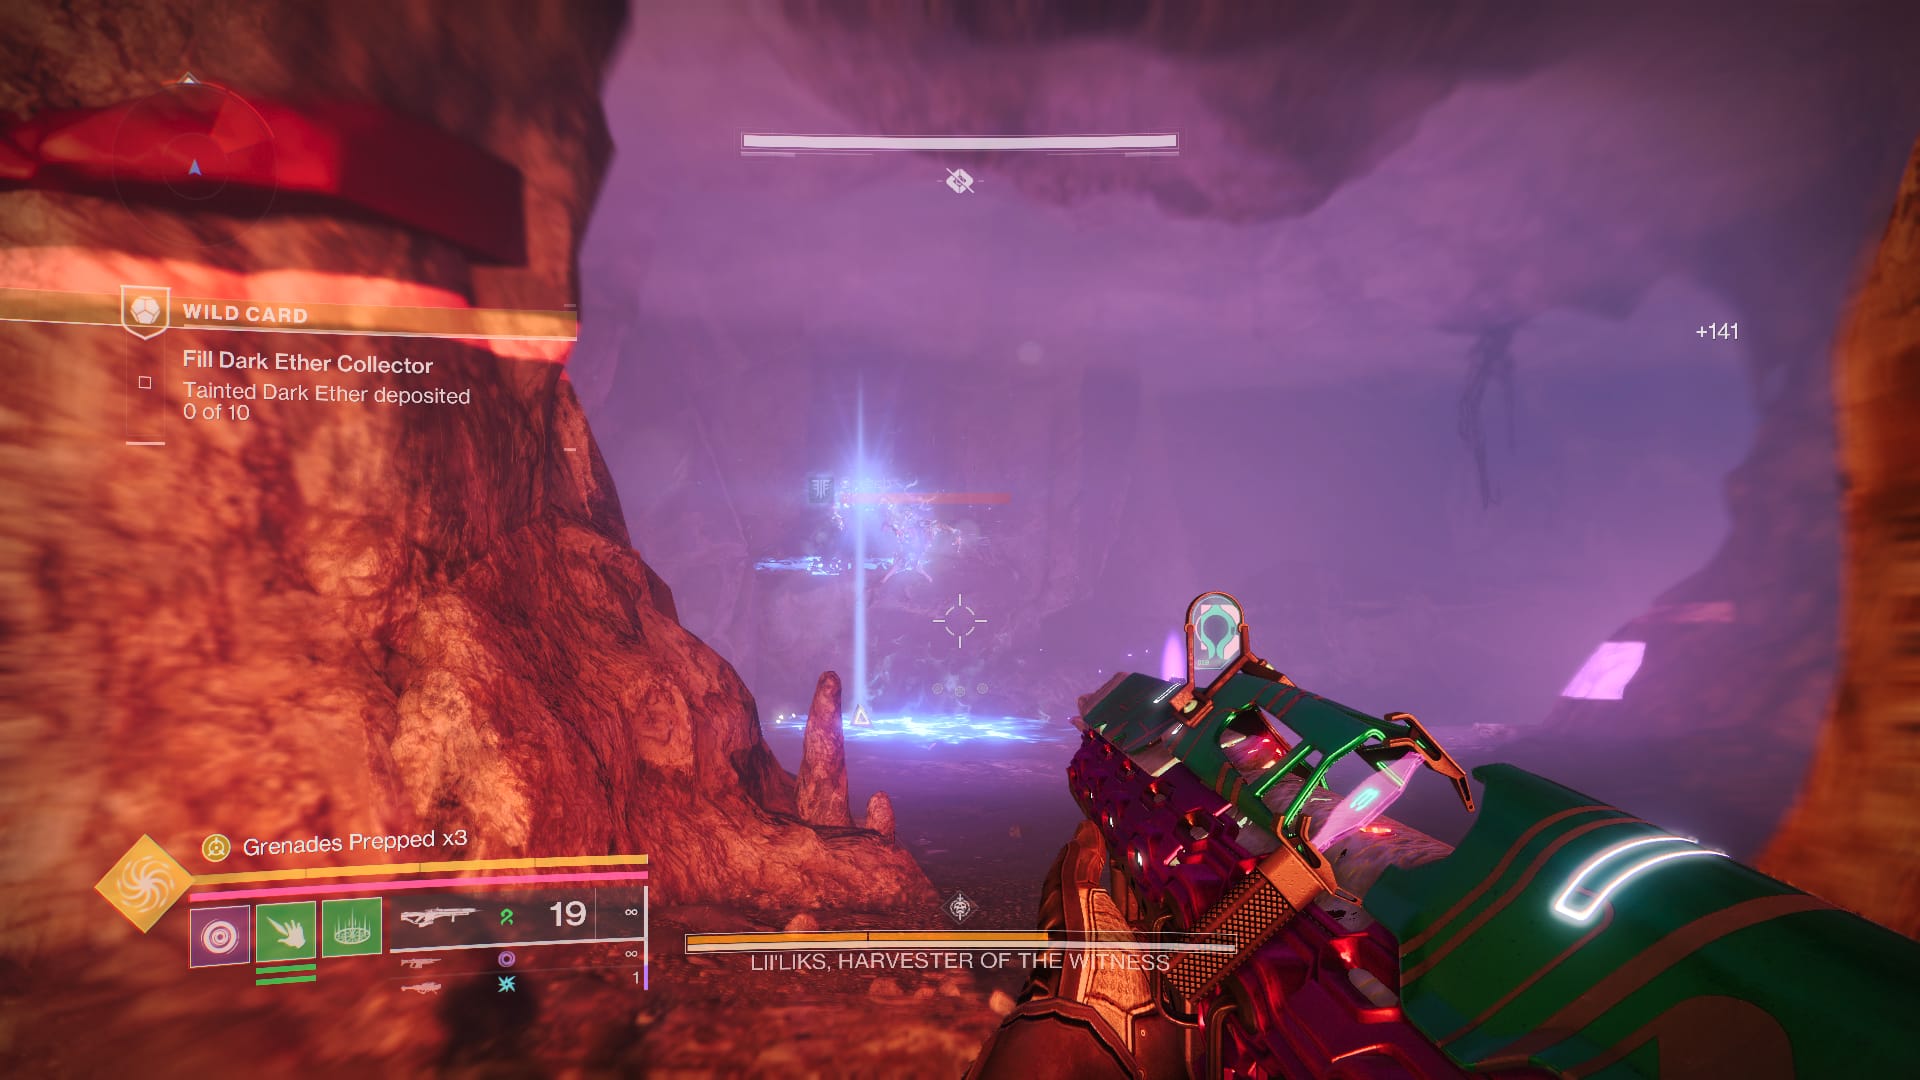
Once all ten Dark Ether are deposited, Lil’kis will return and you can start wailing on him again. He’ll summon Taken with a smattering of Screeb. Simply repeat this pattern, and you’ll soon have Lil’kis beaten. His massive glowing blue crit spots on his head, shoulders, and back make things a little easier.
You’ll get a cool cut scene, then you can speak to Cayde and Crow at base camp.
When that cut scene is over, the mission will end and you’ll need to load into Lost City. Listen to the Lost City radio beside Ghost.
Then speak to Cayde behind his boxes. He’ll hand you Still Hunt, the sniper rifle that shoots Golden Gun shots.
| Weapon | Perk |
|---|---|
| Still Hunt | Pick up Orbs of Power or land precision hits to charge this weapon’s Super bar. Once full, long press ‘x’ to fire Golden Gun shots. |
Related: Destiny 2: How to Get Ergo Sum and Complete Destined Heroes
And there you have it! A brand new Sniper Rifle, that gives you the power of a Hunter without ever having to play one.
Destiny 2 is available now.


Published: Jun 5, 2024 01:57 pm