
Like King Arthur, we were always meant to wield the mythic Exotic sword Ergo Sum. But since there’s no lady in a lake to give it to us, here’s how to get Ergo Sum and complete the exotic mission Destined Heroes in Destiny 2.
How to Complete Exotic Quest Destined Heroes in Destiny 2
So! Congratulations on finishing The Final Shape campaign. But now the real loot grinding begins. And Destined Heroes is a quest you’ll get immediately after ending the mission Iconoclast and speaking to your Ghost.
Once you’ve accepted the mission, you’ll need to do the following steps to complete Destined Heroes in Destiny 2, and I’ll go further in-depth on each step below.
- Listen to the strange radio transmission in the old Tower.
- Boot up the Destined Heroes mission.
- Complete Queens, I.
- Speak to Micah at Micah’s Conduit.
- Speak to Cayde-6 in the Lost City.
- Speak to Ghost in the Lost City.
- Obtain the quests “Lost in the Light” and “Found in the Dark” from Ghost.
- Complete “Lost in the Light,” and “Found in the Dark.”
- Complete Queens, II.
- Claim your fate.
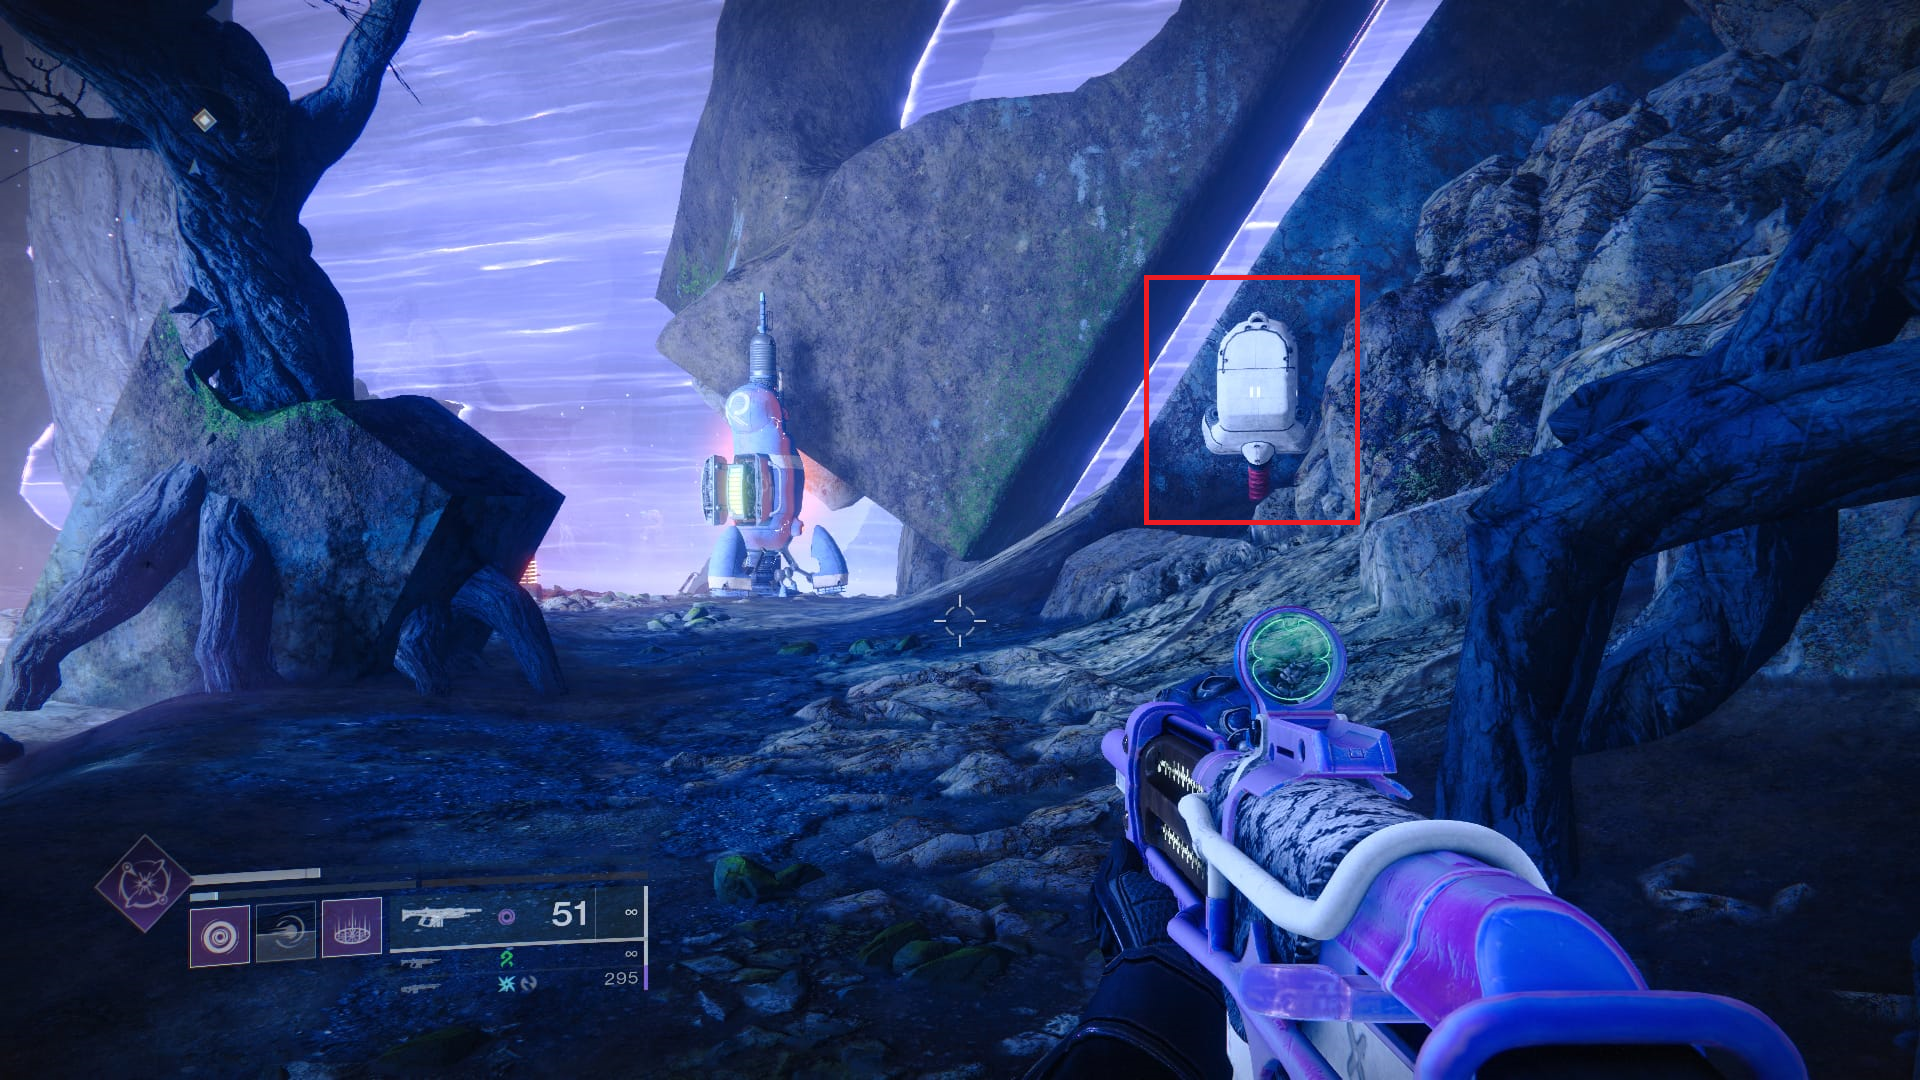
First up, let’s listen to that radio transmission. Head to the Lost City in the Pale Heart if you aren’t already there. Then, find the radio beside your Ghost vendor and interact with it. A familiar voice will greet you, and isn’t it nice to hear from her?
After you speak to Savathun, the Destined Heroes Exotic mission will become available in the Lost City. If you’re facing the radio, simply turn around and you should see the golden flag jutting out of a nearby trunk, close to the fence overlooking a massive drop.
How to Complete Queens, Part I in Destiny 2
Once you start the mission, you’ll find yourself in the same area devoid of any NPCs. Mara will tell you that she’s detected Lucent Hive. Head towards the stairs and descend. You’ll find yourself amongst dirt and tree roots, but the way forward is straight. Continue forward until you find yourself in a viewing room.
Approach the window and you’ll see a few towers glowing with energy, some sigils, and of course Lucent Hive wizards with barriers. Puzzles ahead! Crow will tell you that the Lucent Hive are likely going to attack the Tower, so it’s up to us to put a stop to their Hive Ritual.
If you’re facing the window, turn right and you’ll see a triangular opening in the wall. Drop down and keep dropping until you’re in an enclosed room with a Knight. Kill the Knight and he’ll drop a Relic. Pick up the Relic with the interact key.
Now, this next part might be familiar if you’ve done the Pit of Hersey dungeon. Pick up the sword and hold the button you’d normally press to aim down the sight of your gun. This will cause you to guard. An Acolyte with an impenetrable barrier will appear. Keep holding down the left trigger button as it shoots and aim your cursor over the relic. This will cause the rune to overload. You can tell it’s overloading and getting close to breaking because the rune will turn purple.
Once the rune breaks, the door will open. We’ll need to repeat this process with nine more runes. But for each second you hold down the left trigger, one point of the sword’s energy is used. When it gets to zero, the sword will vanish. Don’t worry, though! More Knights will always appear and it’s impossible to soft lock yourself out of this.
Exit the room and be aware of the Knight to our left and Shrieker to your right, which are immune to damage. To make them vulnerable, you’ll need to overload their runes. Fortunately, there’s a Knight just to the left of where you’ll exit. But it’s a good idea to clear out what mobs you can before you grab it and start overloading the runes.
You’ll need to match the damage each enemy does to the rune they’re associated with. So, Wizards using Arc energy will have to be used on runes that are blue. Shriekers with the void energy will be used on runes that are purple. And Knights with their fire energy should be used on runes that are red.
Each section also has its own Knight. The Thrall will spawn on fairly quick timers, so kill them first before taking up the sword, holding the aim button, and trying to take the enemy fire and direct it to the runes of the matching color. You can’t mess up the color matching part at this junction, so that’s nice.
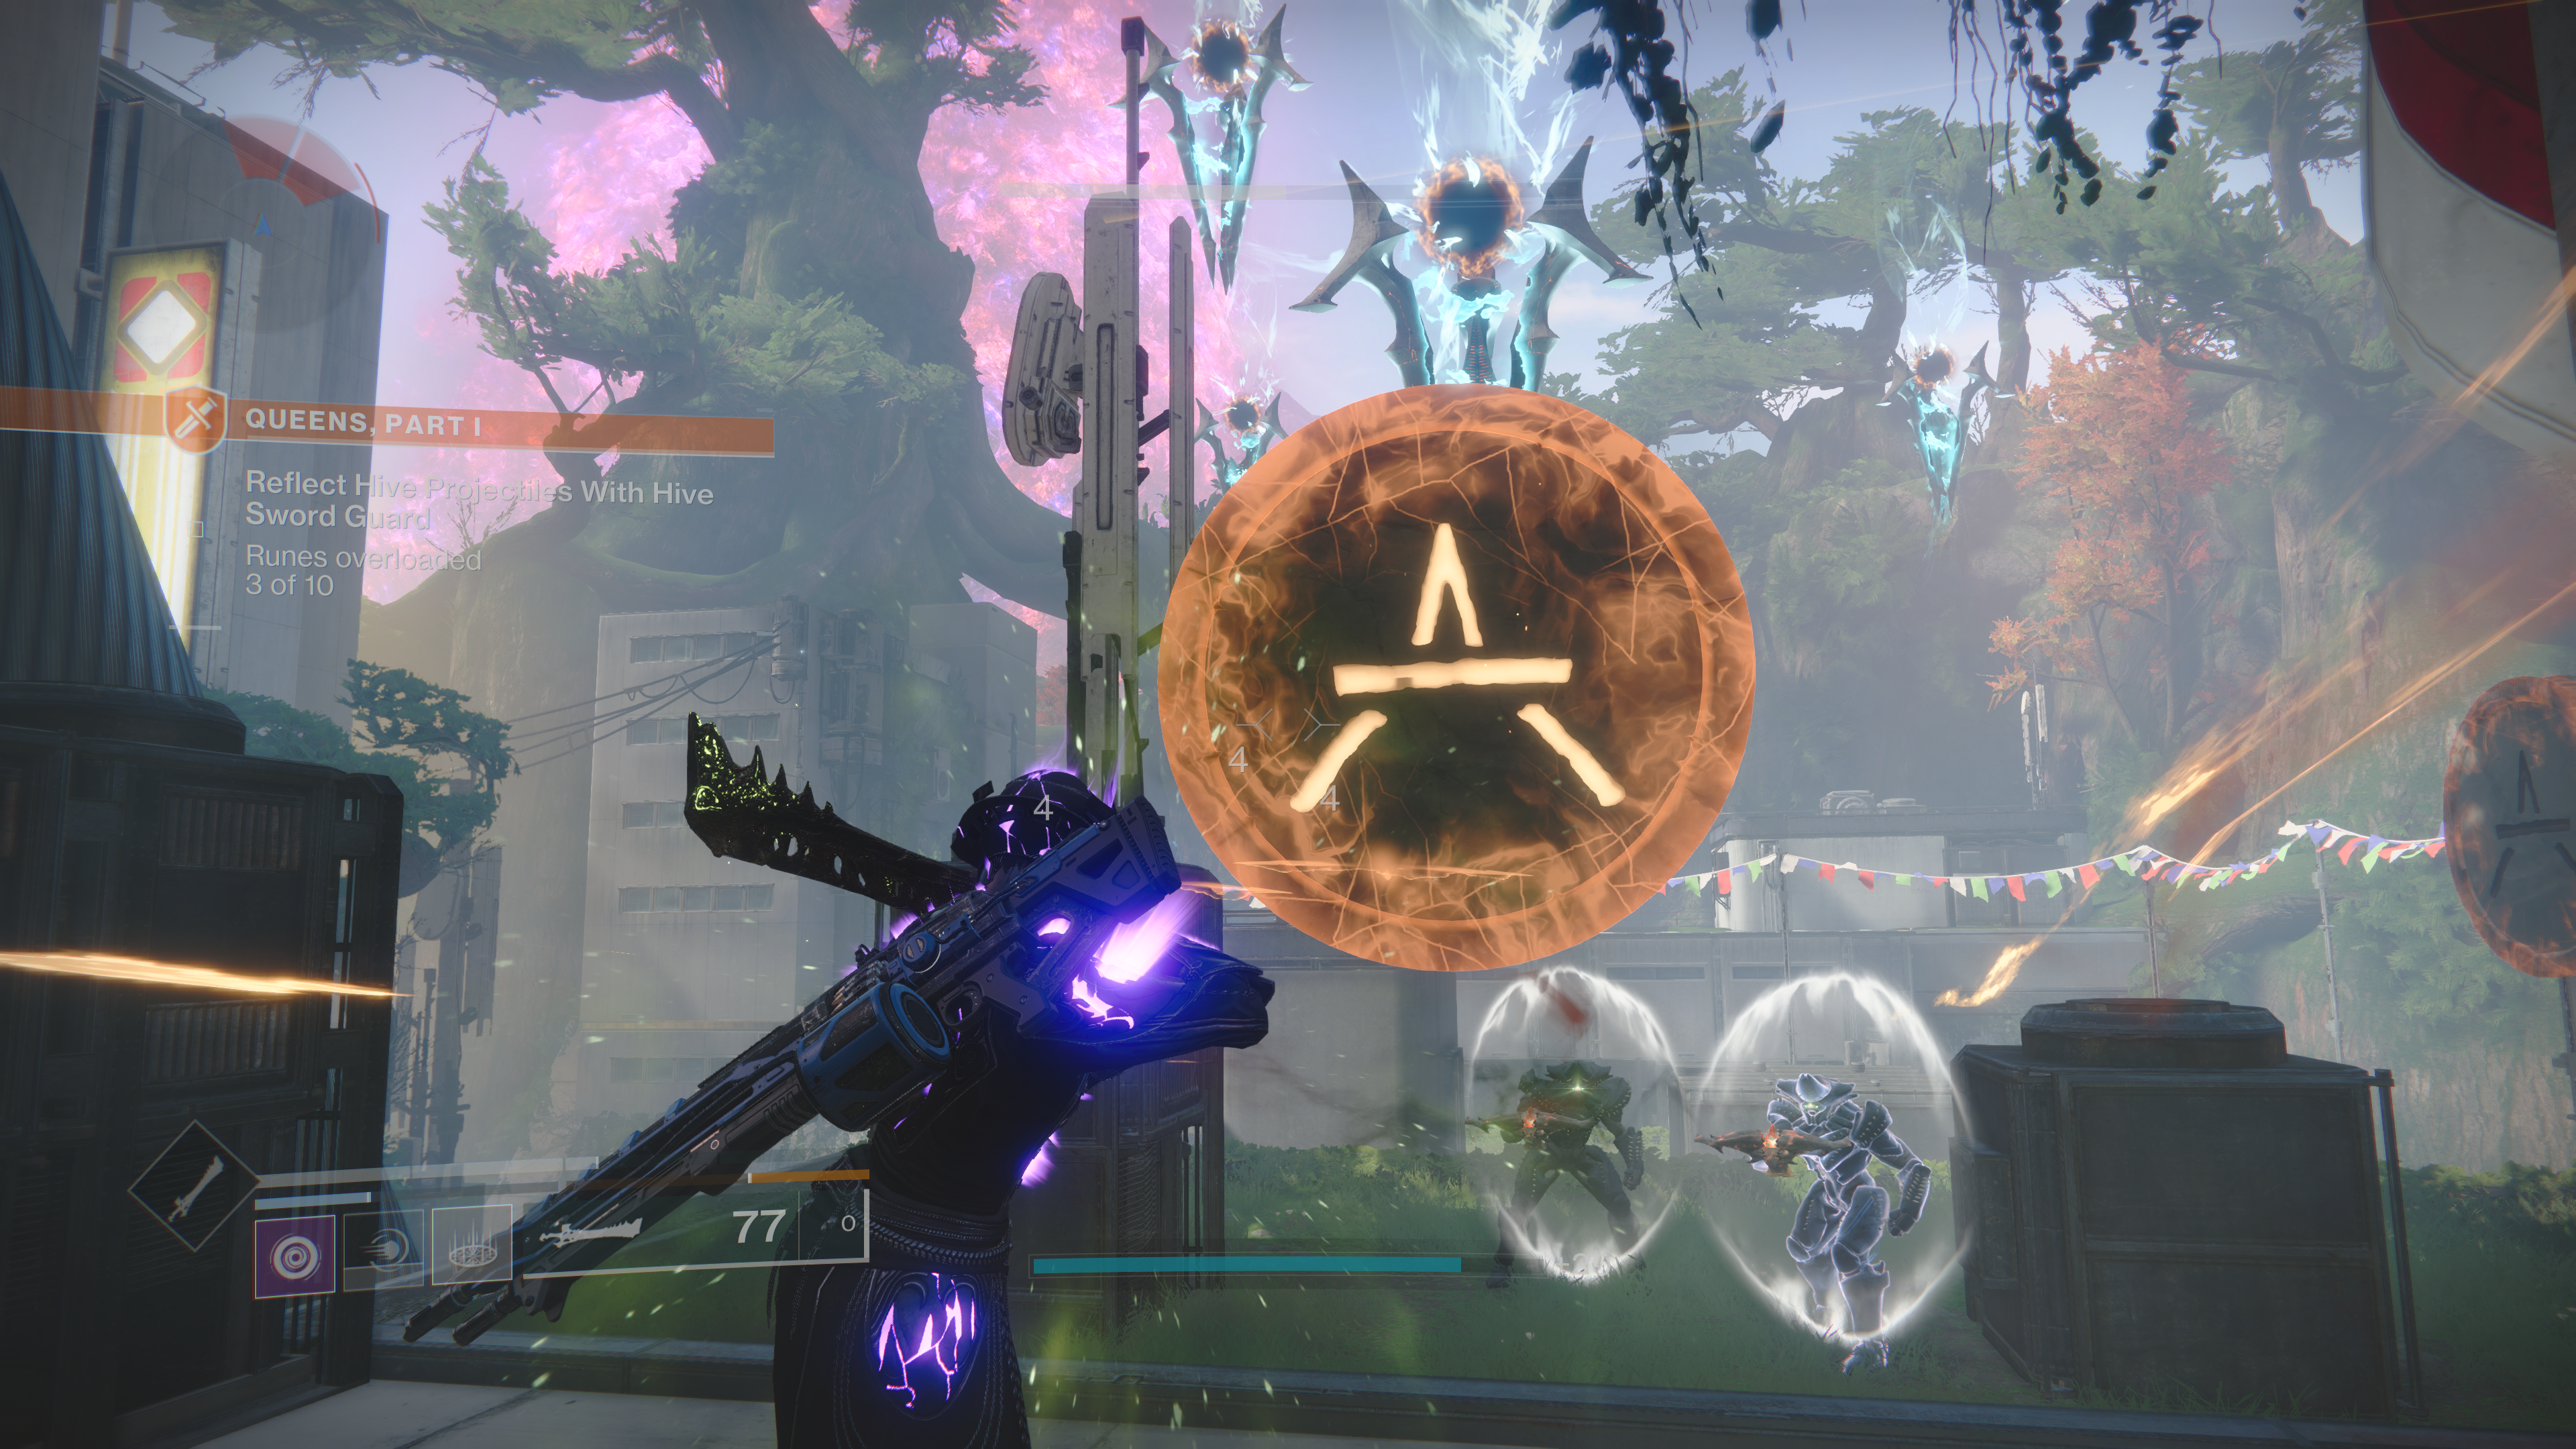
Once one rune is fully saturated, aim your cursor at the next rune, then the next, until each one is fully saturated with color. If you’re not certain, check out the counter on the left hand of your screen which should read “Runes overloaded x of 10”. When all three runes of the same color have been completely overloaded, they’ll vanish and you can move on to the next section.
The enemies will all vanish once all ten runes are overloaded. Head to the roof where the Arc wizards were, and head left through the canyon. Follow the path straight, jumping across the roofs and turning left.
You’ll find yourself in a courtyard. Follow the music through the ornate doors on the left. Our goal here is the same as before. We’ll want to kill the Knights and then use the shield function to reflect the Hive enemy attacks on the three nearby runes.
But here’s the knot! Each of the runes has a green impenetrable barrier around them. But note that there’s three orbs above those barriers and runes. These runes can only be broken by using the Knight sword’s projectile function. To use the sword’s projectile, aim your cursor at the green orb above the barrier and then press the trigger button that you’d normally press to shoot your gun. This will cause the barrier to drop. Do this for each rune.
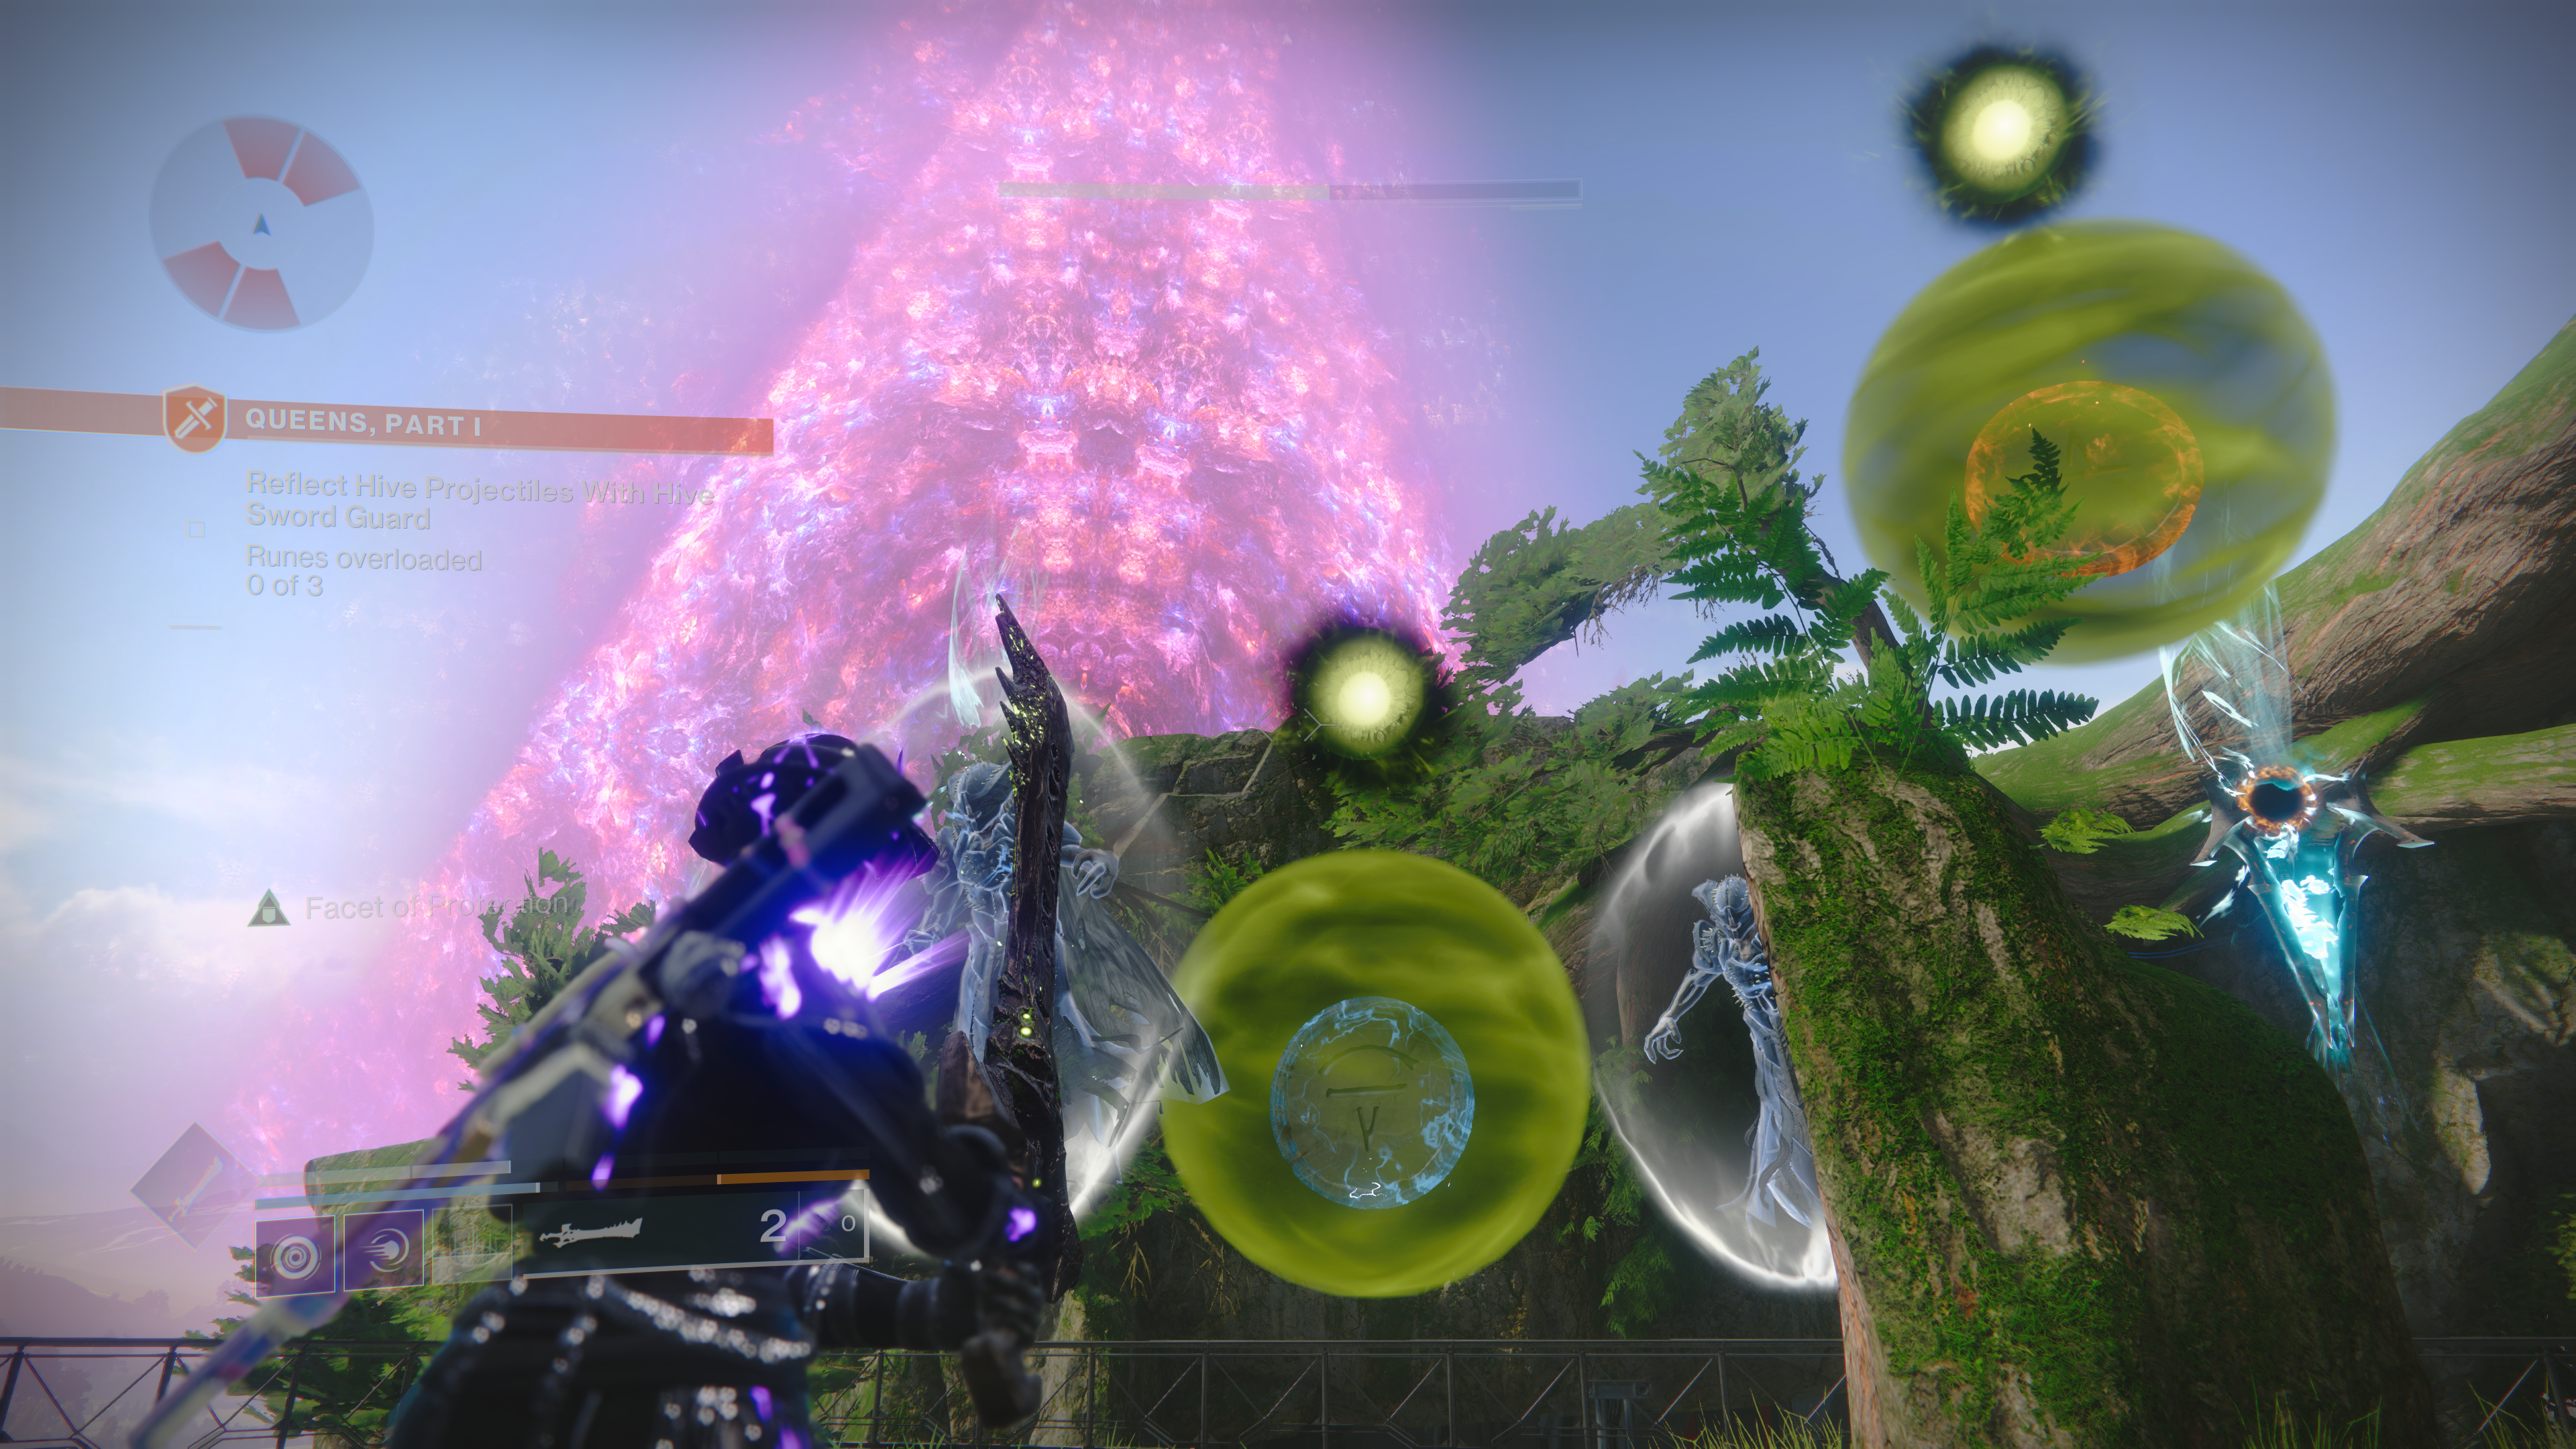
Now, you’ll notice there are three Arc wizards here. Use the sword to deflect arc energy at the left rune. Once the rune is overcharged, kill the wizards. You can do this however you like.
Once the wizards are dead, a Shrieker will appear in the center. Take a sword and deflect the Shrieker’s energy at the central rune. When the rune is overloaded, you can use the sword’s projectile function to quickly kill the Shrieker.
Finally, with the Shrieker dead, three Hive Lucent Knights will appear. Reflect their fire energy at the far right rune. Then kill them. You may need to use the sword’s projectile function to break their shields. Remember to crush their Ghost to ensure they don’t come back from the dead.
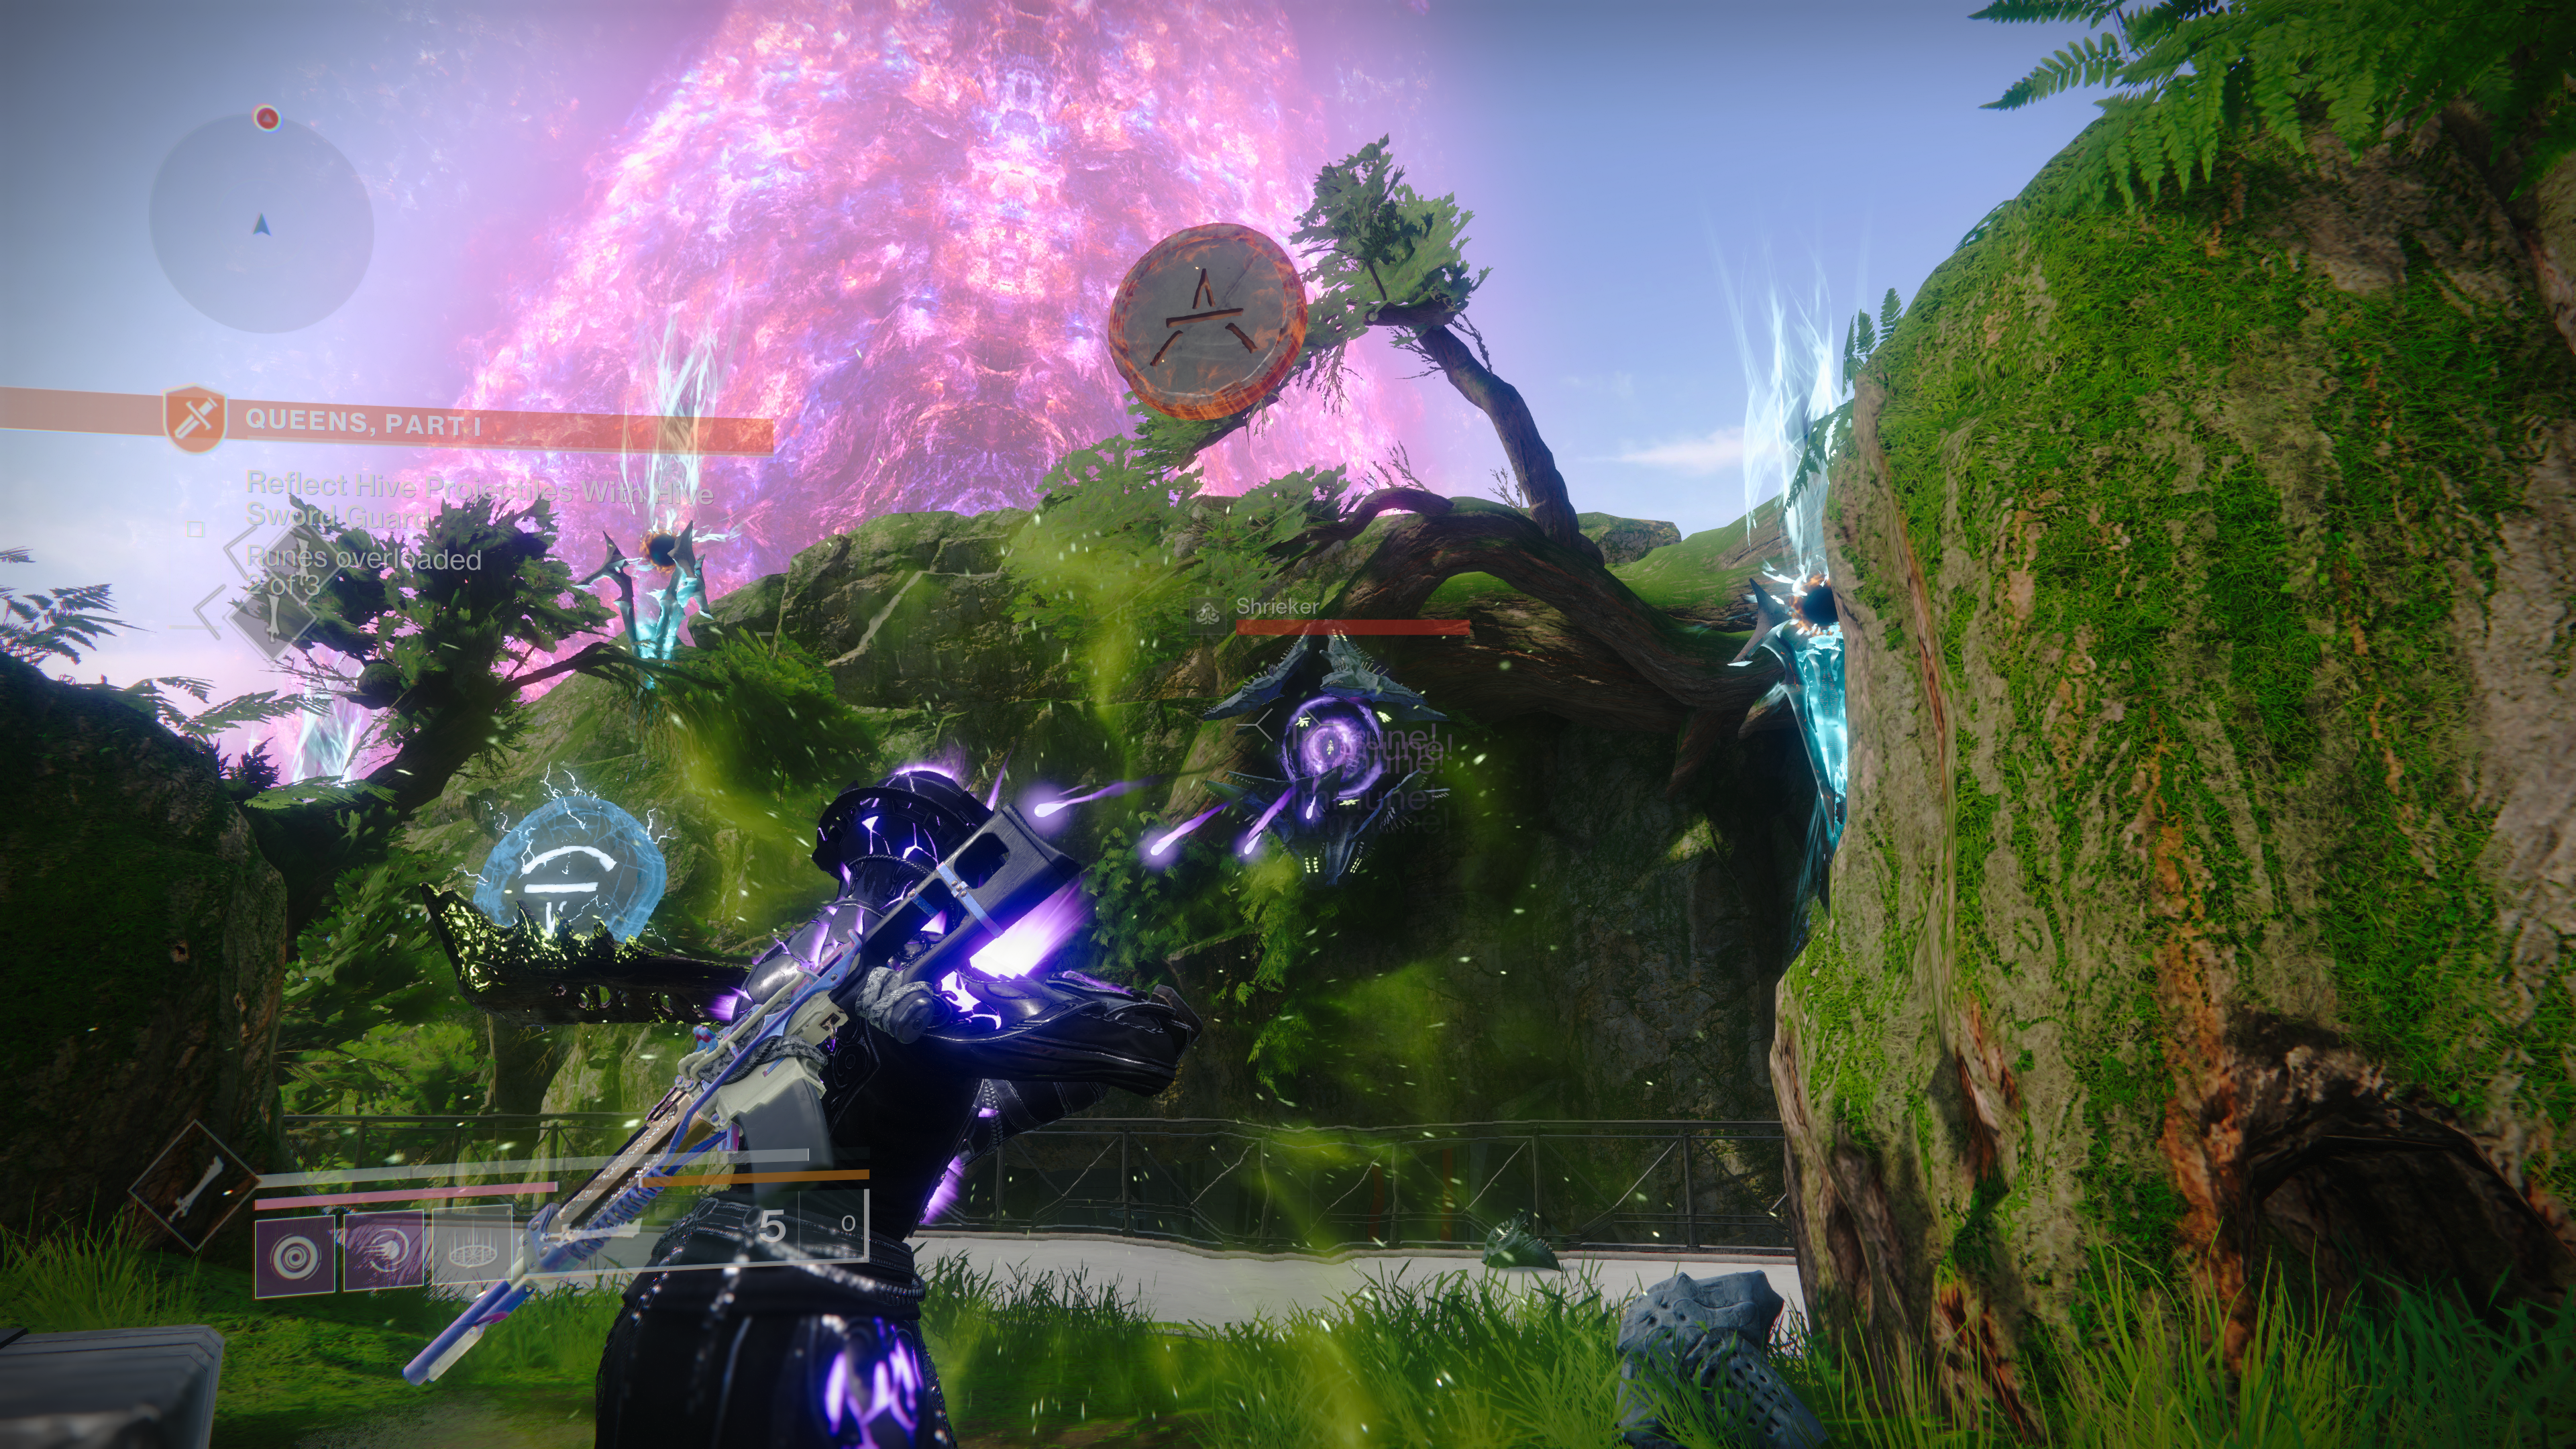
With that done, there’s only one more ritual site left. Jump over the railing and onto the floating platforms, then make your way to the door across the chasm. There will be a Shrieker almost immediately after you exit, and more that continues down the path to your right.
But don’t get too distracted shooting at them. Once you leave the safety of the door, you’ll be jumped by Thrall and one Knight. Follow the path to the right down until you find yourself at the final Ritual Site.
Here, you’ll see three Hive statue standing in a circle along with three energy runes. This section is a little different from the previous ones. At the base of each statue is an energy sphere. Approach the energy sphere and interact with it to pick it up. Then, aim your cursor at the rune with matching color and energy and press the shoot button to throw it at that rune. If you hit the rune, it will charge. If you miss, the rune will reappear at the base of the hive statue.
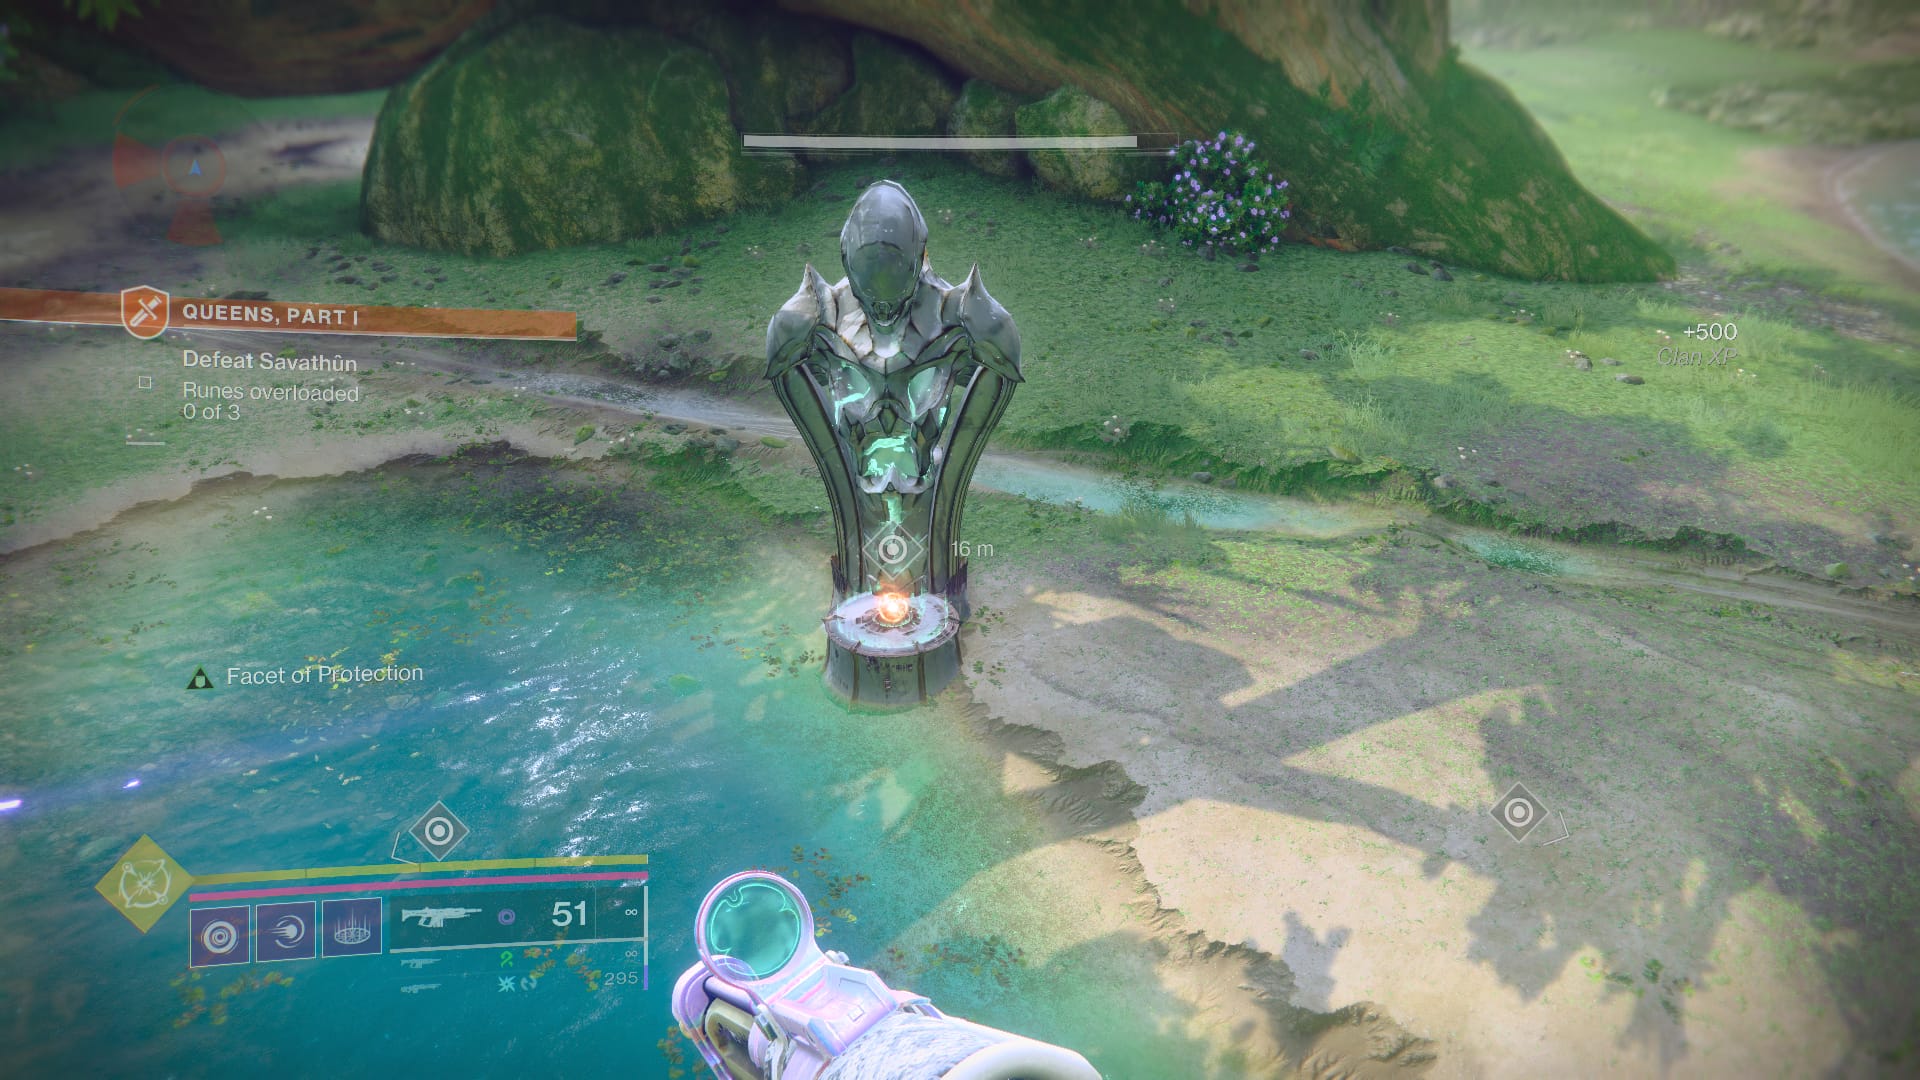
This segment can be a little tough because Savathun is shooting at you nonstop. Likewise, Thrall will spawn endlessly in the center. Occasionally throw a grenade into the center to clear out the Thrall, and if you need to retreat a little to regain your health. Once you’ve overcharged all three runes, you’ll be able to attack Savathun.
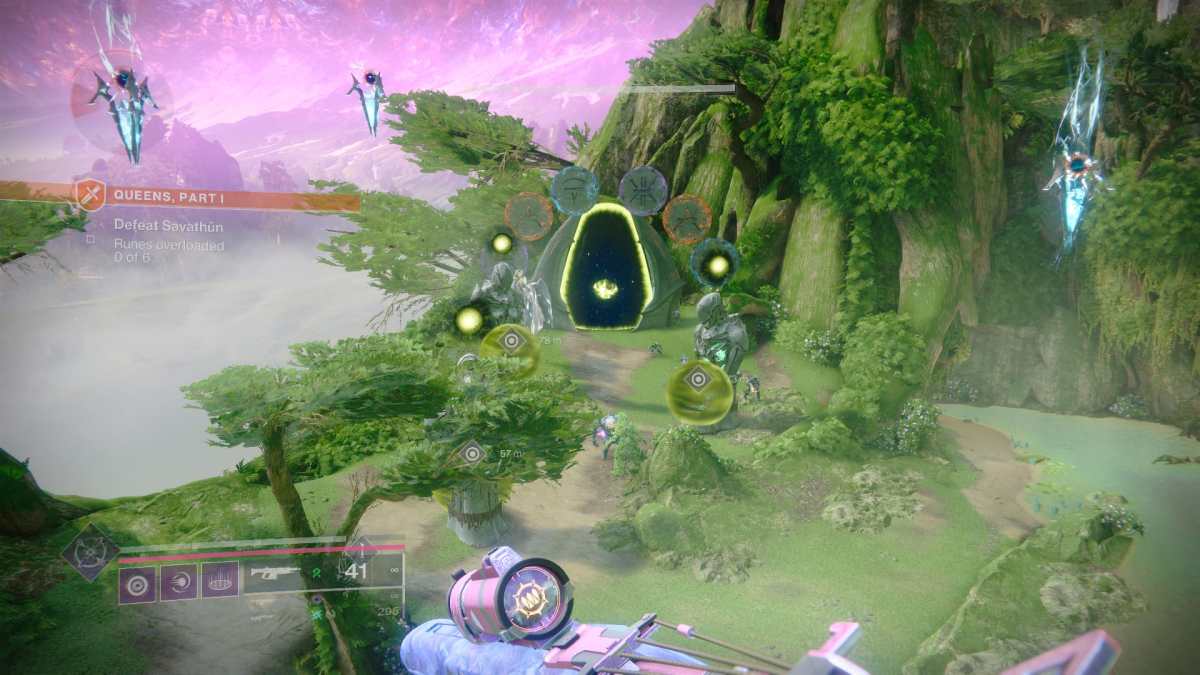
When Savathun’s half health, she’ll move on to the next section, and you’ll have to follow her. Here, there will be six runes to overload. This final ritual will bring together every puzzle we’ve learned. Kill the Knight to get its sword. Using the sword, fire a projectile at the sphere above the hive statues. Grab the spheres from the hive statues and throw them at the matching runes. You can do this for each matching rune. Or you can use the sword to do it. Both have their pros and cons. If you opt to throw, it’s over quick. But you have to get very close to Savathun. If you opt to use the sword, you can do so from a distance. But staying still makes you very vulnerable. It boils down to preference. I opted to dunk the balls.
Once all six runes are overloaded, you can attack Savathun directly. But don’t expect to actually kill her – she’ll teleport away before things can get too serious. With that done, a new mission has been unlocked.
You’ll find yourself immediately brought to a new area. Interact with the nearby console called “Micah’s Conduit”. You’ll meet Micah, the shepherd of Lost Ghosts. She’ll ask you to complete Convalescence: Rootbound, which requires you to find a Lost Ghost. So, let’s dive right in.
Related: How to Get Prismatic Aspects and Fragments in Destiny 2
How to Complete Lost in the Light
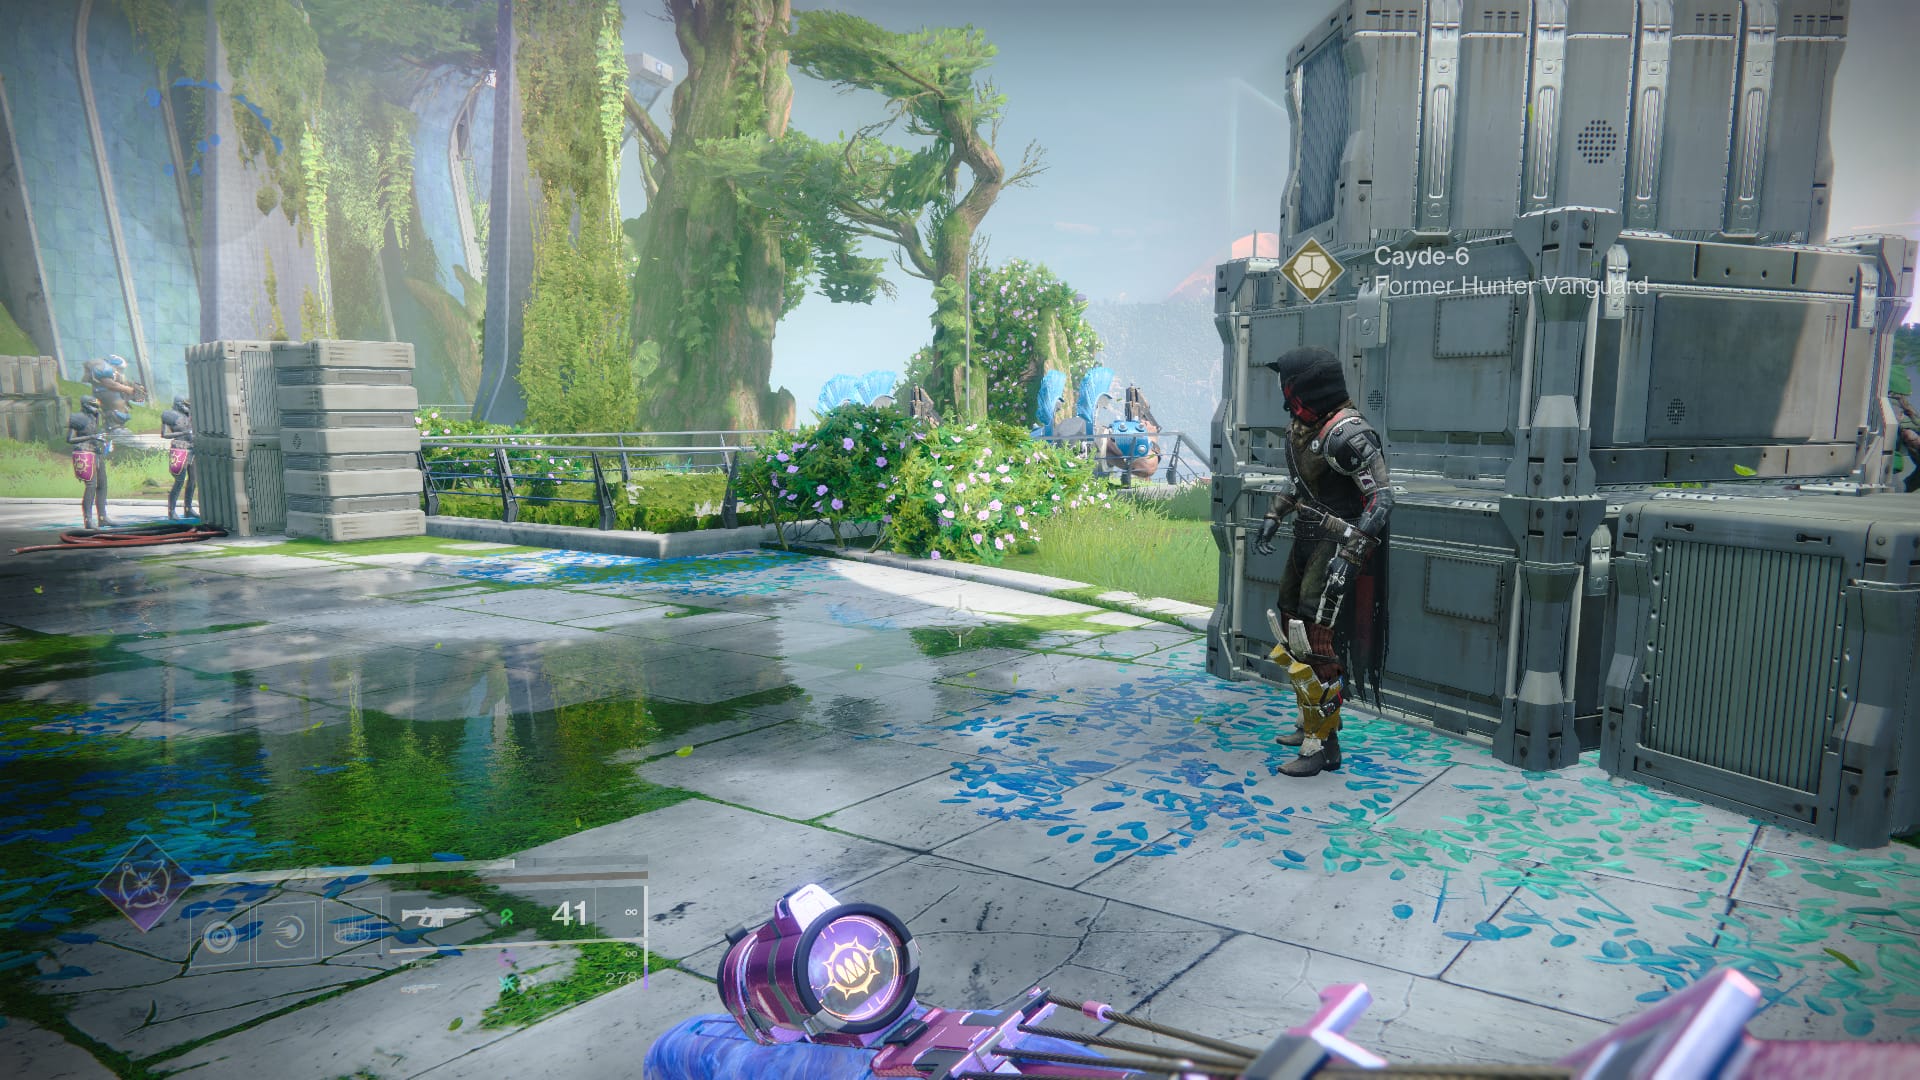
Our goal is to find a Lost Ghost in the Pale Heart. But before we do that, head upstairs and check behind the boxes to the back and right of the stairs. You’ll find Cayde-6. Speak to him, and he’ll give you the Wild Card exotic quest. Yep! Grabbing another exotic quest is part of this exotic quest.
Next, head over to Ghost just a few meters away. Grab the quests “Lost in the Light” and “Found in the Dark” from him. These two quests are worth completing even without the sword because they’ll net you Dark and Light Prismatic grenades. Let’s tackle Lost in the Light first.
Open your directory and select The Landing for your landing zone in the Pale Heart. Be sure you select Lost in the Light on the map so that it adds a Waypoint. You can then easily make your way through the Landing by following the diamond and blinking arrow on your minimap.
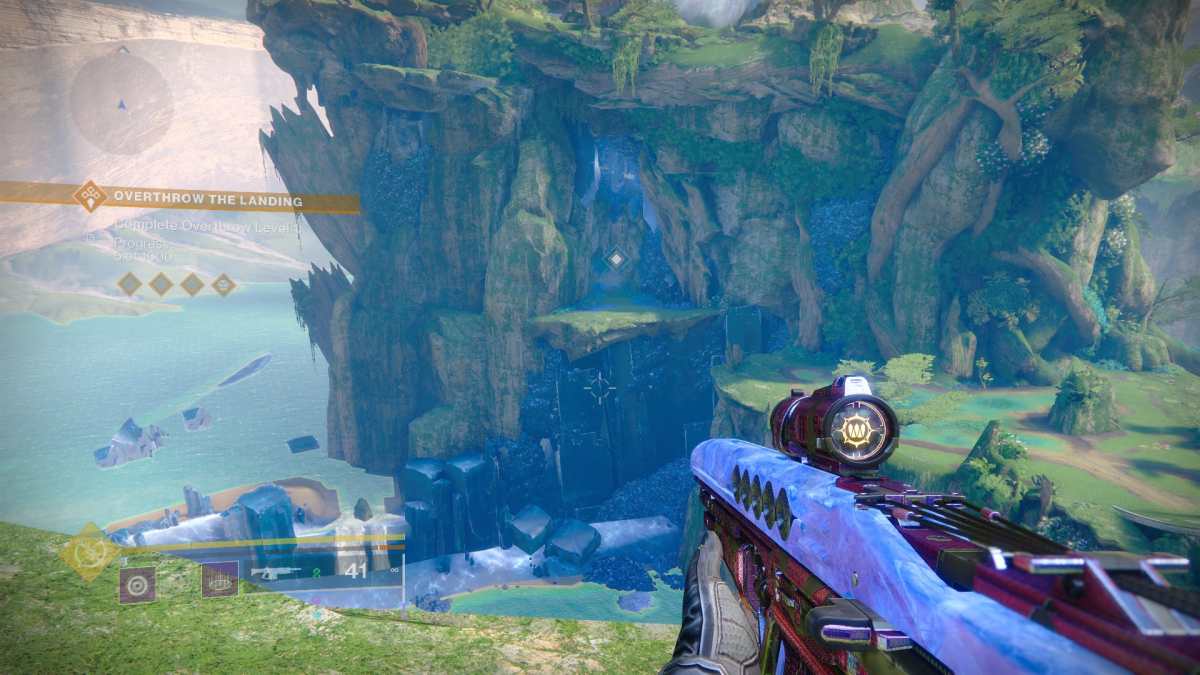
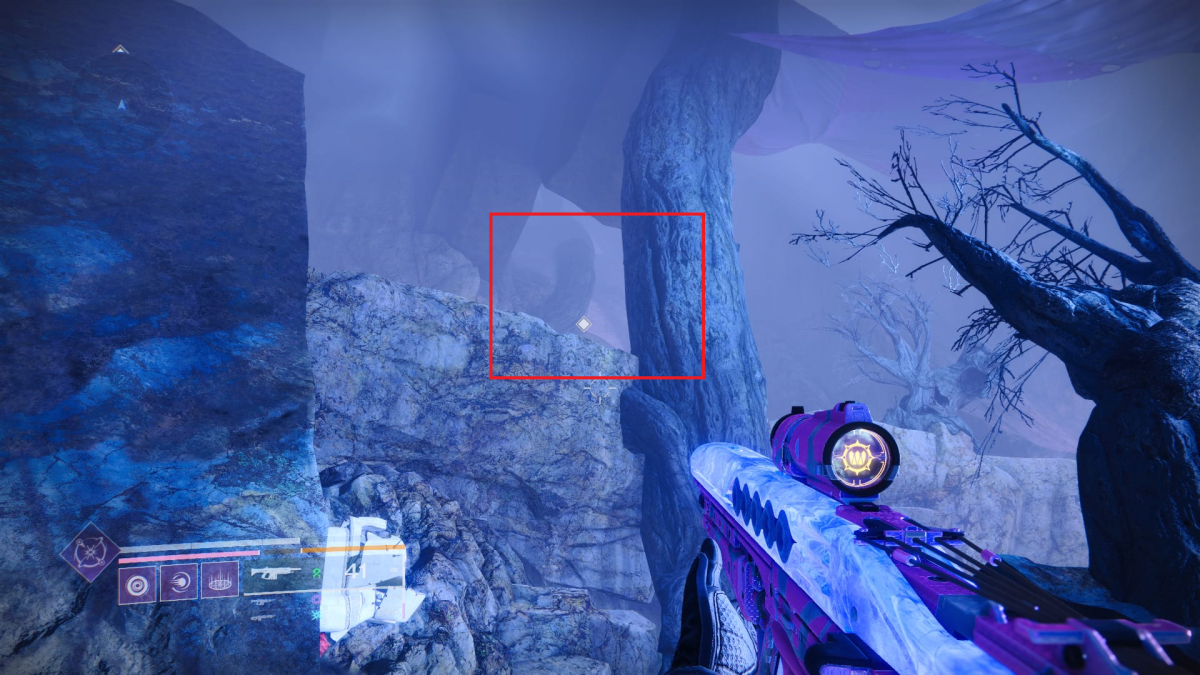
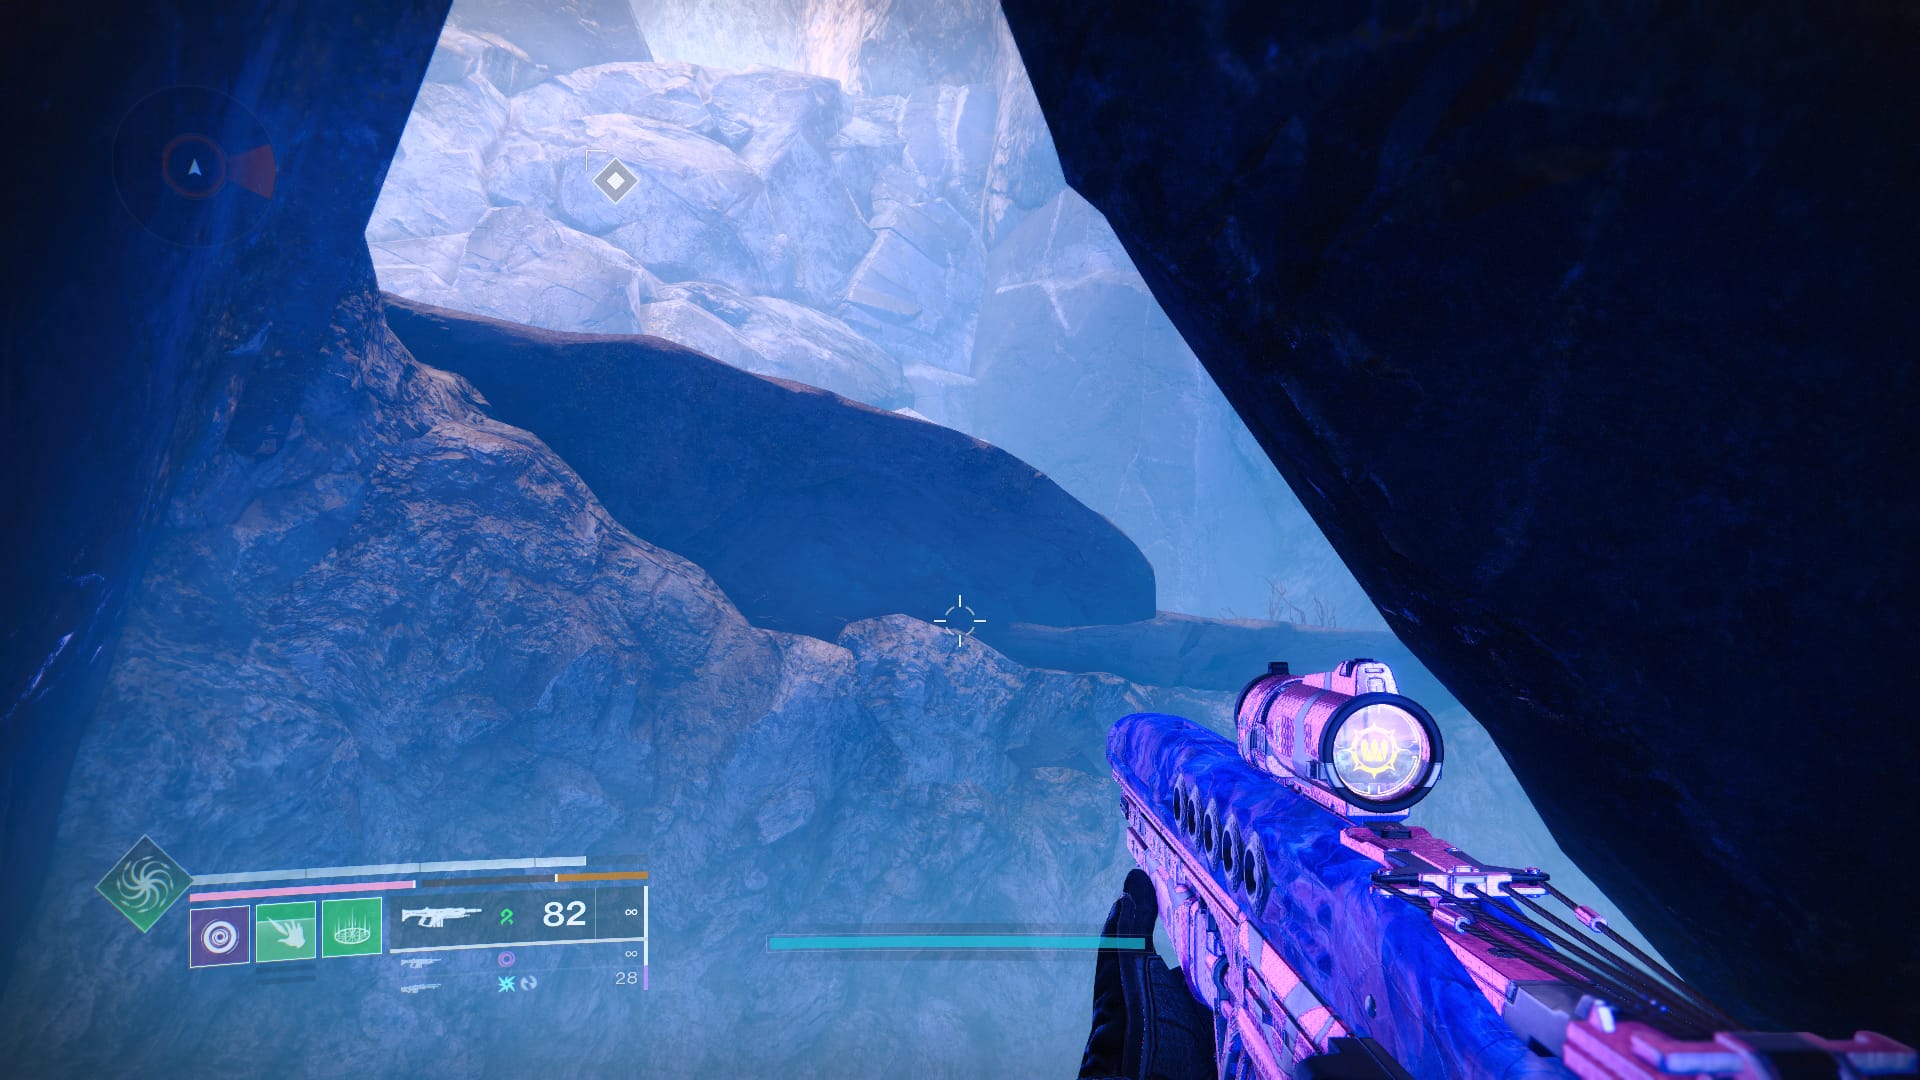
Head into the cave and follow it until you reach this split. Take the left tunnel, then jump through the black mirror to get into a much drearier, darker tunnel. Follow it straight, and you’ll soon find yourself in a cave with a Prismatic Chest.
Open it to get the Healing Grenade, along with a new quest assignment, “The Hollow, Part I”.
To start The Hollow, interact with the nearby flag. You’ll find yourself in the valley where Zavala’s fake house is. Jump through the yellow portal.
You’ll find yourself in a cave. Jump up towards Mithrax. Once you reach him, the House of Salvation will immediately attack you.
When the Fallen are all dead, approach the console on the cave wall to the right of the barrier. Interact with it to hack it. You’ll then be able to jump through a hole in the rock, thus getting through the barrier.
But be wary – there will be turrets, Shanks, Vandals, and yellow bar Heavy Shanks in the next room. Take out the turrets immediately across from you before jumping in.
When all the enemies are dead, approach the House of Salvation machine in the center of the room and hack it. You’ll then need to survive some pretty aggressive waves until the hack reaches 100%. A mob clearing Super is highly recommended here.

Leave through the way you came in, though the barrier’s gone now. Then, turn left and jump up onto the high ledge. Once you’re through this tunnel, you’ll find yourself in The Blooming of the Pale Heart map.
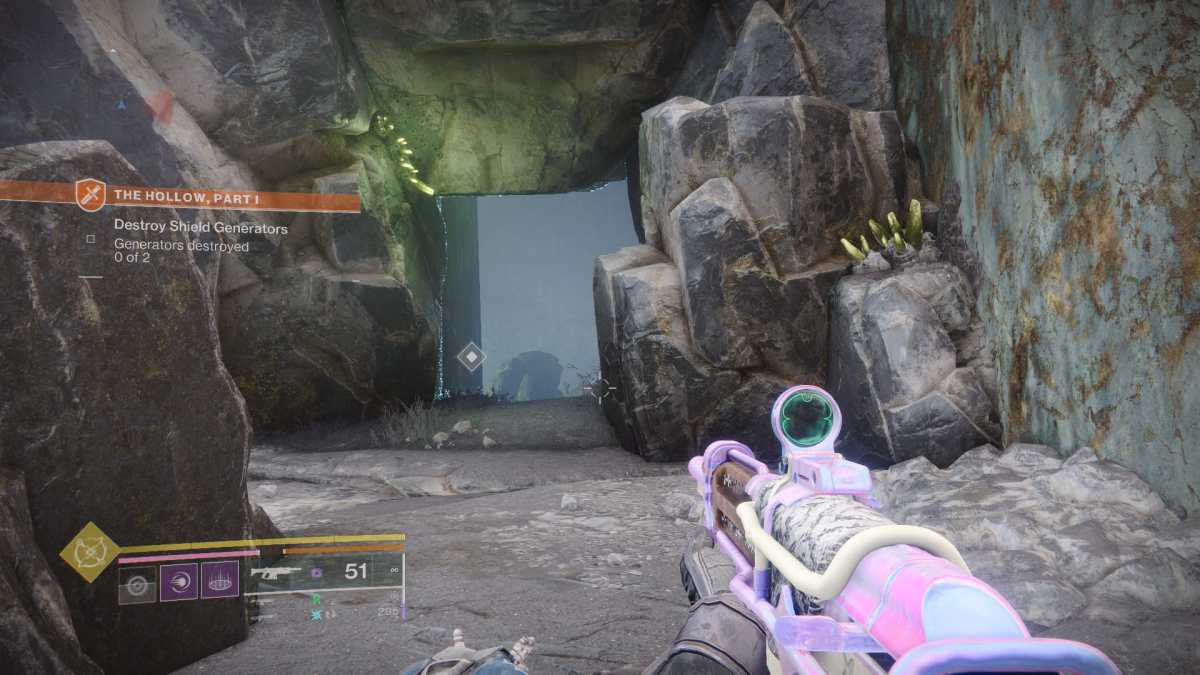
There are plenty of enemies, but you can zip past them using your Sparrow to reach the clearing in the center of the map. When you reach the area, you’ll find there’s a barrier. And to get past it, we’ll need to destroy two generators.
The generators are in this cave, dead east of the map’s center.
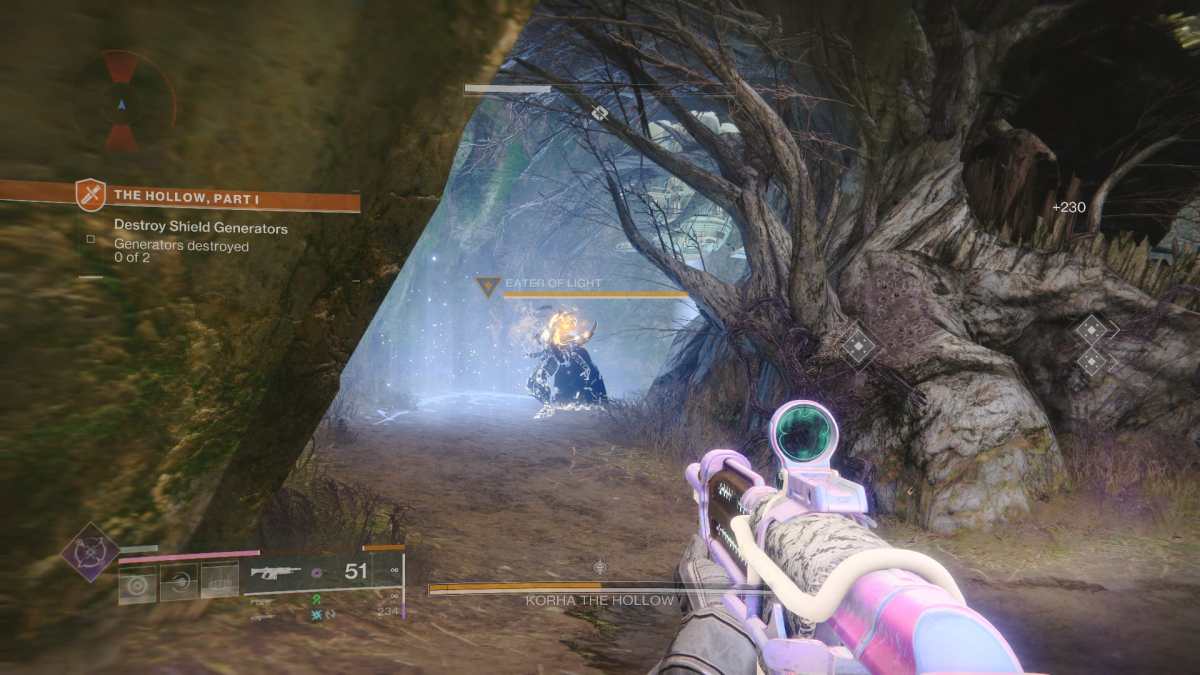
Jump up onto the ledge to reach it. When you’ve made your way to the cave’s end, you’ll find an open air cavern that’s absolutely swarmed with enemies, including two Eaters of Light.
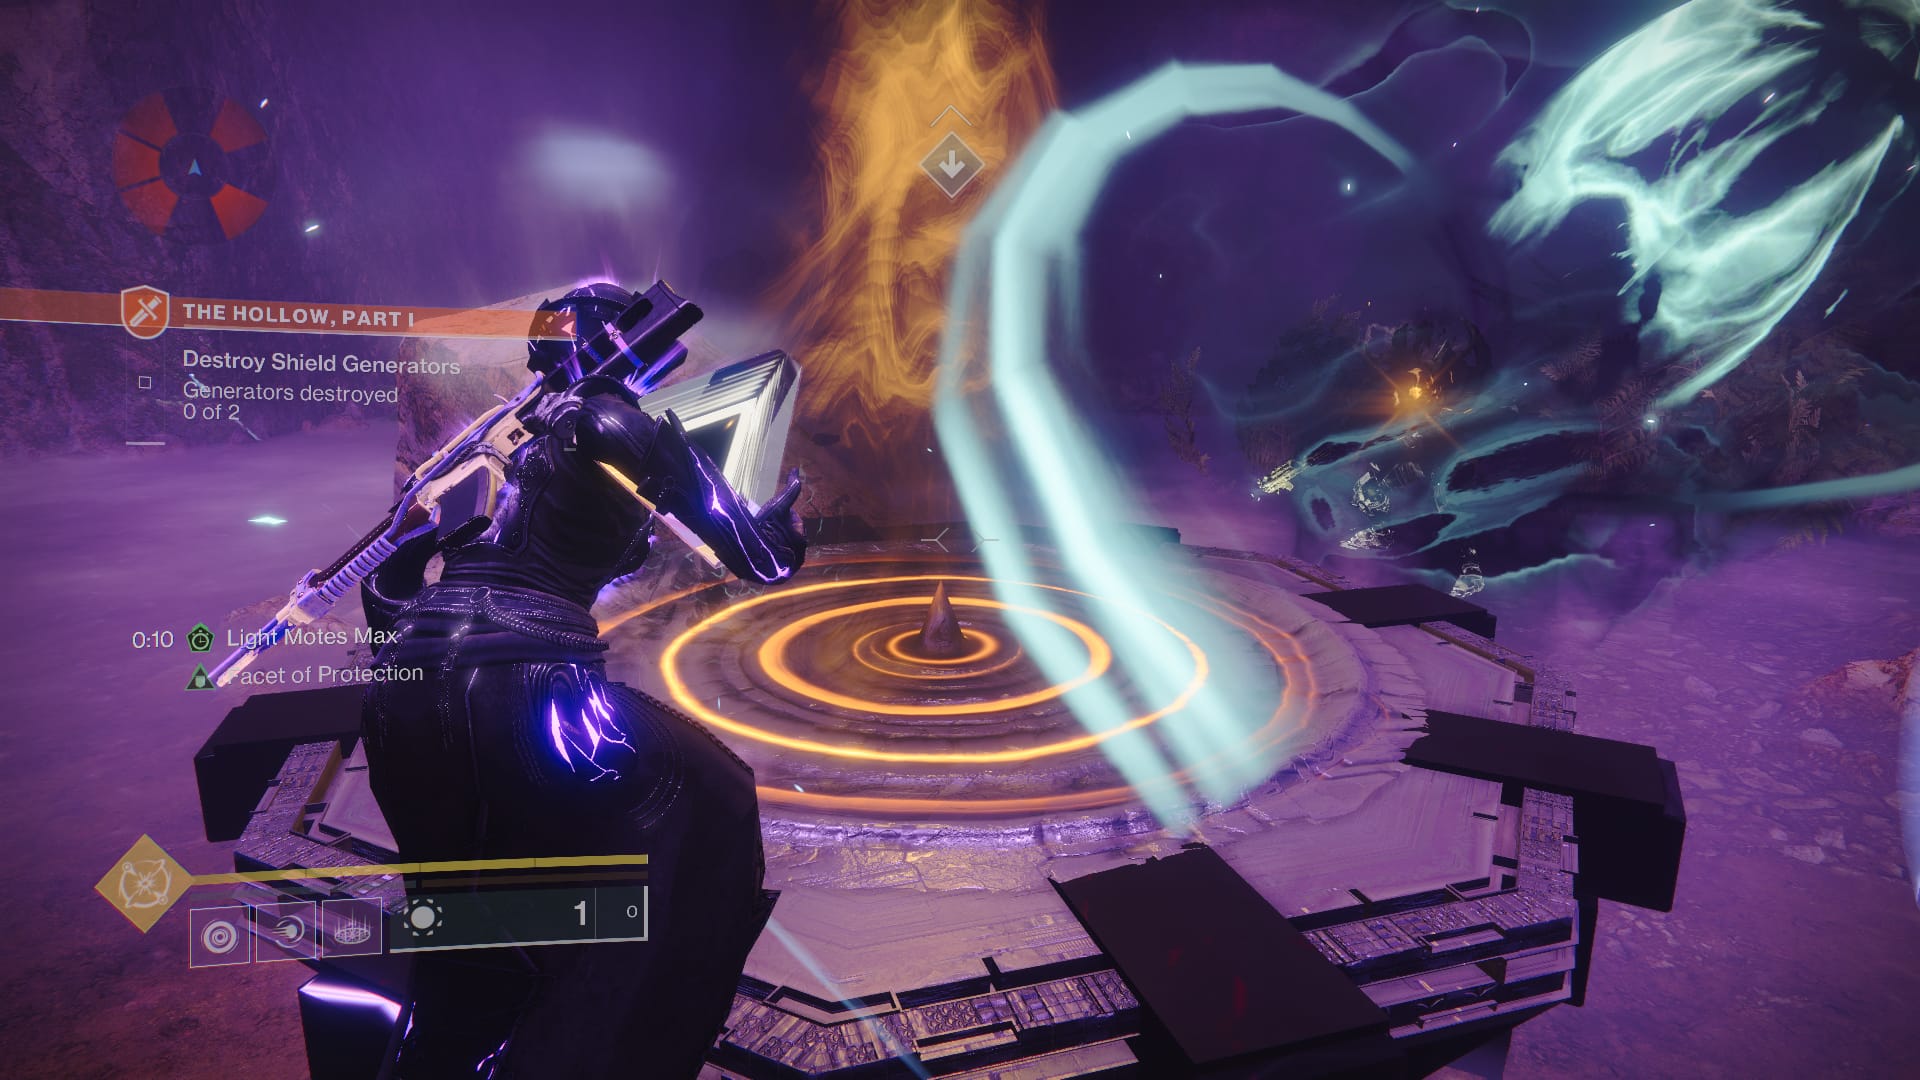
Kill the two Eaters of Light and collect all six Light motes they drop. You’ll know you have them all because your point of view will shift to the third person and you’ll get a status on the left side of your screen saying “Light Mote max”. Take the light motes into the lower cavern, not the white platform. In the lower Cavern, you’ll see two Eaters of Dark and a dark platform. Dunk the light motes on the dark platform, thus destroying the generator in this room.
Next, kill the two Eaters of Darkness and gather their six darkness motes. Bring those six darkness motes to the light platform. Doing this will destroy the generator and cause all the enemies to despawn. Return to the barrier in the Blooming.
Now that the cavern is open, you’ll be able to fight a boss, Korah he Hollow. But once you get her to half health, she’ll gain an impenetrable barrier that will only drop once you destroy the two generators in the room. These generators are destroyed just like before. Kill two Eaters of Light, collect six motes, and dunk them on the darkness platform on the opposite side of the room where they lurk. Then, repeat this process with the Eaters of Darkness.
Once the two generators are destroyed, you can knock the boss around until Korah flees with a sliver of their health. With that done, you’ll be brought immediately back to Refraction, where you can commune with the Light. You’ll get Lightning Surge and the next step in the quest, Hollow Part II.
You can launch Hollow Part II right from this cavern. And, in reality, Hollow II is pretty straightforward.
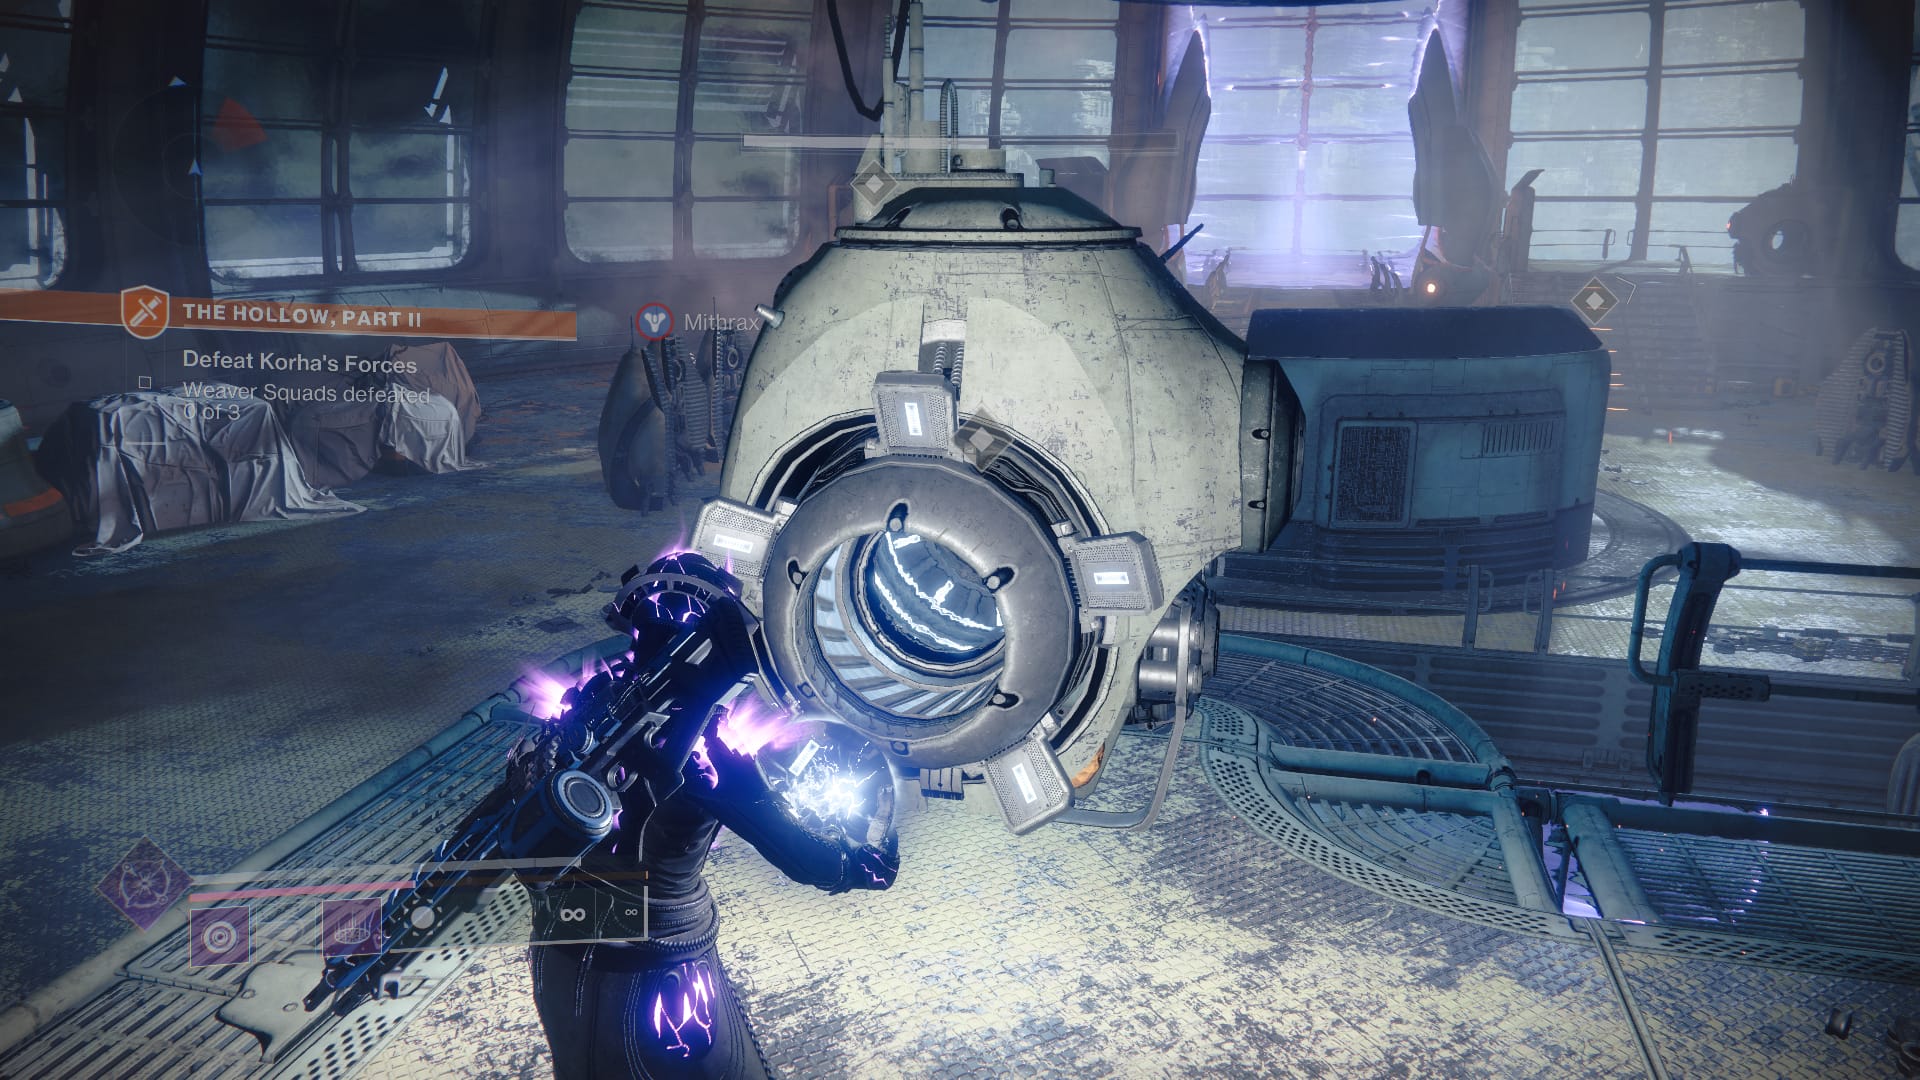
Follow Mithrax through the Europan barracks. There’s only one way to go and the enemies are straightforward. Until you find a Weaver attendant in a chamber equipped with an impenetrable shield. To drop the Weaver’s shield, you’ll need to attack the Servitors in the room.
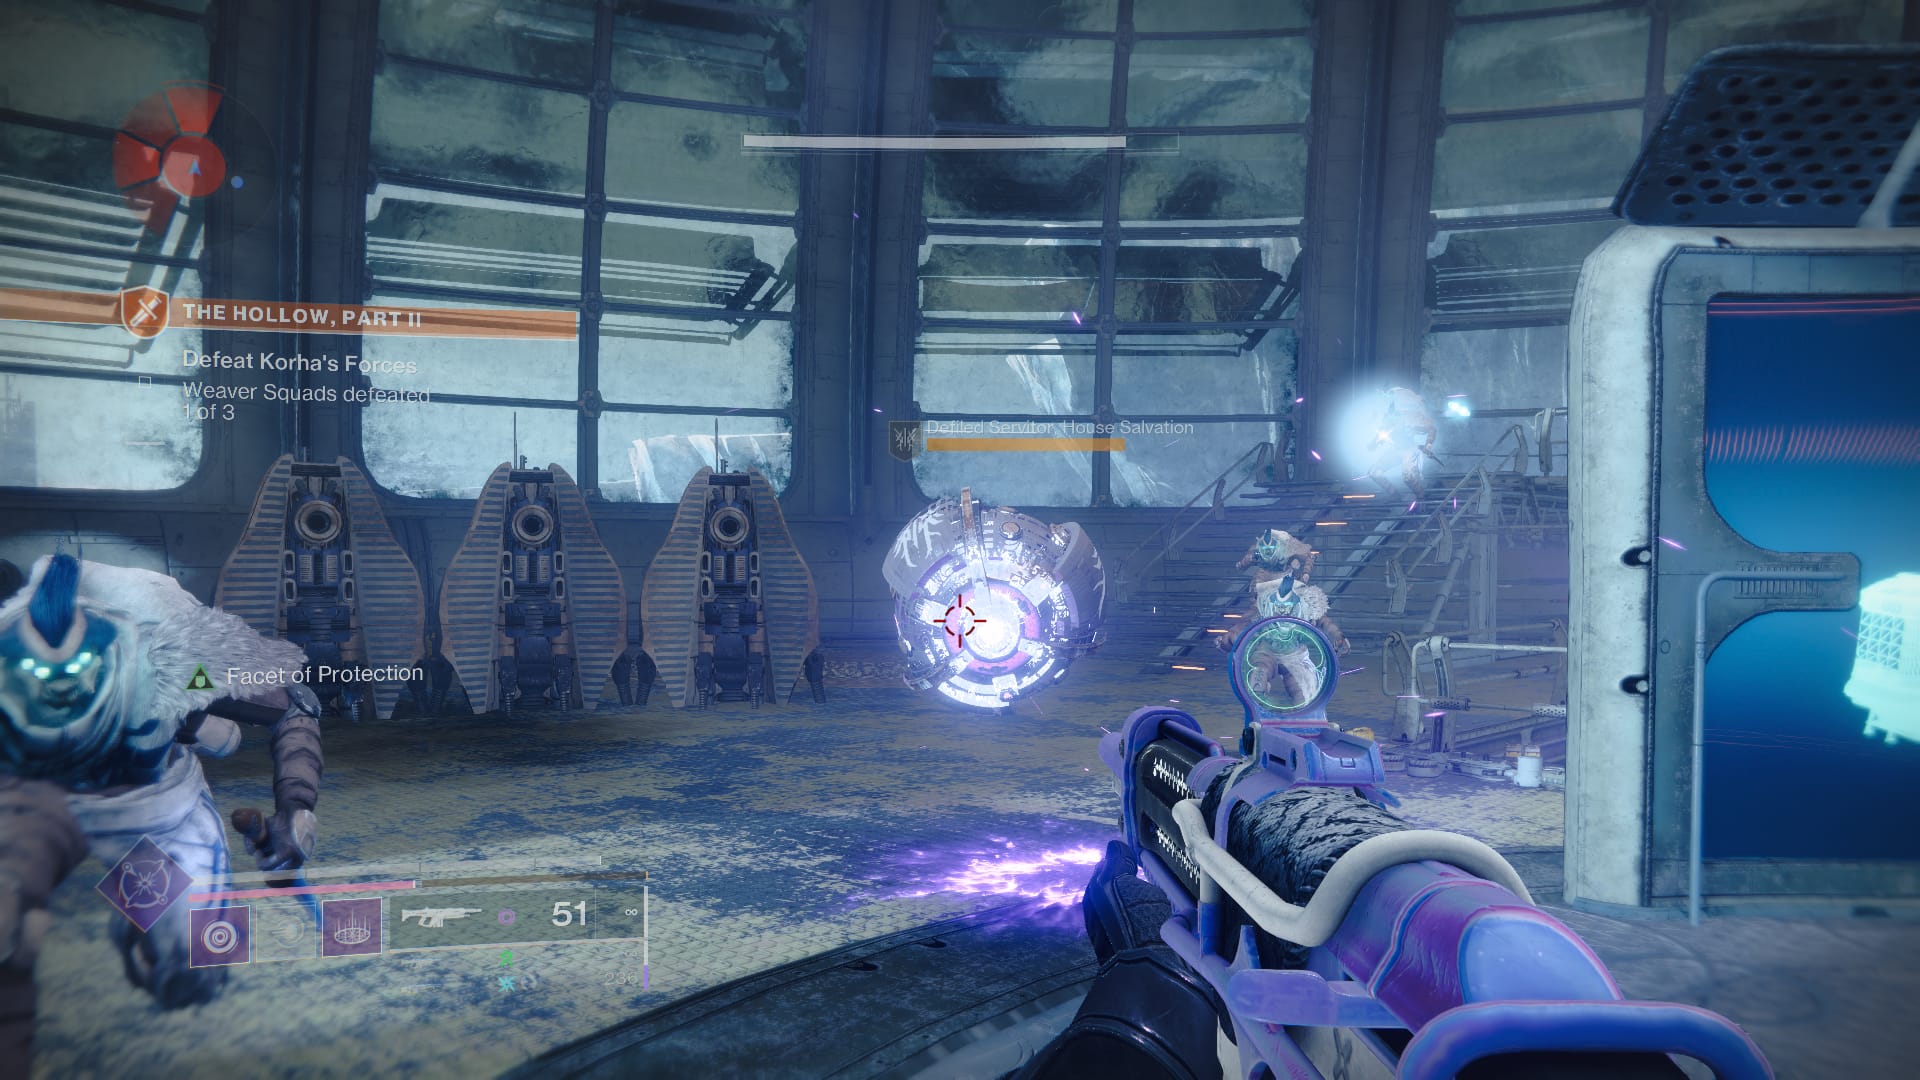
Killing a Servitor causes it to drop an Arc charge. Take this arc charge and deposit it into the terminals scattered around the room. Repeat this process three times and you’ll be able to attack the Weaver.
With that done, clear up the rest of the enemies and follow Mithrax through the portal near the window. You’ll go down a long corridor before you finally reach the outside again.
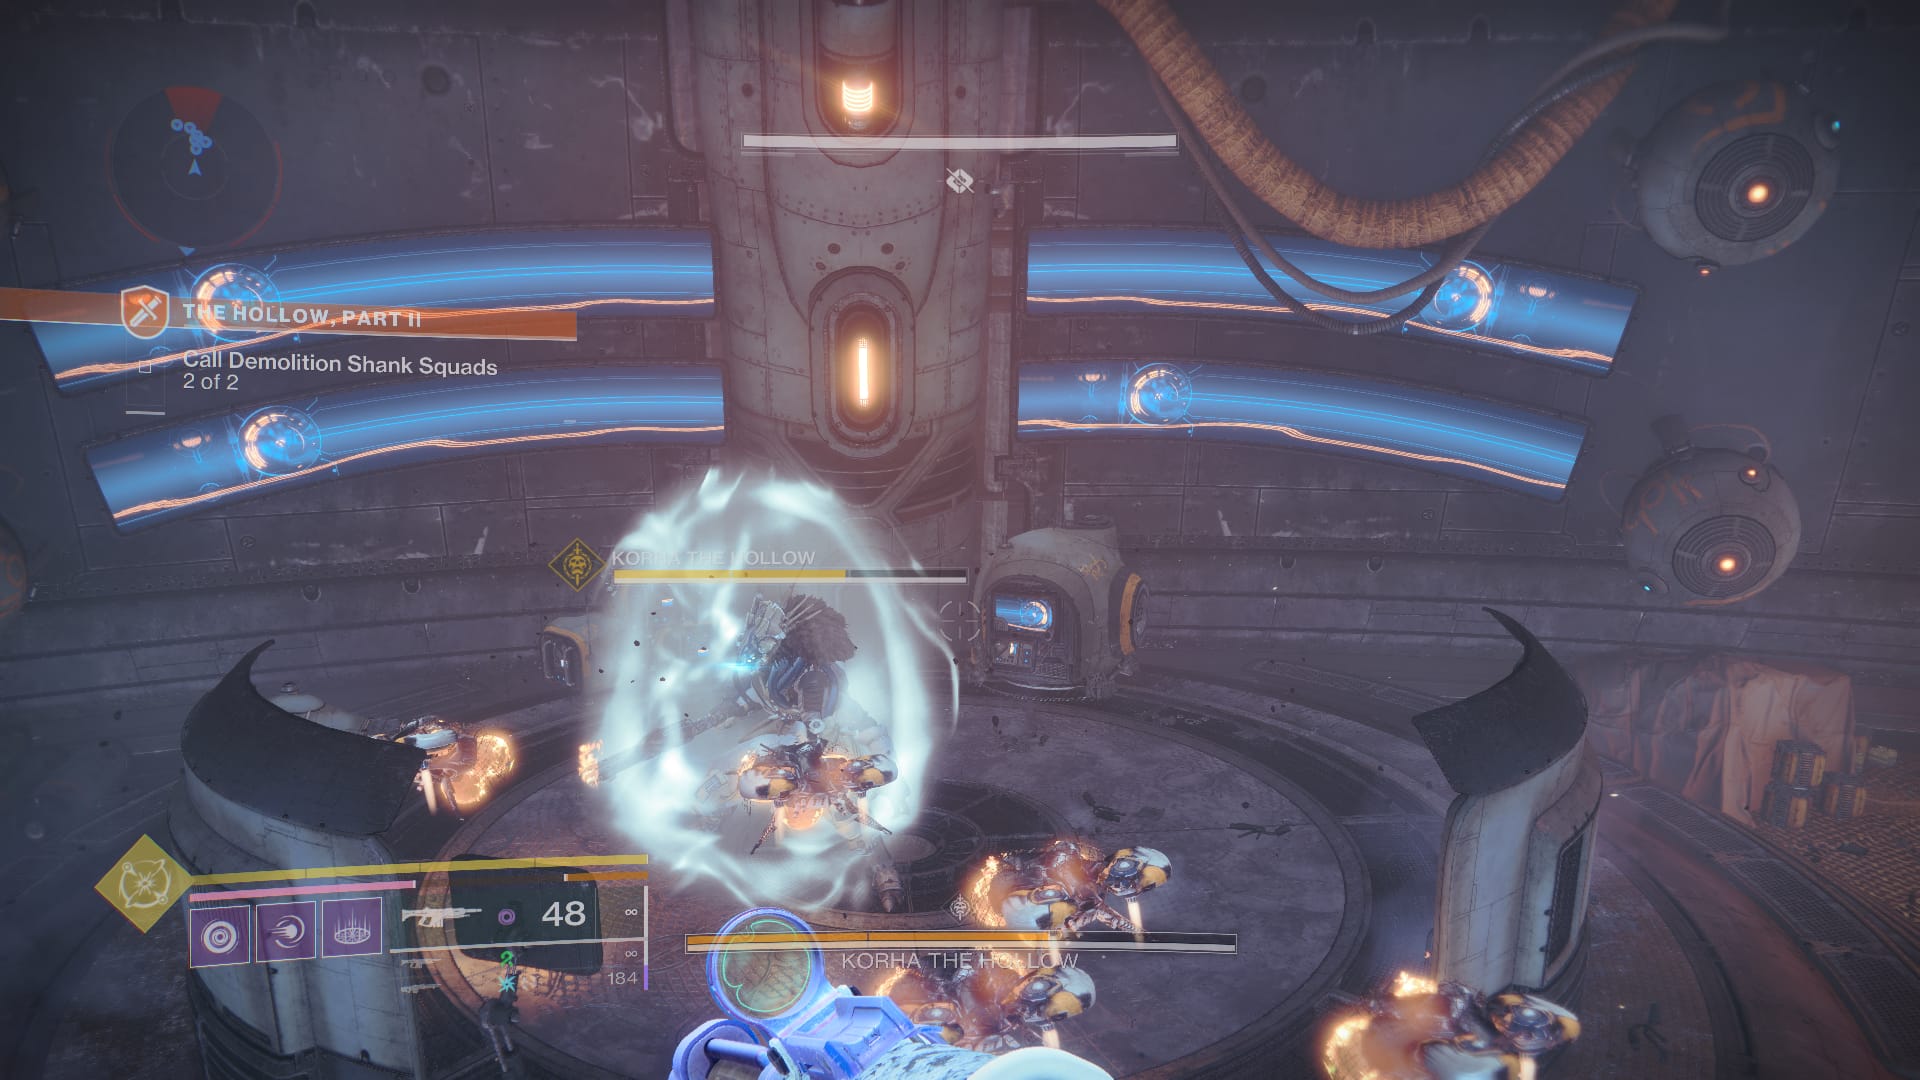
Here, we’ll expound on the use of demolition shakes. Summon the shank using the nearby terminal and then jump over to the other island. Your goal is to stop the Fallen from killing your shank until it can reach the door across the great big chasm. So, kill the Fallen as the spawn in, then kill the Shank when it gets close enough to the door.
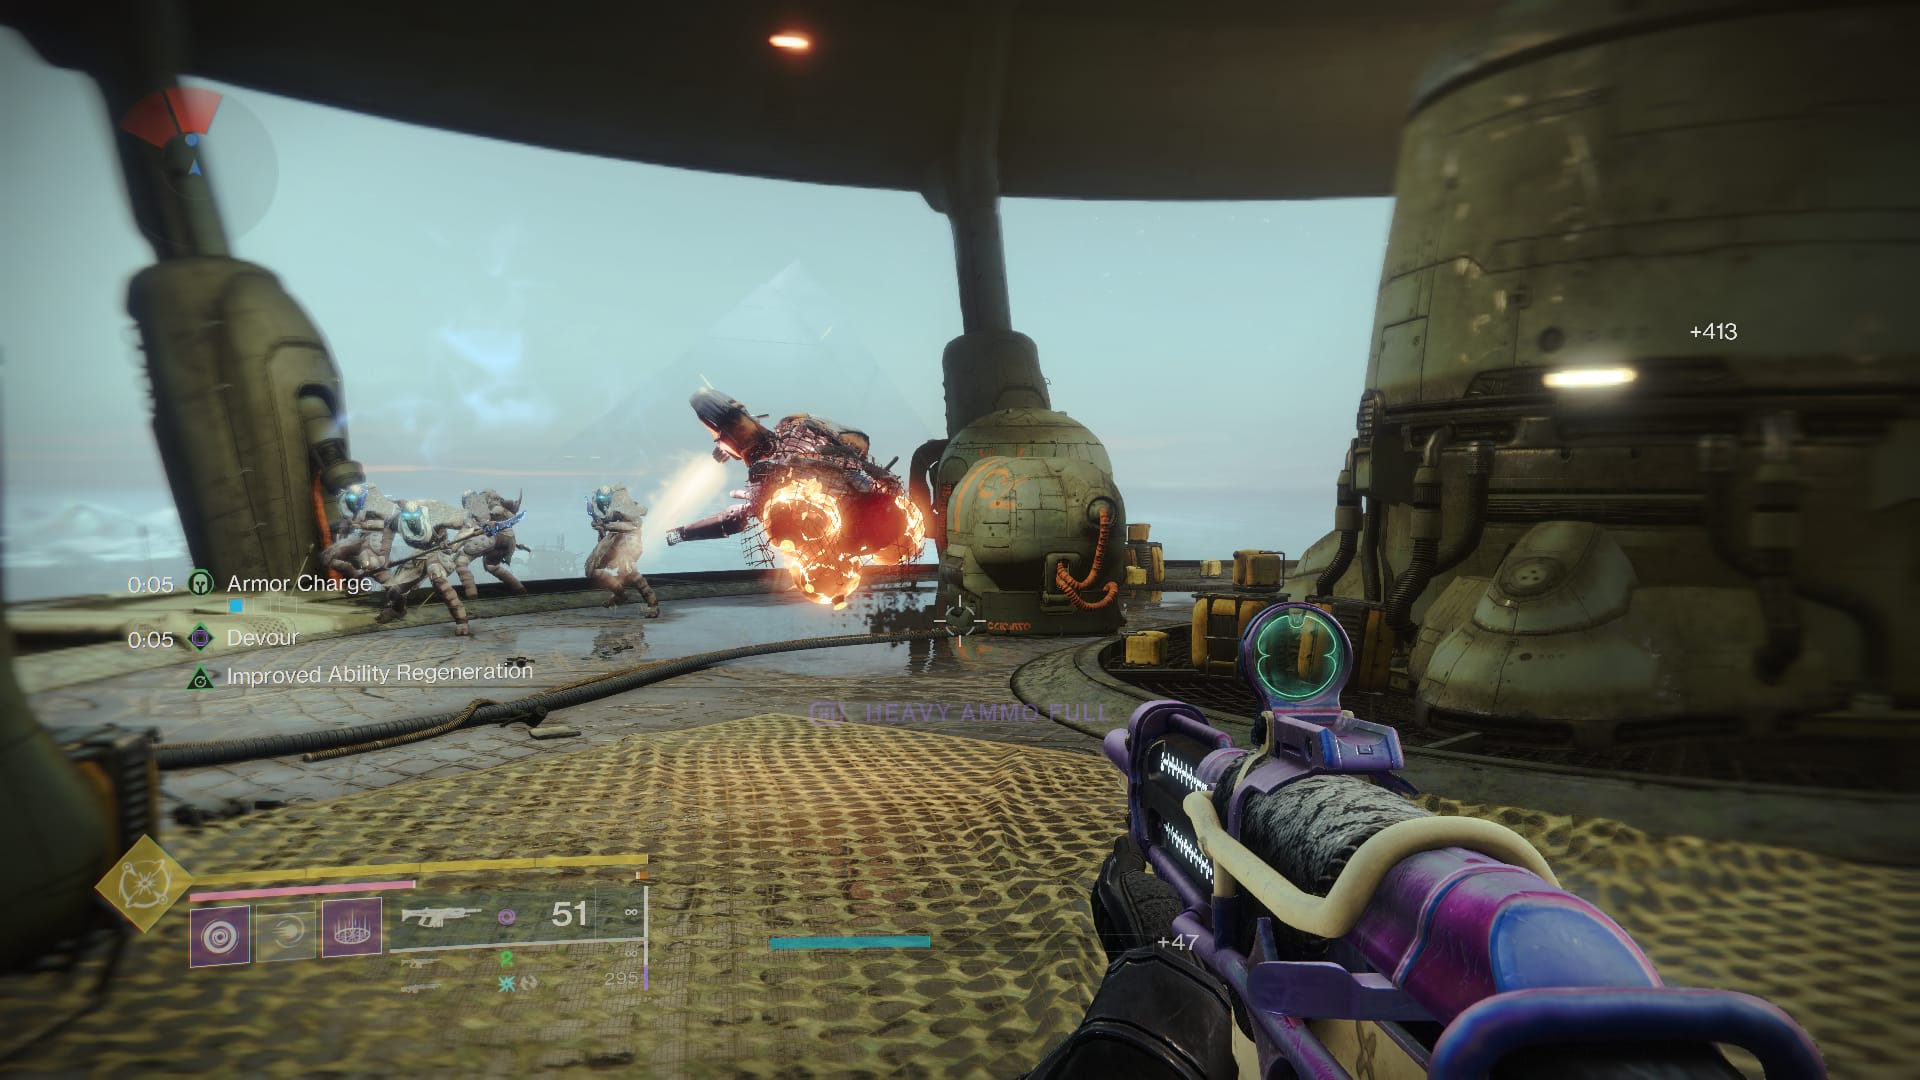
Finally, you’ll reach the last encounter against Korah. You’ll be able to do one third damage to Korah before he summons a shield. Once the shield is up, find and kill the Servitor and take the Arc Charge it drops. Deposit the Arch Charge into the terminal in the center. This will spawn a dozen Explosive Shanks who will make a beeline to Korah, exploding on him. When this happens, his shield will drop and you can damage. Rinse and repeat until he’s finally dead.
When the mission is over, you’ll be back in Refraction where you can claim another Prismatic ability. This time, you’ll get Stormtrance. And that brings to an end Lost in the Light. Now, we’ll tackle Found in the Dark.
Related: How to get Tier 2 and Tier 3 Weapon Enhancements in Destiny 2 – Weapon Enhance Guide
How to Complete Found in the Dark in Destiny 2
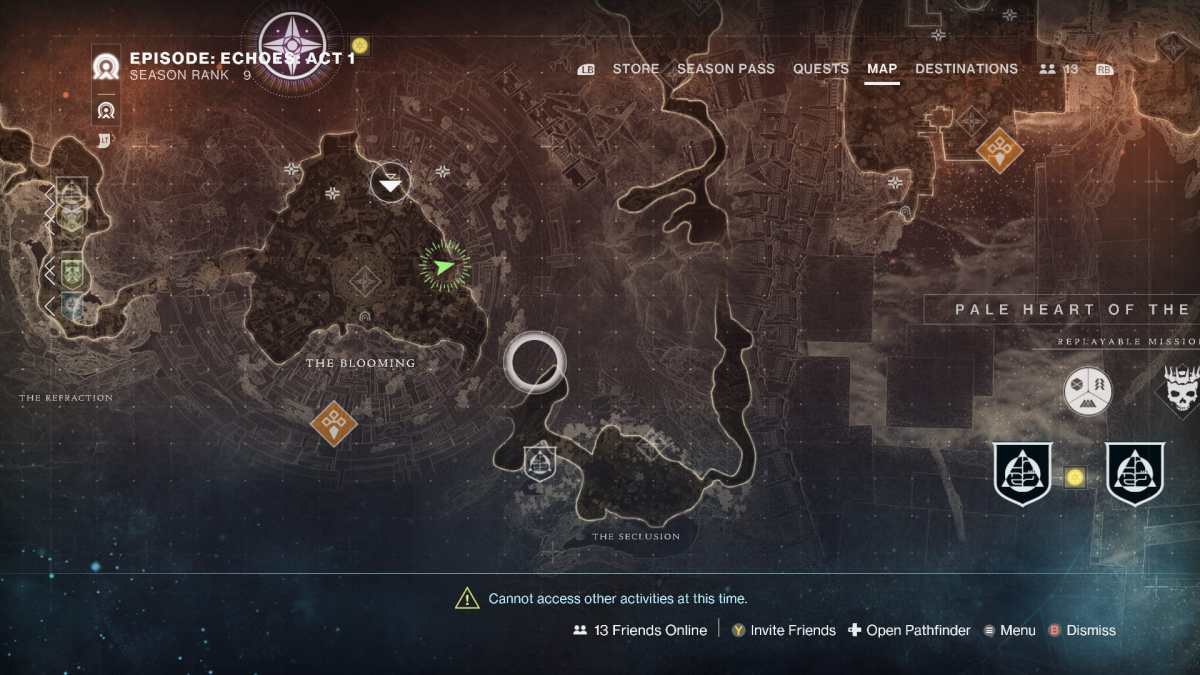
Found in the Dark is a quest that can be found in Seclusion in the Pale Heart. So, select the Blooming Landing Zone and be sure to press “Add Waypoint” while hovering over the quest on your map. This will help you navigate to Seclusion quickly, as it will add a diamond icon and a blinking arrow on your minimap.
When you find yourself in Seclusion, simply continue straight past the Vex until you’re at the very end of the area. You’ll find a Prismatic Chest which should give you a Strand grenade. For me, that’s Arcane Needle.
From this cavern, you can start the next quest, Home I. We’ll have two of these to tackle back to back, so buckle up.
Once you launch Home I, you’ll be tasked with finding the Psion Sentinel. Continue straight and you’ll eventually reach a room blocked by a barrier. On the bottom floor is a Psion in a bubble. Melee it to cause the barrier to drop.

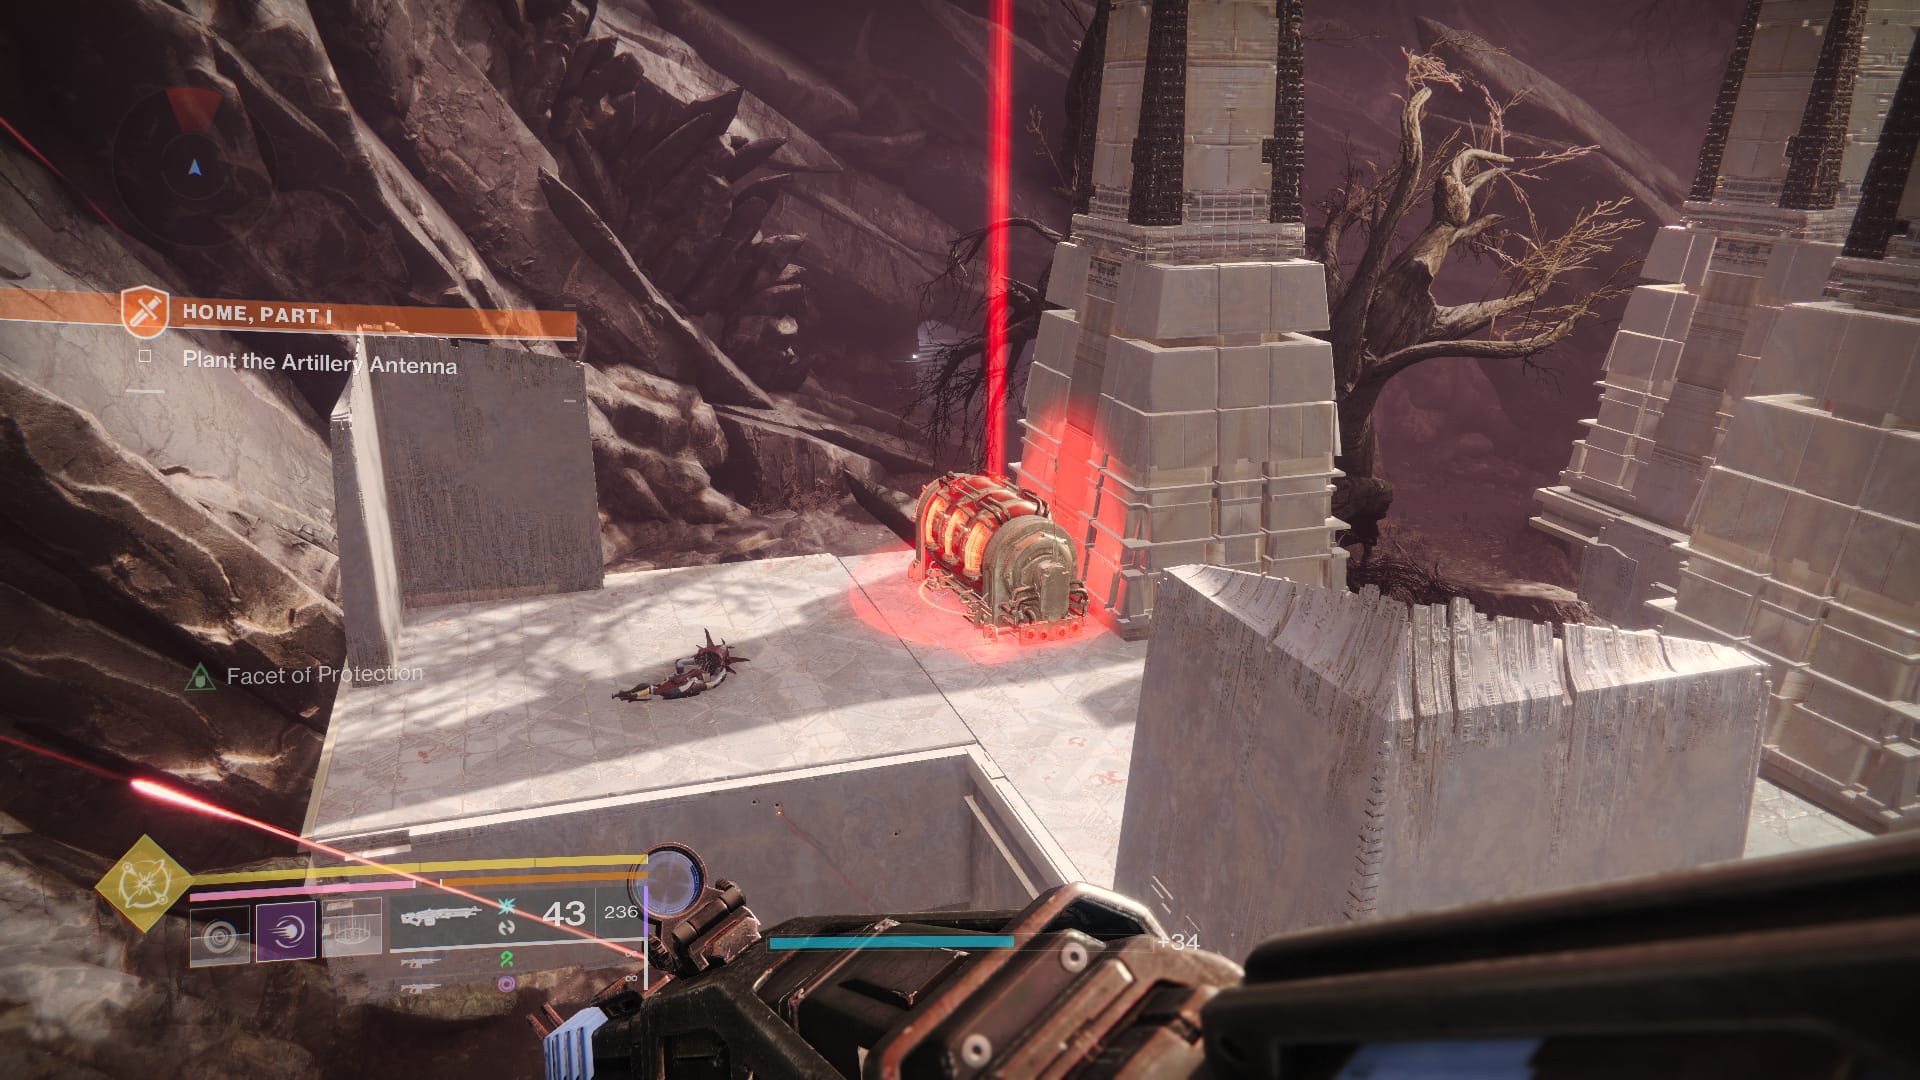
In our next encounter, we’ll find ourselves in a large open area with two generators we’ll need to explode. To do this, we’ll need to find an antenna. The way to get the antenna to spawn is to kill all the enemies until the first Antenna Commander appears. Once he does, kill him and take the antenna, he drops.
Rush over to the generator, as you’ll start being targeted by air missiles. Deposit the antenna at the generator. The generator will then be bombarded, so don’t be beside it. A new wave of enemies will swarm in, but with them will be another Antenna Commander. So, kill him and deposit his antenna to take out the last generator.
For our next obstacle, we’re combining the Psion bubbles and generators. The generators now have barriers, and the way to get them to drop is by meleeing the Psions in the bubbles beside them. Then, track down the Antenna Commander, take his antenna, and deposit it in the generator. Do the same for the second generator, and you’ll be able to fight the boss of the mission along with Empress Caital.

Once you return to Solitude, synergize with the Darkness to get a Strand Darkness aspect. Then, go and grab the Home Part II mission in the cave. Once Home II is done, we’ll almost be through with Destined Heroes!
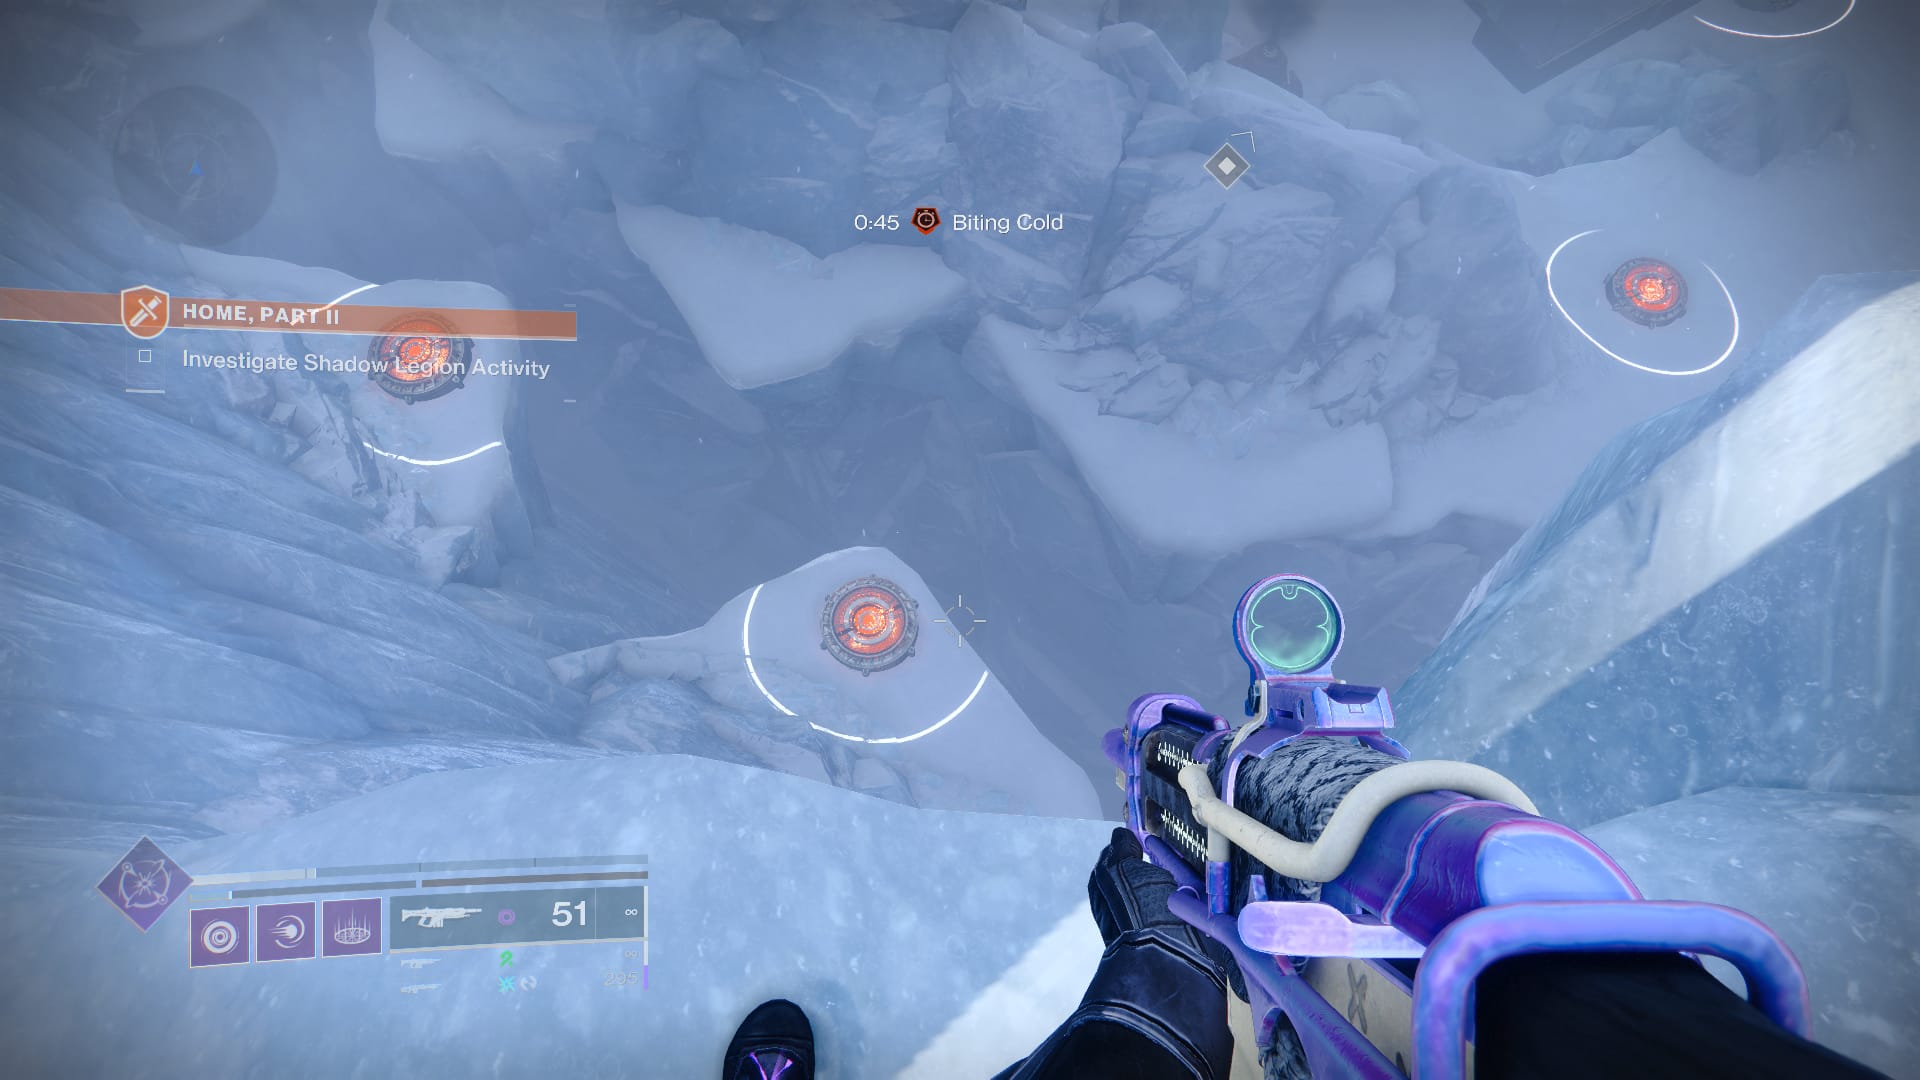
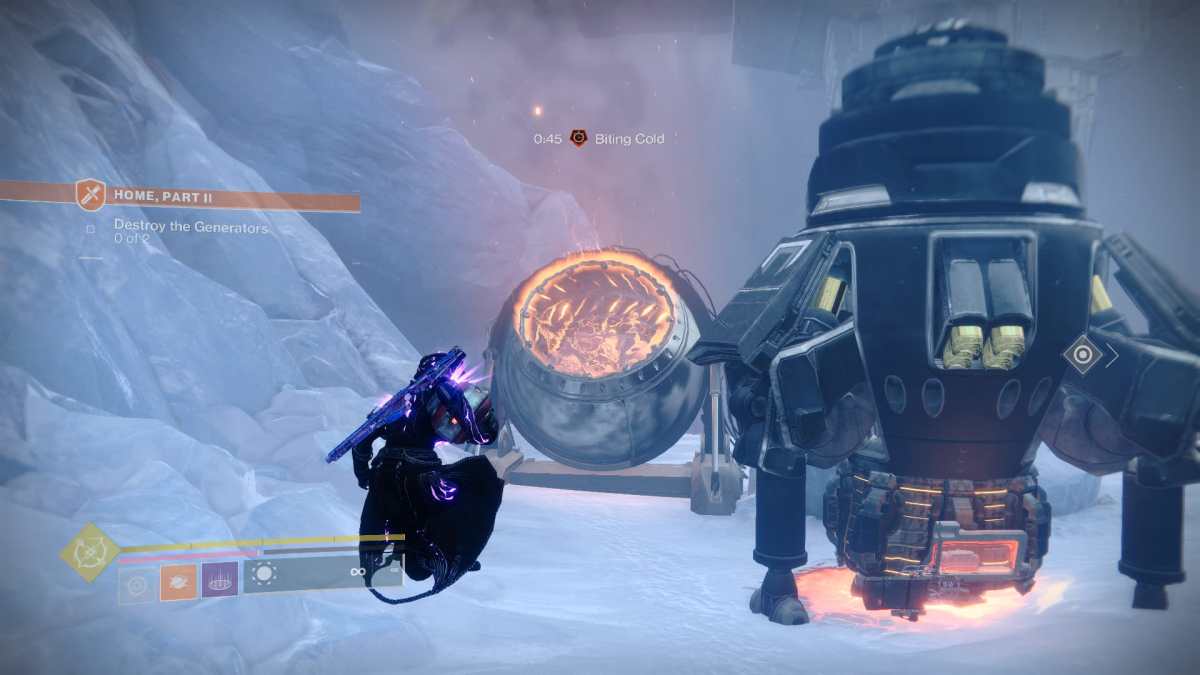
For Home II, you’ll be in Europa working against the Biting Cold debuff. You need to get closer to a warmer before the Biting Cold debuff reaches 0 or you’ll die. Likewise, the same mechanic of hitting psions in bubbles to drop shields around the generators we did in Home I will apply here.
So, follow the mountain path and the burners down the mountain. You’ll then find a large platform with Shadow Legion cabal and two generators with barriers. Melee the psions beside each of these generators, then jump down below the platform where there’s like a burning to avoid having to redo this section.
But we also need to be down here for another reason. Scope out the Honed Centurions here and kill them. They’ll drop unstable charges. Pick up the unstable charge, then use the fan to go back to the upper level.
Approach a generator (but not too close!) and throw the unstable charge at the generator to blow it up. To throw, press the shoot button. Once both generators are destroyed, you’ll be able to follow the snowy pass past the platform.
There will be a second platform past the passage, which will be a little tougher to manage because it’s in the air and choked with enemies. But complete it just as you did the last one. When the second platform’s generators are destroyed, jump down the ledge near the fan at the very bottom of the passage.
You’ll find a cave. In here, you won’t be debuffed with the Biting Cold, which is nice. Continue forward, then select the left fork, then go under the waterfall. Here, you just need to continue straight until you arrive in the valley where fought with Zavala.
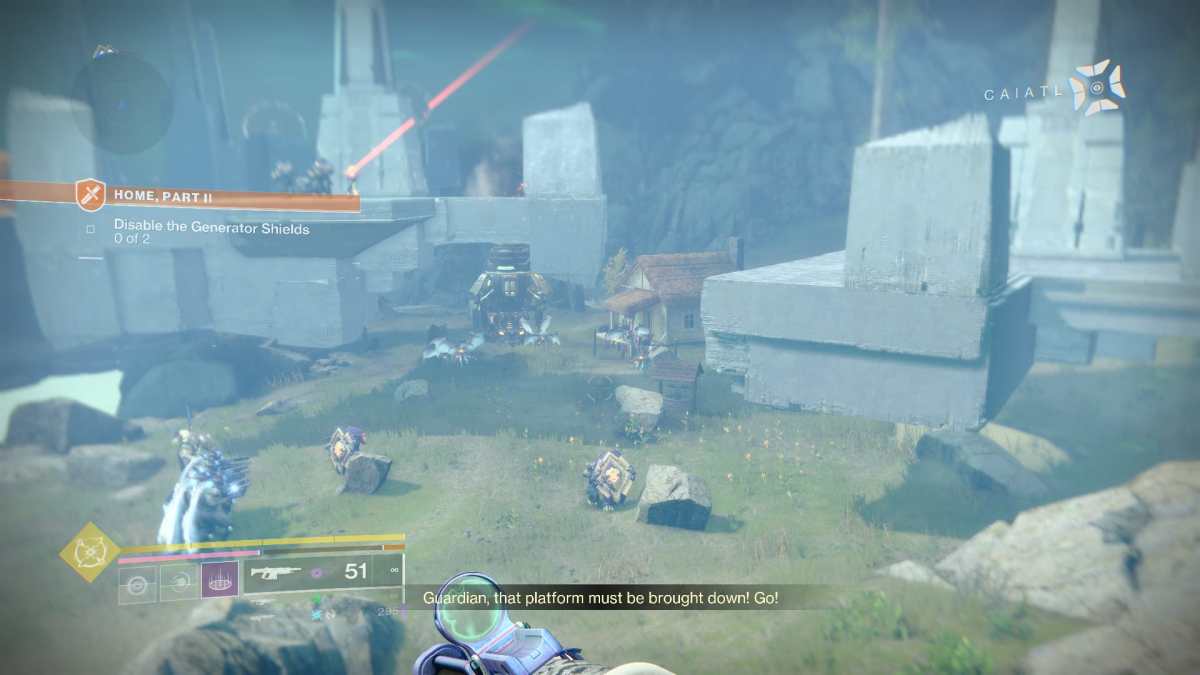
Here, you’ll find platforms, generators enshrouded with barriers, and of course a Goliath Tank. Melee the psions in the bubble to drop the barriers around the generators. Kill the Honed Centurions to get the unstable charges. Jump onto the platforms with the unstable in hand. Throw the unstable charge at the generator to cause them to explode.
Once all the generators are gone, the Goliath Tank will be vulnerable to damage until about half health. At that point, two Psions will appear on the field. Melee both of them to make the Goliath Tank vulnerable again. You’ll need to repeat this one more time to completely kill the tank.
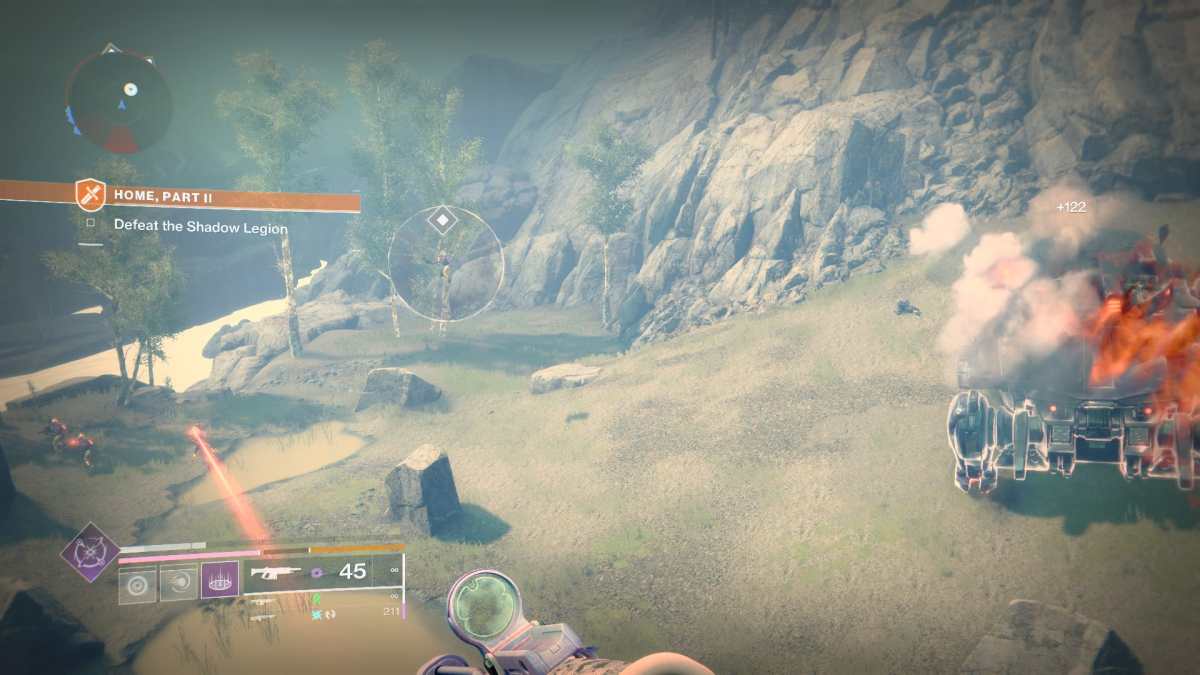
I highly recommend a pulse, scout, or other medium to long-range weapon to deal with the Scorpius Turrets and Psion snipers, a mob clearing Super for the dense amount of enemies, and a rocket launcher or machine gun heavy to take out the Goliath Tank. Aim for the tank’s wheels to make short work of it.
When the mission is done, you’ll be returned to Seclusion, where you can claim your Darkness super back. Nice!
Related: When Does the Salvation’s Edge Raid Start in Destiny 2 The Final Shape? Answered
How to Complete Queens, Part II
We edge ever closer to that blade. Return to the Lost City to launch the quest Queens, Part II.
Head down the trail you spawn in front of, fighting through the Hive. It’s straightforward at this point, and you’ll find yourself in the tunnels that put you in the Refraction.

There will be a mob of Hive, just fight through them and continue straight, where there will be a drop. Follow this short pathway, then look up when you reach the end. There will be a ledge you can jump up on.
From here, you’ll find yourself at an overlook, along with the next area we’ll need to go to. Jump across and get ready to fight the Hive, including an Ogre.
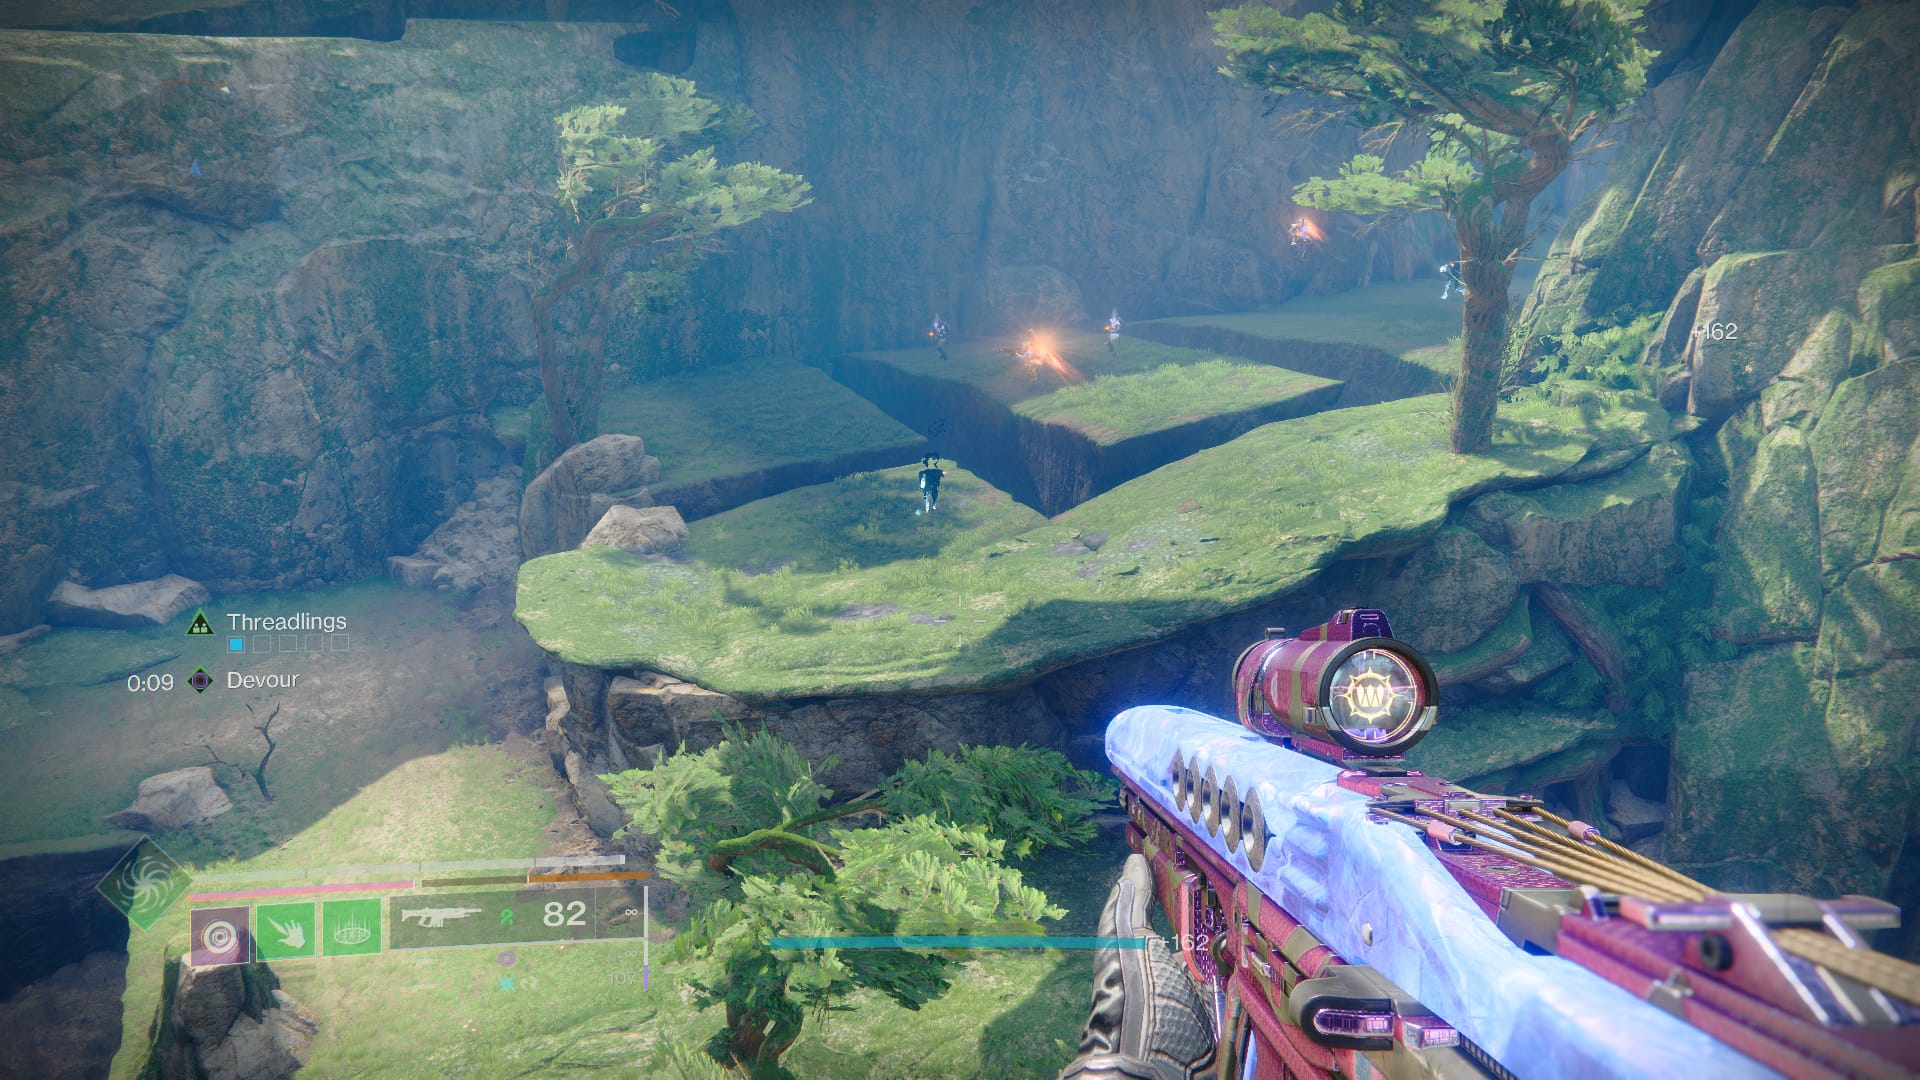
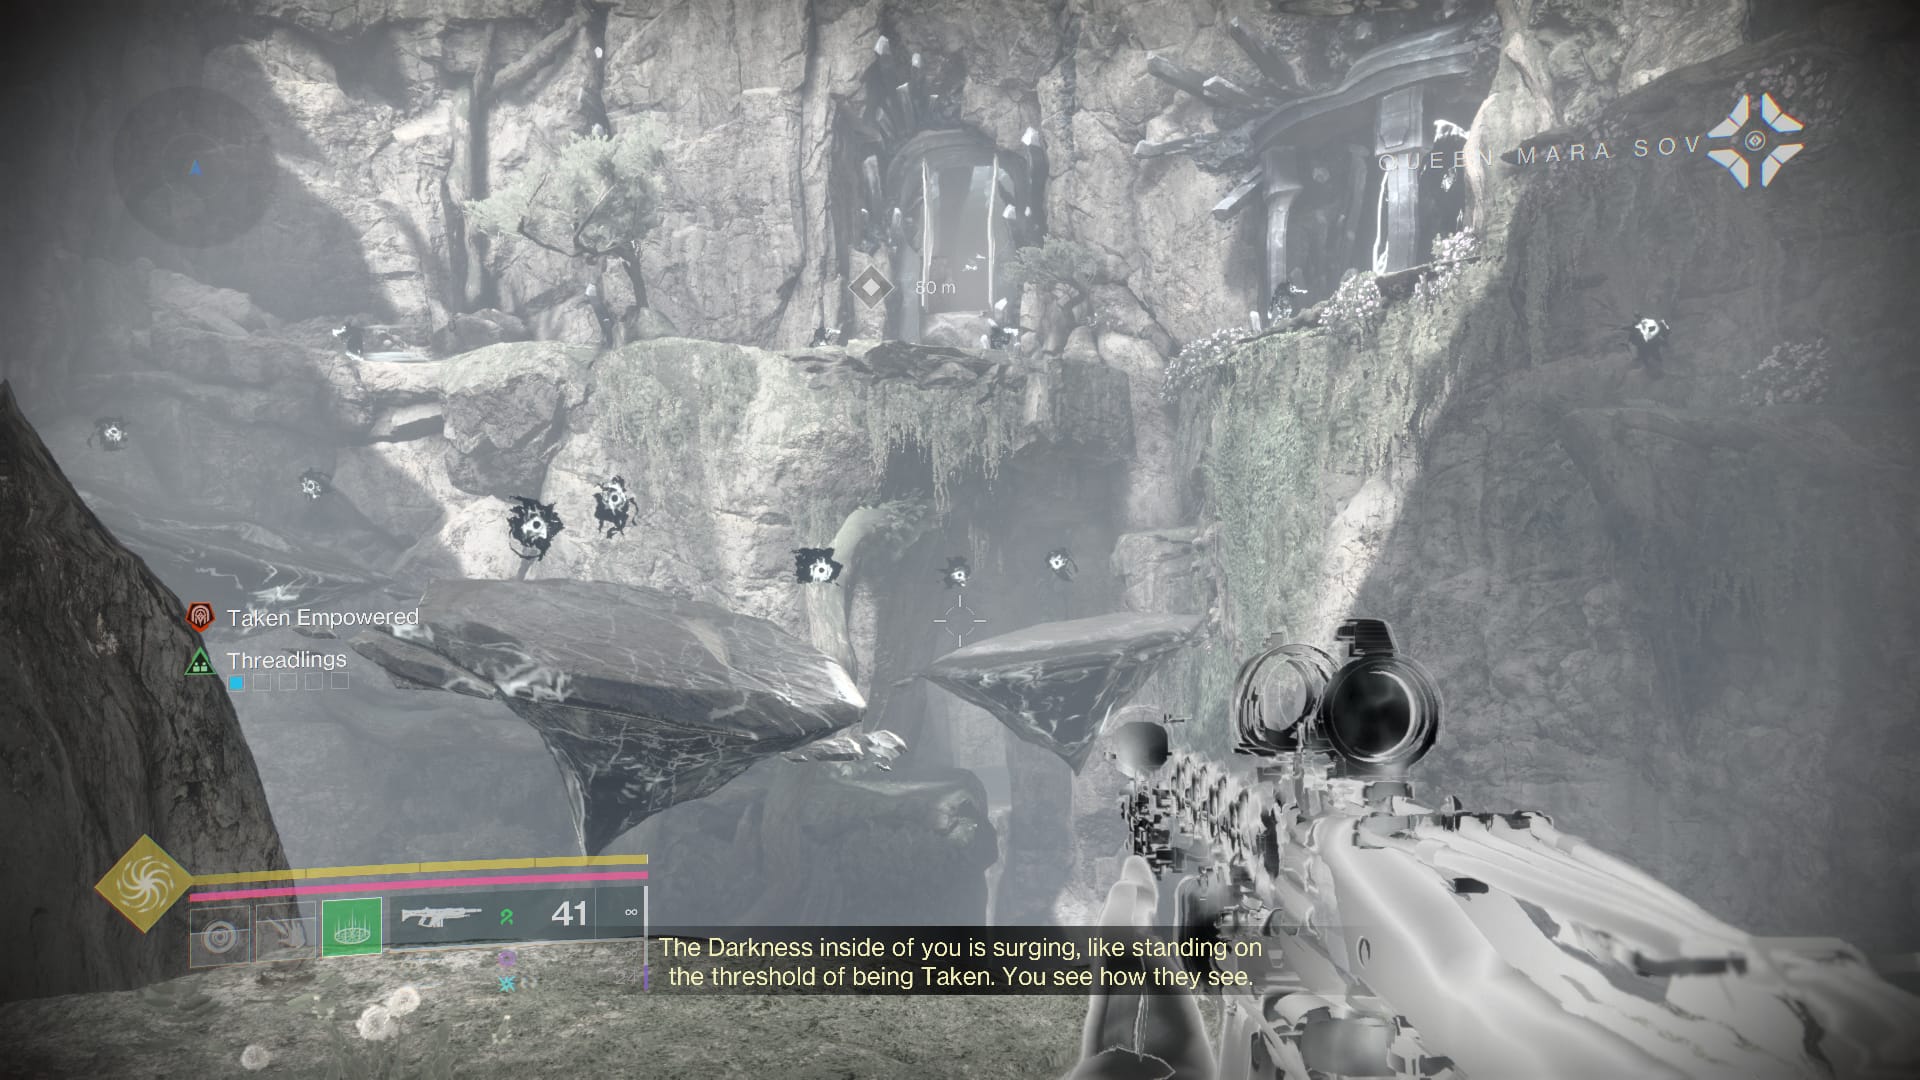
Continue forward until you see the Hive fighting the Taken. Mara will then instruct you to kill as many Taken as possible, with each Taken life being worth 2 – 5%. Once you’ve hit 100%, you’ll get a perspective change. Look towards the cliff and you’ll see some platforms and some enemies. Use these platforms to ascend to the next area. Worth noting is that those Taken balls are explosives that will pulse and blow up if you get close to them.
Jump to the ledge and then go through the open door in the cliff.
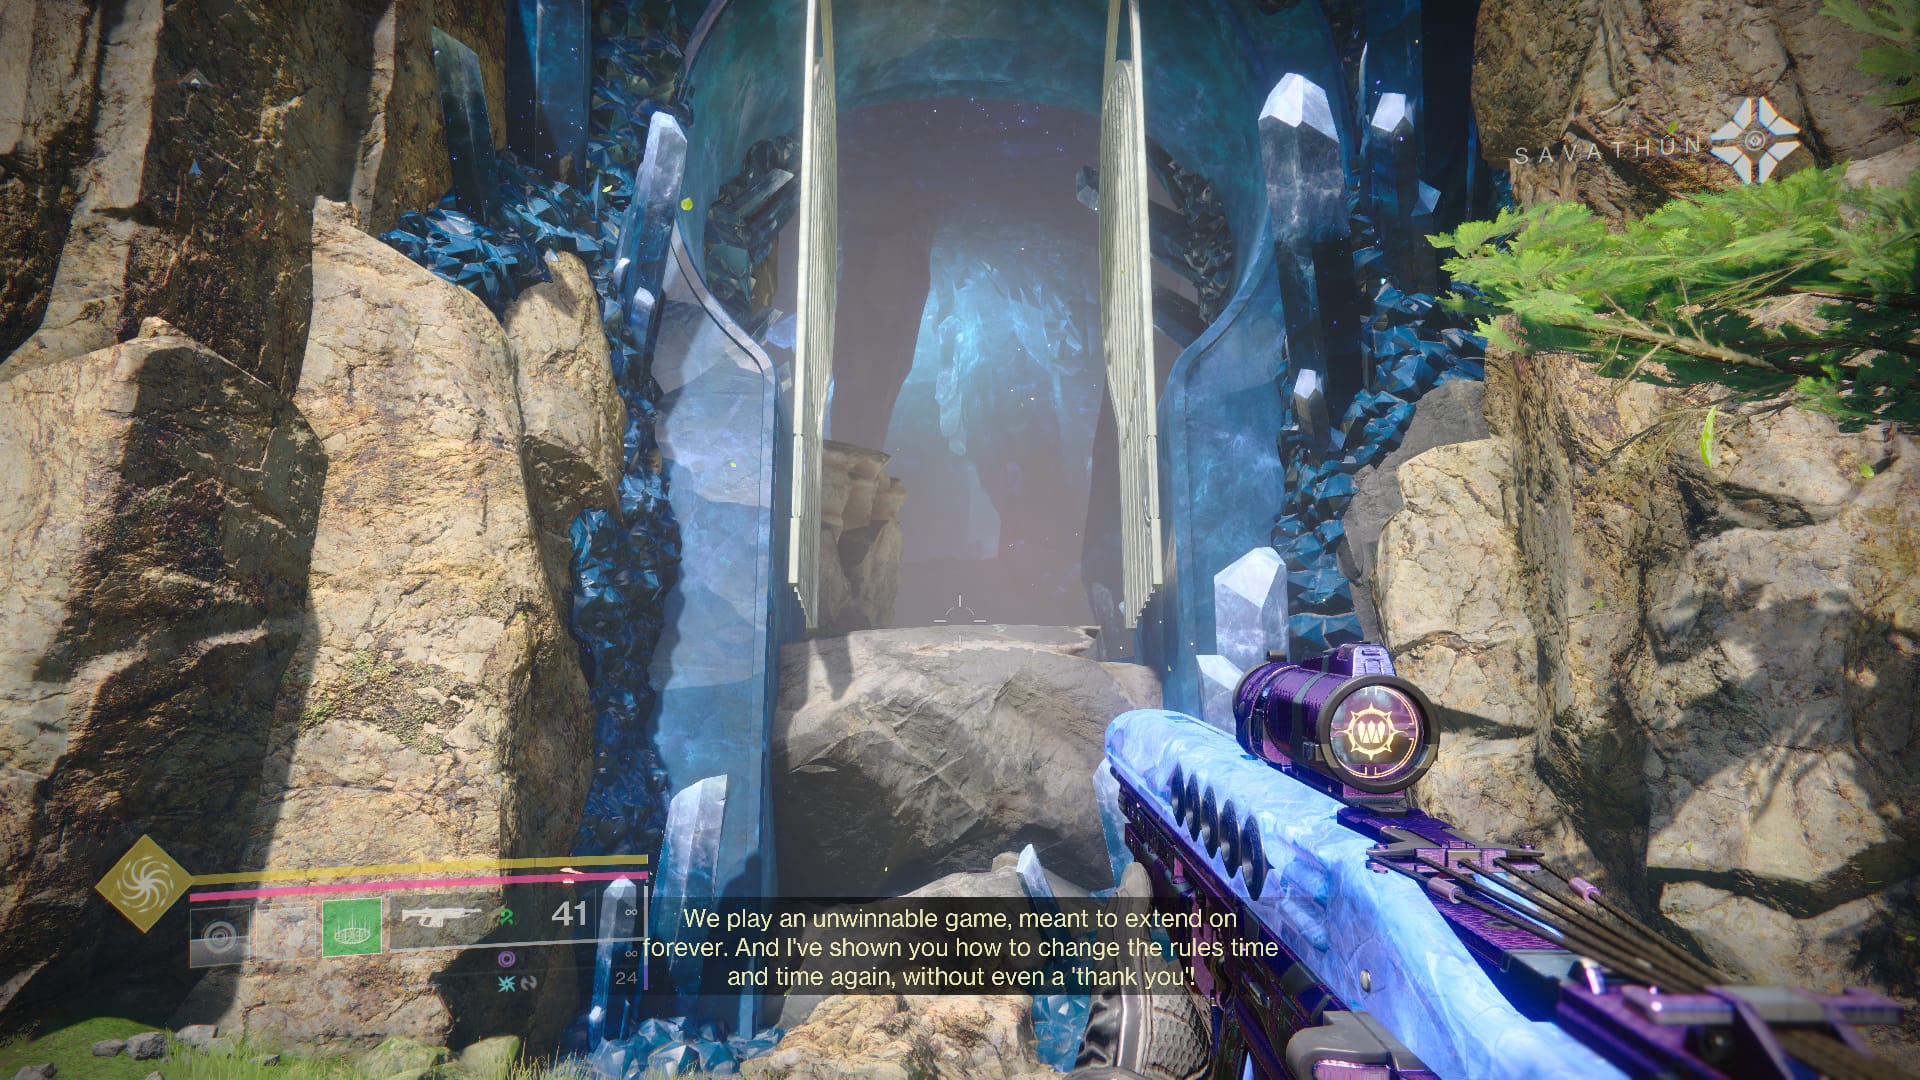
Once you’re inside, go to the back of the crystalline room and look up. There will be a hole you can jump through.
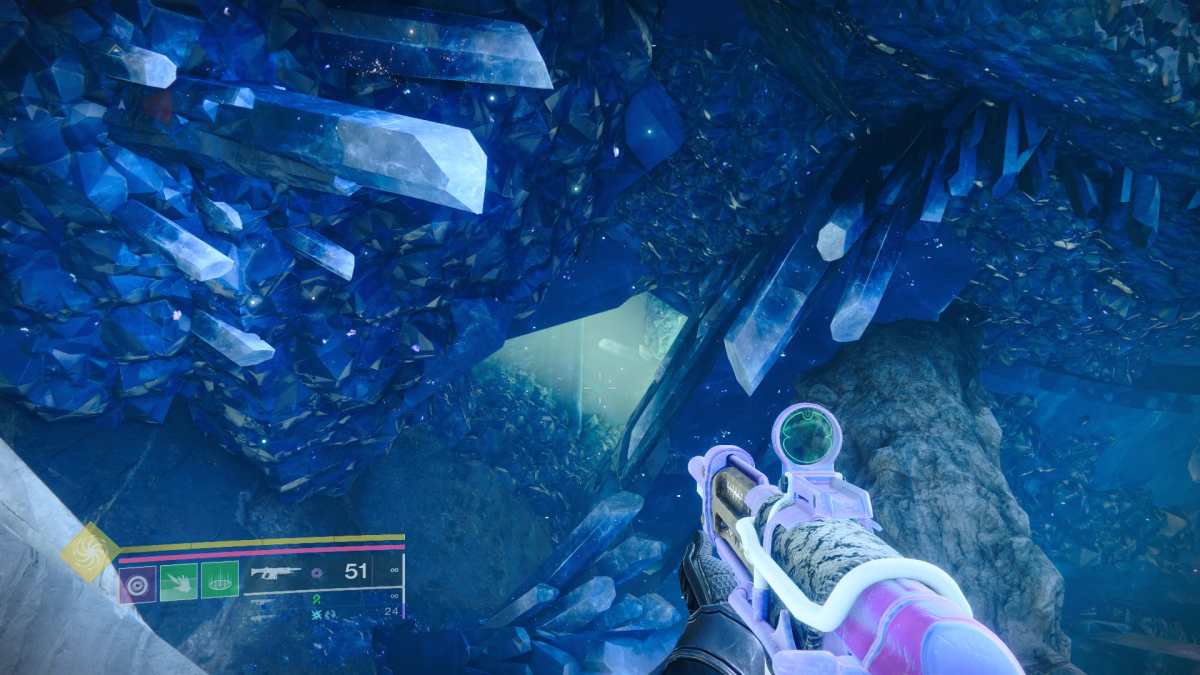
You’ll ascend into the boss’ room. But first, you’ll need to defeat Taken until Mara can reveal pieces of Light that are out of step with the material world. Discover three, Mara will bring you back to fight the Taken, and then you’ll need to liberate light from the fissures.
Once you’ve liberated the light in the fissures, you’ll be attacked by two Tormentors. And while that seems like it’d be terrible in such a small space, our favorite new Hive which will come to our aid. When you’ve defeated both Tormentors, Queens, II will end and you’ll be back in the Lost City.
Speak to Ghost. He’ll give you the Dyadic Prism. With the Dyadic Prism, you’ll be able to access the new landing zone in the Pale Heart called The Sacrarium. Access the Sacrarium through the map and fast travel in.
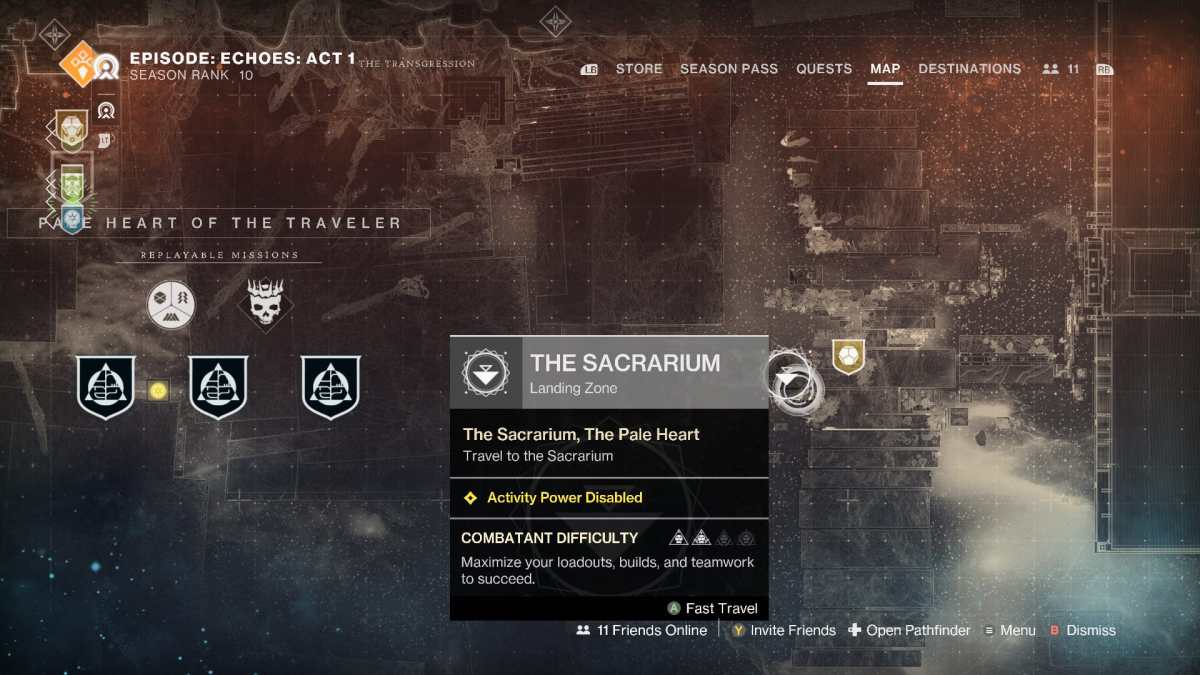
There will be a flag here that you can interact with to start a new adventure. Do so, and you’ll find yourself in a beautiful environment. Approach the white veiled figure in the pillar of light and choose to make your fate. You’ll get the Ergo Sum.
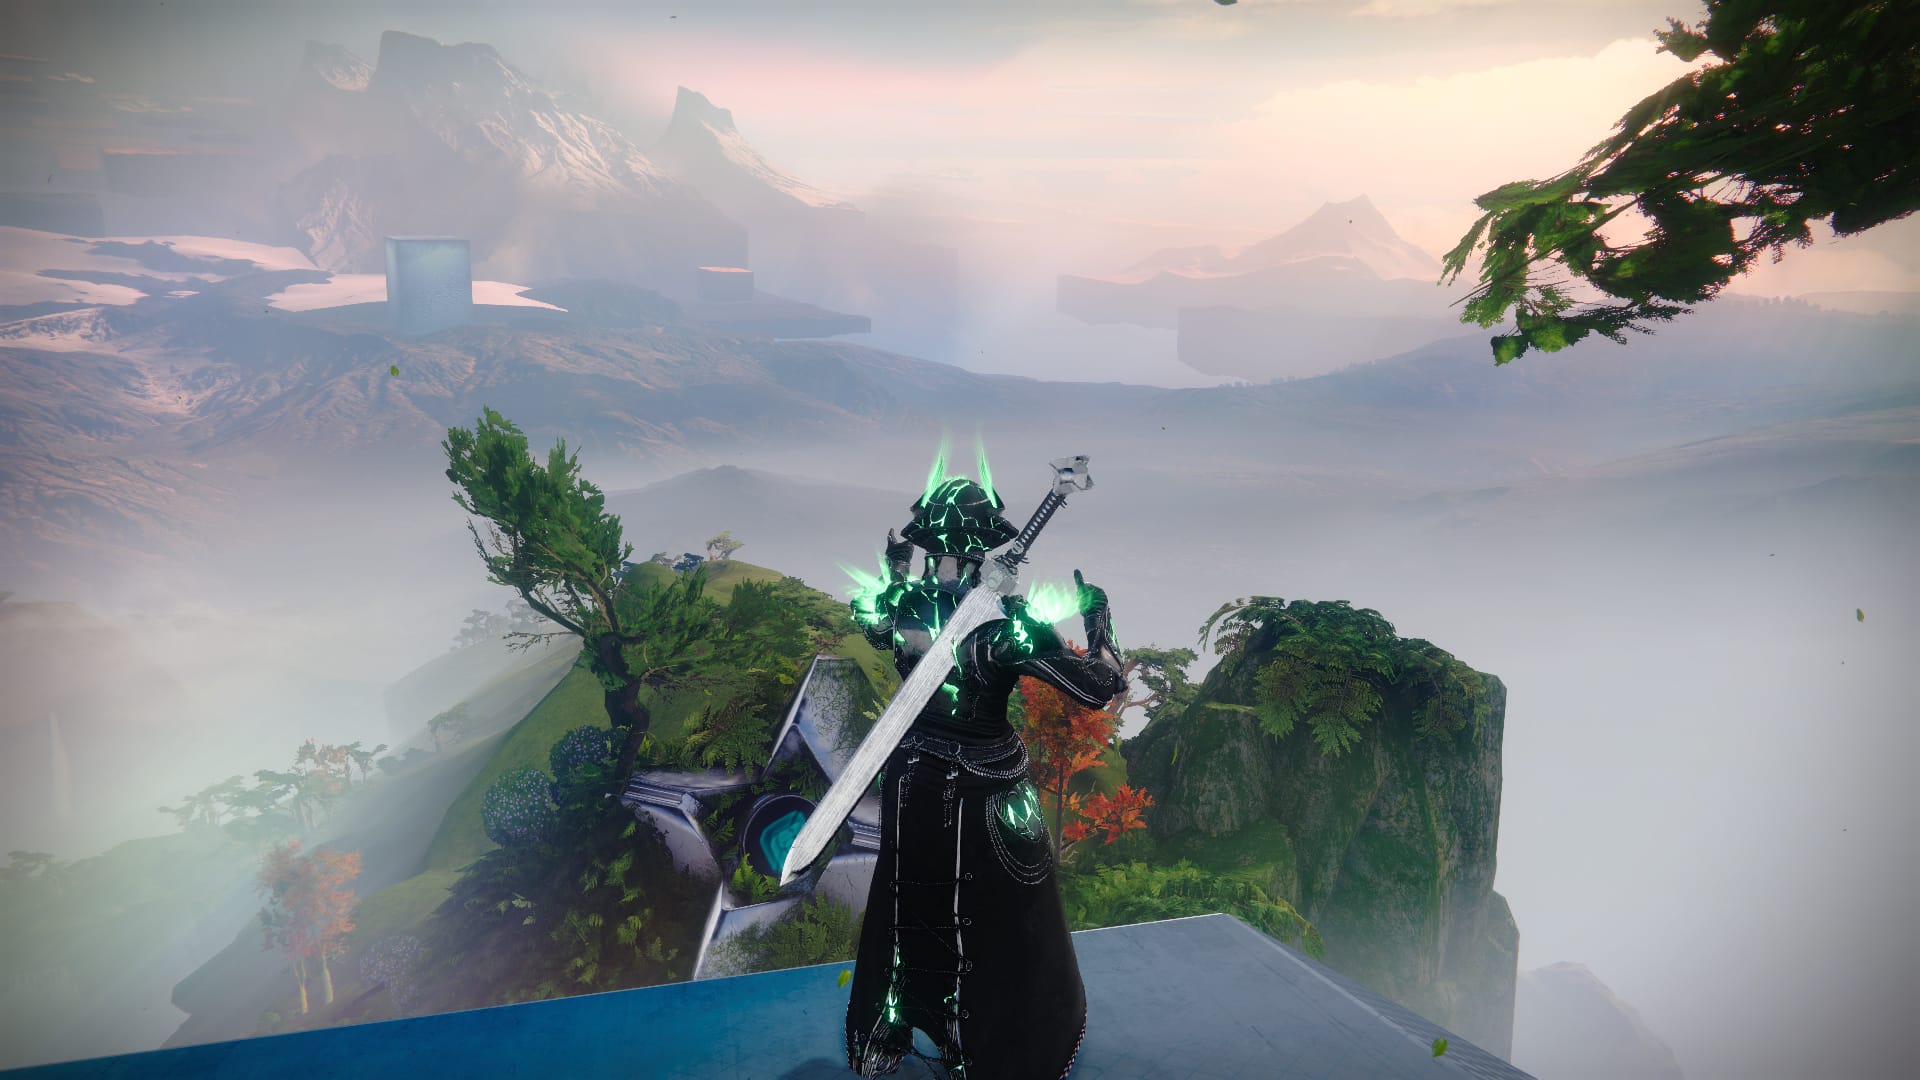
And that’s it! It only took us six quests, but now we have an electrified sword. Ergo Sum is a special sword with the Stormbringer Intrinsic Trait.
| Intrinsic Trait | Description |
|---|---|
| Stormbringer | Rapid final blows create a lightning storm at the target’s location. |
Destiny 2 is available now.


Published: Jun 5, 2024 07:26 am