In Ghostrunner 2 Chapter 7, “A Price To Be Paid,” things go bad for the folks at The Tower, and while that’s happening, you may be thinking: Where can I find some collectibles? In this guide, we’ll break down how to find every collectible in Ghostrunner 2 Chapter 7.
Where Every Collectible in Ghostrunner Chapter 7 Is
Given the relatively small scale of this level in comparison to behemoths like Ghostrunner 2 Chapter 5 “Behind the Curtain,” and a few more you’ve yet to encounter (still no spoilers, sorry), you won’t find as many collectibles as you might expect. In total, Chapter 7 includes four Memory Shards, two Artifacts and one Audio Log for a total of seven items to discover.
As is the usual format for my guides of this nature, I’ve presented these in the order which I found them. Bare in mind that certain sections of this level will become locked off when you progress through mean, making backtracking to pick up anything you missed impossible.
Memory Shard #1
Shortly after your first encounter with the enemy using the red laser gun, you’ll come across this Memory Shard, the first collectible in Ghostrunner 2 Chapter 7. The previously mentioned enemy is very slow and can barely swing his laser weapon horizontally; he’s also susceptible to the shuriken’s stun, meaning you can use him as a grappling point. Disrespectful but fun!
Related: Is Steampunk Better Than Cyberpunk? – Slightly Civil War
Anyway, once that guy’s dead grapple up to the platform above you and you’ll see a normal gunman on your right and another laser bruiser (luiser?) directly opposite you in the distance. Don’t worry about them and instead turn to your right to see a grate with yellow fractures. Break through it and make another right to smash a different grate. On the other side, you’ll find your Memory Shard.
Memory Shard #2
Now that you’ve defeated the luiser and the gunman that I mentioned before, you’ll need to progress through a small corridor. As you move through here, you’ll notice the Memory Shard standing on your immediate left. Not hidden or tucked away, just asking to be harvested.
Audio Log #1
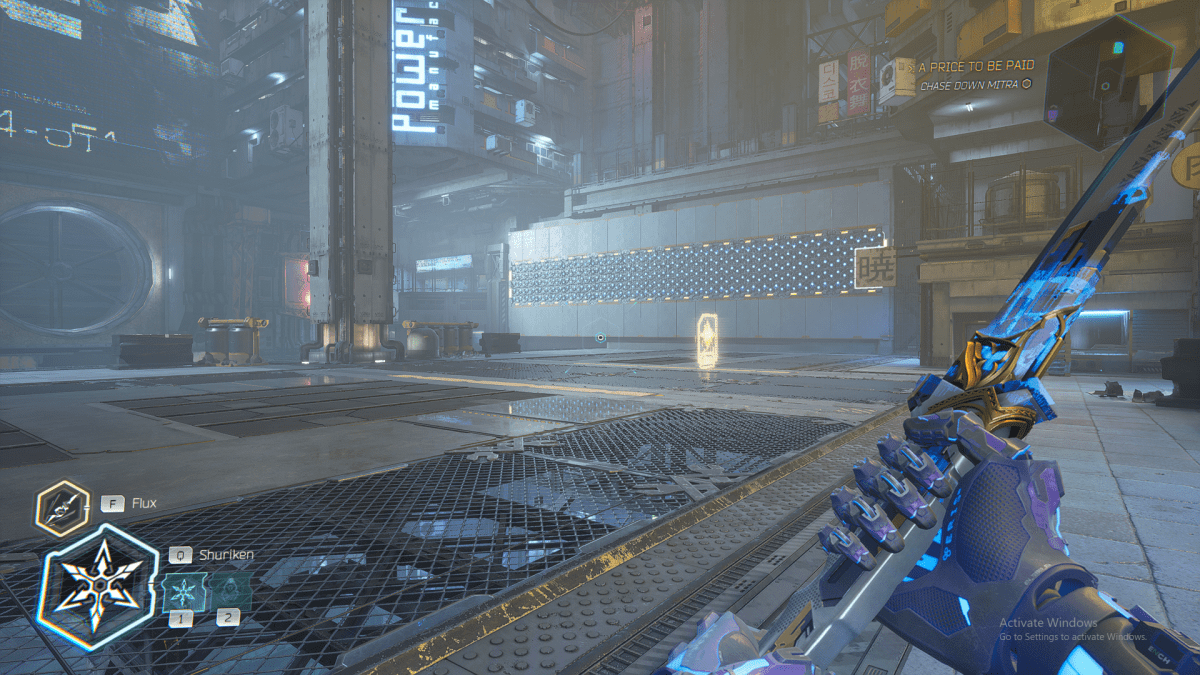
Once you exit the aforementioned claustrophobic corridor, you’ll enter into a massive alleyway. Your shuriken skills will be put to the test here and you need to throw one onto the highlighted blue wall to create a grapple point for yourself. Go ahead and do this for the first surface before leaping onto the vertical fan and throwing another shuriken on the blue wall ahead of you. Use to gap jammer to clear the distance and then use it once more on the yellow hook hanging between you and the narrow platform you’re aiming for.
Once you touch down the catwalk, move to its right side and turn around so the hook you just grappled on is between you and a rooftop across the way. Use the gap jammer to yeet Jack in the direction of the roof and dash to the ledge, mantling up it in the process. The Audio Log you seek will be floating in the center. It’s a pretty brutal recording of Ivo threatening Muller. Oh, hindsight…
Memory Shard #3
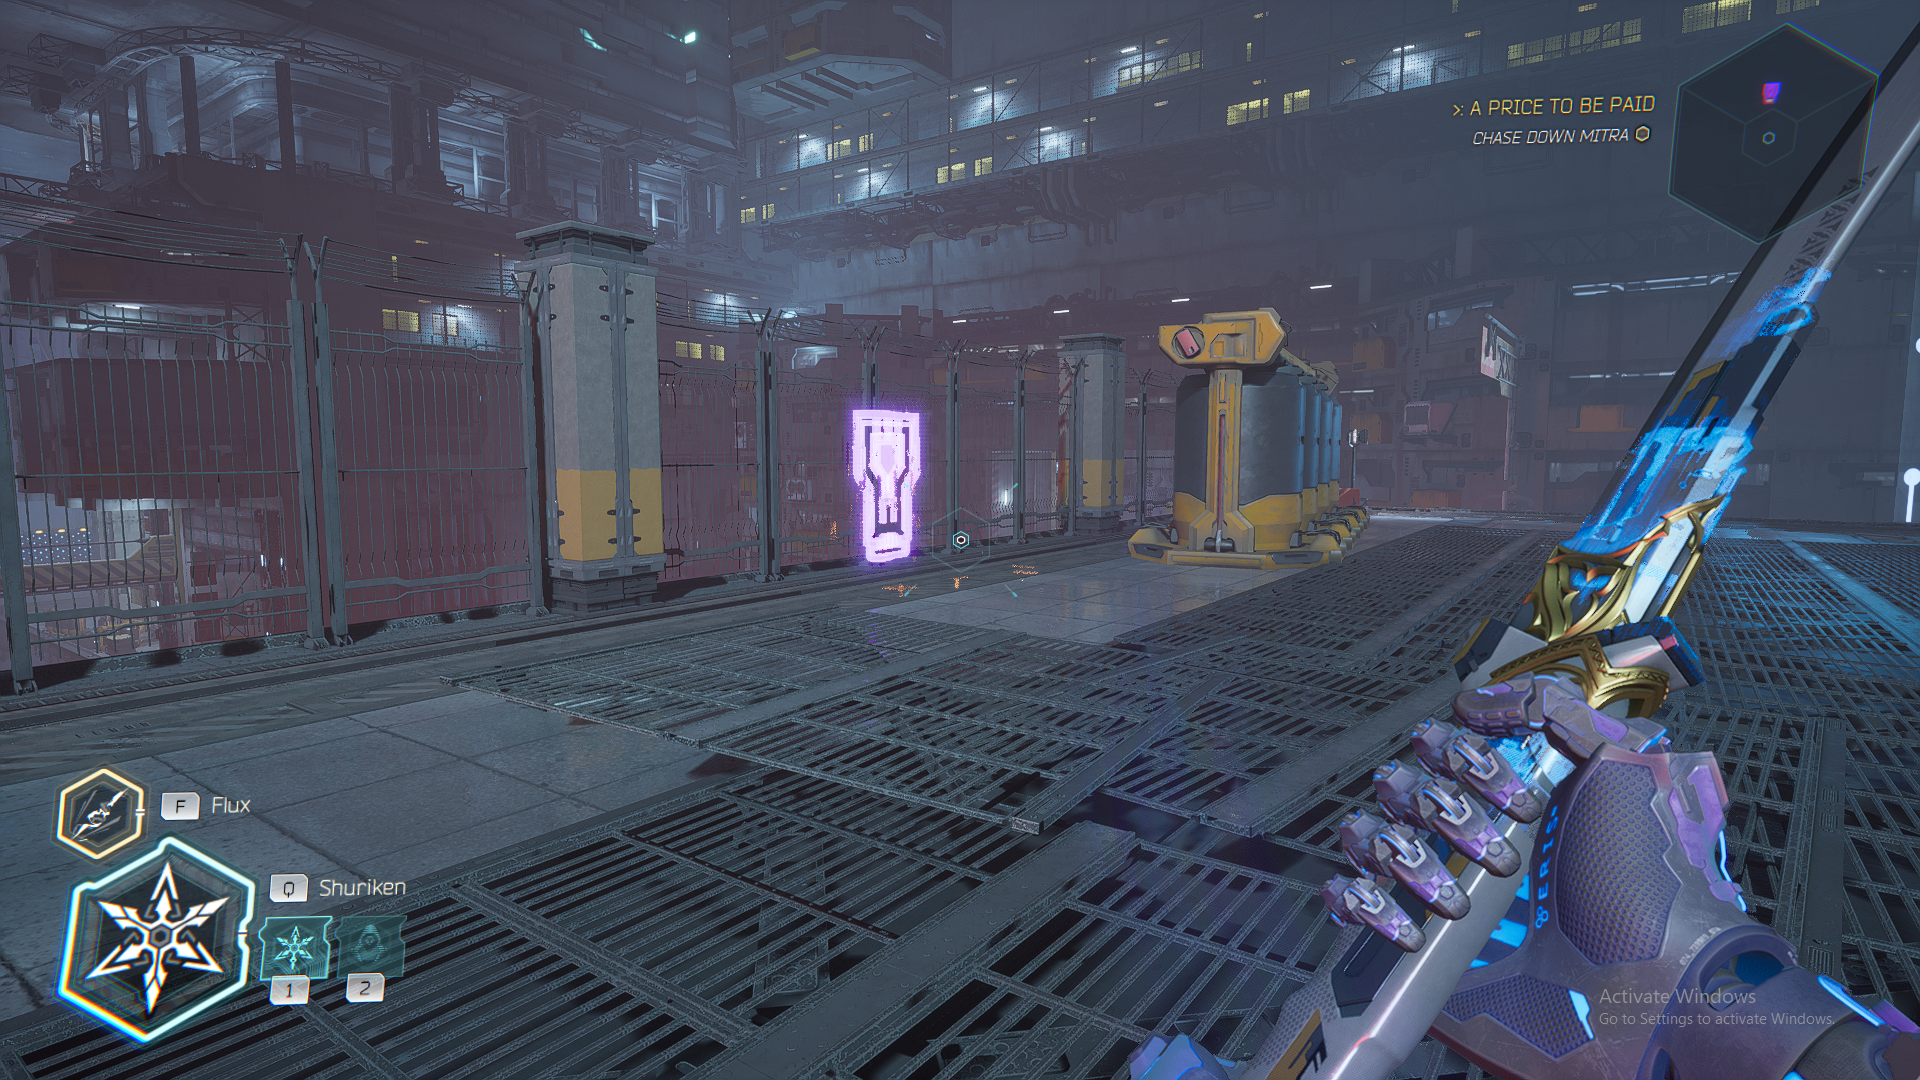
Jumping down from the rooftop where you found the Audio Log, continue through the level as normal. Use your shurikens to make gap jammer points on the walls and use the horizontal bars to fling Jack into the air. When you land on the platform with the diagonal launch fan, you’ll want to immediately turn around and look back at the direction you came.
Related: The Ascent Borrows the Aesthetics of Blade Runner Without Any of Its Heart
To your right, you should see a much small blue surface that’s just begging for a shuriken. Leap back onto the wall from which you just sprang, toss a shuriken onto the aforementioned surface and use the gap jammer to launch yourself upwards and mantle on the ledge. On this catwalk, you’ll find a Memory Shard hidden behind a trip of barrels.
Artifact #1
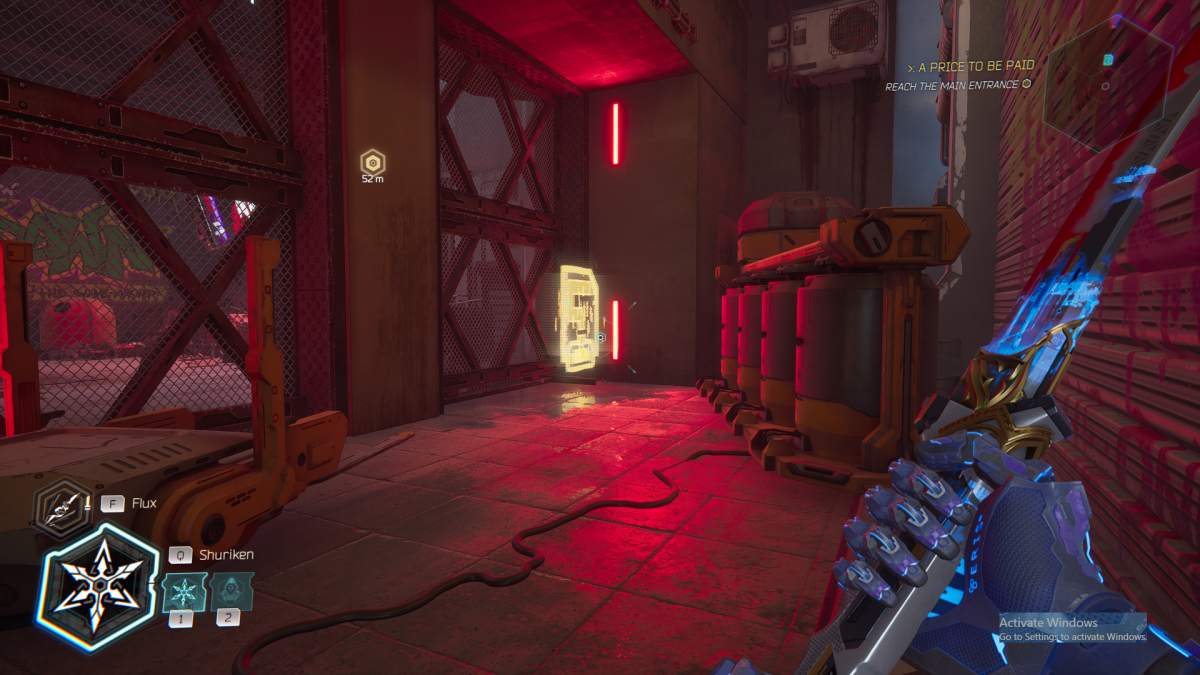
In the first arena battle in Ghostrunner 2 Chapter 7, once you’ve cleared out all the enemies, drop down onto the main floor of the plaza and look underneath the stairway to find your next collectible. You should notice a blue cable running into one of the nooks off to the right side. It ends with an electrical switch so hit it with a shuriken and you should hear a door open up.
Follow the blue cable back and you’ll find said door. Inside the alcove, you’ll find an Artifact. It’s an EMP grenade! Fairly effective against Ghostrunners, thank the Architect none of your enemies know this.
Artifact #2
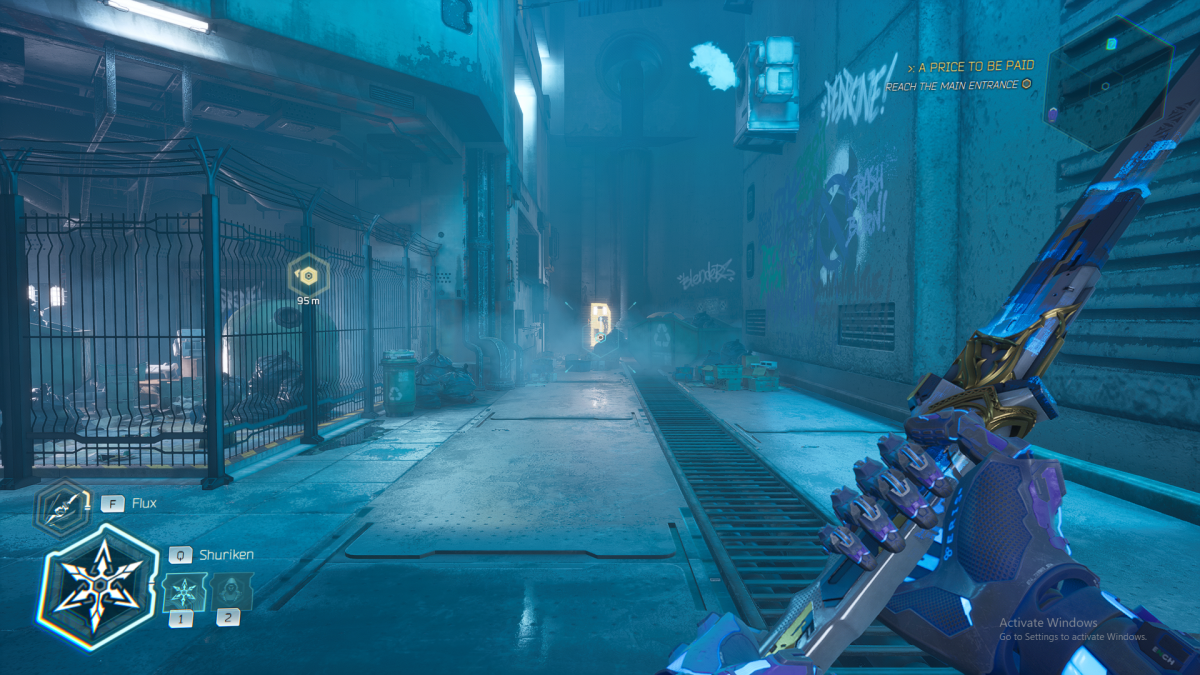
As you exit the room where you find the EMP Artifact, head dead straight across the plaza. Move down the ramp and then down the short flight of stairs marked with white stripes. At the end of this alley, you’ll find a glowing wall of red energy. It looks significant but it’s just to block off the route.
From this energy wall, look left and you’ll see the Artifact floating amongst a pile of trash cans and rubbish bags. Fitting, I suppose, that it’s a severed arm with a holo-tat on its skin. How utterly grisly…
Memory Shard #4
This is another Memory Shard that’s just a gimme. As you exit the plaza, you’ll see this one floating on the right side of the corridor.
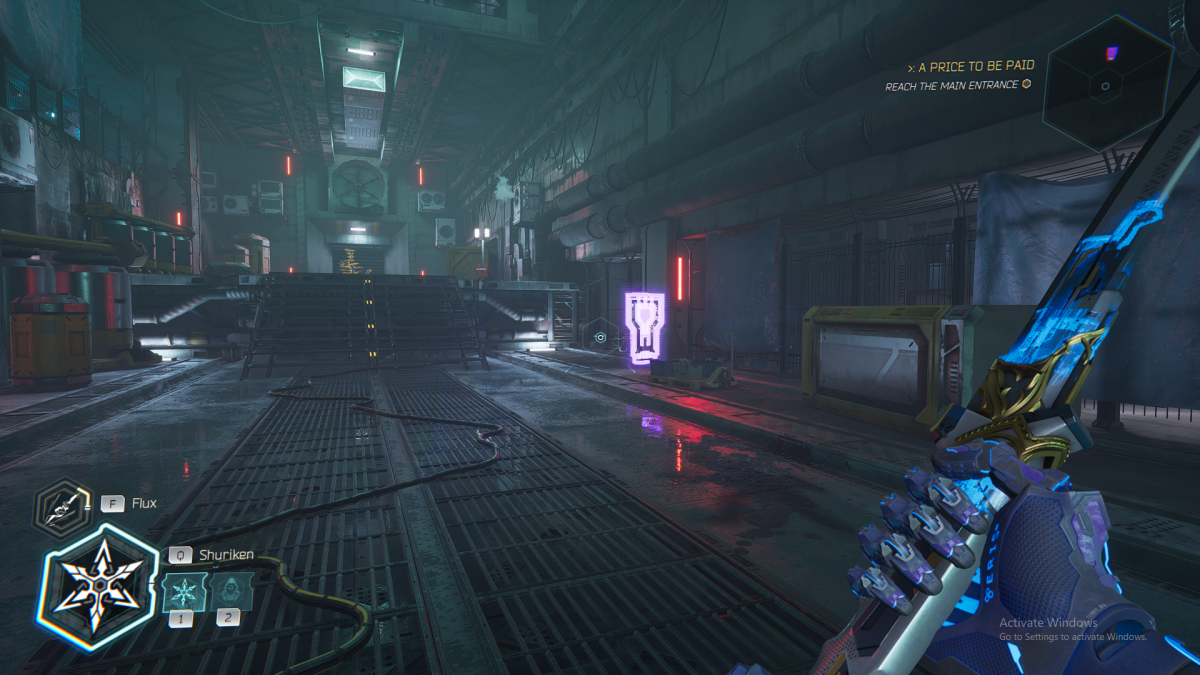
And that’s how you get every collectible in Ghostrunner 2 Chapter 7! While you might thing the massive arena brawl at the end would contain a fair few secrets, there’s surprisingly nothing there. So just focus on exploring the path until this point so that when you do have to go up against a slew of soldiers you can dedicate all your powers to cutting them down.
If you’re looking for more, check out our guide to every collectible in Ghostrunner 2 Chapter 4.



Published: Oct 25, 2023 04:16 pm