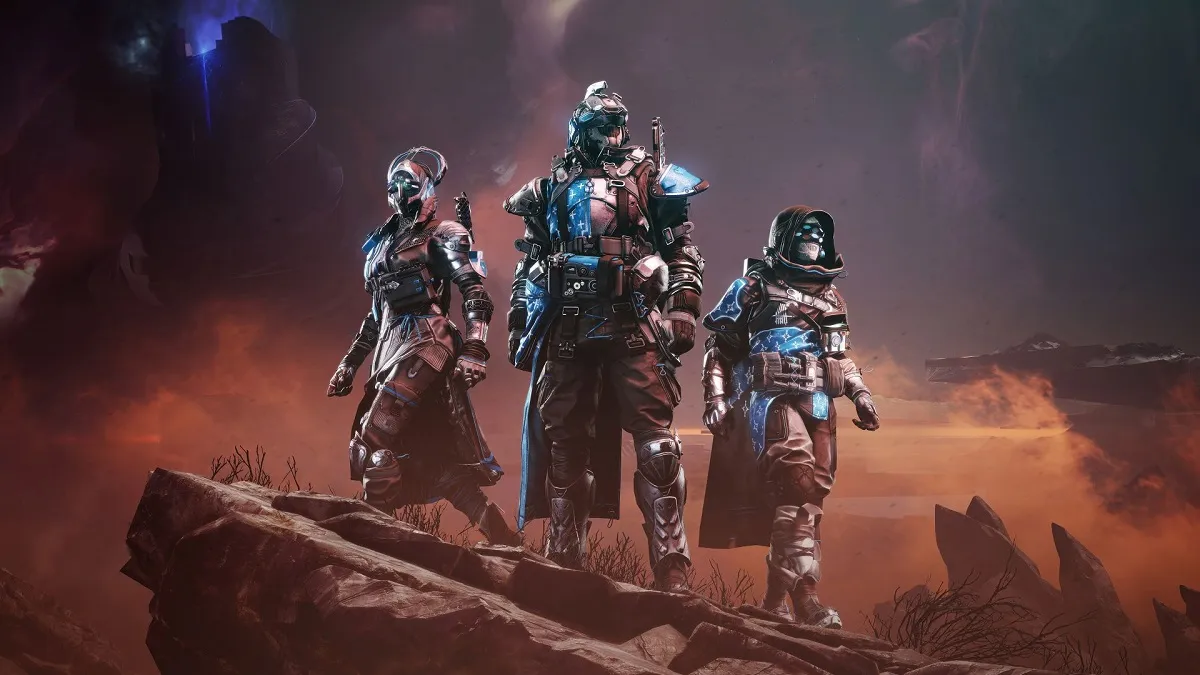
When you first arrive in the arena of the Herald of Finality in Destiny 2, you should take the time to have a good look around. Unless you are aiming for a Worlds First run, it might be a good idea to take a little break and get yourself some water and food because that first encounter was a doozie.
How to beat the Herald of Finality (In Progress)
Please note, this is a guide in progress and is being refined as we learn more about the encounter.
The main mechanics are very similar to the mechanics learned in the Substratum, so there is some comfort in that. You will also have the ominous timer that the Final Shape is forming, if that hits zero, then it’s game over, but there is a way to extend it.
You should also be advised that there will be a lot of exploding, flying Dread enemies, so be mindful of them. They WILL mess you up. Most of the ads hit like a truck in here, it is just part and parcel of Contest Mode.
There will be three totems spread around the room, so split into three teams of two Guardians. One team should take the middle, and the other teams should take both the left and right of the arena. You will need to bounce the charge between the relevant plates to spawn two different types of Resonance just like in the last section. These Resonances that form can be Spheres or Pyramids, which will be very important in a minute.
Kill enemies until a powerful Wizard spawns on the left, an Ogre spawns on the right, and a Phalanx spawns in the middle. Take them all out super quickly, before they reach the totems.
Three people will get a buff called Reckoning, and you will need to go to the boss arena after he challenges you to a fight. Go down and shoot him in the head and a small blight will form above him, and some larger blights will spawn in the area. Shoot the blights, which will “crack” the Taken energy over his head, and shoot him in the head again to hit a critical spot. Those players will now be able to see the shape that is inside the totem, and can then collect the relevant shapes from the resonance plates.
Go through all the totems on the sides and middle, getting the right resonance last and shooting the totem. When all three are active, make your way to a chest to deposit the Resonance in, much like the first encounter. This will start the damage phase.
Throughout this entire ordeal, you need to contend with powerful ads that you will have to clear, as well as survive all the incoming damage and refine your own build for damage. So far, classic builds like Heal Grenades, Well, Divinity, and Tracktor Cannon have all proven to be very popular, but you will need to work out what works best for you and your team.


Published: Jun 7, 2024 06:31 pm