Dead Rising Deluxe Remaster (DRDR) features a bonkers cast of characters, both supporting and bosses. You’ll find every boss in the game listed below, alongside some tips on how to bring their reign of terror to an end.
Table of contents
All Bosses/Psychos in Dead Rising Deluxe Remaster & How To Beat Them
Throughout your time in Dead Rising Deluxe Remaster, several human characters have gone mad due to the events unfolding in the Willamette Mall, becoming the game’s various bosses. These bosses, known as Psychos, are some of the most difficult yet entertaining parts and some can be completely missed. We’ve gone through and wrangled up exactly where they’ll be hiding for you, so head into the Mall and get ready to throw down.
Related: Dead Rising Deluxe Remaster Resurrects a Classic From the Dead [Review]
Mandatory Bosses in Dead Rising Deluxe Remaster
There are some Psycho bosses that you can’t avoid during your time in DRDR, and we’ve listed them all below, alongside their Case number and the best way to take them down.
Carlito Keyes (Food Court)

- Location: Food Court
- Time: September 19
- Quest: Case 1-2
- PP Bonus: 20,000
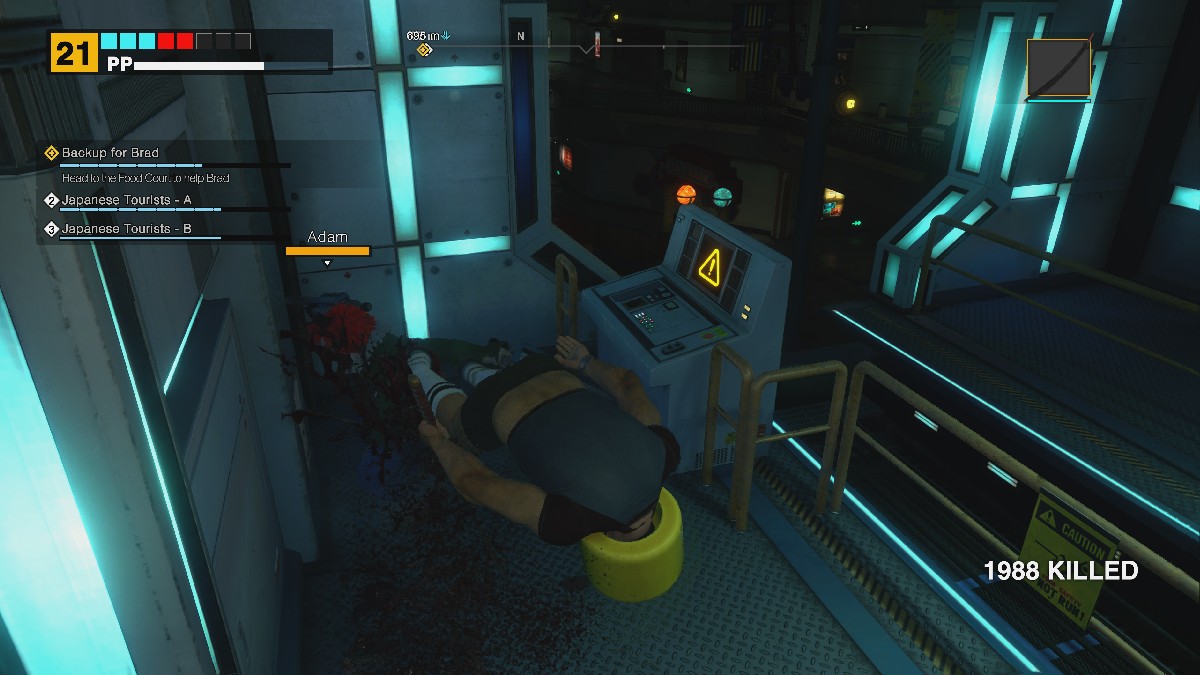
The first fight against Carlito is one of the easiest in the game, especially now that the controls for the game have been drastically revamped. You’ll receive a handgun with 30 rounds, have access to plenty of food for health recovery, and can easily take Carlito out wherever you are on the map.
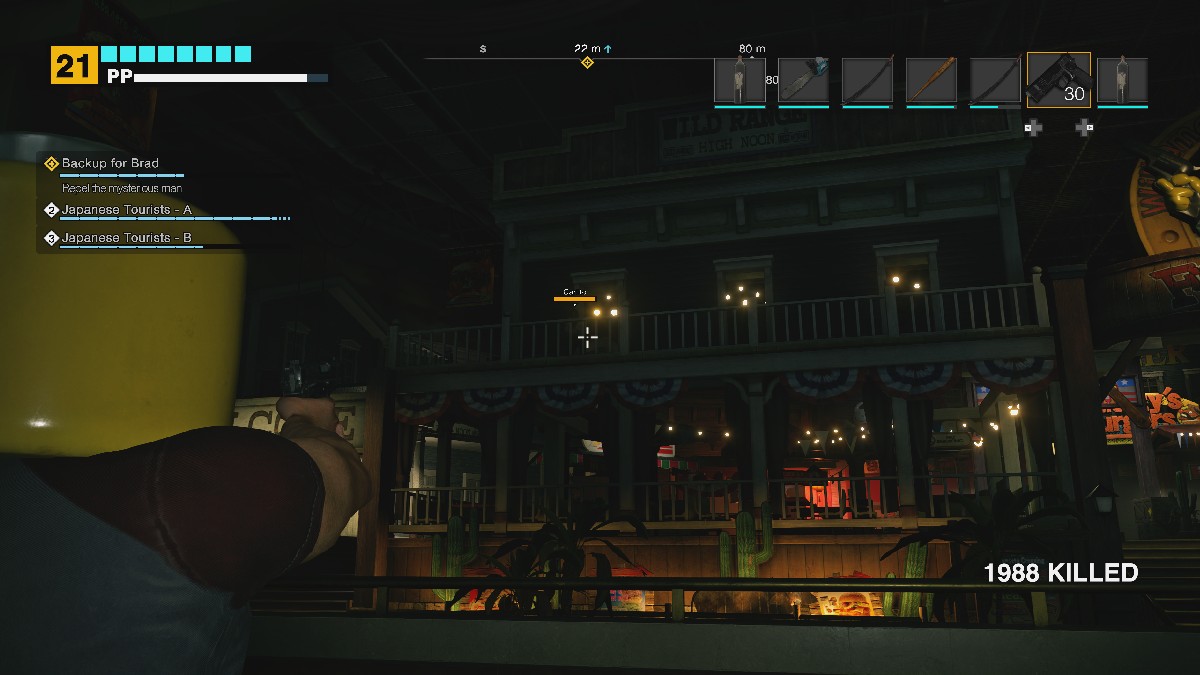
I would suggest rounding around the back of the food court, finding the box with the yellow UP arrow on it, and heading to the rafter above where Carlito is. You can shoot him with the Handgun, attack him with Melee weapons, and do whatever you need to to bring him down. He doesn’t have much health, so he won’t be much of a problem here.

After you have defeated Carlito, you’ll have the chance to progress the story, now that Case 1-2 is complete. But you’ll need to fight Carlito again a little later, and this time, he’s got a bigger and better arsenal.
Carlito Keyes (Entrance Plaza)
- Location: North Plaza
- Time: September 19
- Quest: Case 2-2
- PP Bonus: 20,000
The second fight with Carlito will begin on September 20 with Case 2-2. He’s got a Sniper Rifle, a lot more health, and he’s just generally a pain in the butt to deal with during this part of the fight. If you try to get too close, he’ll drop grenades at you, if you stay too far away, he’ll snipe at you. He’s just a jerk, and we’ll need to do whatever possible to eliminate him … for now.

Guns are pretty weak in Dead Rising Deluxe Remaster, so I would suggest bringing something like the Katana, or if you’ve already beaten Adam, the Mini Chainsaw. These will do quite a bit of damage against Carlito at this point, so you’ll just need to keep up with him and avoid his grenades to do damage.

You’ll also want to avoid his Sniper Slam attack, as it does a lot of damage. Just stay back a bit if you see him winding up his rifle to slam it down. Move in after he does this and start laying hits on him to bring his health down quickly. You can also use Brad to act as a distraction, but just make sure that he doesn’t die.

Once you’ve whittled away enough of his health, you’ll defeat Carlito before he, once again, retreats. This progresses the story further, and you’ll be ready to face off against the next Psycho in your way.
Steven Chapman (Seon’s Food And Stuff)
- Location: Seon’s Food And Stuff
- Time: September 20
- Quest: Case 2-3
- PP Bonus: 30,000
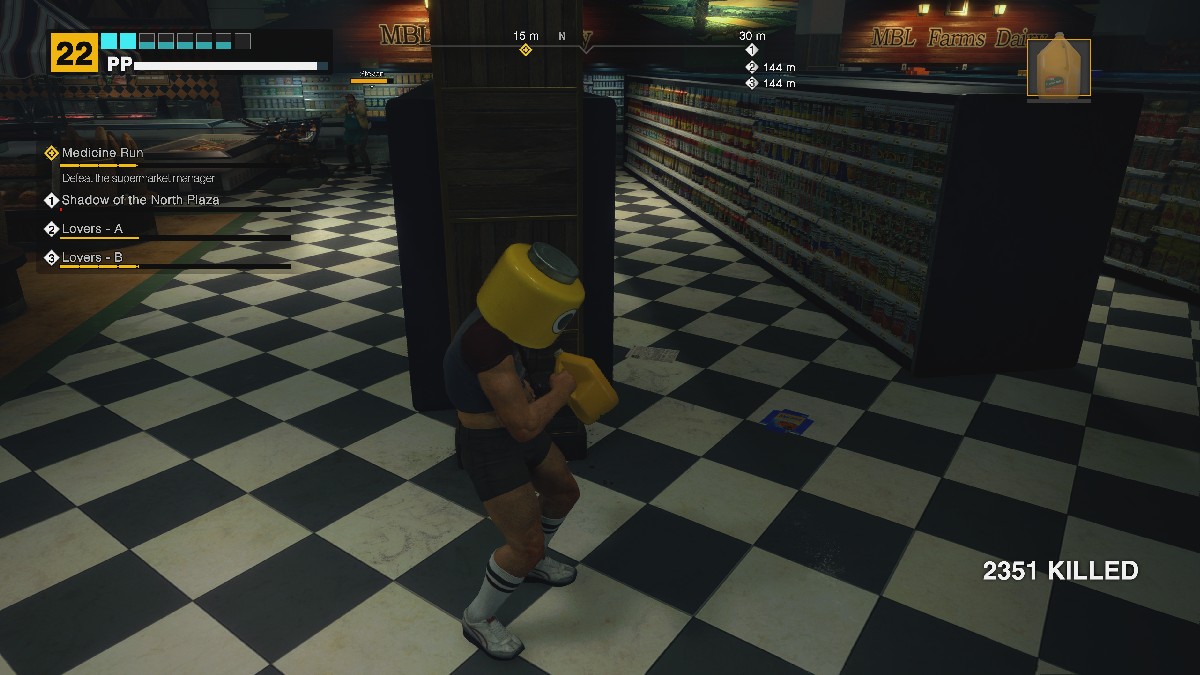
It’s time to face off against the deranged owner of the supermarket inside of the mall, Steven. After emerging with a shopping cart full of weapons, alongside Isabella inside for the ride, you’ll need to bring the fight to him. He’s a slippery guy, but if you stop at Rippers Blades before this fight, you’ll be reasonably well-stocked to fight him. If you’ve already beaten Cletus, it may not hurt to grab a Shotgun, as well.

The fight starts almost immediately, as you’ll need to run away from Steven. Thankfully, there are a number of elevated surfaces that you can use to your advantage to avoid getting clipped by his terrifying shopping cart. The meat cooler is one of the best spots if you want to pop off a few shots with your weapon of choice.
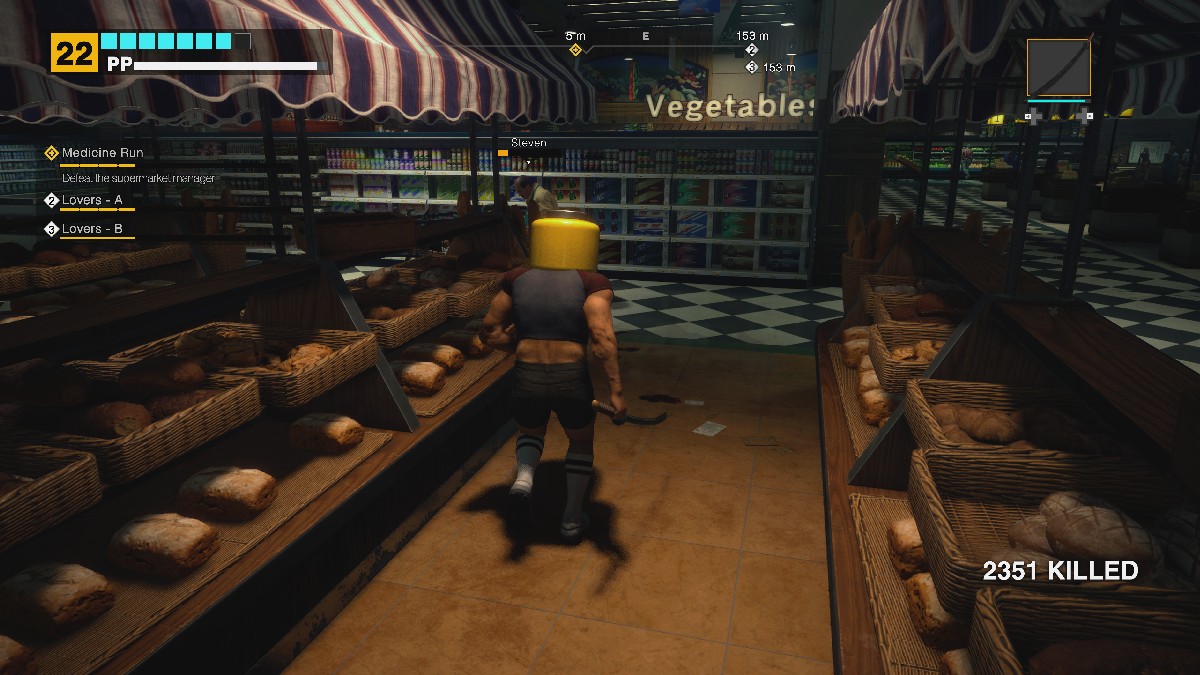
Beside his shopping cart, Steven is also packing a shotgun. It’s lethal up close, but if you use the aisles to your advantage, you can gracefully avoid taking damage while you restore some of your health. There are plenty of restoration items in Seon’s, so grab some Milk or Orange Juice during this fight.
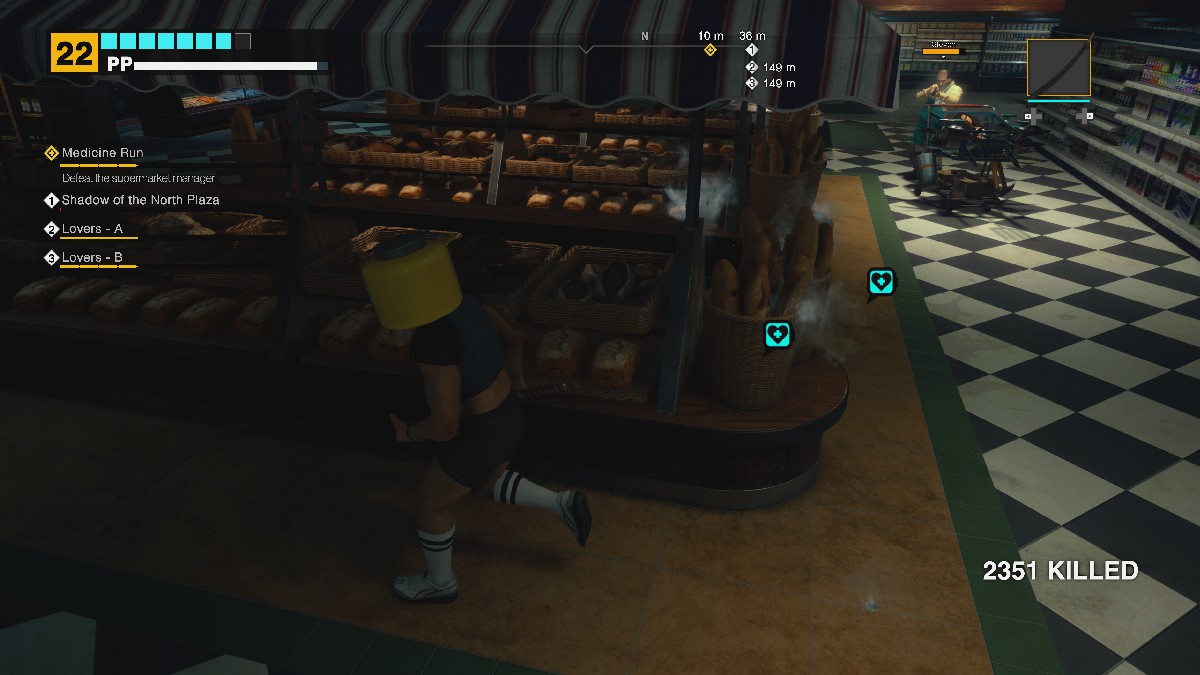
The easiest way to bring this fight to a close quickly is going to involve using the bread aisle to your advantage. Since the aisles are so small, Steven can’t get his shopping cart down the aisle, and the bread can block his shotgun blasts. You’ll just need to weave between the aisles, taking cheap shots at him as the fight goes on.
Since Steven is going to take a lot of potshots at you while you’re in the bread section, you’ll find that the best time to run up for an attack is going to be when he’s reloading. Throw one or two different attacks his way before escaping back down the aisle to avoid getting shot again. Do this a few times and you’ll have this fight in the bag.
Once the battle has ended, you’ll get the Pharmacy Key. Use this to get the First Aid kit for Brad and continue with the story.
Isabella Keyes (North Plaza)

- Location: North Plaza near Seon’s Food and Stuff
- Time: September 20
- Quest: Case 4-2
- PP Bonus: 20,000
The boss fight against Isabella can either be the easiest fight in Dead Rising or one of the most frustratingly difficult, depending on how you approach it. She’s a badass on a bike, and she’s not afraid to bring the fight directly to you, so if you’re planning on bringing a knife to a bike fight, you’re going to have a bad time. Instead, head to the Huntin’ Shack and grab a few Shotguns.
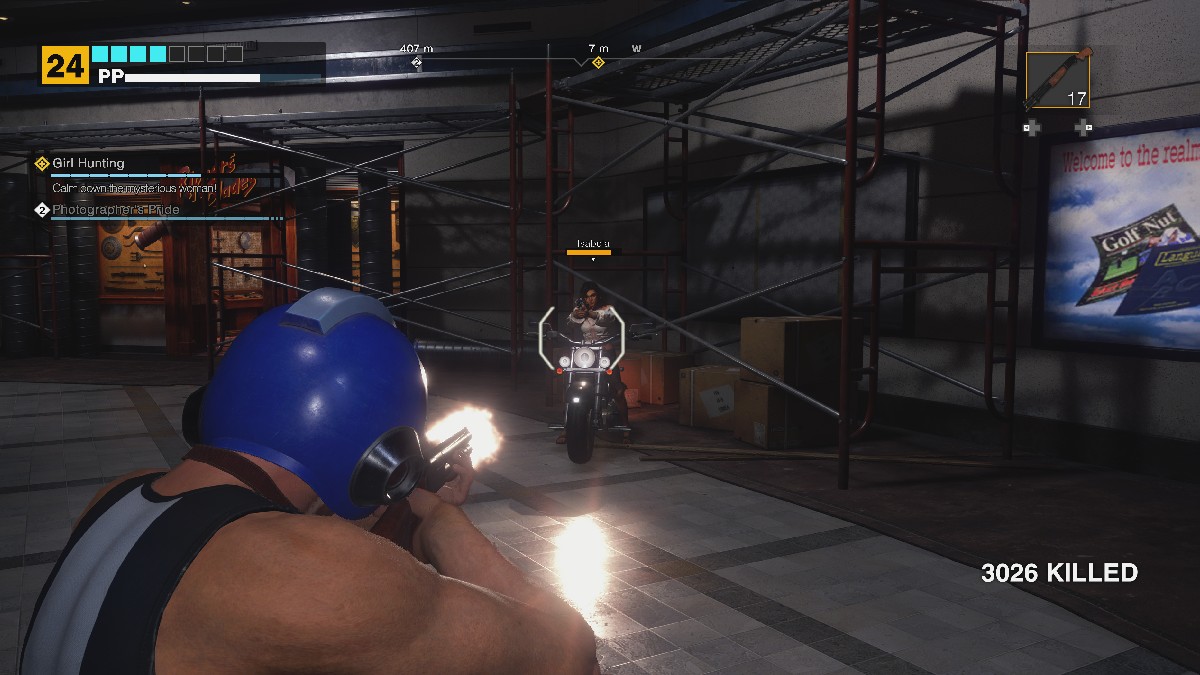
Isabella is going to spend a lot of time moving around this small arena, so you need anything possible to turn the tide in your favor. That’s where the Shotgun comes into play. Once she stops to either rev her bike to prepare an attack or to start shooting at you with her handgun, unload your Shotgun at her as many times as you can.
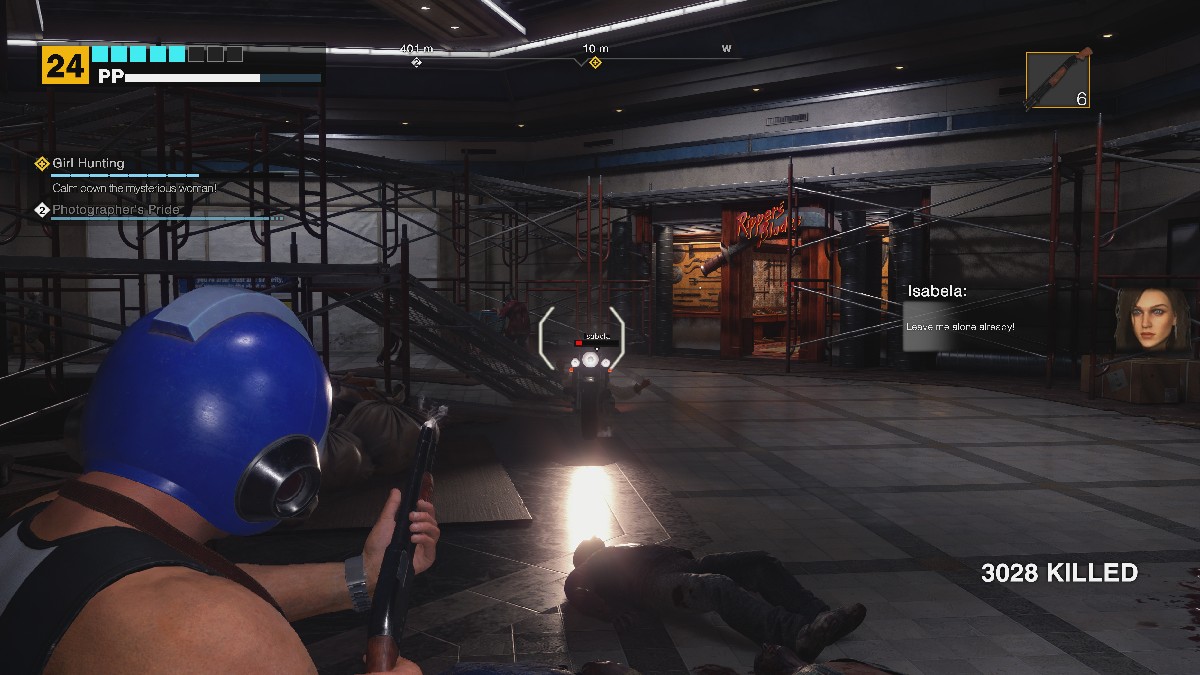
She can take about 6 Shotgun shots before she drops off her bike, making this one of the easiest fights in the game if you approach it right. If you have hand-to-hand weapons, you’ll need to stop and wait for her to try and attack or shoot, run in, take damage, and repeat. It’s a war of patience, and if you enter the grocery store for health, she’ll leave and the mission will end, bringing your run to a close. Just grab a Shotgun or two.
Carlito Keyes (Maintenance Tunnel)
- Location: Maintenance Tunnel
- Time: September 21
- Quest: Case 7-2
- PP Bonus: 50,000
Alright, so you don’t technically have to fight Carlito in Case 7, but where is the fun in that? You’ll need to get your hands on five time bombs, and Carlito is incredibly annoying in this portion, so we may as well try to get rid of him. Grab some firearms from the Huntin’ Shack, or grab a few Katana and Battle Axes before heading down into this miserable pit of zombie infestation.

Head directly to Section A and grab the truck that is over here. It’s going to come in handy once Carlito starts prowling around, and it’s more resilient than the car or the motorcycle that are outside. If you see Carlito coming, try to get him pinned up against the wall, or slow down and hit him head-on. This will cause a little bit of damage.
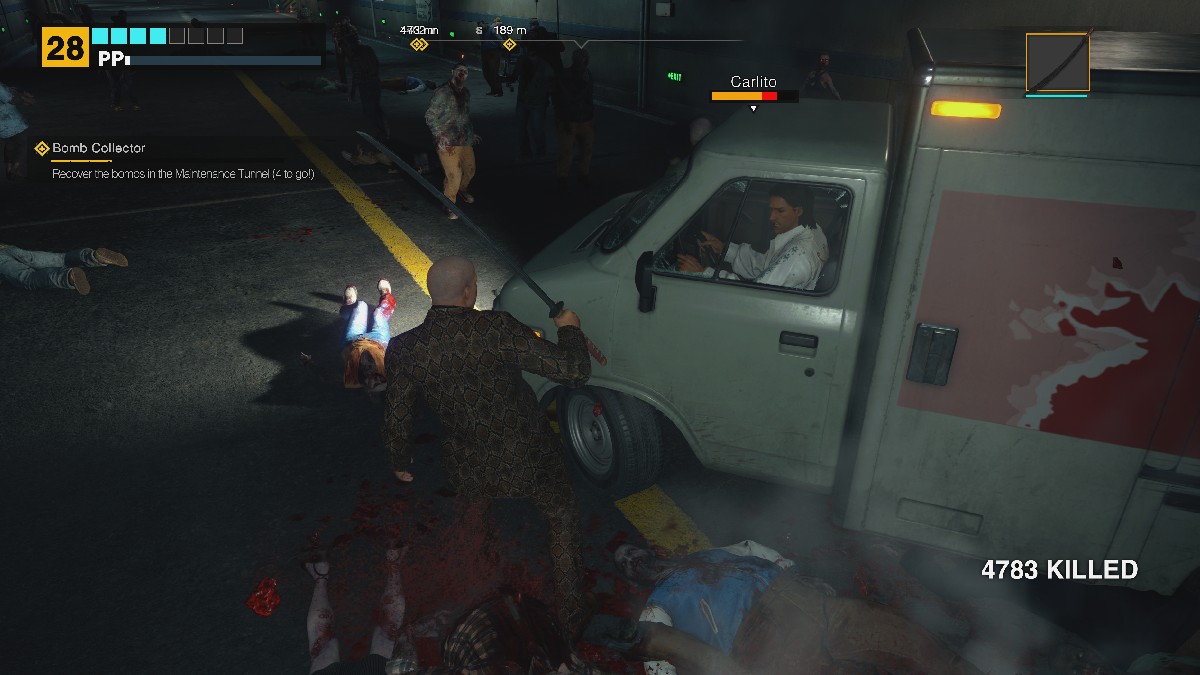
Avoid his Grenades, and start slashing at him from the driver’s side of the vehicle. Even a little tap from the car can cause damage, so make sure you have healing items on your person and just keep putting in the work. Eventually Carlito will retreat for a while, but do the same thing once again when he shows back up to get a quick and easy 50,000 PP bonus.
And yes, the car from the Zombie Annihilator Achievement is still in Section F if you need another ride.
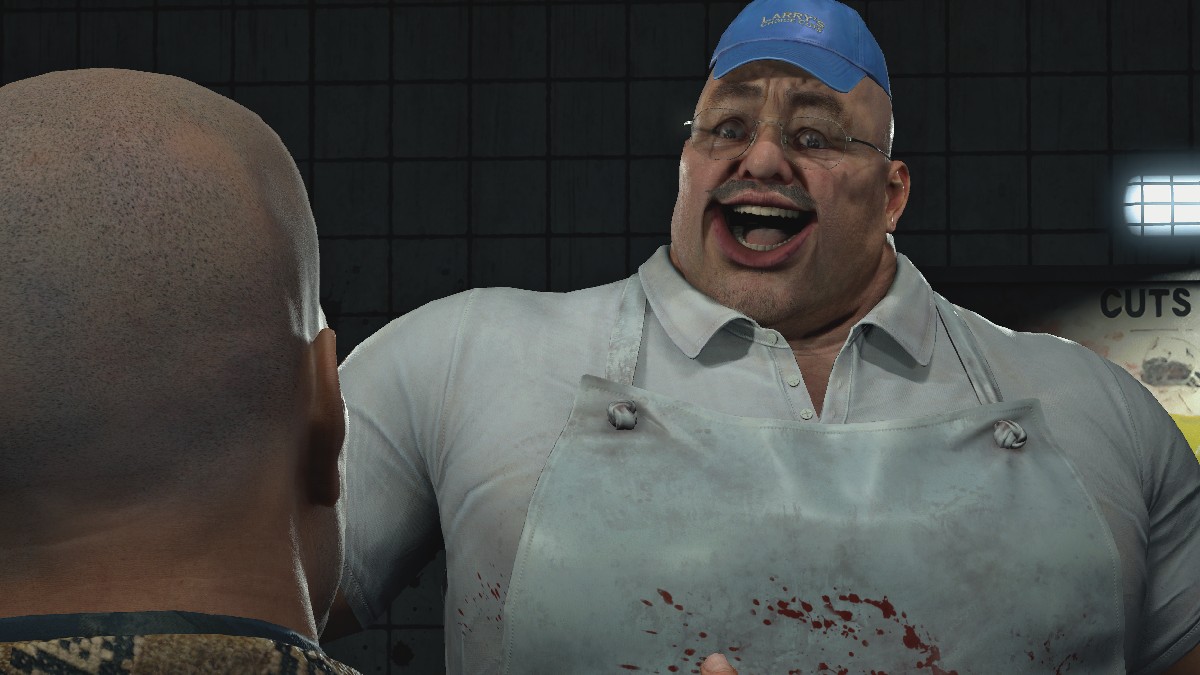
Larry Chiang
- Location: Meat Processing Room
- Time: September 21
- Quest: 8-4
- PP Bonus: 50,000
Larry is the final boss of the main game in Dead Rising, and he’s worthy of his title. He hits hard, does a lot of damage, and can be a real pain in the rear if you aren’t sure how to deal with him. Thankfully, once you learn his quirks, he becomes a much more manageable task to take on. Oh, and what the game doesn’t tell you is that this mission is timed. If you take too long, Carlito will become ground beef, so no pressure.

When it comes to fighting Larry, I would strongly suggest grabbing some OJ and a few Katanas before jumping into the fight against him. He hits hard and has a ton of health, and the Katana can carve through him quickly. Larry has a few main attacks:
- A Bull Rush attack that will send you flying
- Throwing Knives/Carcasses at you
- Chopping at you with his Cleaver
- Picking you up and putting you on a meat hook, then slashing you
Use the meat around the area as a defensive barrier. It’s a great way to cheese the fight, as Larry’s Bull Rush attack will be canceled by the meat, his Throwing Knives will hit the meat, and any meat he throws is blocked by the meat. Meat.
When Larry takes a moment to sharpen his knives, normally after throwing a few of them at you, rush up and hold the Attack button to give him a few hits. You can do the same if his Bull Rush is blocked by the slabs of meat hanging in the room. If he does smack you around a bit, there is plenty of milk around the Meat Processing Plant that you can use to heal up quickly. Keep this up to win the fight easily.
Related: Is Dead Rising Deluxe Remaster Coming to Xbox Game Pass?
Optional Bosses in Dead Rising Deluxe Remaster
Beyond the main crew of Psychos, there are plenty of optional bosses you can face off against in Dead Rising Deluxe Remaster, each with their own particularly asinine reason for popping off and going bonkers. You’ll find all of them below.
Kent Swanson

- Location: Paradise Plaza
- Time: September 19, September 20, September 21
- Quest: Cut From The Same Cloth, Photo Challenge, Photographers Pride
- PP Bonus: 30,000
Kent is just a dorky little guy who will send us on a three-day quest, resulting in a battle for pride and our lives. The first two quests are rather simple: September 19 will have us taking a funny picture of Kent with him doing his “super cool pose.” He’ll then challenge us to get a picture worth at least 500 PP in the Outtake category.
Head upstairs on September 20 at noon and show him the picture. He’ll be taken aback by how good it is and then request that you meet him back there at noon once again to settle the score. He didn’t tell us what we need to take a picture of, though, so we’ll need to stock up on items; we’ve got a fight on our hands.

I would strongly suggest getting either a Battle Axe or a Katana from the Antique Store in the Entrance Plaza before jumping into this fight because Kent is a slippery little guy He’s always moving around, trying to charge you down, and the Battle Axe has a nice range of attack and can cause some massive damage to our photographic friend.

If you’re struggling to get him with the Katana, you can always visit the Sports Shop directly across the way from Colombia Roasters and grab a few Baseball Bats as well. They do some decent damage and can stop Kent in his tracks when he starts to charge at you. He’s a poor shot with his handgun, so dodge his shots, give him a few smacks, and you’ll be ready to call this fight before the bell can even ring. Be sure to stop in at the Roaster and grab some OJ in the middle of the fight if you need a pick-me-up.
Cletus Samson

- Location: Huntin’ Shack
- Time: September 19 at 3:00 PM
- Quest: The Gun Shop
- PP Bonus: 20,000
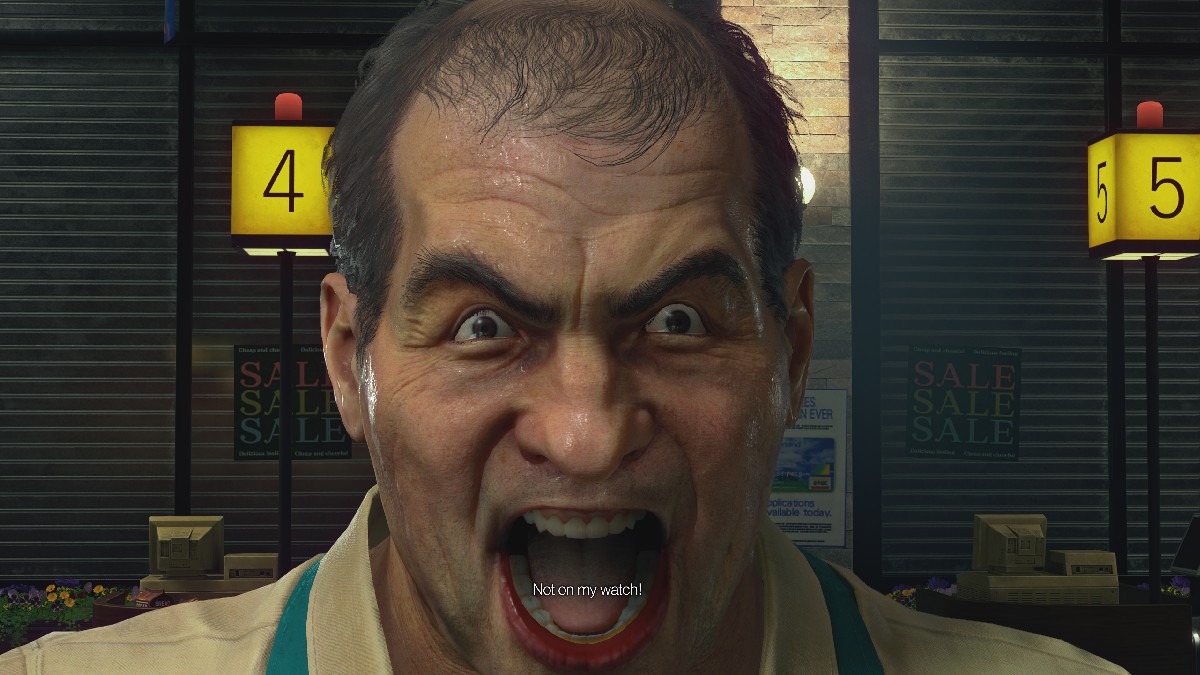
While he may not be the slack-jawed yokel we know and love from The Simpsons, Cletus Samson isn’t messing around. After eliminating the gentleman who was in the shop when Frank first steps in, we’ll need to bring the fight to him. Before we face off against Cletus, stop at the Grocery Store and snag some health items, as he hits hard.
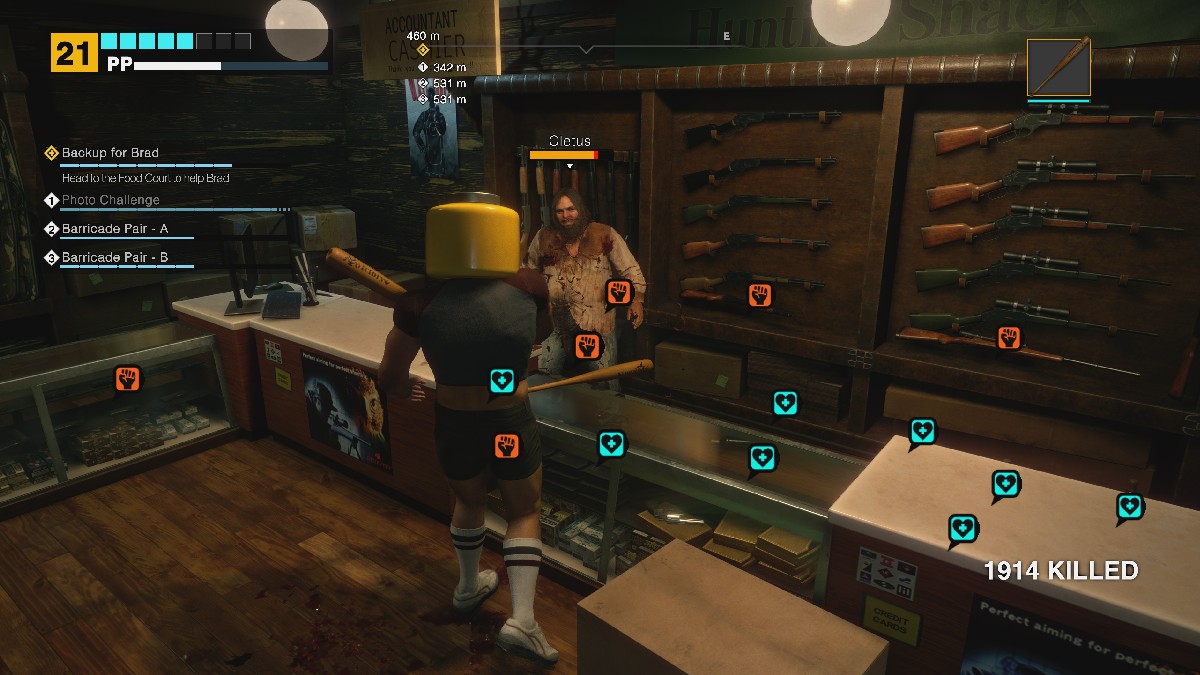
The battle against Cletus is a battle of attrition and requires a surprising amount of patience if you want to get it done right. He’ll take a few shots at you and then take a drink out of one of the many, many bottles of alcohol around the location. Run up to him and hit him with any melee weapon that you’ve got before retreating for a bit. Keep moving, dodging his shots, and hiding behind the racks to avoid taking damage.
After a while, try to jump the counter and snag a gun from the rack. This will give you an advantage, as you can pop off a shot, run and hide, and keep doing this. Get away from the counter as fast as you can because Cletus will throw you over it, causing some significant damage in the process. Eventually, Cletus will drop to the floor and start to crawl, so run up to the desk, shoot him, and run away again.
You can cheese the fight a little bit by locking Cletus behind the shop racks, tossing one behind the counter so he gets stuck behind it. This will give you ample time to get behind the counter to grab a Shotgun and a couple of bottles of wine to regenerate your health. Stick behind a rack yourself and you can avoid taking hits while Cletus is shooting at you.
Keep on the offensive, and you’ll have this boss fight done in no time. Handguns can be snagged from the cases, but they don’t do much damage overall compared to the Shotgun. After defeating Cletus, you’ll have access to the Huntin’ Shack and can take whatever weapons you would like.
Related: Is Dead Rising Deluxe Remaster Getting a Physical Release?
Prisoners (Sam Franklin, Reginald Jenkins, Miguel Sanchez)
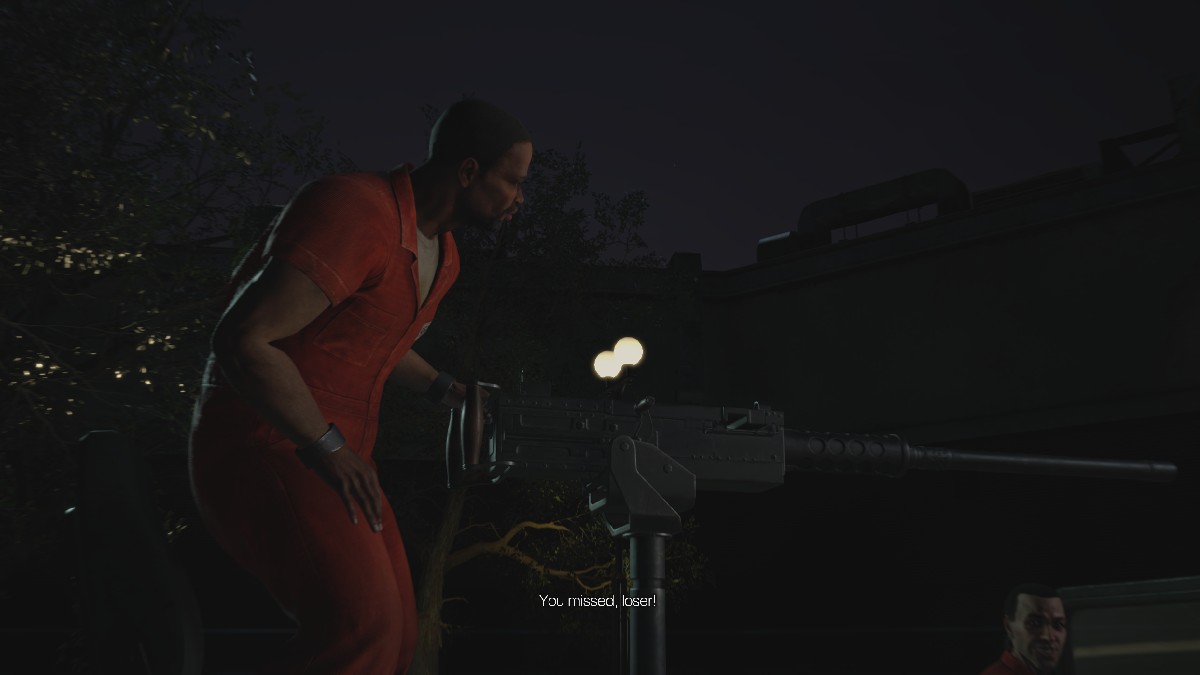
- Location: Leisure Park
- Time: September 19 at 6:00 PM
- Quest: Prisoners
- PP Bonus: 3,000 Each
The Prisoners are some of the most annoying enemies that you’ll face off against in Dead Rising Deluxe Remaster, but if you want to dispose of them easily, there are a few different ways to make this happen. Before you head out into Leisure Park to face off against them, make sure that you’ve grabbed some OJ from the coffee shop on the second floor of Paradise Plaza, alongside a few Baseball Bats for good measure.
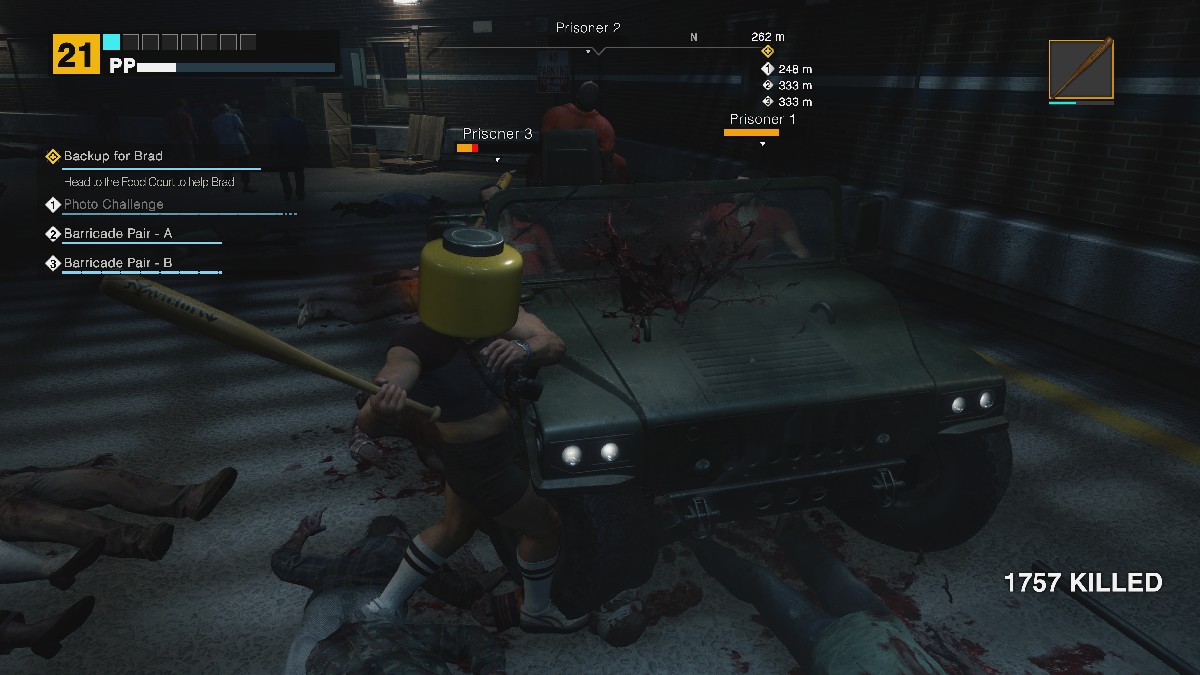
Stay out of the way of the roaming Jeep but try to bate the Prisoners into running into trees or walls, giving you the perfect opportunity to strike. Focus on Prisoner 2 (the one on the machine gun) first since he’s the primary threat here and can do major damage from a long distance. That’s why we’ve got plenty of OJ. If you have the Jump Kick unlocked, this does a surprising amount of damage to him.
Once you’ve defeated Prisoner 2, focus on the passenger of the Jeep. If you kill the driver first, the passenger will just switch spots and you’ll have to focus on another runaway suspect, so get rid of the most resistance possible. Utilize your Dodge Roll to its maximum potential here.

If you want to make this fight as easy as possible, try and bait the Prisoners into the hall leading into the Parking Garage. They won’t have much room to maneuver in here, and as long as you’re dodging out of the way, you should have no issue launching a full assault with a baseball bat against every member of the squad. Once you’ve defeated them, you’ll have access to the Jeep, as well as the Heavy Machine Gun on the back of it.
The Prisoners respawn every night at midnight, just like in the original Dead Rising. So, you’ll have the chance to wipe them out again if you’re feeling up to it.
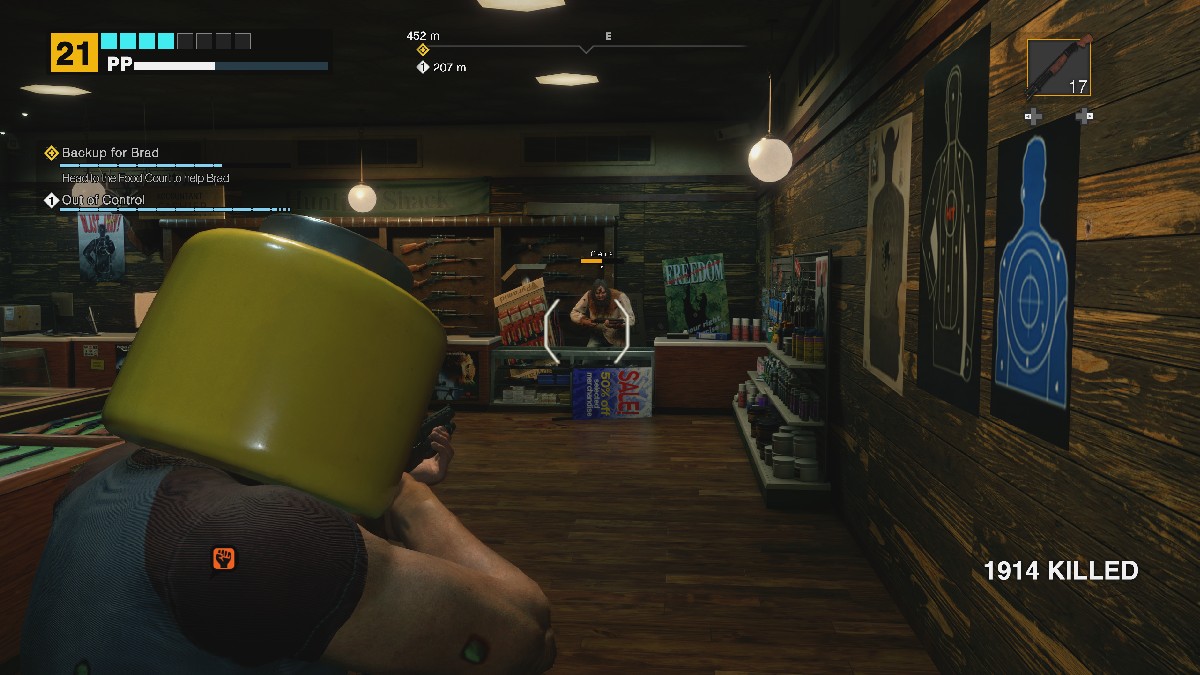
Adam MacIntyre
- Location: Wonderland Plaza
- Time: September 19 at 9:00 PM
- Quest: Out of Control
- PP Bonus: 20,000
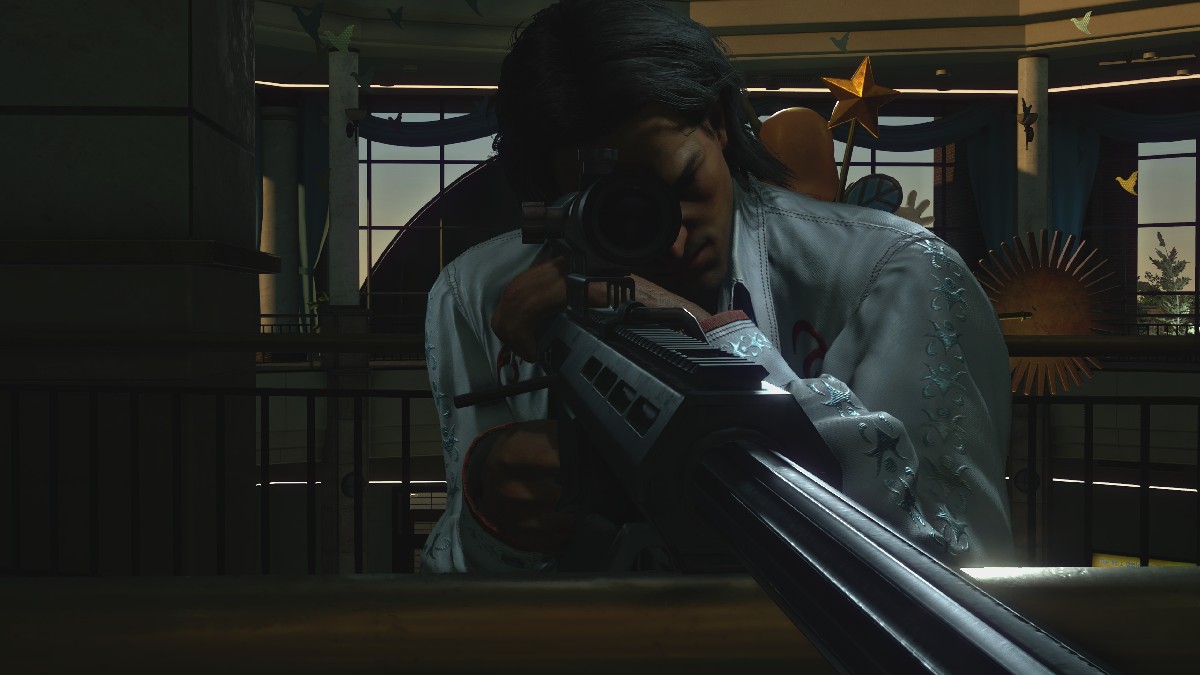
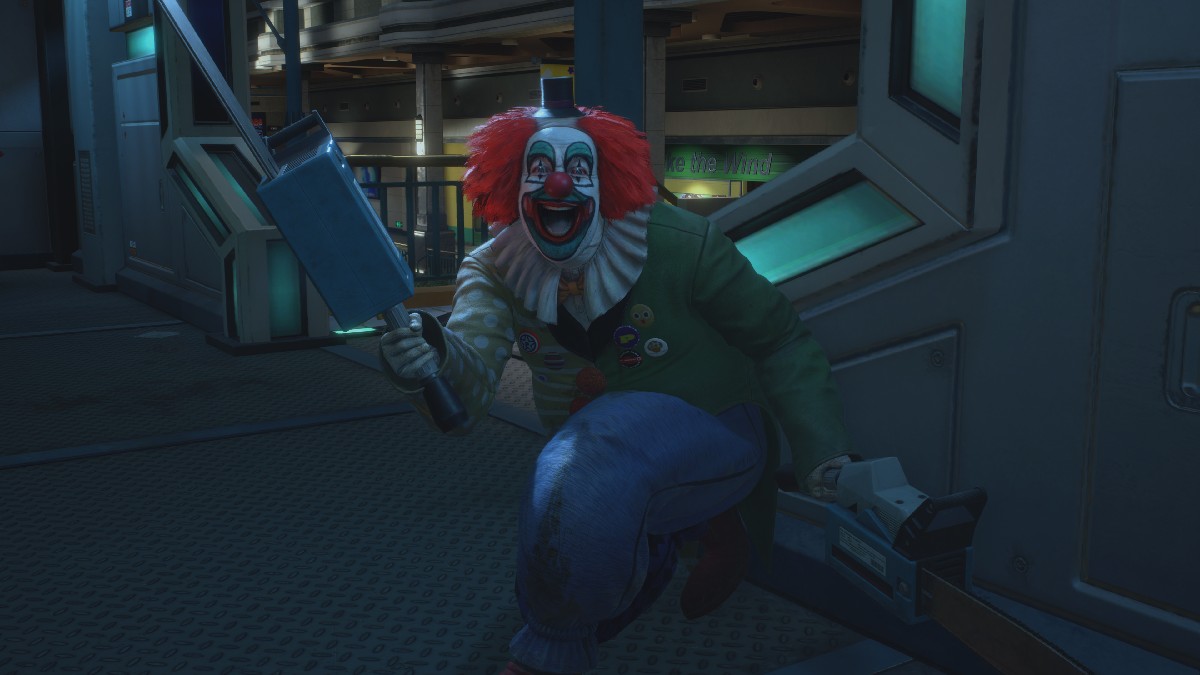
To start the fight against Adam MacIntyre, you’ll need to first try and turn off the roller coaster. He’ll be very, very upset that you’re trying to stop the ride for all of the “happy people” and that the zombies are going to come if the ride is turned off. Guess it’s time to stop clowning around and take him on. Before you come out to fight him, stop at Rippers Blades and grab a few Katanas to take a chunk out of this clown.
Adam is incredibly mobile, hostile, and easily the most difficult boss we’ve had to fight in Dead Rising yet. Get out of close quarters as soon as possible, as he’s going to excel in these types of areas. Get him outside of the Space Rider Roller Coaster area, and keep an eye on his attacks. He has three primary attacks:
- A flamethrower, which you can dodge and lay into him with the Katana
- Throwing Knives that are easy to dodge if you keep moving
- Spinning Chainsaw Attack, which does significant damage but leaves him stunned for a moment when done

He’ll also blow up a big balloon. If you happen to have a gun from the Cletus fight, you can shoot this to pop it and stun Adam. Otherwise, run up to him with the Katana and hold the Attack Button to do some pretty tremendous damage to him. I had the most luck running in after his Spinning Chainsaw Attack and after his Flamethrower and holding the Attack button with the Katana. He’ll block it sometimes, but if you’re not using a wooden weapon, your weapon durability won’t go down too terribly.
After you defeat Adam, you’ll gain access to his Mini Chainsaws, which are some of the best weapons in the game, as well as a keycard that gives you a shortcut. He’s one of the best to beat, so if you decide not to fight any other optional Dead Rising Psycho bosses, at least fight Adam.
Cliff Hudson

- Location: Crislip’s Home Saloon
- Time: September 20, 8:00 AM
- Quest: The Hatchet Man
- PP Bonus: 30,000
Cliff Hudson was doing Among Us before it was cool. Once you fight him, you’ll understand what I mean by this, as he likes to hide inside of the vents around the room and attack from the high ground. He’s a tricky opponent but surprisingly easy if you have a few Katanas in your inventory or are good with an Auger.

Cliff is going to chase after you, so take a swipe at him and then dive out of the way. You’ll do some good damage this way, and once you’ve finally gotten him down to around half health, it’s time for him to start venting. This is the most annoying part of the fight because he’ll throw grenades at you and then jump down and start chasing you once again.

You’ll find some Augers near the back of the hardware store, and I would suggest grabbing one of these. They do good damage, and you can keep him far enough away that he can’t swipe at you if you’re moving quickly enough. It does take a second to warm up the attack, so as he starts moving your way, hit the attack button and slice him up well.

He’s one of the easier bosses that we’ll encounter in Dead Rising Deluxe Remake, so as long as you have some health items, you can tank hits and just work on slicing him up quickly. You’ll need to move fast, especially if you want to return the medication to Brad in time.
Related: All Pre-Order Bonuses & Editions for Dead Rising Deluxe Remaster
Hall Family (Roger, Jack, Thomas)

- Location: Entrance Plaza
- Time: September 20, 5:00 PM
- Quest: Mark of the Sniper
- PP Bonus: 15,000
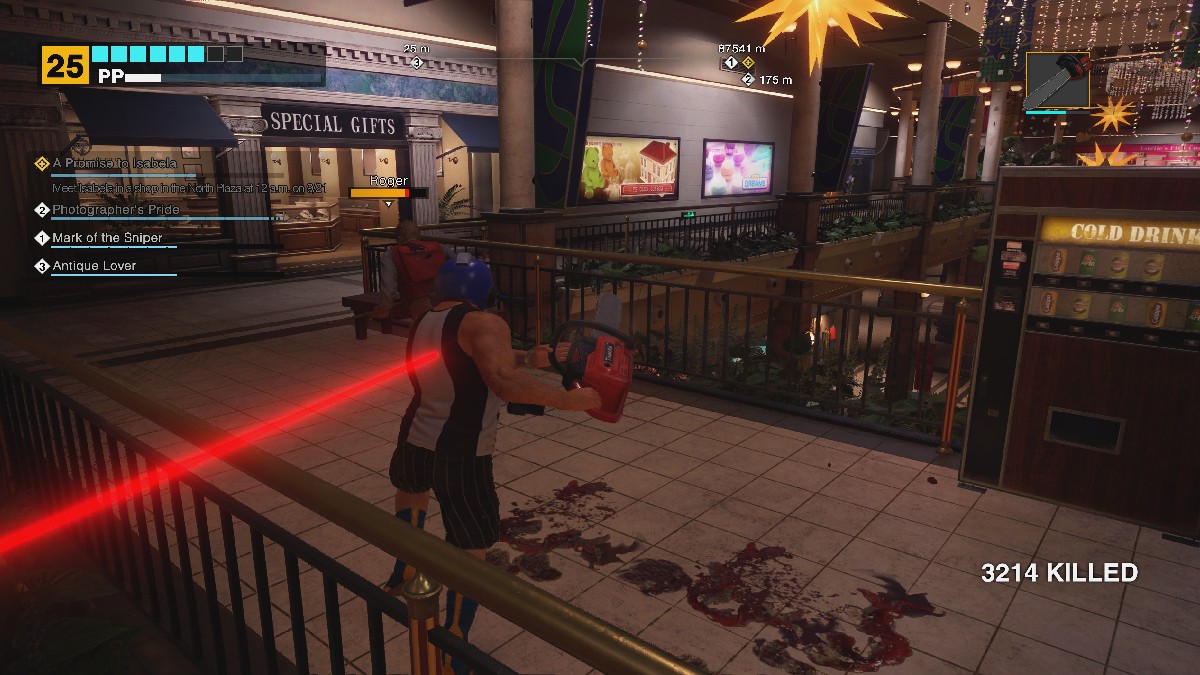
The Hall Family is a family of hunters who are aiming for the most dangerous game of all: Man. I’m feeling a bit barbaric, so before heading into the Entrance Plaza, I would suggest stopping by the Al Fresca Plaza and grabbing yourself a chainsaw.

When you make your way upstairs, keep to the left or the right so the Hall family can’t hit you with their Sniper shots. You’re bound to take a few hits during this fight, but if you want it to be done and over with quickly, you’ll need something with a lot of OOMPH to it, like the Chainsaw that I recommended grabbing.
Thomas is by far the slowest member of the Hall family, but he’s too chicken to take a shot at you. I would recommend chasing down Roger first, as he’s the slowest of the group and an easy target to eliminate. As you chase him, hold down the Attack button with the Chainsaw activated to swipe at him. This will take a tremendous amount of health off of him with each hit, and you can take him down in about five swipes.

After this, it’s time to pay Jack a visit. He’s going to be quite a bit faster than Roger, so you’ll need to hold off on swiping until you’re right on him. You can also tap him with the running Chainsaw without hitting the attack button to get him to freeze in his tracks. Then, you’ll have the perfect opportunity to strike. You could also grab the Sniper Rifle that Roger drops, but it doesn’t do much damage against the Hall family.
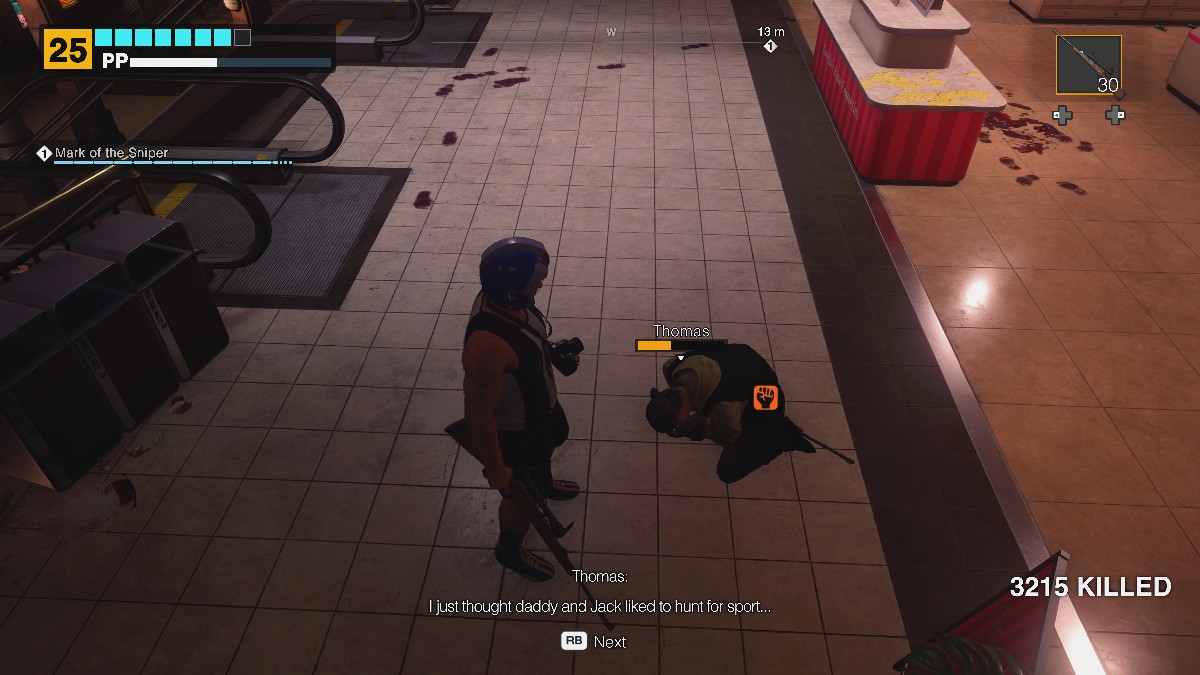
After you eliminate the other two members of the Hall Family, you’ll find Thomas collapsed in defeat. You can talk to him and offer to take him to the Safe Room. He’ll politely decline, saying he wants to stay with Daddy and Jack. You can either let him live, or you can take him out for 15,000 PP. See ya later, Thomas. Talk to Wayne, who is hiding in the makeup store in the corner to end this mission.
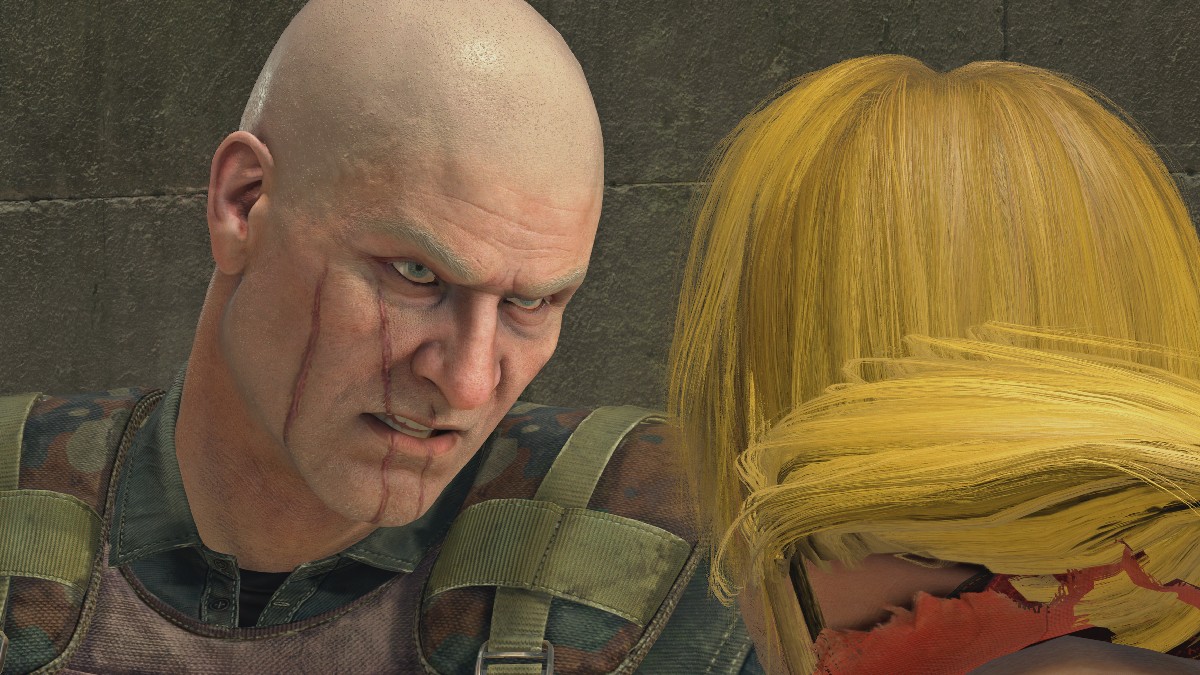
Brock Mason
- Location: Construction Site
- Time: Overtime Mode, September 22
- Quest: Overtime Mode
The fight against Brock Mason is a two-part affair, with the first part of the battle between machines and the second half being a fisticuffs match for the ages. Once you finally escape the cave with Isabella, you’ll find yourself face-to-face with a massive tank. Thankfully, its bark is much worse than its bite.

The XM3 Prototype Tank has a fatal flaw: the giant green lights on the front of it. Focus your fire on these areas to inflict massive damage against the tank, keeping your eyes peeled for the rockets that it will occasionally shoot. You can easily take them out with a few gunshots and bring this part of the fight to a close quickly.
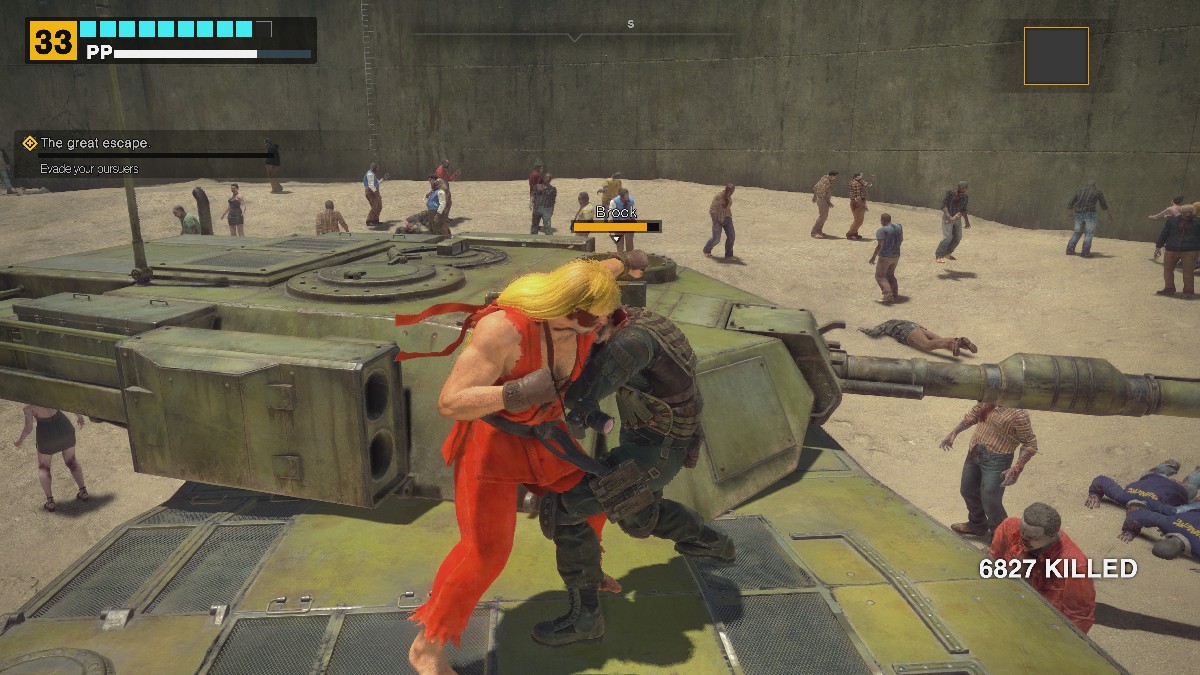
After you defeat the tank, it’s time for you and Brock to face off. You’ll have no weapons, no health items, and only your hands and feet to aid you in this battle. During your time in Dead Rising Deluxe Remaster, you’ll unlock a variety of different moves, all of which will come in handy during this particular mission.
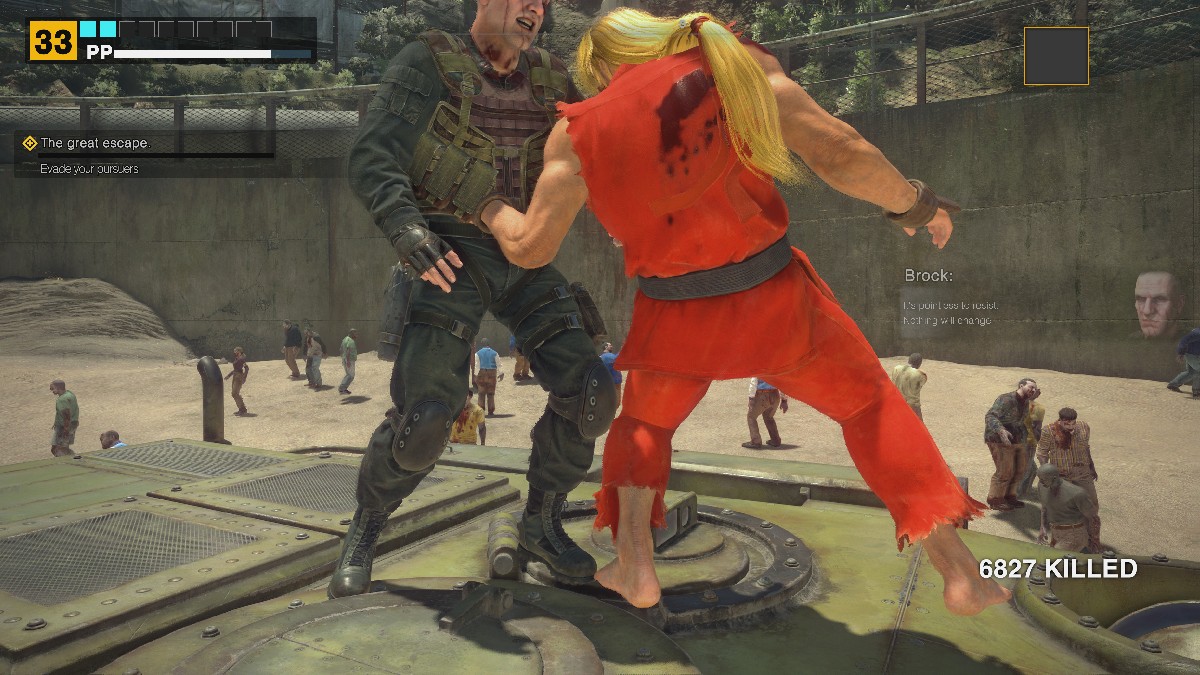
You’ll need to punch, kick, and beat Brock with your fists until he drops to his knees, giving you the chance to use a powerful bonus move that will also grant you additional PP. He doesn’t have much to offer in the way of powerful moves, beyond winding up and charging at you but this is easy to avoid.
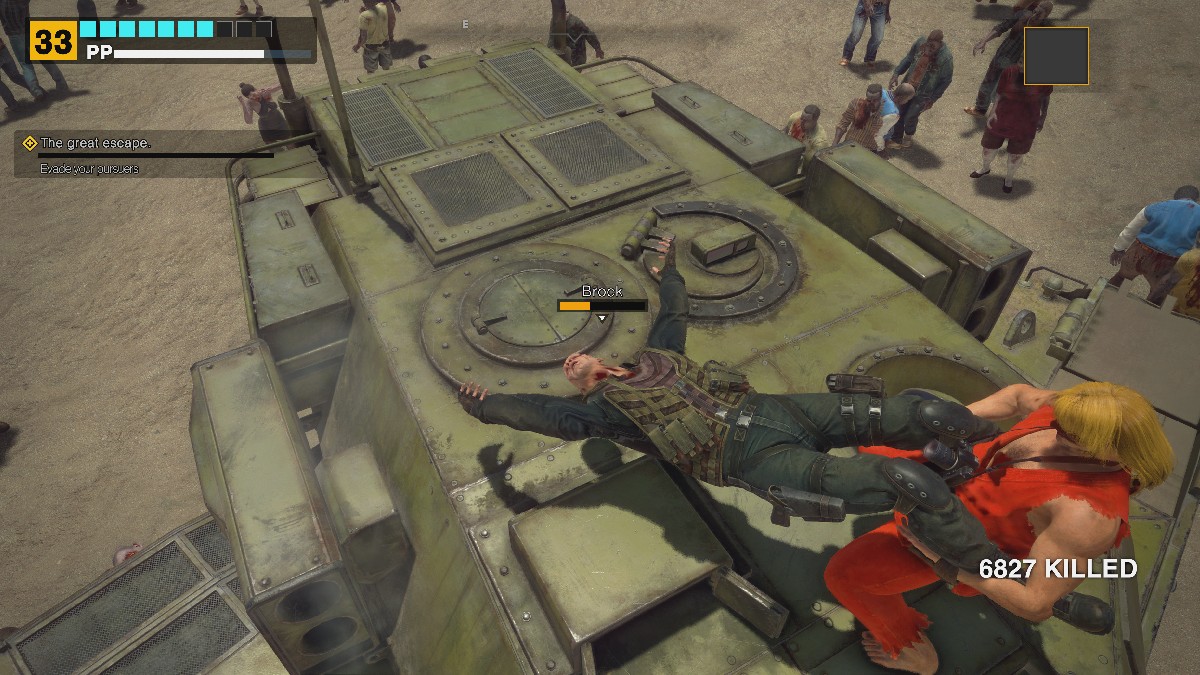
These moves will take a nice chunk of Brock’s health away and give you a chance to move around the tank and gather your thoughts before launching the next attack. After you get his health down to zero, you’ll get the chance to disembowel him and win the game.
Congratulations, with this boss down, you’ve completed Overtime mode and have unlocked Infinite mode in Dead Rising Deluxe Remaster. Get ready to survive in the Willamette Mall for as long as you possibly can during this terrifying new mode.
Optional Bosses With Additional Requirements (Saving Survivors)
There are three additional Psycho bosses that you can face off against if you’ve been keeping up with rescuing Survivors while participating in these Dead Rising cases. Since Dead Rising and Dead Rising Deluxe Remaster keep the “only eight survivors at a time” rule alive and kicking, you’ll need to make sure you’re either saving them or … eliminating them if you want these Scoops to pop.
Jo Slade
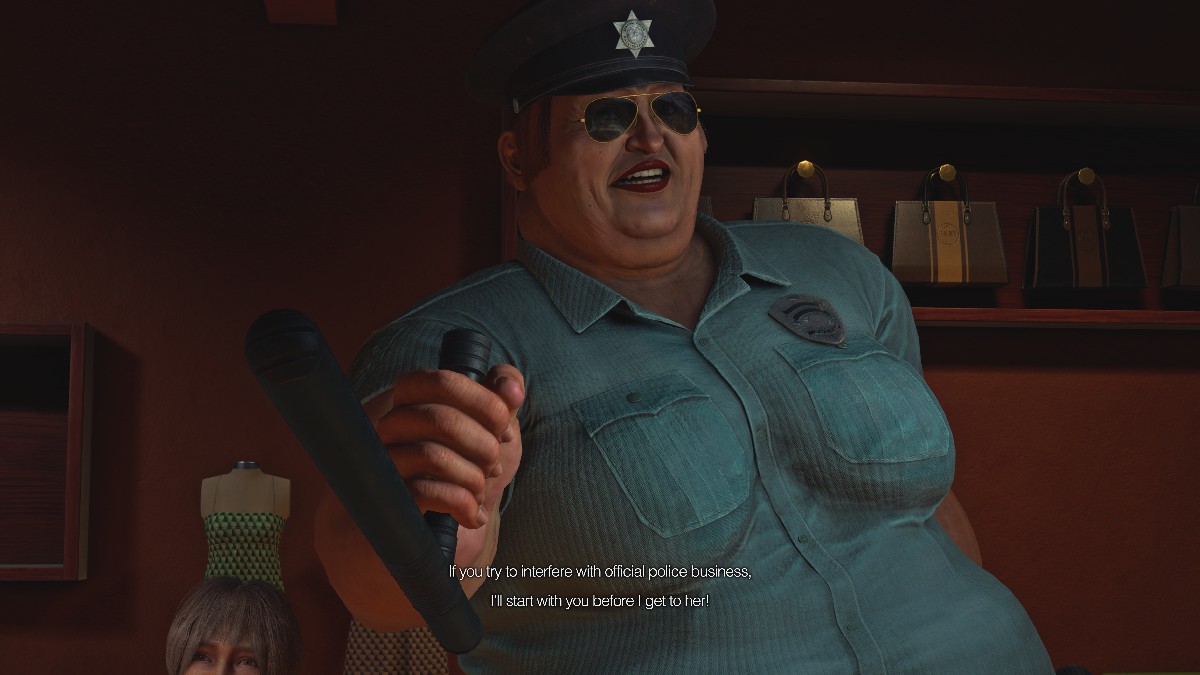
- Location: Lovely Fashion House (Wonderland Plaza)
- Time: September 20, 1:00 PM
- Quest: Above The Law
- PP Bonus: 30,000
When fighting Jo Slade, I would suggest stocking up on Katanas and Orange Juice/Wine, as she can be quite the tank for taking hits. She can also deal some decent damage, but only with one of her particular attacks.

Despite her hulking stature, Jo Slade is one of the easiest Psycho bosses to deal with in Dead Rising Deluxe Remastered. She doesn’t do a lot of damage, barring one particular attack, and as long as you can keep her away from Kelly, she’ll be a walk in the park. The biggest thing you’ll need to worry about with Jo is her Taser/Stun Gun attack, which will take away two bars of health from Frank.
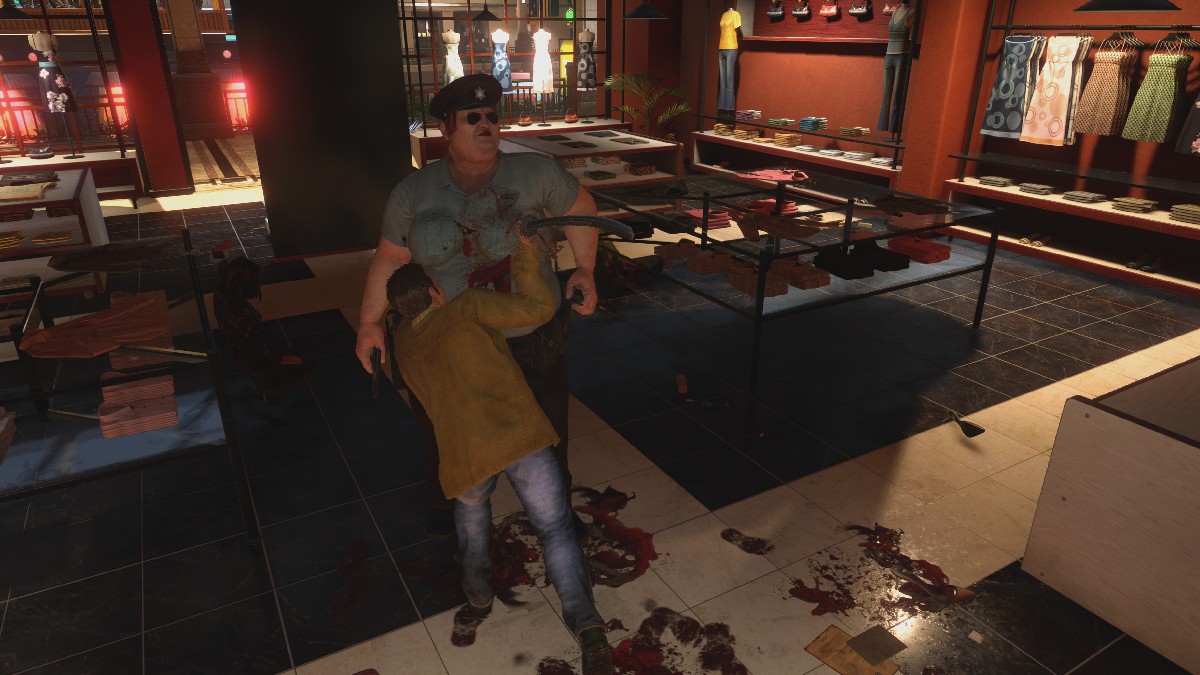
At the start of the fight, she’s going to be hitting Kelly hard and doing some pretty significant damage. If you want to save her, you’ll need to bait Jo away by hitting her and running off. She’ll start to follow you, and from there, I would suggest wailing on her with the Katana and not letting up. Heal as necessary until you’ve wiped her out of this Mall. If she does happen to kill Kelly, however, there are still three other Survivors that you can save in this particular room, so it may be a sacrifice needed to complete this challenge.
Sean Keanan

- Location: Colby’s Movieland, Room 4
- Time: September 21, 12:00 AM
- Quest: A Strange Group
- PP Bonus: 30,000
The Cult Leader is one of the more difficult bosses in Dead Rising Deluxe Remaster, not only because of his speedy moves but because he has a total of 5 survivors that you’ll need to try and keep alive throughout the fight. I would suggest bringing a few Katana and some healing items before trying to face off against him in Colby’s Movieland.

After calling upon the Goddess of the Cult, it seems that Sean Keanan is embued with some superpowers of his own, as he’s incredibly quick, hits hard, and is ready to bring your life to an end. It’s a good old-fashioned Sword fight, so use the Katana that you’ve brought to do some heavy damage to Sean while avoiding his attacks.

If you have enough health to Tank some hits while dealing damage to Sean, I would strongly suggest that. Just hold the Attack button and keep laying into him, as he has what feels like an unending health pool, so the more damage you can do, the better. Some of his attacks can send you flying, so be prepared to run and heal if you find yourself on the receiving end of one of those.

As long as you can keep him away from the Survivors, you shouldn’t need to worry too much about their Health Pools. He won’t focus on them as long as you’re pestering him. Once you’ve defeated Sean, you’ll have access to the Ceremonial Sword, and 5 survivors that you can escort back to the Safe Room. Be sure to check the Warehouse Door on the left side of the building to find Cheryl hiding inside.
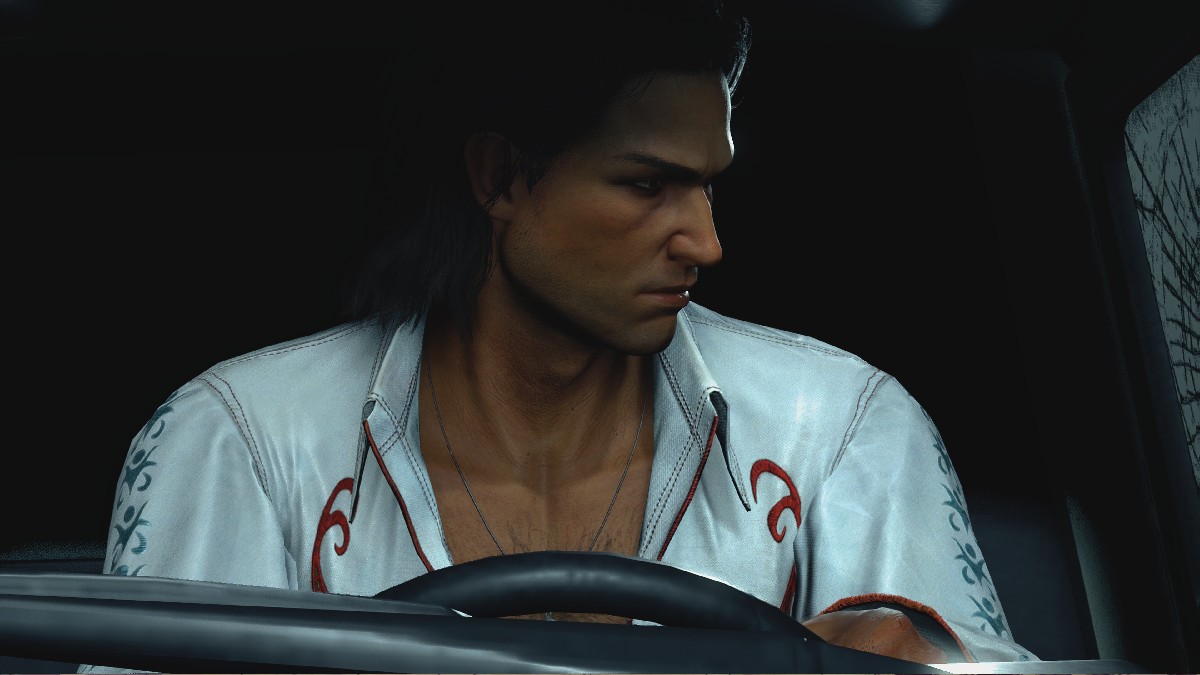
Paul Carson
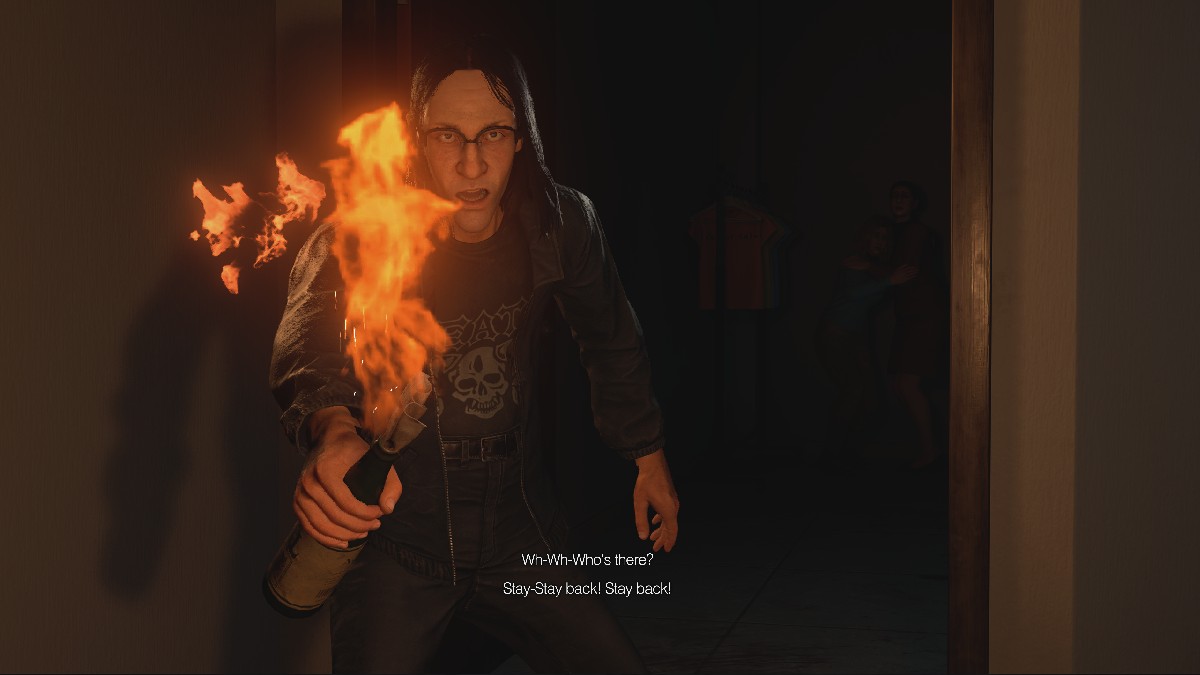
- Location: Casual Gals (Wonderland Plaza)
- Time: September 21, 5:00 AM
- Quest: Long Haired Punk
- PP Bonus: 30,000
Paul Carson isn’t a difficult boss by any means, he’s just one of the most annoying. The “nice guys finish last” archetype is a pyromaniac, and isn’t afraid to show off his fireworks throughout the Mall. After you start the fight with him, he’ll take off running like a bat out of hell, so you’ll need to chase him down. Grab some Katanas or some firearms from the Huntin’ Shack before starting this mission.
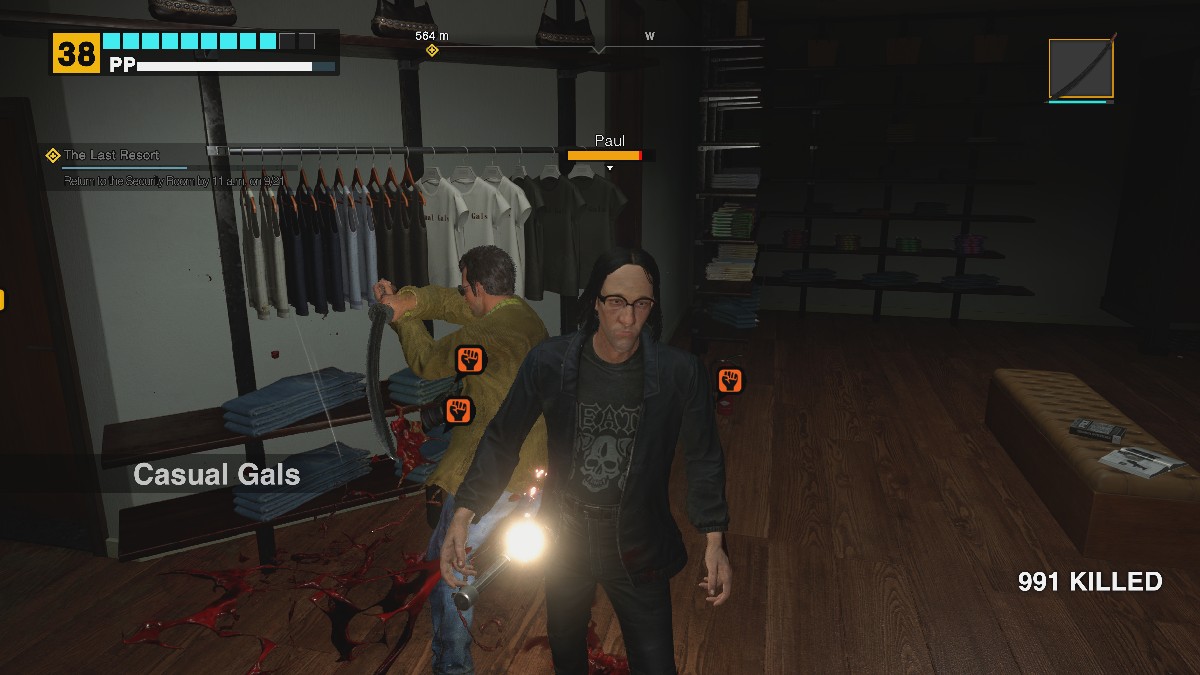
Once you give Paul a few hits inside of Casual Gals, he’s going to take off running, dropping grenades after his every step. He’ll drop a fair number of them, but they don’t hurt as bad as the ones that Carlito had earlier in the game.
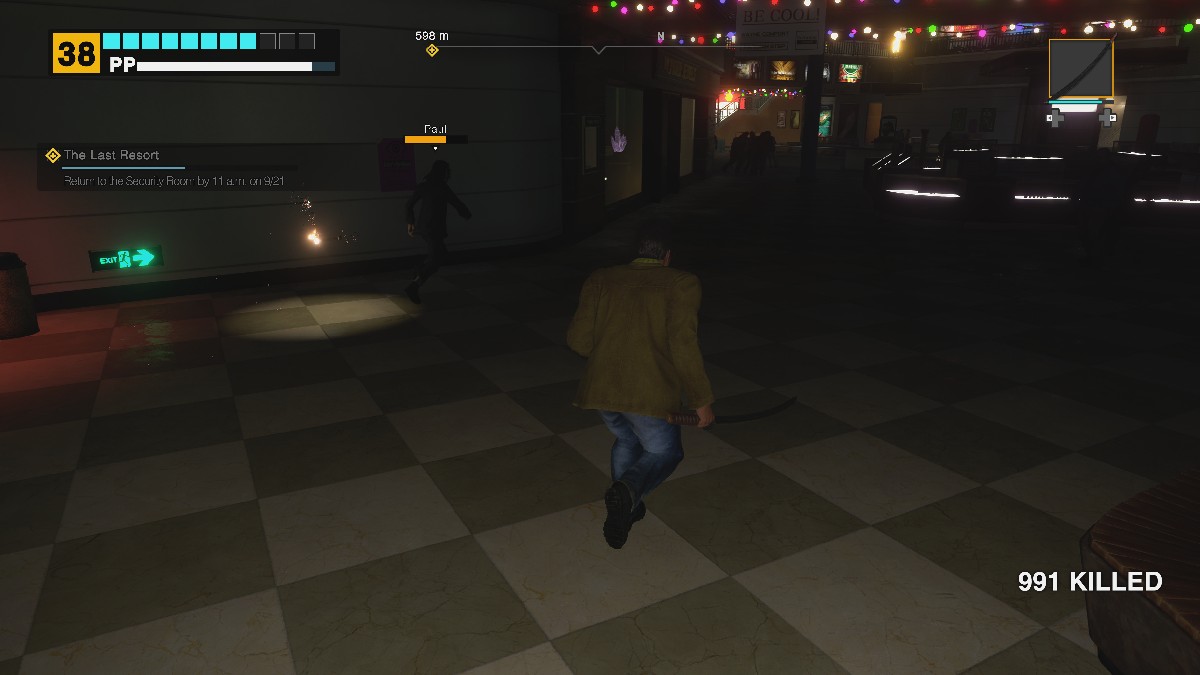
If you see Paul dropping these firecracker grenades, stay a fair distance away, but close enough that you can still trail him. After he runs for a bit, he’ll need to stop for a breather. Use this time to get in and attack with either the Katana or the Shotgun if you happened to grab one from the Huntin’ Shack.
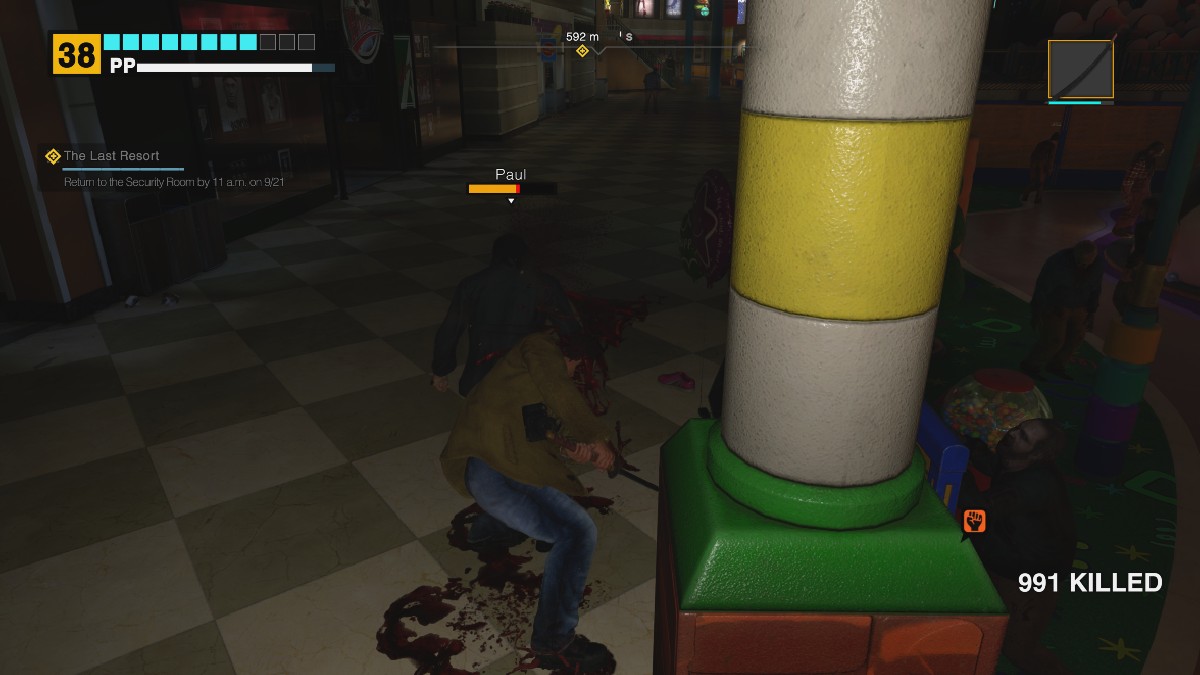
Once he stops for a breather, hold the Attack button down and you should be able to get around 4 to 6 hits off on him. This will bring the fight to a close quickly, and you’ll have defeated him. However, there is one other part about the Paul fight that is unique, and it’s the fact that you can recruit him and bring him back to the Safe Room.
After you fight Paul, he’ll light himself on fire. Use the fire extinguisher that is near his burning body, put him out, and talk to him. He’ll promise to be a good boy, and you can escort him and the other survivors in the room back to the safe room for a massive PP bonus. Or, you can let him roast. The choice is yours.
And with that, we have completed every mandatory and optional boss in Dead Rising Deluxe Remaster. It’s a heck of a journey into the Willamette Mall, and we’re happy that you came along with us for the ride. Now make sure you know if you can save the folks at the beginning of the game, or if they’re a lost cause.
Dead Rising Deluxe Remaster is available to play now.


Published: Sep 21, 2024 09:21 pm