There are a ton of side quests to take on in Final Fantasy 7 Rebirth, and most of them are well worth doing. Some of them can be tricky, though, and that’s where we come in. Here’s how to repair the Windmill Settlement in the Where the Wind Blows side quest in FF7 Rebirth.
How to Start Where the Wind Blows in FF7 Rebirth
First off, once you’re able to exploring the open-world proper in FF7 Rebirth, keep progressing through the story until you’ve reached the chocobo ranch and wrangled the regional chocobo to unlock fast travel. After that, you’ll be able to head back to Kalm and start taking on side quests.
From the job board in Kalm, take on the Livestock’s Bane quest and complete it. Then, head back to the job board again to accept Where the Wind Blows. Do note that Livestock’s Bane can be pretty tough, and we recommend hitting at least level 18 to 20 before taking it on.
How to Repair the Windmill

You’ll then meet Mildred, who asks you to repair the Windmill at the Windmill Settlement. To do this, you’ll need a key item called the Windmill Gear, which has to be crafted through the Transmuter. This is where things get a little murky, but here’s a step by step rundown on how to clear the quest:
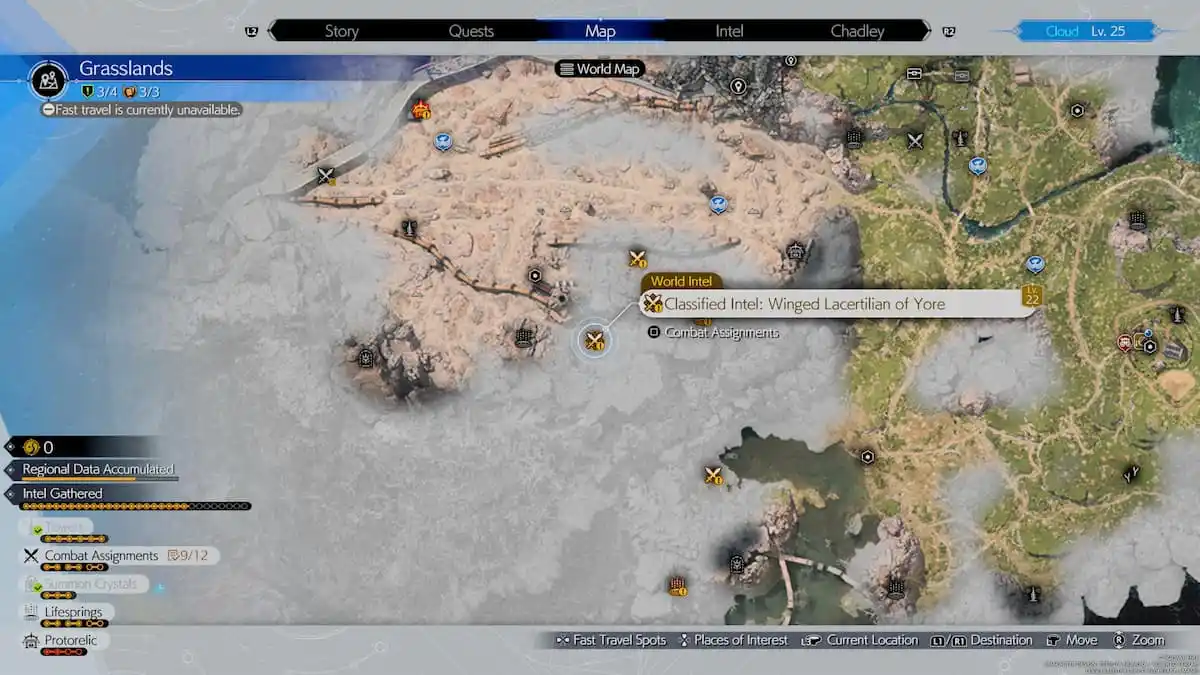
- Scan four Lifesprings in the Grasslands region to unlock Classified Intel: Wings of Lacertilian Yore.
- Complete the Classified Intel quest by defeating Quetzalcoatl to get the Quetzalcoatl Talon.
- Complete the Excavation Intel 1 quest at the Bygone Settlement. This quest requires you to dig up three items with your chocobo, including the Transmuter Chip: Windmill Gear.
Once you’ve obtained the Transmuter Chip: Windmill Gear, you can open up your Transmuter to see the crafting recipe for the item. The required materials are as follows:
- Quetzalcoatl Talon
- Iron Ore
- Beast Bone
- Lea Titanium
You’ll be able to get the Talon from the Classified Intel quest as outlined above, while Iron Ore and Lea Titanium are common item pickups you can get from the ground in the Grasslands. Finally, Beast Bones are acquired by fighting enemies in the Grasslands.
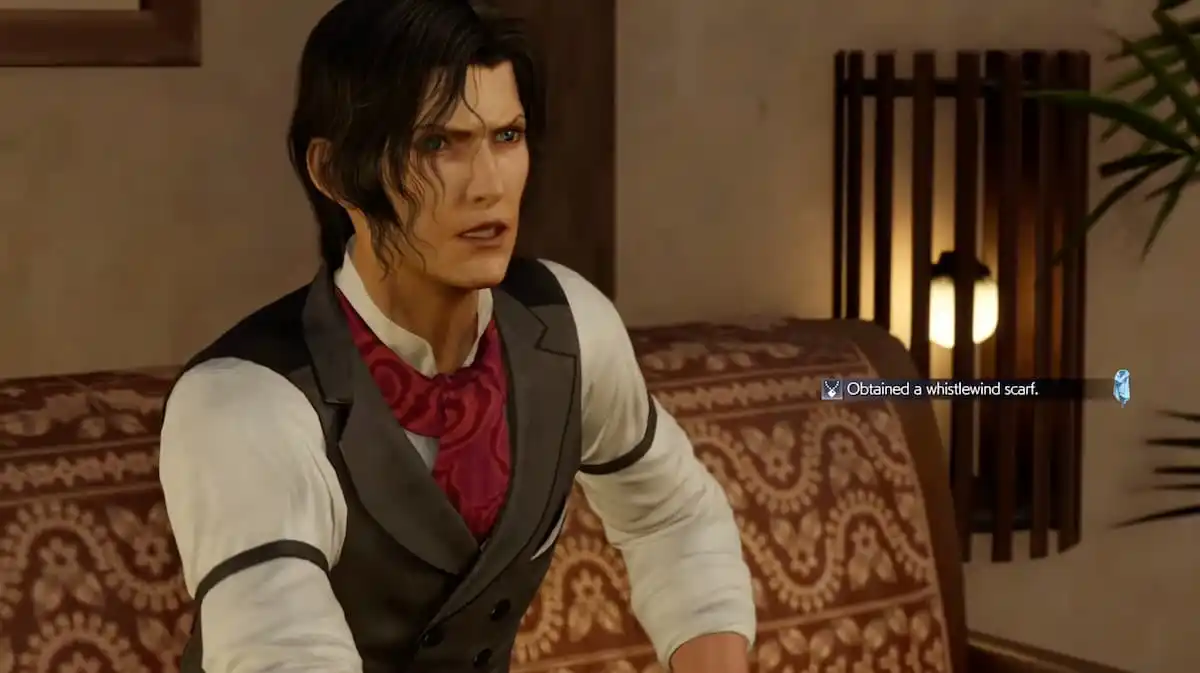
After crafting the Windmill Gear, head back to Mildred to complete the quest and repair the Windmill, and that’s it! For your efforts, you’ll receive the Whistlewind Scarf accessory, which slightly increases your ATB gauge at the start of battle.
That’s how to repair the Windmill in the Windmill Settlement in FF7 Rebirth.


Published: Mar 1, 2024 10:20 AM UTC