The ability to save your game in an RPG is extremely important, as replaying a difficult section is not something players want to do twice. In No Rest for the Wicked, the save system can be a little tricky to figure out. Here’s how to save in No Rest for the Wicked.
How to Save in No Rest for the Wicked
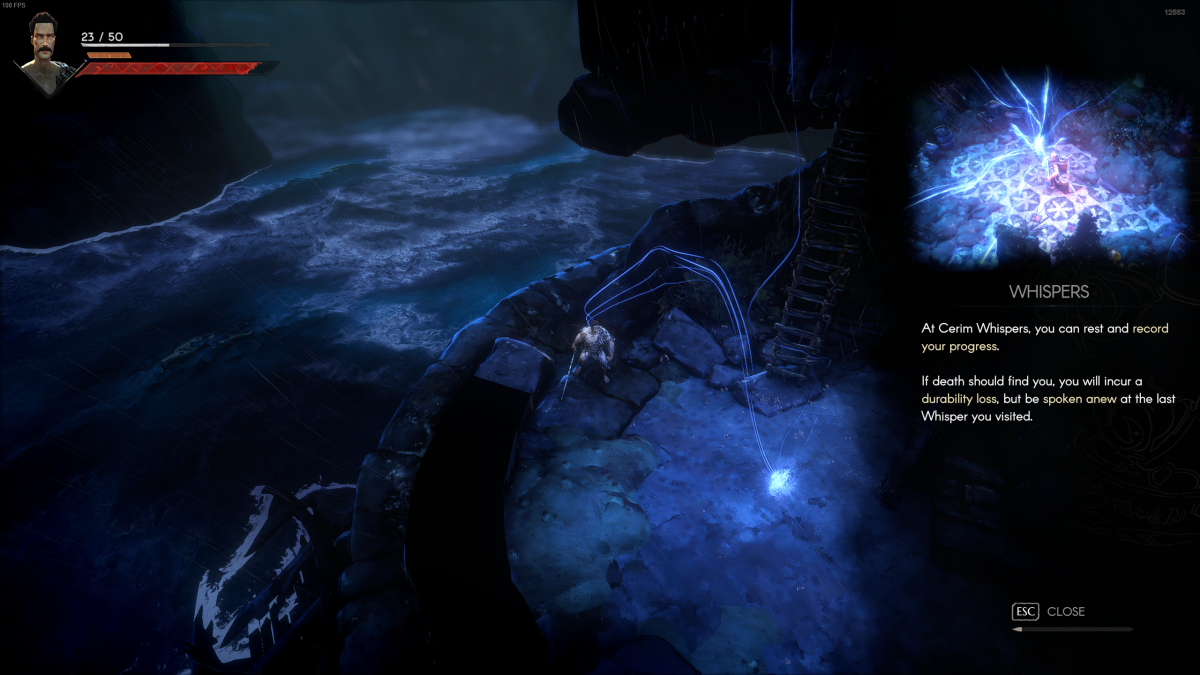
Instead of manually pressing a save button, No Rest for the Wicked requires you to find a location called “Cerim Whispers.” Cerim Whispers are distinct areas that allow you to “rest and record your progress.” It’s also where you’ll respawn if you die after saving at one of the locations. The locations of Cerim Whispers are marked by bright blue streams of light, as seen in the screenshot below.

You won’t find too many Cerim Whispers along the main path in No Rest for the Wicked, but they are spread out enough that you should be able to save before venturing too far away from the last one you found. Stopping and saving at Cerim Whispers is highly recommended whenever you do find one, as you don’t want to risk it and end up dying soon after.
Related: How to Find the Western Bridge Key in No Rest for the Wicked
If you do end up perishing, you’ll respawn at the last Cerim Whisper you visited. So if you don’t save at the first opportunity you get, you’ll be rewalking your steps quite a lot. Moreover, your gear will lose some durability points if you die, so you want to avoid death as much as possible in No Rest for the Wicked.
Every time you find a Cerim Whisper, it becomes marked on your map. This is a nice feature to have as it lets you know where the nearest one might be if you’re in need of a save or rest. It’s also important to know where all Cerim Whispers are in case you want to quit No Rest for the Wicked but don’t want to lose your progress.
And that’s how to save in No Rest for the Wicked.
No Rest for the Wicked is available on PlayStation, Xbox, and PC.


Published: Apr 19, 2024 07:38 am