REVEIL only has a handful of logic puzzles to work your way through, but each one of them poses a challenge for even the most experienced puzzle solvers. By far, the most difficult puzzle is in the second chapter’s garage, which is lit by a backlight.
How to Solve the Garage Cistercian Puzzle in REVEIL

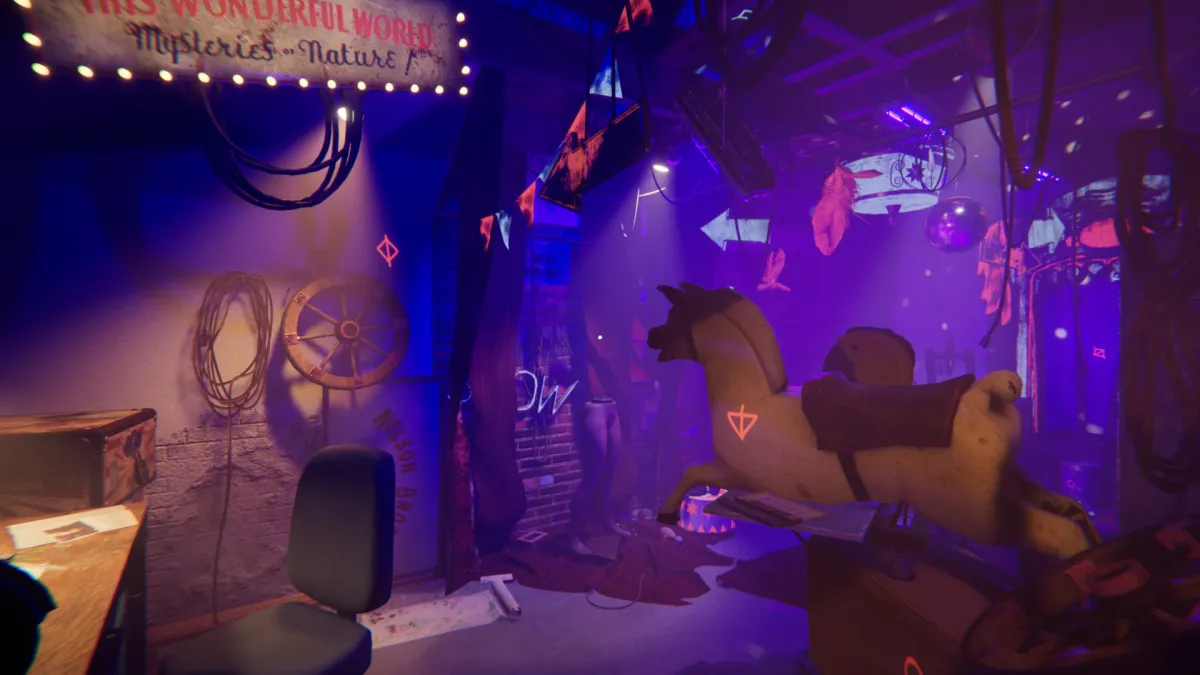
In this room, you’ll notice a workbench to the left of the entrance and a large circus trunk shut tight with a lock depicting strange symbols. These strange symbols are painted all around the room in white or red paint; neither color matters.
Instead, check the notebook on the workbench to reveal a cipher of strange symbols called Cistercian numbers. These are part of a real-world numbering system developed by a Catholic religious order of monks by the same name, and yes, the devious developers of REVEIL are using them for their most difficult puzzle.
You won’t be able to interact with much in the room at first. There’s a Broken Mask found low beneath the table in the middle of the room, but other than that, you’ll have to interact with the pair of mannequin legs standing on the back wall.
Now, you have to find the torso, arm, and hand of the mannequin. They’re found here:
- The torso is in the back of the room protruding from a box. It’s next to a large handsaw.
- The hand is in one of the shelf cubbies on the right-hand wall.
- The arm is on the cluttered table in the center of the room, right beside the wooden horse.
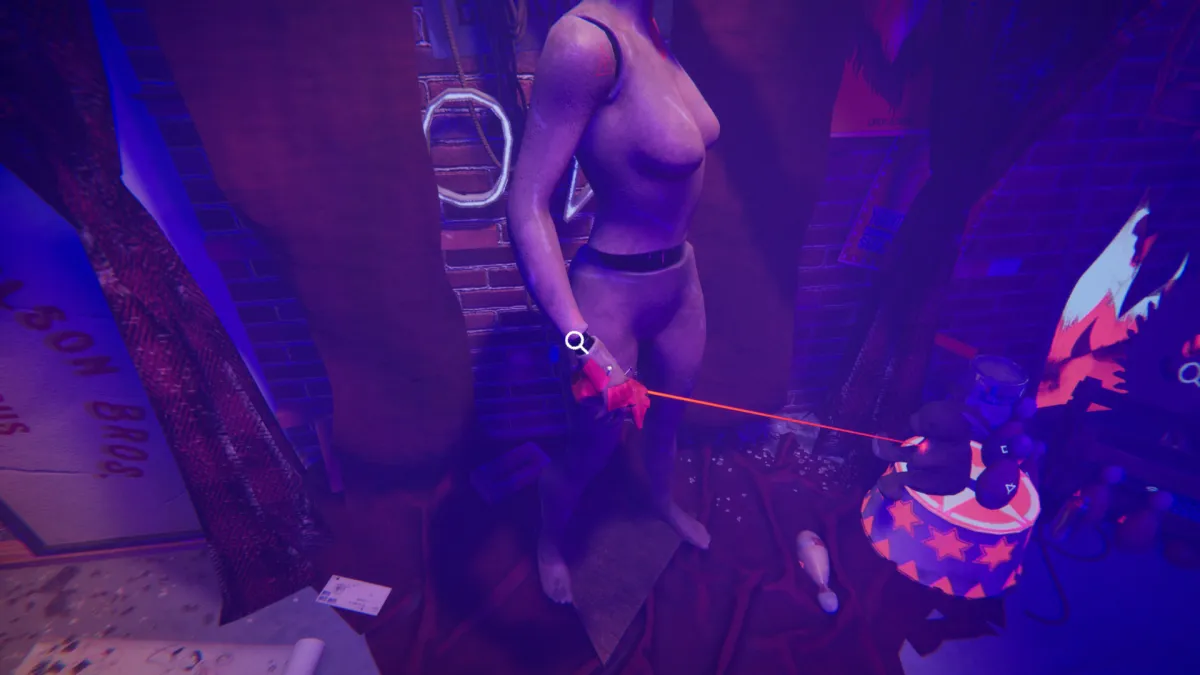
Once assembled, you’ll notice the hand has a laser pointer on it and that each piece of the mannequin can be turned or tilted in a set of directions from 1 to 7. What you must do is decipher the Cistercian symbols, which will give you a three-digit number that corresponds to each movable part of the mannequin.
Taking a look at the notebook on the workbench, you’ll notice three lines of numbers with the Roman numerals I, II, and III written beside them in red, along with symbols beneath them. The other symbols in the bottom right corner of the notebook are what you’ll need to decipher. This is how you do it:
Ignore the central line running through each symbol; it’s the branching lines that matter. While Cistercian numbers work a little bit differently, what you’ll want to do is match the protruding line to a symbol in each of the three rows. So, taking the first symbol as an example, the line protruding straight left matches the number “2” in the first row. The diagonal line in the top left matches the number “4” in the second row. The bottom protruding line that makes an “L” shape matches the “1” in the third row. This gives us the number 241.
Related: How to Solve Nightingale Puzzle Cores
Taking this knowledge back to the mannequin, shift each body part to match one of these three numbers. You’ll know which is which as the mannequin also has those red Roman numerals written upon it, though for quick reference: the torso is the first number, the arm the second, and the hand is the third number.
Turn each of these to 2, 4, and 1, respectively, and the laser pointer will reveal the correct symbol for the first combination on the lock. Decipher the two other symbols in the notebook to reveal the other two. If you don’t wish to go through all that trouble, these are the answers:
- The second symbol is 414
- The third symbol is 532
Once you’ve revealed the right symbols and put them into the combination lock, the trunk will pop open to reveal a sword inside. Unscrew the hilt at the workbench to reveal a troubling piece of paper and to continue the story onward.
That’s all you need to know to solve the garage puzzle in REVEIL; while there are three more chapters left, they’re all much shorter than the first two, so sit back and enjoy the ride.
REVEIL releases Mar. 6 on PlayStation, Xbox, and PC.


Published: Mar 5, 2024 07:36 am