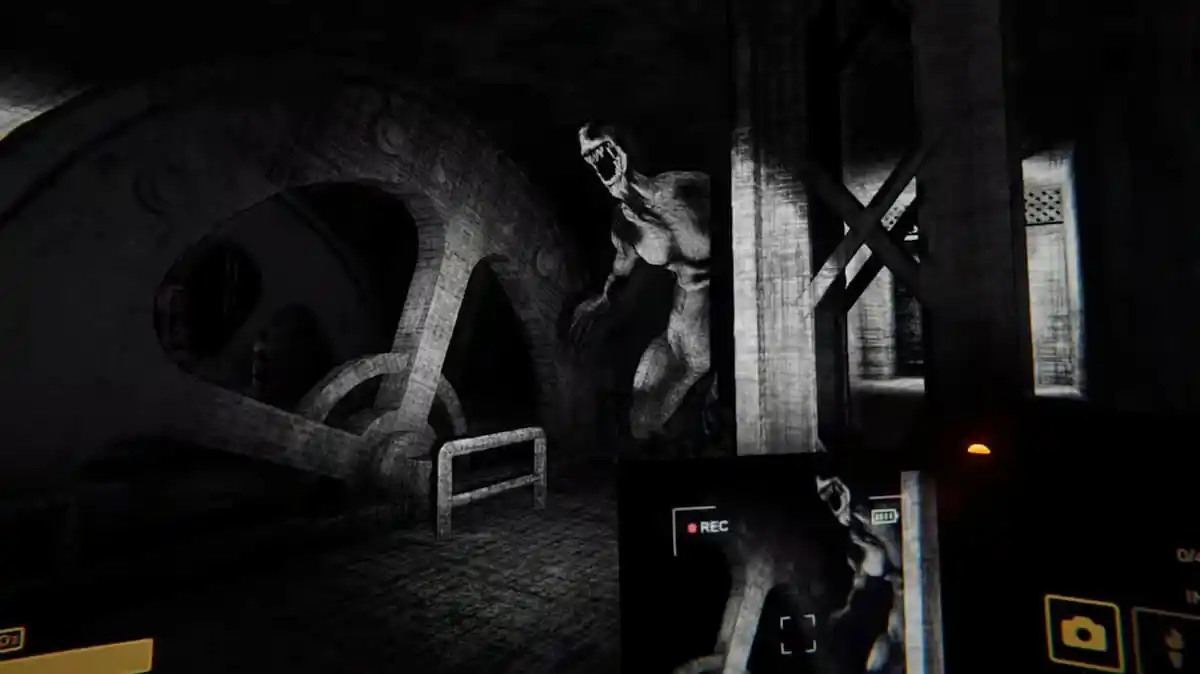
There are a lot of different gadgets you can make use of in Content Warning, and you’ll want to make sure you’re always using something that can help improve the quality of your videos. Here’s how to use the Boom Mic in Content Warning.
How to Get the Boom Mic in Content Warning
Before anything else, first you’ll need to actually purchase the Boom Mic for yourself in Content Warning. You can purchase it from the store in-between your runs for $100.
This is considered one of the cheaper items in the game, and I’d definitely recommend picking it up as it’s one of the two items in Content Warning that will help improve your video and earn you more money.
Using the Boom Mic
Now that you’ve bought the item, start a run and make sure to have it equipped. Essentially, what the Boom Mic does is that it’ll improve the sound quality of your video by amplifying sounds. This means that in order to get the full effect of the item, you’ll want to wait till you’re in an area with creepy sounds and ambient noises before using it.
You can also wait till you actually encounter a monster before using the Boom Mic, and this will make your footage drastically scarier as well. For instance, I had a run where one of my teammates was getting actively chased by a monster, and I was able to capitalize on that opportunity by pointing the Boom Mic in their direction to amplify the noises.
It can be a bit clunky to use, but once you get the hang of it, it’ll become a pretty invaluable item during your runs.
And that’s how to use the Boom Mic in Content Warning.


Published: Apr 3, 2024 12:26 am