
The Grand Cathedral is done and dusted, but there’s still more work ahead of us. The second part of our Metaphor: ReFantazio walkthrough will cover the entire Martira segment, including the Kriegante Castle dungeon.
Table of contents
Waiting for the Sanctist Announcement
You should have a bit of free time to spare in Metaphor: ReFantazio after clearing the Grand Cathedral. You can spend your time however you want, but here are a few recommendations:
- Fight the Manjula Maneater
- Raise your Wisdom to level 2 and accept the request from Brigitta
- Spend time with Strohl and Hulkenberg
- Raise your Royal Virtues
- Clean up any outstanding requests
Optional: Manjula Maneater

The Recruitment Centre should be your first port of call. This is where you can accept your first bounty, the Manjula Maneater. Bounties are a great source of money and stats that go towards leveling up your Royal Virtues. Plus, it doesn’t hurt that this bounty isn’t too difficult. After accepting it, speak with the Knowledgeable Man at the Hushed Honeybee Inn to get more info on your mark. The monster is weak to Strike and Ice damage, so the Brawler and Mage Archetypes will work well here, while Hulkenberg can use the Knight Archetype to tank damage as necessary.
Optional: Belega Corridor and the Guptauros
Your next order of business should be to take on the request from the igniter merchantress, Brigitta. To do this, you’ll need to hit Wisdom level 2, which you can do easily by spending time on the bench at Sunlumeo Street. After that, talk to her and agree to kill the Guptauros at Belega Corridor.
You can glean additional info about your mark from the Knowledgeable Man at the Hushed Honeybee Inn. Basically, while exploring the Belega Corridor, make sure not to have the Healer or Mage Archetypes equipped, or the Goborns will frenzy.
For the Guptauros itself, the Knight Archetype will come in handy as it’s weak to Pierce damage. I had the Captain as Seeker, Strohl as Warrior, and Hulkenberg as Knight, though you could also run two Knights if you wanted to. I had the Captain heal and buff the other two with Tarukaja, and had the others attack wherever possible. The only thing to note is that you should move everyone to the backlines and guard whenever the Guptauros charges up and takes aim. Completing this quest will allow you to forge a new bond with Brigitta as a Follower and also unlock the Merchant Archetype.
Free Time
Outside of that, you should also scour the city for NPCs that may have quests for you. These early quests are all very easy to knock out, only requiring you to buy a couple items here and there.
Finally, make sure to carve out some time for Strohl and Hulkenberg to deepen your bonds with them, and also take part in town activities to raise your Royal Virtues further.
Look for Maria
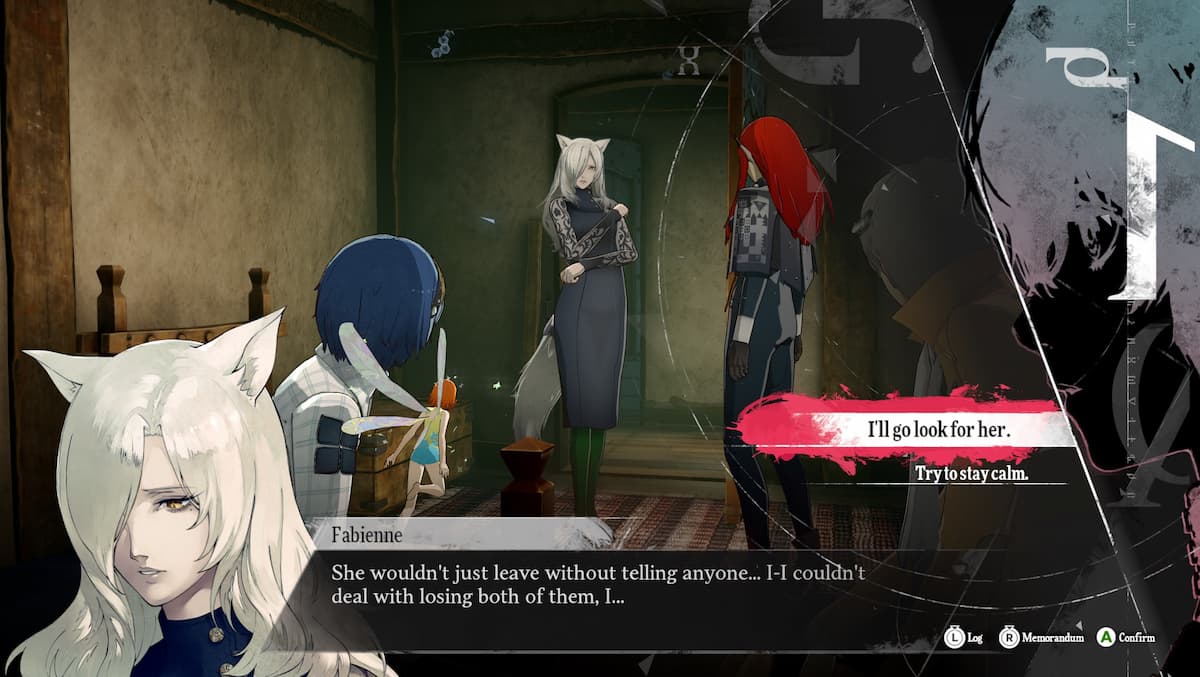
On the day of the Sanctist announcement, a couple of cutscenes will play, and Fabienne will tell you that Maria has gone missing. Speak with the NPC just outside the Hushed Honeybee Inn and they’ll tell you they saw Maria to the north of Sunshade Row, near the General Store.
Head over there and speak with the Activist Woman, then go to the Grand Cathedral.
The Tournament for the Throne
After even more cutscenes, the gang will decide to enter the Tournament for the Throne. Strohl comes up with a plan to take on a bounty to hunt down Heismay, a fallen knight who’s become a kidnapper, and we’re also introduced to Neuras, an engineer in charge of piloting the team’s gauntlet runner. When you regain control of the Captain, you’ll have the opportunity to explore the gauntlet runner, which comes with a variety of activities, including the following:
- Reading – Increases Royal Virtues
- Cleaning – Increases max HP
- Cooking
- Spending time with your Followers
Make sure to examine the campfire every night to get a bug that you can use as a cooking ingredient as well.
Glodell Versus Gideaux

As you approach Martira, you’ll come across two gauntlet runners fighting each other. You’ll have an important decision to make: support Glodell, or watch the fight play out. Since your mission requires you to get closer to Louis, I recommend supporting Glodell. This will trigger a mini boss fight with Gideaux and two lackeys.
The good news is that this isn’t a difficult fight at all. Make sure not to target Gideaux, and just focus on the two lackeys. The Mage Captain is weak to Pierce damage, so use that to your advantage. Once both soldiers are down, the fight will end.
Getting Louis’ Attention
After completing the fight, you’ll finally come face to face with Louis for the first time in Metaphor: ReFantazio. Here, he’ll ask you a question and Strohl will tell you to choose your words carefully. The option you should pick is:
- “We’re your supporters.”
Louis will tell you that in order to change the world, you need to have power, and that you need to do more to prove yourself to him.
Prepare For the Sandflash
Upon arriving in Martira, a series of cutscenes will play, and you’ll also need to gather info around town about Heismay. After that, you’ll have four days of free time before the party needs to head to the den to confront Heismay. In that time, you can take on requests and spend time with your Followers. I’d recommend grabbing all of the requests you can in Martira before doing anything else.
Here are some things to do:
- Visit Komero to complete a request in Martira and to help Neuras
- Fight the Goborn at the Imp’s Den
- Raise your Imagination to take on the request from the Pompous Man
- Spend time with your Followers
Your priorities should be to knock out the quests in Komero and also to fight the Goborn at the Imp’s Den. Doing Neuras’ quest will unlock the Gunner Archetype, which lets you deepen your bond with More. You’ll also want to make sure to hit up the shops here to stock up on items and purchase any new gear you might need.
Look for Heismay
On the day of the operation itself, you’ll have one last chance to stock up before going to the Great Sandworm’s Nest. Make sure you have access to Ice and Pierce damage before heading out. Once you reach the Den, you’ll get attacked by a human.
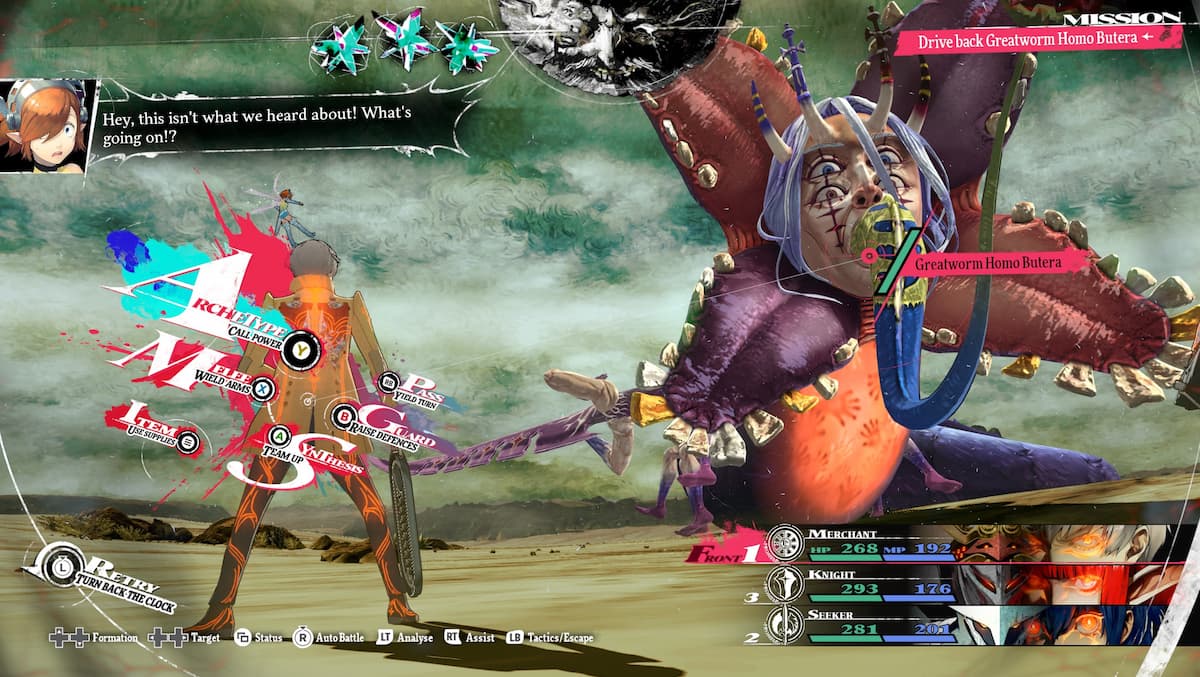
Boss: Greatworm Homo Butera
| Boss | Affinities |
|---|---|
| Greatworm Homo Butera | Weak to Pierce and Ice. |
The good news is that the Greatworm Homo Butera isn’t too tough, as long as you’re able to keep hitting its weak points. You just need to take it down to around a third of its health, and the fight will end.
Once you’re inside the worm’s belly and you have control again, strike the lump of flesh and move forward. There are three sections to this dungeon, and in each section, you can choose to either wade through a swampy area to get items, or go through the enemies. The swampy areas will slow you down and sap your health, but you can get a lot of unappraised gear and valuables this way. Take note of the 15-minute time limit, though, and keep in mind that you need to leave enough time for the boss fight at the end of the dungeon.
Boss: Parasitic Valmo
| Boss | Affinities |
|---|---|
| Parasitic Valmo | Absorbs Ice. |
The Parasitic Valmo isn’t too tough of a foe, but things can get tricky if you let it summon its lackeys. It loves throwing Fire damage at you, so make sure you’re not using an Archetype that’s weak to it.
After defeating it, you’ll finally be able to look for Heismay properly. Move through the Den until you approach his hut, and a fight will ensue.
Boss: Heismay

Heismay‘s signature move is Clone Arts, where he summons three clones of himself. The trick here is to identify the real Heismay and hit that one to make the clones disappear. If you hit the wrong one, you lose the rest of your turn icons that around, and Heismay gets to move four times. He likes throwing out physical damage and lowering your Agility, so you want to avoid that as much as possible.
When he uses Clone Arts, identify the real Heismay by looking for the target that casts a shadow on the ground. Hit it to dispel the clones, and the rest of the fight should go smoothly.
After defeating him, you’ll get to explore his hut. Then, you’ll fight him again. Nothing really changes this second time. Just keep hitting the real Heismay and the fight will be over before you know it.
Kriegante Castle
When you get back to Martira, the truth about the kidnapped children will finally come to light, and you’ll have a new dungeon to explore and clear out. You’ll also gain Heismay as a party member and be thrown into a compulsory fight with some Hellhounds. This is a pretty easy fight; they’re weak to Ice magic, so use that to your advantage.
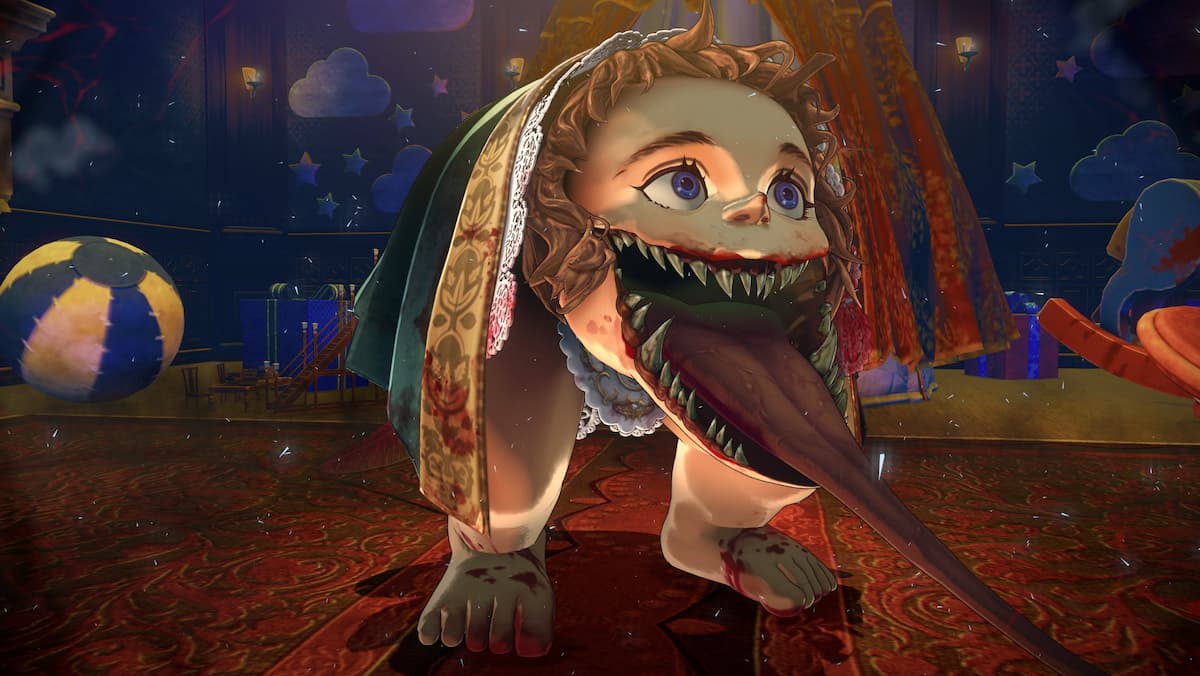
After that, you’ll need to clear Kriegante Castle within a time limit, but as always, you’re free to spend your free time however you wish. Kriegante Castle itself is a pretty straightforward dungeon, though there are a couple of segments where you’ll need to pass through undetected by the baby monster. Doing so is pretty easy as well, as you’ll have little corridors you can hide in while waiting for it to pass.
Eventually you’ll get to a section where you need to free your allies from their respective jail cells. Freeing one ally will mean getting into battle with a different type of enemy. The order doesn’t matter as long as you can deal with all of them, but here’s my recommended order from easiest to hardest:
- Heismay
- Hulkenberg
- Strohl
Don’t forget to open all of the chests and grab the items in the cells before you go. Save your game at the Magla Hollow, then proceed into the final chamber.
Boss: Homo Jaluzo
| Boss | Affinities |
|---|---|
| Homo Jaluzo | Eyes are weak to Pierce damage. |
Homo Jaluzo loves using Deafening Din to lower your defenses, and about partway through the fight, Gallica will also advise you to strike its eyes to prevent it from Dazing you. The Daze affliction makes it harder for your characters to land their strikes, but the eyes do regenerate over time, so it’s something you’ll need to keep dealing with. What I did was have Hulkenberg and Strohl equipped with the Knight and Gunner Archetypes respectively and kept hitting the eyes with Pierce damage to gain two extra turns, while Heismay and the Captain focused on dealing damage to the main body.
After clearing Kriegante Castle, Heismay will join the gang proper.
And that does it for the second part of our Metaphor: ReFantazio walkthrough. In part 3 of our walkthrough, we’ll cover Brilehaven and the Charadrius dungeon.


Published: Oct 10, 2024 11:21 pm