
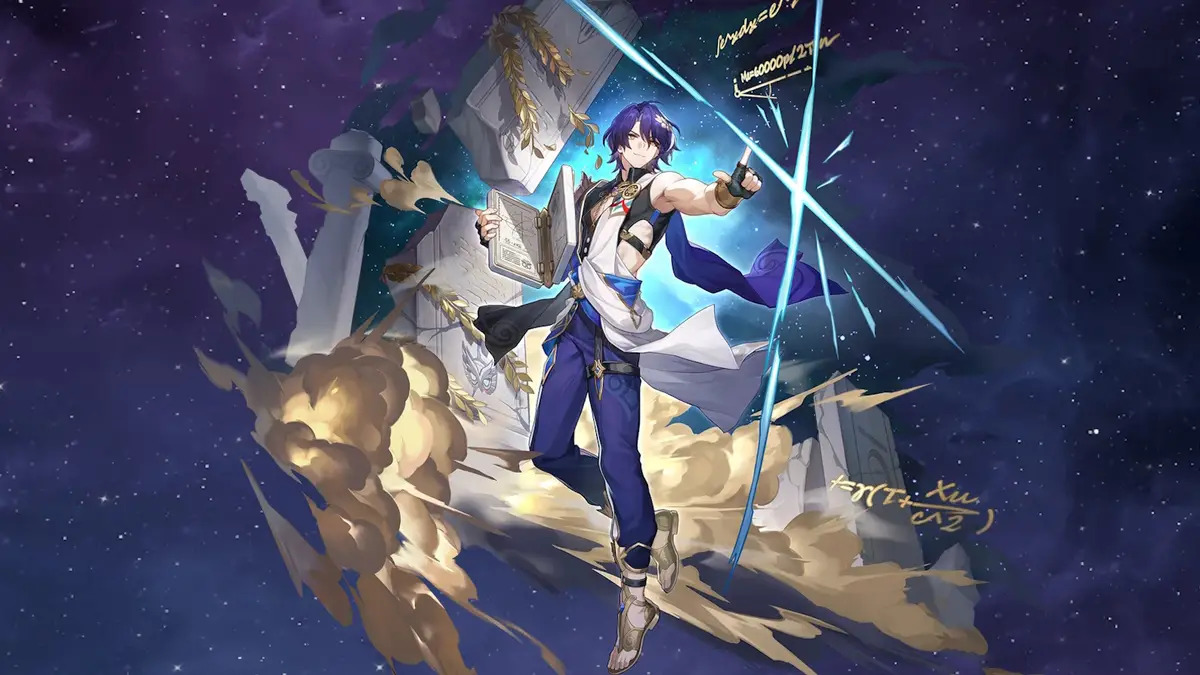
Now that we’ve cleared the Charadrius and proved our worth to Louis, we need to figure out how to get even closer to him. In the fourth part of our Metaphor: ReFantazio walkthrough, we’ll cover all of the events up to the end of the fourth dungeon.
Table of contents
Look for Clues About the Divine Lance

Your next task is to secure a divine relic, and Louis will ask you to look for a divine lance called the Drakodios for him. Your first objective is to ask around town, then go to the tavern. Speak with the tavern keeper, then head to the Merchant’s Bazaar. Talk to the Mustari at the corner, then go to the ferry docks to trigger another cutscene.
Onward to Virga Island
Virga Island is in the middle of the sea, but the good news is that Neuras has made some changes to the gauntlet runner, allowing you to sail on water. Before you set off, however, Fidelio and Basilio decide to join in on the fun as well. While on the gauntlet runner, you’ll have the opportunity to spend time with your Followers and also start fishing, which will give you plenty of ingredients for cooking.
Make sure to save your game regularly, though, as it won’t be long before you’re thrown into yet another boss fight.
Boss: Sea Horror Homo Sabara

| Boss | Affinities |
|---|---|
| Sea Horror Homo Sabara | Weak to Lightning. |
The Homo Sabara isn’t too big of a threat, but it does dole out a lot of Strike damage, so make sure you don’t have Archetypes equipped that are weak to Strike. Conversely, it’s also very vulnerable to Lightning magic, so the Wizard and Mage Archetypes should come in handy here. If you have any Igniters that give you Mage Lightning, slap them on your other characters too.
After the fight, you’ll have the chance to spend time with one of your Followers. Whoever you choose will give you a gift. In my case, I chose Junah, who gave me the Aeon Pearl Earring, an accessory that raises all stats by five.
Arrival at Virga Island
Upon arriving at Virga Island, several cutscenes will play in succession. You’ll be introduced to Edeni and you’ll also learn that the Drakodios is located at Dragon Temple, just north of Virga Island. The gang then agrees to go to Dragon Temple to rescue Edeni’s sister from becoming a sacrifice, while also hunting for the divine lance at the same time.
Get a Potion of Blight
Before that, however, you’ll first need to craft a Potion of Blight in order to get into Dragon Temple. Speak with the informant at the Golden Deer Hearth, then teleport back to the Hushed Honeybee Inn and speak with the informant to get proper intel on the Potion of Blight.
Now, head over to Comfort Concoctions in Grand Trad and purchase the Parchwater. With the item in hand, head back to Virga Island and speak with Edeni to get the Potion of Blight. You’ll now be able to travel to Dragon Temple and start on your mission proper.
Before you do that, I’d recommend taking on the requests in town first, including Junah’s own request that tasks you with heading to Orbwise Path. Completing her request will unlock the Masked Dancer Archetype for the whole party, and also allow you to formally establish a bond with her. There are also several other requests to take on.
Optional: Orbwise Path
Most of the enemies here are weak to Lightning, though you’ll also want to have Dark magic ready for the fishmen. The bird boss itself is weak to Fire, but it can cast Tetrakarn to repel physical attacks so keep that in mind.
Upon completing this quest, Junah will become a Follower.
Optional: Leogron

| Boss | Affinities |
|---|---|
| Leogron | Weak to Fire and Pierce. |
Another request in town tasks you with heading to the Spire in the south. The foes here can be especially challenging, but the trick is to have all your party members attack from the back row. This means that you want Archetypes like the Mage/Wizard, Healer/Cleric, and the Gunner/Sniper. Any Archetype that lets you attack from the back row will help here.
It’s important to note that if you have anyone in the front row, the birds will frenzy and can give themselves extra turn icons, which will make these battles almost impossible. Keep your characters in the backlines no matter what.
Dragon Temple
The Dragon Temple certainly isn’t the largest dungeon you’ll explore in Metaphor: ReFantazio, but there is a trick to it. After getting past the first section, you’ll find yourself in a fog-filled labyrinth. If you take the wrong path while heading to the center, the fog will surround you and send you back to the beginning of the level.

To find your way around, look up at the ceiling and look for the golden strip on the ceiling. This golden strip will lead you through the labyrinth without any fog, and it’s key to checking out all of the murals and stones littered around. When in doubt, just look up at the ceiling for the strip, then follow it.
I’ve included a screenshot of the path down below, along with the steps you need to take to get through the labyrinth.

- From the starting point, take the first staircase down from your right.
- Turn right and follow the path, but instead of taking the stairs up, turn left and go to the end.
- Turn left here, and take the staircase.
- From here, turn right and take the second staircase on your right and go to the end.
- Turn left and take the second staircase on your left.
- Turn right, then take the first left.
- Go straight and take the fourth staircase on your left.
- Turn left and go to the end, then turn right to reach the center.
When you get to the next section, titled Drakongrace Shinjuku, you’ll need to activate various mechanisms to get the lifts working. At some point, you’ll face off against the ear-looking human blocking your path to the final mechanism.
Boss: Homo Flaemo
| Boss | Affinities |
|---|---|
| Homo Flaemo | Weak to Lightning. |
The good news is that Homo Flaemo isn’t much of a threat at all. It’s vulnerable to Lightning damage, so make use of that to give yourself extra turn icons to end the battle quickly.
Boss: Malvirta Drako Eht and Homo Margo

| Boss | Affinities |
|---|---|
| Malvirta Drako Eht | None. Resists Light, Absorbs Dark. |
| Homo Margo | Weak to Wind. |
The final boss of the dungeon can be scary, but with Eupha on your side, this should end quickly as well. Homo Margo is vulnerable to Wind, so keep pelting it with Wind attacks to get extra turns. Once Homo Margo goes down, Eht will become a lot weaker. While it doesn’t have any weaknesses, you can still take out good chunks of its health with powerful magic and physical attacks.
Boss: Homo Margo Part 2
Your party will get healed up before the final showdown with Homo Margo at the village. This time around, Homo Margo has one more trick up its sleeve. Each time it uses Reversal Prayer, the color of its aura will change. Depending on the color, its weakness will change as well, and we’ve listed them below:
- Red: Weak to Ice
- Blue: Weak to Fire
- Green: Weak to Lightning
Make sure to only hit it with magic attacks as Homo Margo will be able to block physical damage.
After a few more cutscenes, that’s pretty much it. With that, you’ll have completed the Virga Island arc in Metaphor: ReFantazio. In part 5 of our walkthrough, we’ll cover Altabury Heights and the Opera House segment.


Published: Oct 14, 2024 01:15 am