Monster Hunter Rise sits in a peculiar place. It’s different from World in some key ways but includes things mainline Nintendo fans might not have experienced yet if they missed out on World. Our Monster Hunter Rise beginner guide covers all the essential ways Rise is different from its predecessors and how to put those differences to good use. One thing it excludes is the Rampage. It’s an obviously different mechanic, but the game explains enough about it where beginners and World veterans will still feel at home.
Monster Hunter Rise Training Grounds
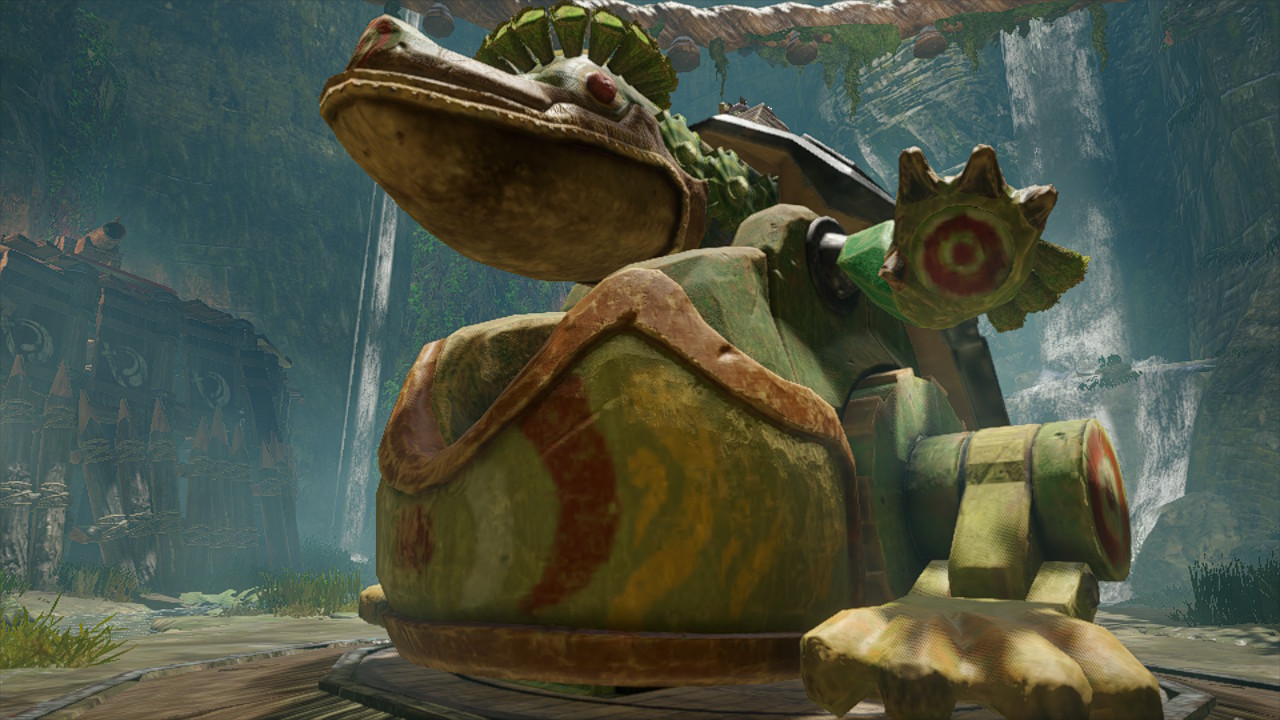
Monster Hunter Rise is faster than World in narrative pace and combat. It’s more like a mainline Monster Hunter game in that regard. If you’re coming into Rise right off Iceborne, then you’ll want to devote some time in Kamura Village’s training grounds to get a feel for how weapon handling changes.
It’s recommended for Generations Ultimate players too. Rise places heavier emphasis on stringing combos together instead of using verticality or mounting. The training grounds offer some starter combos and hints on piecing them together. It’s also a good way to test out Wirebug skills and traversal. Getting to grips with Monster Hunter Rise’s wallrunning takes a bit of practice, but it’s well worth it.
Wirebug Traversal and Exploration
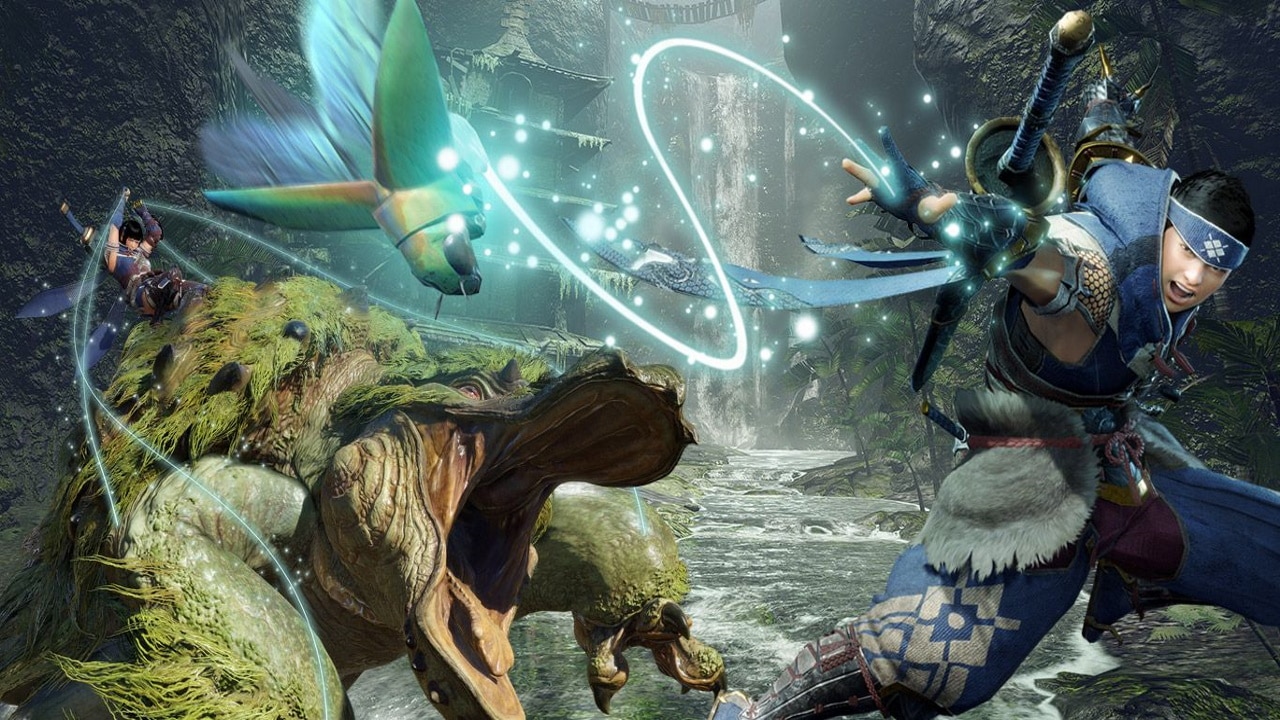
As expected from a game with “Rise” in its name, Monster Hunter Rise builds its environments around verticality. Each area is self-contained, unlike in World, but Capcom added all manner of secrets and targets in the upper areas.
It’s a good idea to undertake Expedition quests just to get a better idea of each area’s layout. You’ll also want to experiment with Wirebug movement and wall climbing to explore every aspect. Rise makes use of every inch. Apart from making it easier to track targets when the time comes, each stage has at least one secret item that builds out Rise’s lore and is tradeable with Kamura’s merchant.
Monster Hunter Rise Buddy Equipment and Buddy Training
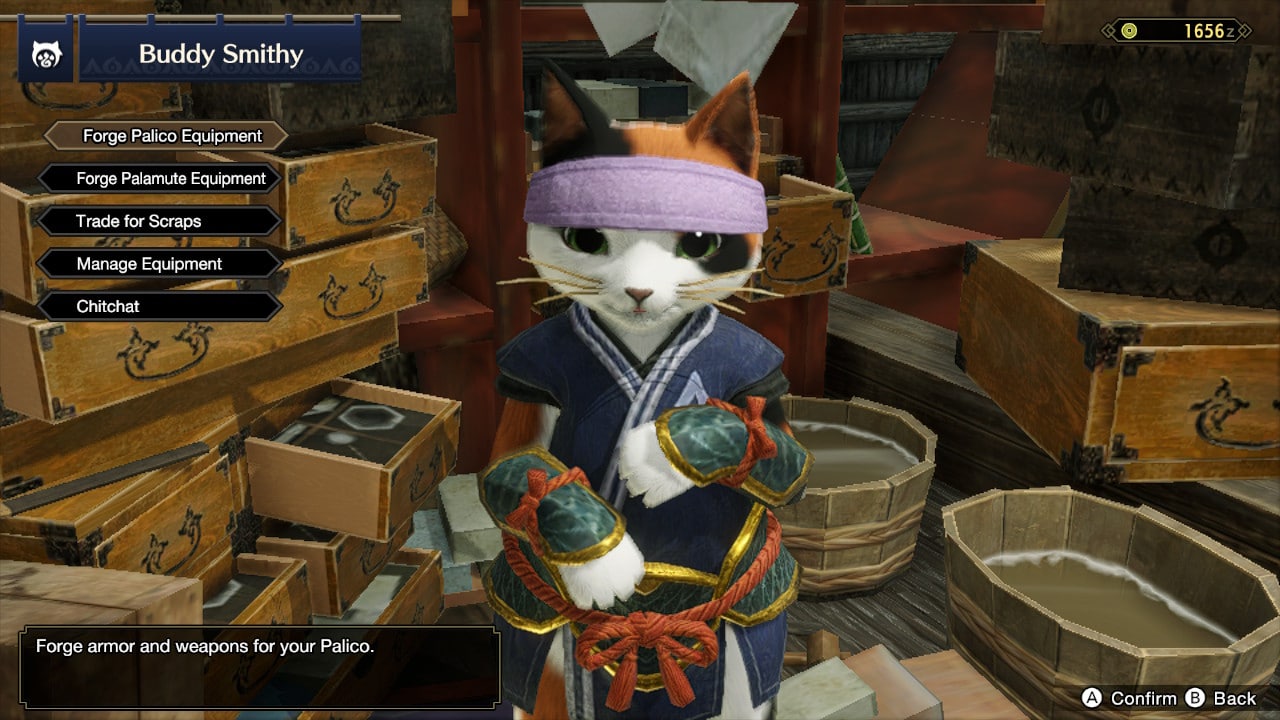
Palicoes might seem like an odd topic for a Monster Hunter Rise beginner guide. They’re one of Monster Hunter’s staple features after all. But they play a bigger role in Rise alongside their Canyne counterparts, the Palamutes. Your Palamute is combat-only. However, you can alter the Palico’s behavior to make it a support unit or just have it focus on gathering while you handle fighting. One thing Rise doesn’t tell you unless you seek it out is that you can forge Buddy equipment next to the blacksmith’s stall. You should be upgrading this regularly, and Buddy weapons offer a good chance of complementing your own weapon’s elemental or status focus.
Forging and upgrading your equipment gives you scrap materials you can use to make Buddy gear, but you don’t have to forge materials you don’t need. You can also trade unwanted monster parts for any missing buddy materials.
Don’t ignore the Palamute during missions either. Riding them is a faster way to travel without consuming stamina, and if you’re sprinting (hold “R” to do that), you can leap off them by pressing “B” to set up an aerial or plunge attack.
Monster Hunter Rise’s Hub Quests and Village Quests: What’s the Difference?

Monster Hunter: World used a more traditional, RPG-like mission structure. Aside from main missions, you had side quests and other mission categories that were clearly connected with specific objectives. Rise is closer to mainline Monster Hunter games in how it splits mission types between Village Quests and Hub Quests. Village Quests are Monster Hunter Rise’s story quests. You’ll tackle these to learn hunting basics and eventually take down Magnamalo.
Rise tells you Hub Quests are best for multiplayer sessions, but that’s only half true. Hub Quests are essentially the “real” game, the quests offering bigger challenges and more rewards, particularly after you finish the Village Quests. It’s certainly easier to do with more hunters, but Hub Quests are still doable in single-player mode. Just make sure you pay attention to your Hunter’s Notes and know what kind of monster you’re dealing with.
The Village Merchant and the Argosy

The next stop in our Monster Hunter Rise beginner guide is the shop. Always check the village merchant after finishing a quest. He hosts sales every time you return, and there’s no point spending Zenny on full-priced items when you can get them cheap. There is a point in buying Lottery Tickets, though. Even when you don’t win big, you typically get a good selection of items you’d have to buy otherwise.
After unlocking 2-star quests, the Argosy will open for business. It functions a bit differently in Rise than it did in World, though. Instead of offering item sets, the Argosy stocks rare items the village merchant usually never has. These include traps and special bombs. You can eventually unlock submarines that take buddies on gathering quests. They’ll bring back highly useful materials, including some you can only get through the Argosy.
Monster Hunter Rise’s Petalace
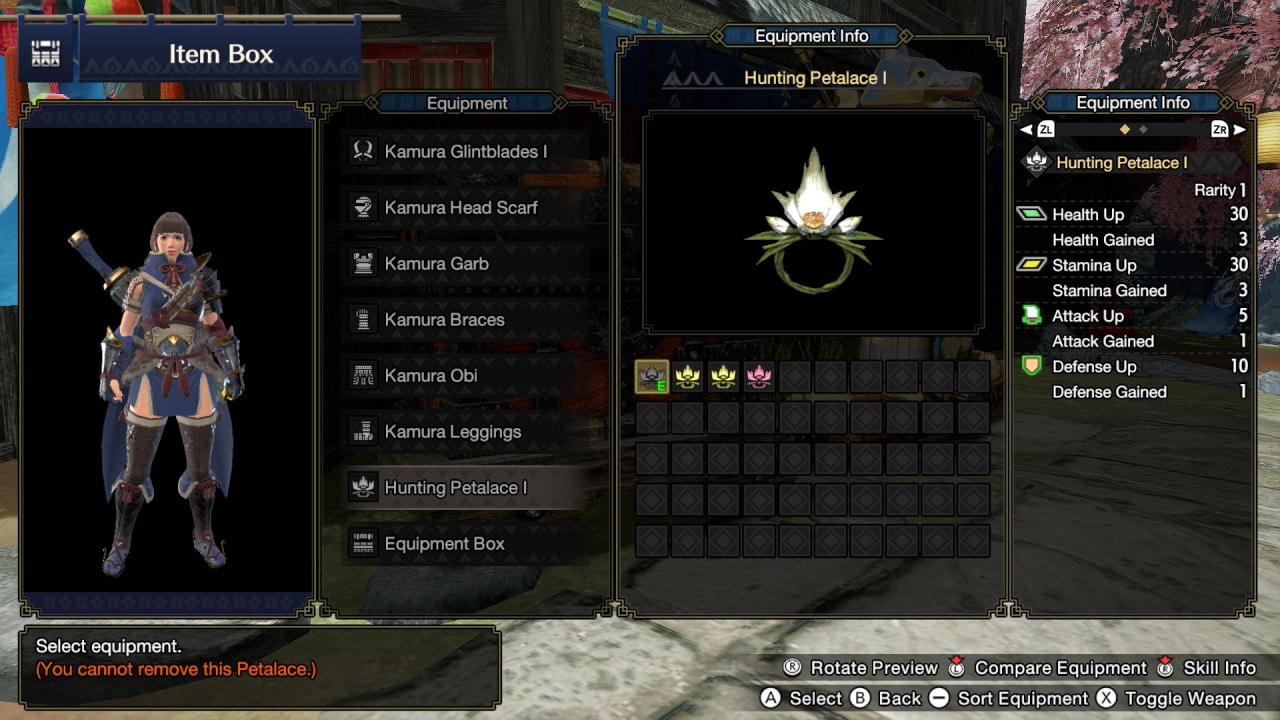
Monster Hunter: World included different kinds of endemic life offering buffs for limited periods, but Monster Hunter Rise takes it a step further with the Petalace. It’s a bracelet you automatically receive at the game’s start, and it absorbs energy from Spiribirds to offer you even more buffs.
The original Petalace grants balanced buffs to health, attack, and stamina. Additional Petalaces you’ll obtain as the game progresses prioritize some stats over others. It’s worth experimenting with, as there’s no shortage of glowing Spiribirds in Rise’s levels.
The New Wyvern Riding Mechanic
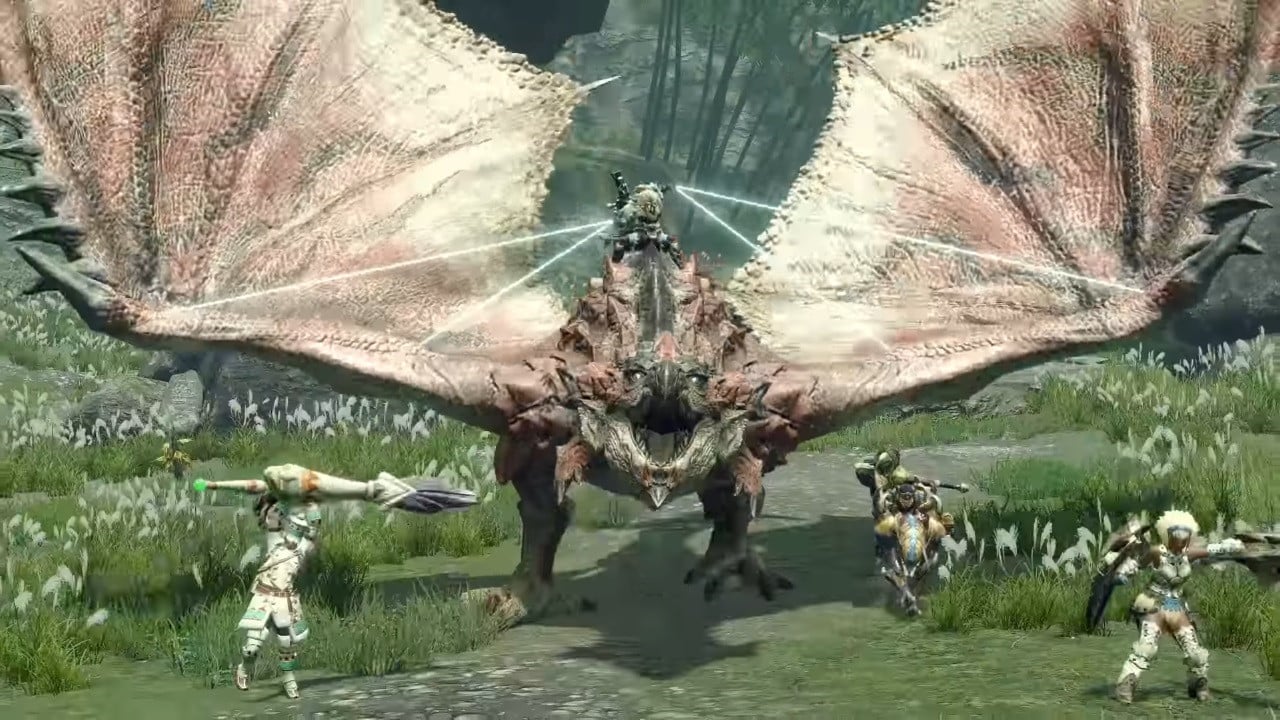
Monster riding is a classic mechanic in Monster Hunter, though Wyvern Riding is a new twist on it. Wyvern Riding mixes normal mounting with World’s big monster battles where your enemies fought each other. After dealing enough damage through Wirebug attacks or leading monsters into fights with each other, you’ll be prompted to ride them by pressing A.
From there, you can attack other monsters or lead your quarry to a more favorable arena. You can also launch them into walls, recover, and keep launching for big damage. Attacking is best if you’re fighting another foe, though. It builds up a final smash gauge where you can unleash an extra-strong attack.
Eating in Monster Hunter Rise
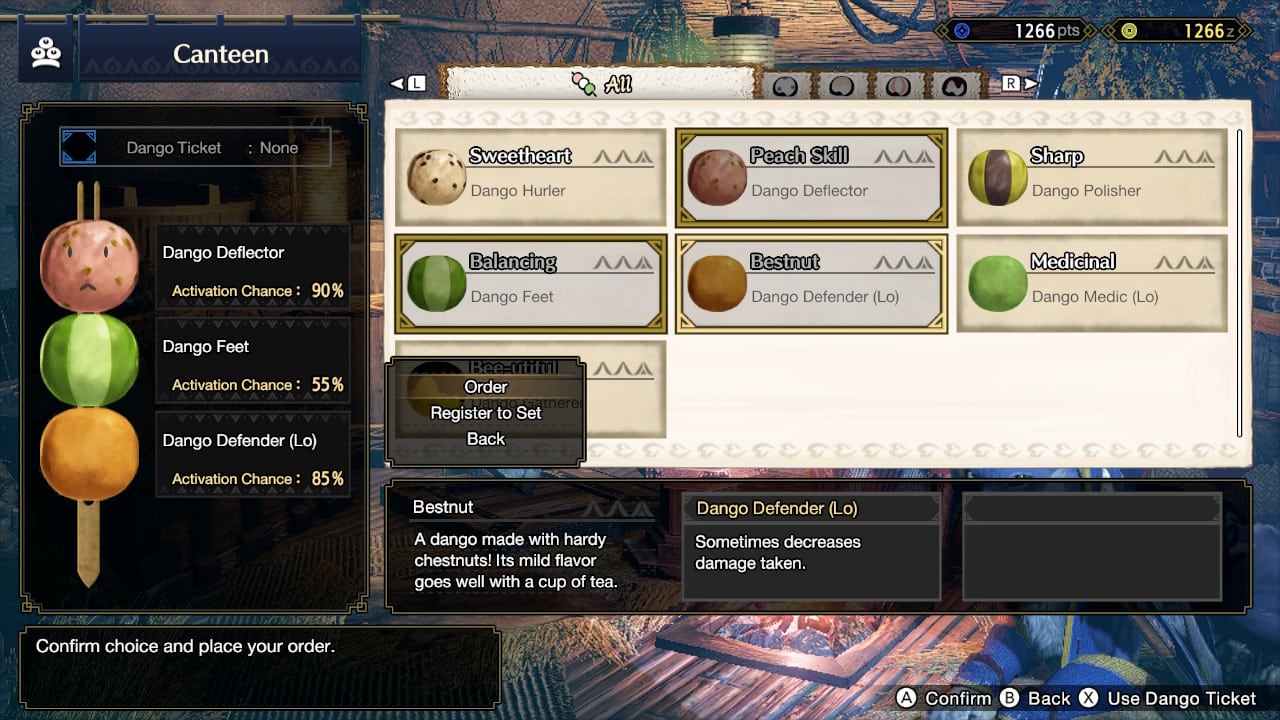
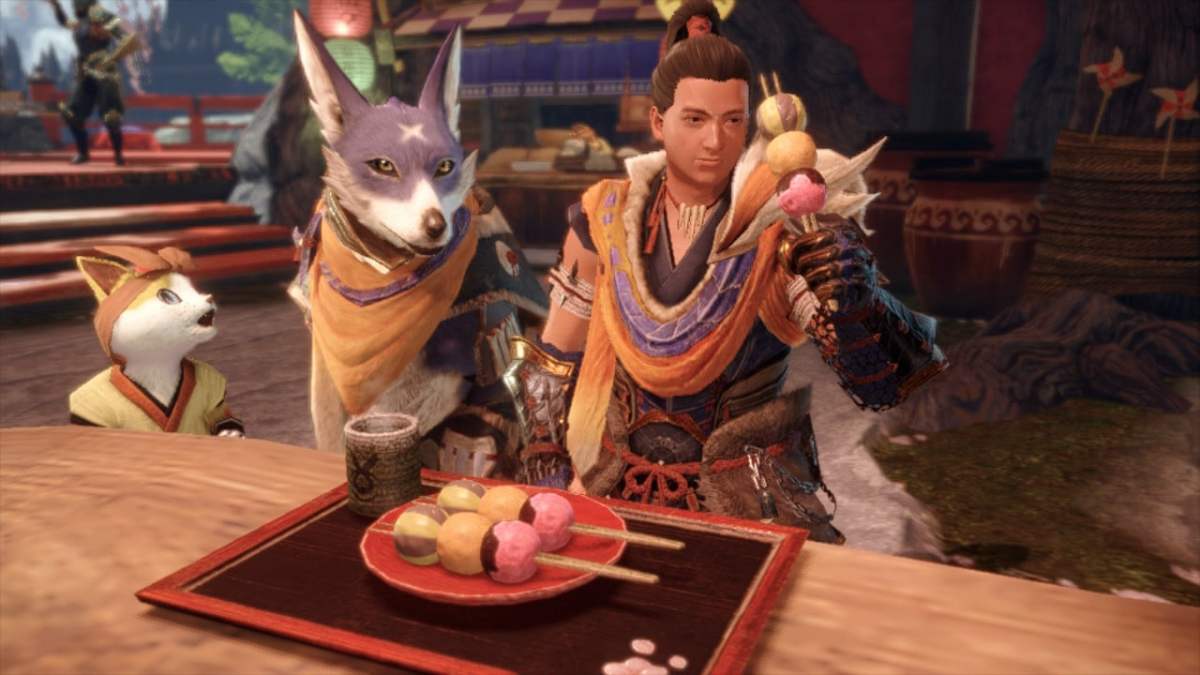
This one’s mainly for Nintendo MonHun players. Monster Hunter: World added the option to eat once a mission started by resting at your base camp. Rise includes it too. If you didn’t eat at the canteen before starting your mission, do it at the base camp as soon as the mission begins. The key difference between World and Rise’s eating mechanics is meals offer buffs through Bunny Dango instead of specific entrees.
You can choose Motley Mix at the Canteen to process food items and earn Dango Tickets in return. These increase the chance your Bunny Dango effects will activate, so don’t forget to stop by the Canteen.
Whether you’ve eaten a meal or not, consume some of your Rations once a mission starts to max out your stamina.
That’s it for our Monster Hunter Rise beginner guide, but there are more Monster Hunter Rise guides where that came from. Meanwhile, be sure to check out our Monster Hunter Rise beginner weapons guide to maximize your early-game damage output.









Published: Apr 2, 2021 12:35 AM UTC