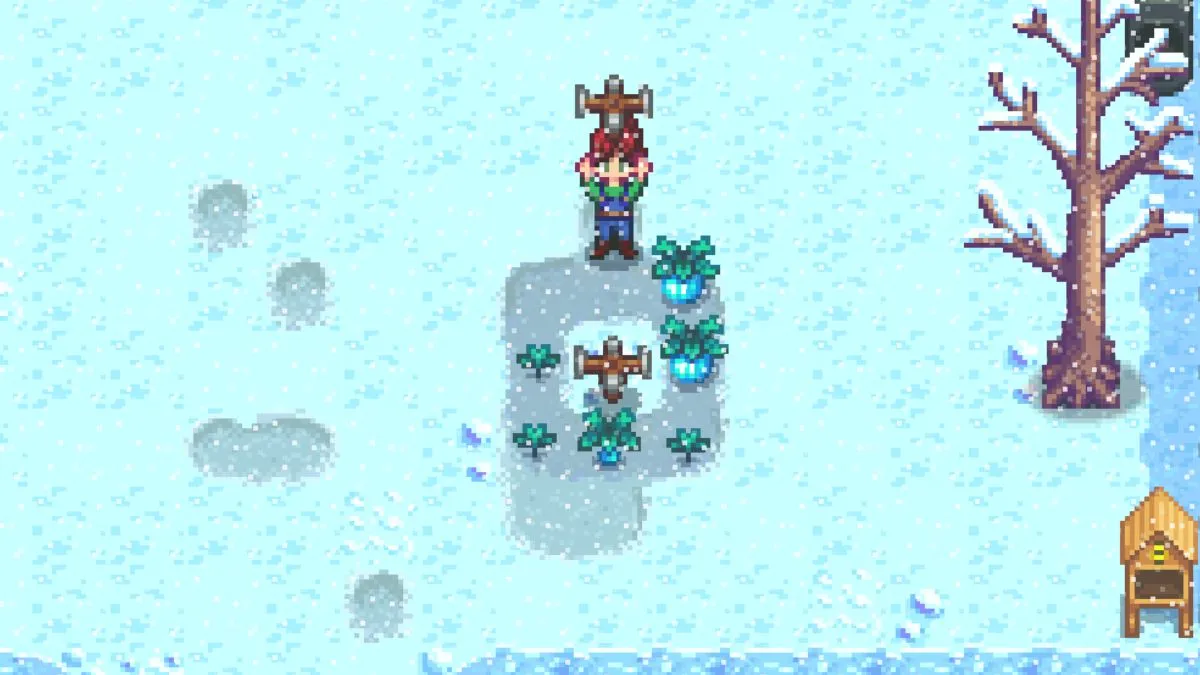
Unless you enjoy hand-watering every crop individually in Stardew Valley, you’re likely looking for the ideal sprinkler setup to reduce labor and maximize profits. We’re breaking down a few of the best sprinkler layouts that can keep those crops watered, whether you’re working with early-game basic sprinklers or the finest around.
Contents
All Stardew Valley Sprinklers
There are a variety of sprinklers you can craft in Stardew Valley. Here’s a full list of the possible sprinklers and their crafting components.
| Sprinkler Name | Area of Coverage | Crafting Recipe | Level Unlocked |
|---|---|---|---|
Sprinkler | 4 Adjacent Squares | 1 Copper Bar 1 Iron Bar | Farming Level 2 |
Quality Sprinkler | 8 Adjacent Squares | 1 Iron Bar 1 Gold Bar 1 Refined Quartz | Farming Level 6 |
Iridium Sprinkler | 24 Adjacent Squares | 1 Gold Bar 1 Iridium Bar 1 Battery Pack | Farming Level 9 |
In addition to crafting a higher-level sprinkler, you can improve the effectiveness of your watering system by crafting and using sprinkler upgrades. These upgrades improve the function of your sprinklers. These are not as easy to come by but can be quite useful.
| Sprinkler Upgrade | Function | Where to Get |
|---|---|---|
Pressure Nozzle | Increases Sprinkler Watering Range | Purchase at Qi’s Walnut Room Rare Drop from Skull Cavern during Qi’s Hungry Challenge and Skull Cavern Invasion Challenge Quests |
Enricher | Applies Fertilizer to Nearby Seeds | Purchase at Qi’s Walnut Room Rare Monster Drop in Mines during Danger in the Deep Quest |
Let’s not forget that as of the Stardew Valley 1.6 update, we can also plonk torches right on top of our sprinklers, shedding some more light on the farming situation after dark.
Best Layout for Basic Sprinklers in Stardew Valley
When you’re just starting out, you’ll likely only have the basic sprinklers on hand until you level up your farming skills and acquire more ingredients. In your early farming days, here’s the best layout for getting the most use out of those basic sprinklers.
This efficient layout comes from Reddit user devined_, and we’d be hard-pressed to come up with a better solution for the sprinkler’s four-square radius. It may not be pretty, but it sure gets the job done.

Best Layout for Quality Sprinklers in Stardew Valley
Once you unlock the Quality Sprinkler in Stardew Valley, things get a little easier since this one covers eight adjacent squares. That means things can be nice and square, letting you balance aesthetics and irrigation.
Here’s the layout we recommend for the Quality Sprinkler, which comes from Redditor _littlestranger. This setup of smaller, square blocks lets you intersperse scarecrows between plots to protect all those well-watered crops. They’ve used it on the Hilltop Farm map, but it’s basic enough that it should work well for almost any farm you choose.

Best Layout for Iridium Sprinklers in Stardew Valley
The Iridium Sprinkler can be tough to get since the ore required is rarer than others, but it’s well worth it if you want to get the most coverage with the fewest items.
When you have access to more than one Iridium Sprinkler in the game, you can take the nice square approach for the Quality Sprinkler one step further, setting up a 5×5 plot for each sprinkler with carefully spaced scarecrows in between. This example image comes from Reddit user Peaceful_Polar_Bear, who has the aesthetic down on this basic farm layout. My chaotic Riverlands Farm could never.

Best Overall Sprinkler Layout in Stardew Valley
What’s the best layout for your Stardew Valley sprinklers? Assuming you’ve got access to everything you need, most players agree that the best layout is to use 5×5 square plots centered around Iridium Sprinklers, with a space in between so they don’t overlap.
That said, you’ll want to consider the shape of your farm layout and how easily you can actually obtain that many Iridium Sprinklers before plotting out your farm. A mix of the techniques above can give your farm an interesting look while still letting crop watering happen automatically.


Published: Apr 3, 2024 7:56 PM UTC