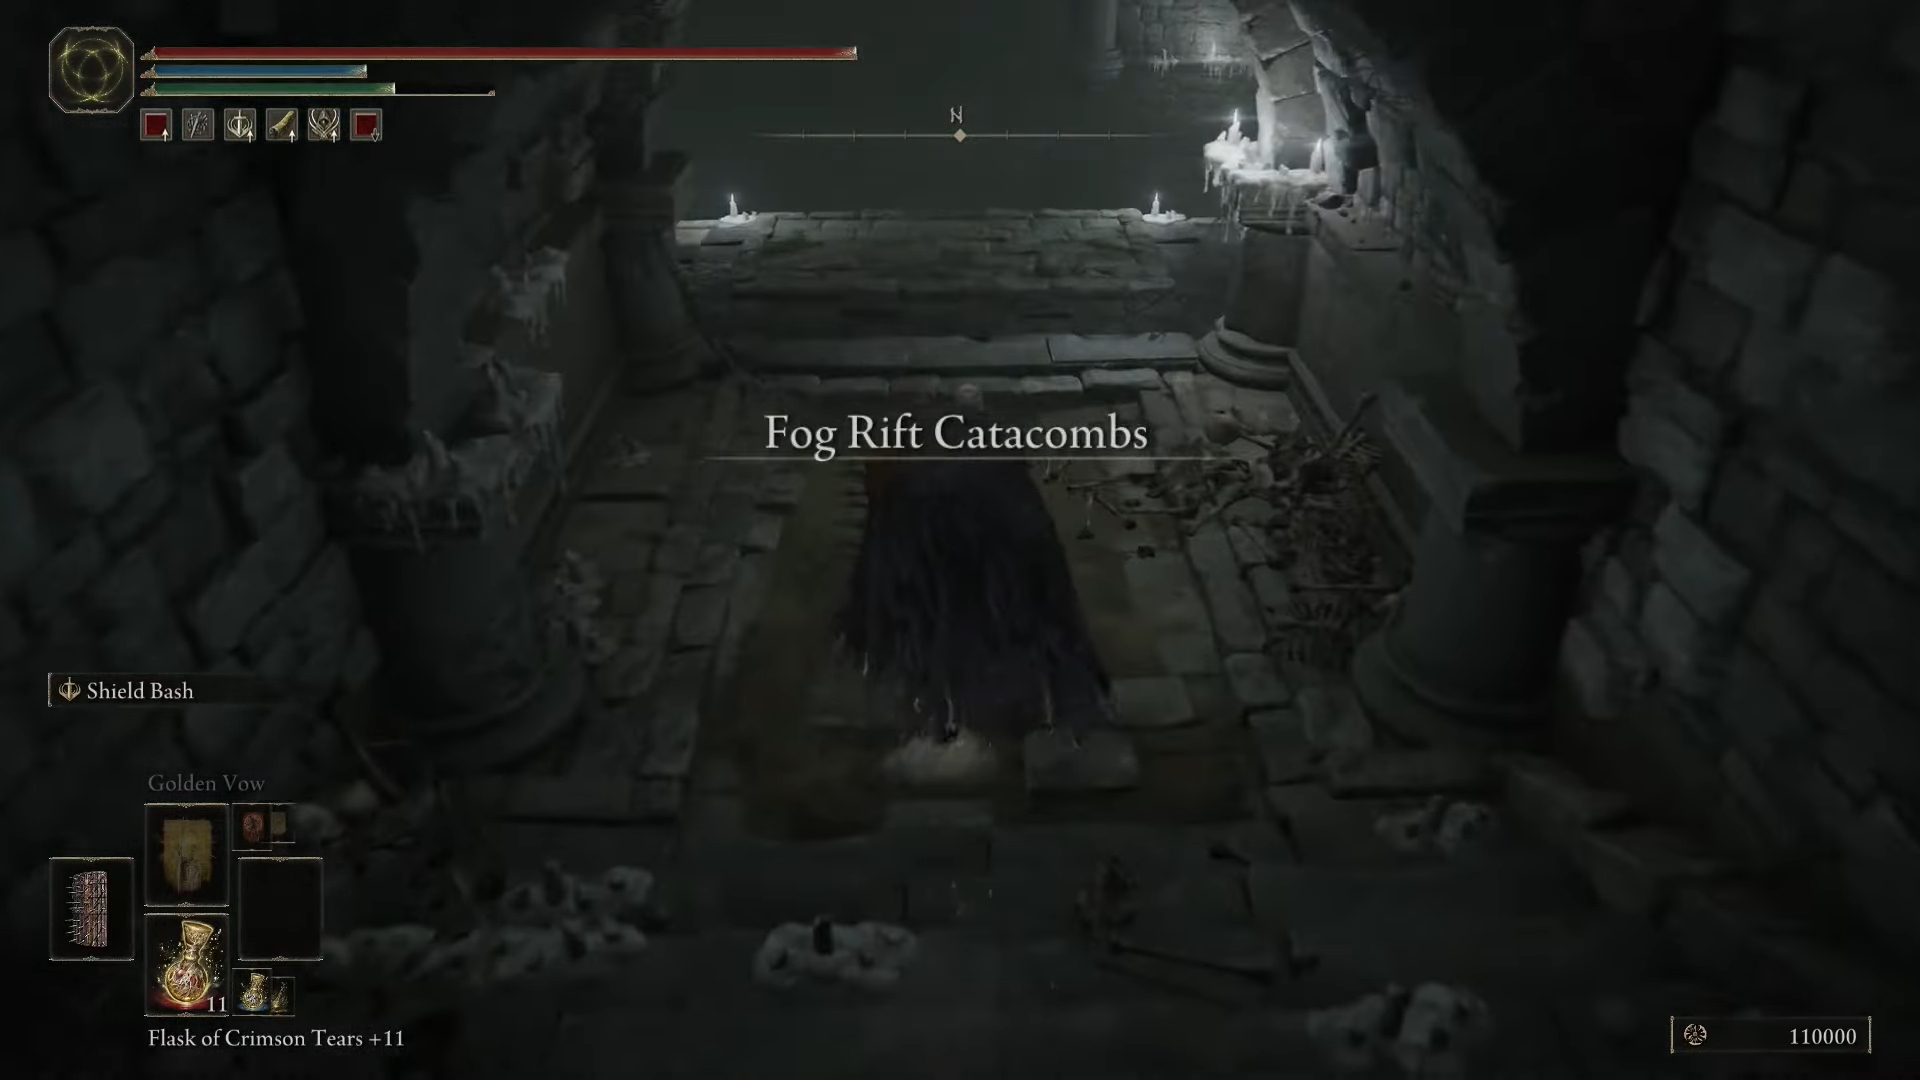
The Elden Ring: Shadow of the Erdtree is filled with terrors and dark caverns, like the Fog Rift Catacombs, a place where many Tarnished have lost their lives. Have you got the guts to try your hand at uncovering what lies beneath and take away some of its most valuable treasures?
How To Find the Fog Rift Catacombs in Elden Ring: Shadow of the Erdtree
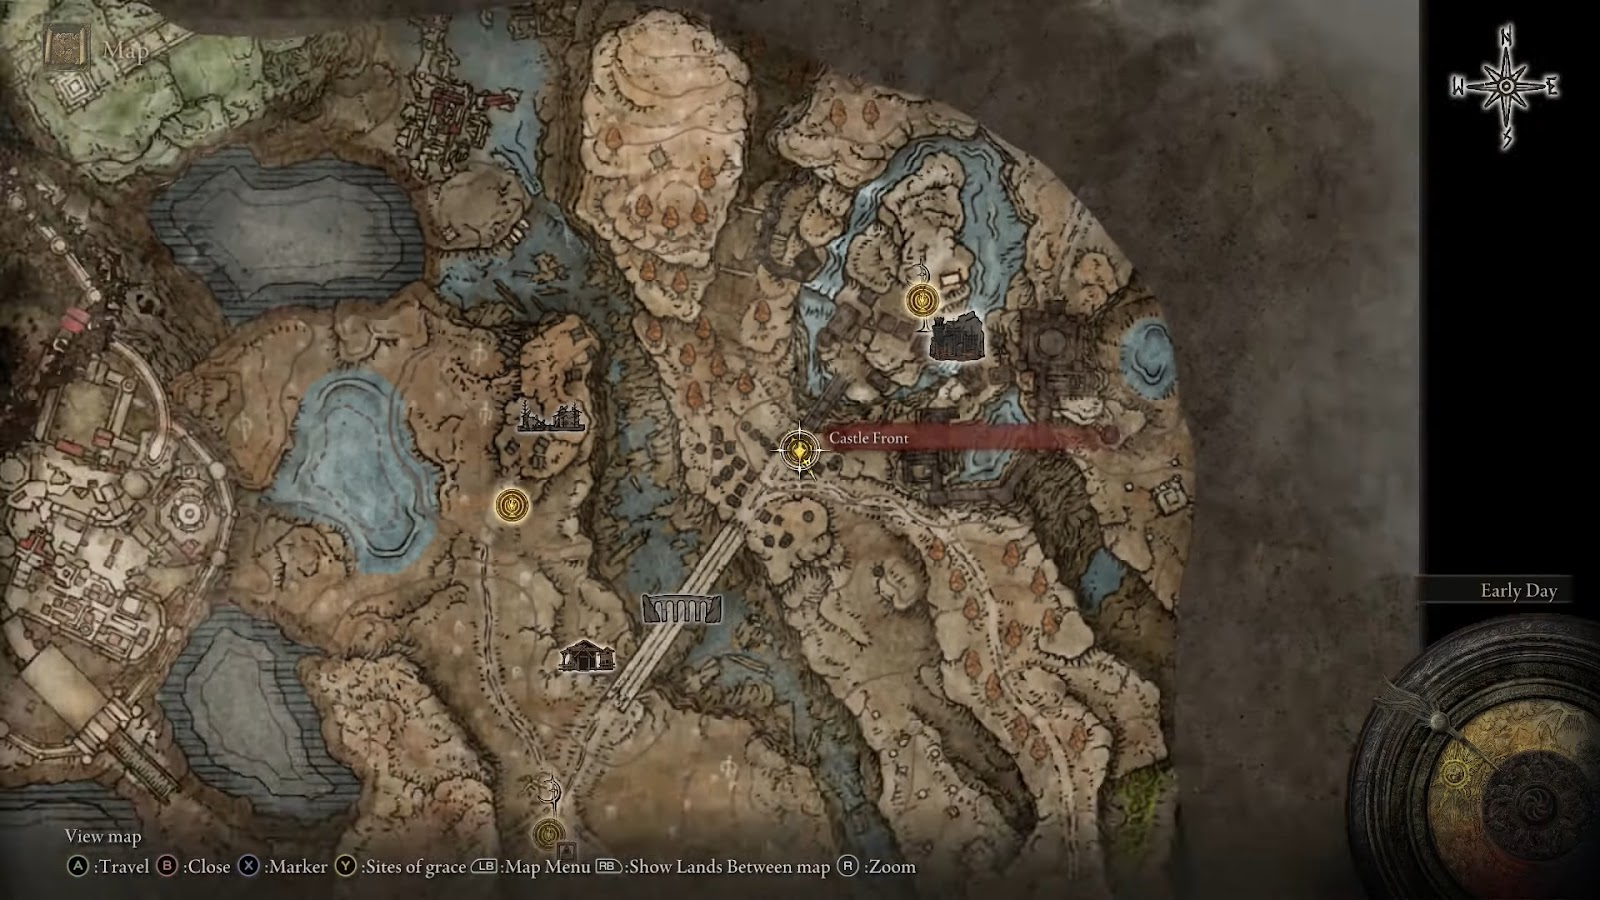
First things first, you’ll need to find the Fog Rift Catacombs entrance. Head northwest from the Castle Front Site of Grace in Scadu Altus. Make your way through the fortifications beneath the Fog Rift Fort, dealing with the Messmer soldiers as you go. Keep an eye out for fog filling the area — that’s your clue that you’re heading in the right direction. The entrance is a well-lit doorway in the northern rock face. Push open the doors, take the elevator down, and you’ll find yourself at the Site of Grace for the Fog Rift Catacombs.
Fog Rift Catacombs Walkthrough
First Encounter and Ceiling Traps
Upon entering this Elden Ring dungeon, you’ll quickly meet your first enemy: a Stone Imp. These little guys are fast and hit harder than you’d expect, so stay on your toes. Dispatch the imp and loot the nearby corpse for a Grave Glovewort [1].
Continue west to a large room where you’ll see another imp. This room is rigged with a spiked ceiling trap. Be cautious — running directly into the room will trigger the ceiling to fall, likely squashing the imp (and you if you’re not careful). Wait for the ceiling to drop, then dash through as it slowly rises. There’s an alcove on your left where you can duck for safety.
Spellcasters and More Imps
Proceeding onward, you’ll encounter a spellcaster on a walkway above, firing projectiles that slowly veer toward you. These enemies are a recurring threat in the catacombs, so get used to dodging their spells. Deal with the imp waiting around the corner, grab the Yellow Fulgurbloom, and head down the stairs.
In the next room, another imp will be on a platform above, launching fireballs. Take him out quickly. You now have a choice: go left or right. The right path has two imps, another Yellow Fulgurbloom, and a corpse with the Ancient Dragon Knight’s Cookbook [1]. The left path leads to a deeper section of the catacombs.
Intersection 1: Ceiling Routes
Heading left, you’ll come to a deep drop. A spiked ceiling will slam down as you approach. Here, you have two options: explore the ground floor or jump on top of the ceiling to access new areas. For now, let’s take the ceiling route: Jump on the ceiling and run straight across to find a platform with another imp, a Yellow Fulgurbloom, and 3 Knot Resin.
More Traps and Enemies
Continue across the ceiling to reach an area with another spellcaster. After dealing with him, you’ll find yourself on the previously mentioned walkway. Here, you’ll encounter two soldiers and a black knight. These enemies are tough, so be strategic. Lure the soldiers away one by one and sneak up on the black knight for a visceral attack. Watch out for a third soldier who will ambush you from the right. Your reward for clearing this room is a Great Ghost Glovewort.
Exploring the Ground Floor
Return to the deep drop and let the ceiling rise. Drop down and immediately roll into the new room with another Yellow Fulgurbloom and an imp. Climb the ladder in the northwest corner to reach an earlier section of the dungeon.
Back at the drop, run straight across to a new room with a staircase leading down. Loot the corpse for 2 Dragonbolt Grease and step on the lift pressure plate to descend further into the catacombs.
Deep into the Fog Rift Catacombs
More Enemies and Treasures
On this new level, kill two more imps and check under the stairs for 4 Rada Fruit and another Yellow Fulgurbloom. Head north, take out the spellcaster, and explore the room in front of you to find another Grave Glovewort [1]. Grab yet another Yellow Fulgurbloom and go down the stairs to reach a large, cavernous room.
Intersection 2: Zig-Zagging Through Traps
This room has another spiked ceiling, and there are four alcoves to use for safety. Zig-zag through the alcoves to avoid the ceiling, and watch out for the imp in the first alcove on the left. The middle-left alcove contains a giant hole leading to sewer passageways filled with oozes and another spellcaster. Down here, you’ll find 6 Yellow Fulgurblooms, a Ghost Glovewort [4], and an Electrocharge Incantation.
Hidden Treasures and Final Traps
Back in the main room, take out the spellcaster and four imps guarding a chest with a Shadow Realm Rune [3]. Use the spiked ceiling to reach a hidden alcove with the Blinkbolt Ash of War. Nearby, you’ll find an altar where you can turn your Stone-Sheathed Sword into the Sword of Darkness.
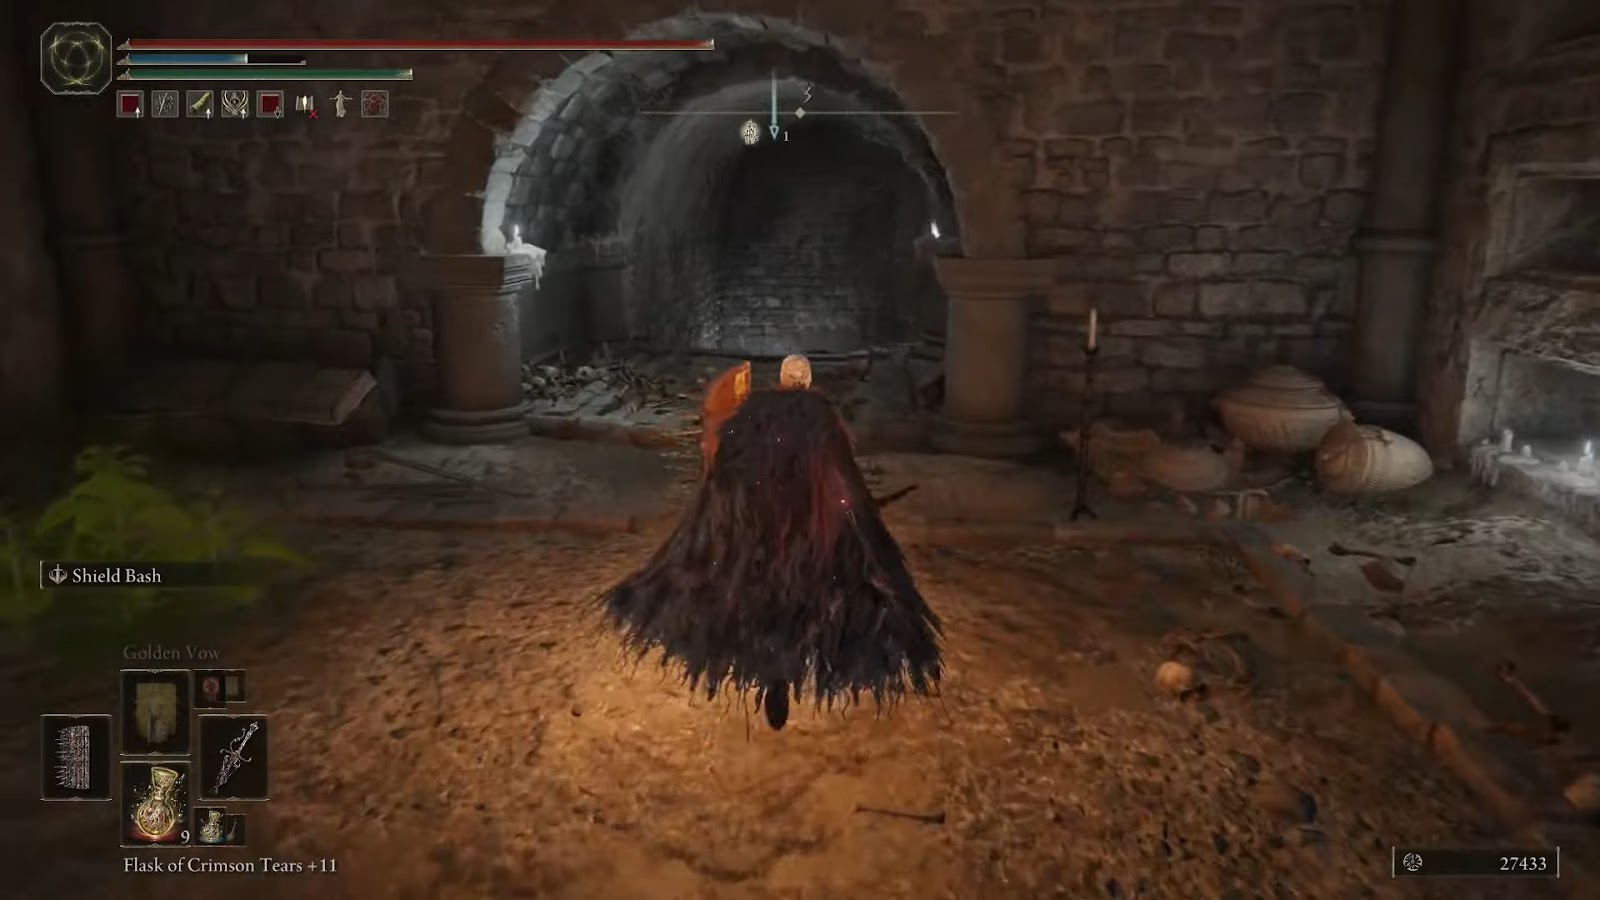
Boss Chamber
At the end of your journey through the catacombs, you’ll reach the fog door leading to the boss chamber. Prepare yourself — it’s time to face the Death Knight.
Boss Fight: The Death Knight
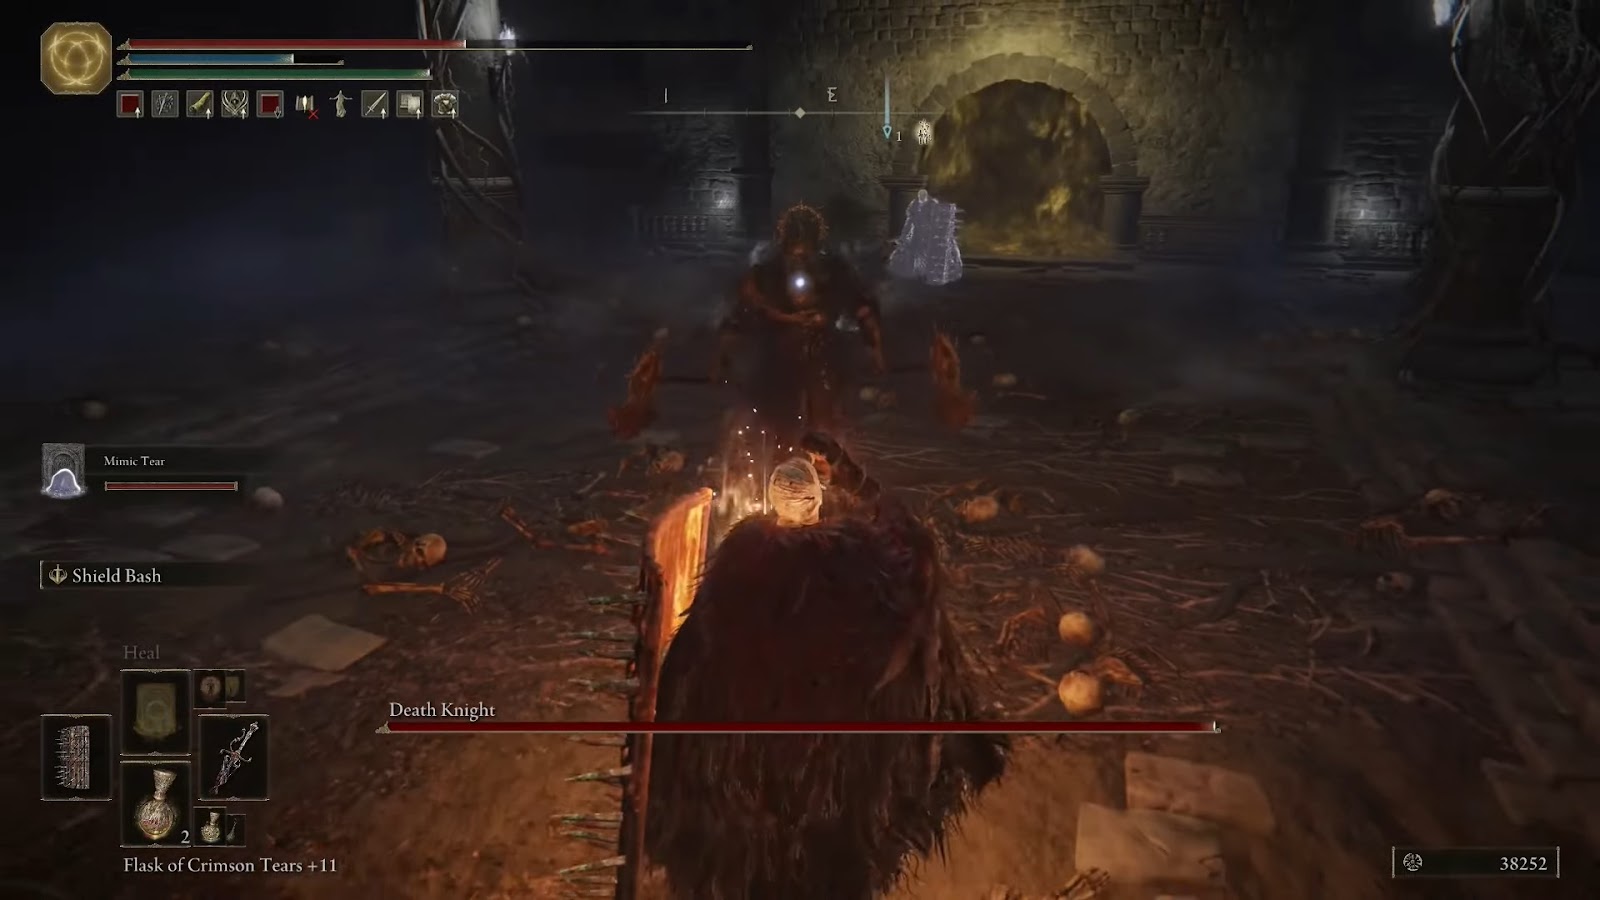
The Death Knight is a formidable foe, wielding dual axes and conjuring electricity for devastating attacks. He’ll start by summoning two lightning bolts, which you can dodge or block using the pillars in the room. He also performs wide arcing swings with his axes and a grab attack if his cape transforms into wings. This move is telegraphed by a gust of wind, so start rolling to avoid it.
The Death Knight’s attacks can be punishing, but they have clear tells. When he swings his axes in wide arcs, dodge to the side and counter with quick strikes. If he pulls both axes to one side and they start sparking, he’s about to unleash a devastating slash followed by a ground-shocking AoE attack. Jumping can help you avoid the electrified ground.
At times, the Death Knight will quickly turn and spin towards you, which deals considerable damage if it lands. The key is to stay mobile and keep your distance when you see him winding up. His grab attack is the most dangerous — when his cape forms wings, he’ll dash toward you, trying to catch and drain your health while restoring his own. Roll away as soon as you see the wings to avoid getting caught.
Tips for Success
- Heavy Attacks and Poise Damage: The Death Knight can be staggered by heavy attacks. Use jumping heavy attacks to stagger him and stop his moves.
- Bleed and Holy Damage: Weapons or gear with bleed or holy damage are especially strong against Death Knight.
- Lightning Resistance: Things like a Lightningproof Dried Liver can help in absorbing Death Knight’s lightning attacks.
- Summons: Calling upon the help of spirits can provide a brief distraction, which would allow you to land some hits on the boss.
- Dodge and Counter: Death Knight’s attacks have long windup times, so time your dodge as it reaches your way and counter with a melee strike.
You may have to do this a few times, but you’ll ultimately defeat the Death Knight if you’re persistent. Take him down, and you’ll receive the Death Knight’s Twin Axes, Crimson Amber Medallion [3], and a nice 110,000 Runes.
Clearing the Fog Rift Catacombs in Elden Ring Shadow of the Erdtree is no small feat. It will test your skills as a Tarnished, from challenging enemies and traps to the boss itself. But the payoff is great, and you get immense satisfaction when you finally beat the Death Knight.
Elden Ring is available now.


Published: Jul 13, 2024 04:46 pm