
Depending on how you’re progressing, Faron Temple will be either the fifth, sixth, or seventh dungeon you tackle in The Legend of Zelda: Echoes of Wisdom. Here’s how to complete it and grab every treasure along the way.
Table of Contents
Faron Temple Walkthrough Part 1

Upon entering Faron Temple, activate the waypoint. There’s actually nothing you can do in this room with the gate closed, so exit the temple. There are six other entrances to Faron Temple in the wilderness, so head east and look for a ladder surrounded by tall grass. You’ll find yourself in a waterway and have to swim to the left. An Armos is blocking a chest with a purple rupee in it so defeat it, then swim up. This room will feature several moving blocks and three green crystals. Summon some Buzz Blobs onto the moving platforms that pass the crystals, which will cause the door to open once all three are electrified. Inside this room is the dungeon map and a switch that will open a door that will take you back to the dungeon’s entrance.
In the main room, hit the switch to lower the gate, allowing you to enter the temple normally. Head down the ladder. Here, you’ll have to summon several heavy enemies to lower the platform and then dispel them to raise the opposite one. Once you cross the gap, you’ll be in a room with a bottomless pit. Use a Wizzrobe to defeat the Deku Babas around the room. Once they’re dead, use Strandtulas to navigate the gap, making sure to use one to climb up the shaft in the middle of the room to get the ten warm peppers in the chest. Go left to find yourself outside the temple again. Head back in through the main entrance and go left.
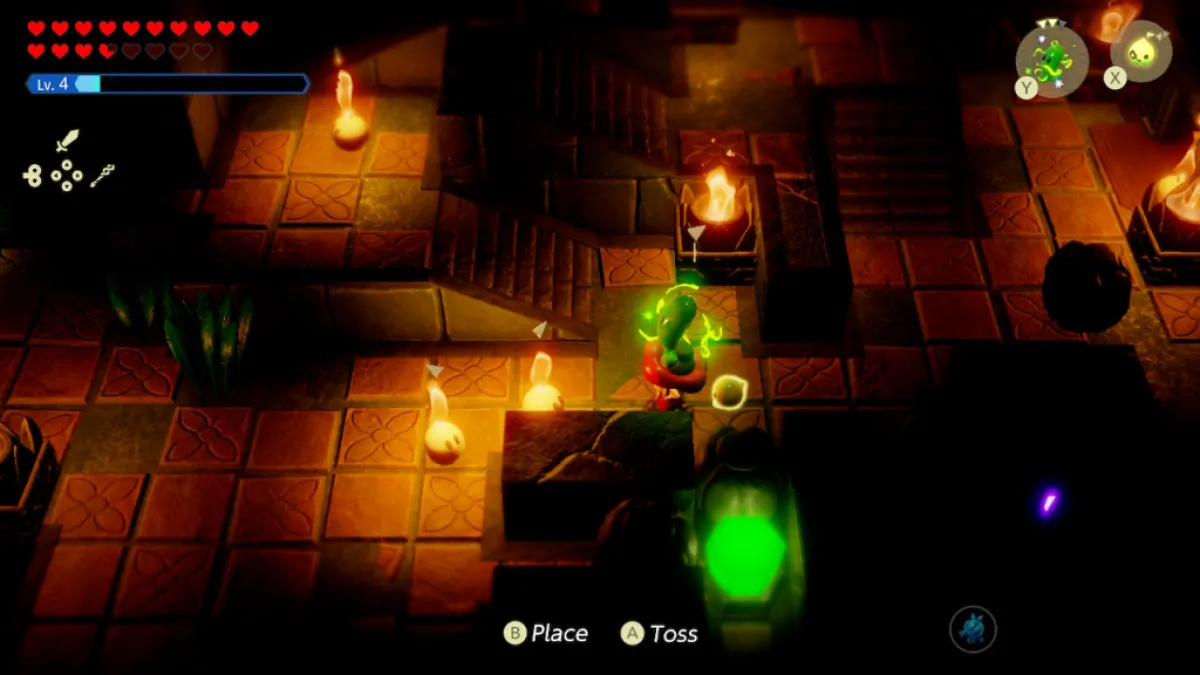
Defeat the Electric Keese on land, since getting hit in the water will electrify you. Once it’s dead, go down the stairs into the darkly lit room. Use either a fire-based echo, or preferably an electric one, and navigate to the top left of the room, defeating the Lv.2 Deku Babas and activating the waypoint in the room. If you drop an enemy like a Buzz Blob in the water they’re in, they’ll electrify the area surrounding them, enabling you to beat them quickly and without much effort.
Go up the stairs to see another weight puzzle. Summon heavy objects onto the platform on the right, which will raise the platform on the left just enough to create a gap. Activate Swordfighter Mode, then shoot an arrow into the switch, opening several doors. Climb up to the chest to get the small key, then climb up the ladder to the fourth floor.
Here, you’ll find two Beamoses, a Baby Gohma, and a lot of spiderwebs. To destroy a Beamos, hit them with any attack then throw a bomb at them. When they’re all dead, exit the temple, cross over to the opposite side, and enter it. Here, you’ll find three spread-out green crystals. Target each crystal with an Electric Keese, and if you’re fast enough, they should all stay active at the same time, resulting in another chest appearing with a small key. Exit, then drop down, and head back to the temple entrance. Now, head up the stairs and use a small key on the door to fight the first miniboss in Faron Temple.
How To Fight Manhandla
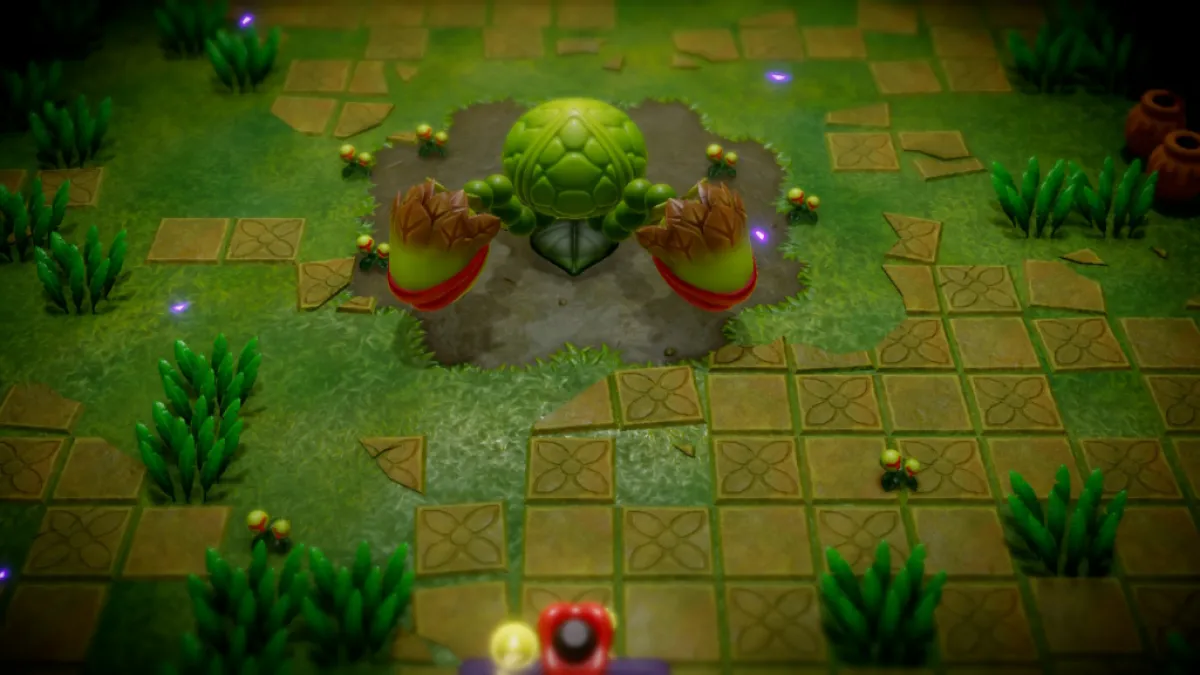
Manhandla is a surprisingly easy boss this late into The Legend of Zelda: Echoes of Wisdom. Its attacks are fairly basic and obvious, and it barely even feels like a fight. It has two main attacks – slowly sending one of its two heads out to attack you and the plant’s core shooting out poison gas if you stay too close to it. All you need to do is hit each head repeatedly until it gets stunned. This can be done with any tough Echoes or even Swordfighter Mode. Once a head is stunned, run up and attack the red part of its stem until the head is detached. Be aware of the poison gas, but you can honestly tank the hit and end this fight in less than a minute. When both heads are beaten, the plant escapes, and you don’t get anything for it.
Faron Temple Walkthrough Part 2

With that odd boss fight out of the way, travel to the waypoint on the second floor of Faron Temple (it’s the one in the dark room) and head to the right. Use the small key to open the door and head down, nabbing a golden egg from the chest. Head back up, then go south. There are spikes on the floor, so don’t forget to light up the room as you make your way down. Here, the door will lock behind you. You’ll have to activate both of the tiles in the middle room at the same time. Thankfully, you just need to activate the Armos, who will constantly walk back and forth onto the switch. Just move over to the left and step on the switch when the Armos steps onto it on his side. Both doors will open, so head right, activate the waypoint, and dive into the water, taking you out of the temple once more.
Here, summon an Ignozil and burn the small spiderweb on the wall, revealing another entrance to the temple. Again, summon an Armos and have it walk into one of the two timed switches as you stand on the other one, opening the next door. You’ll be locked into a fight with a Baby Gohma and an Electric Wizzrobe. Defeat them, then head north. In this darkened room, once again head north, lighting the way with fire enemies, until you hit the waypoint. Activate it, then head east. There’ll be a mass of spiderwebs blocking a ladder down, so burn the webs then climb down.
In this underwater section, you’ll have to navigate a small maze with jets forcing you along a set path. Go to the bottom of the room and use Bind to move the boulders to open the path. Then, swim up slightly and move the Armos statue as far to the left as possible. Swim back down, then defeat the Biri blocking the wall. Swim up to the large jet near the Armos, then use Bind to lift it and drop it into the jet, freeing up the path to the ladder. Before you circle back to where the Armos was, swim up to the top left of the room and use waterblocks to reach a chest with a purple rupee. Now, you can swim back around and go up to the ladder.
Once you climb up the ladder, you’ll enter a dark room where you’ll find both the doors to the left and right locked. First, use Ignizols to burn the spiderwebs, light the torches, and defeat the Baby Gohmas. With everything now cleared, summon a Buzz Blob and use it to hit the three green crystals in the room. One is at the top of the stairs, another is by the ladder you entered the room from, and the last one is at the bottom of the room behind a boulder. Once they’re all lit, the doors will unlock. Head west.
In this room, defeat the Baby Gohmas, then focus your attention on the two platforms at the top of the room. You’ll first have to balance out the scales by making sure each platform has only one rock on it. Then, summon an Armos on each platform and have them move in sequence so that they step on the time-sensitive switches simultaneously. If one of them is summoned out of sync, simply bind it and release it to better configure the timing of them. When successful, go to the room to the left and get the small key. Then head down the steps to reach the boss door. Activate the waypoint there, then teleport back to the dark room on the same floor with the spiderwebs on the floor.
Go to the ladder near the top of the room and climb it. In this room, weigh down the left platform with two boulders, squeeze your way out on the righthand side of the platform, and then make a staircase with boulders to reach the locked door. Open it, then go down the ladder. Be sure you heal up because you’ll be thrown into a rematch against Manhandla.
How To Fight Manhandla Round 2
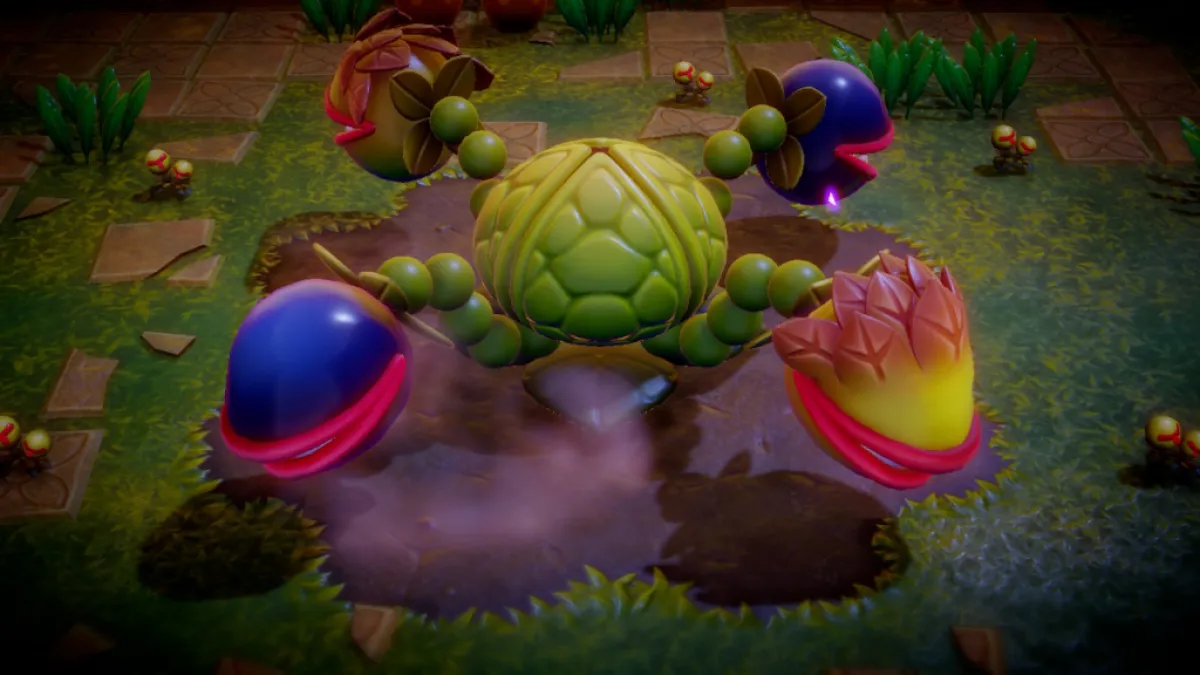
Manhandla is back, and now he has four heads. The fight is relatively the same as the last encounter, but now you have a few more things to worry about. While Manhandla’s yellow heads will still attack by jutting out and the body will still spew poison gas every now and then, the blue heads are invulnerable to attacks and will still out a spread of seeds to damage you. You’ll defeat the yellow heads the same way you did in the first round (stun them with attacks, then target the red spot on their stems), but the blue ones need a different approach.
The blue heads will always stay close to the main body to hide their weakness. Plus, their heads are resistant to damage. What you’ll want to do is use Bind to pull one head out, then summon an Echo to attack the weak spot. I personally used a Darknut Lv. 3 for its wide-spin attack, but you’ll want to bring an Echo that can lay down some heavy damage regardless since Swordfighter Mode isn’t the ideal way to defeat it. Once he’s dead, you’ll have the boss key and can teleport back to the boss door, ready to fight the actual dungeon boss.
How To Fight Gohma
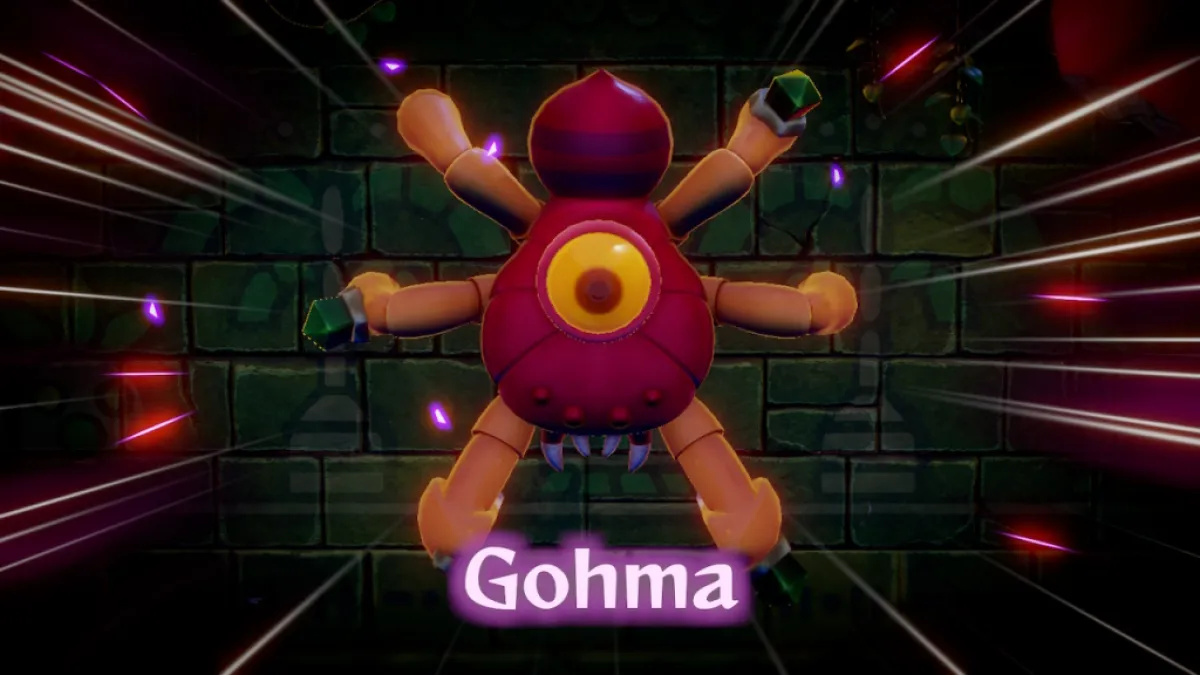
It was only a matter of time until The Legend of Zelda: Echoes of Wisdom brought out a Gohma fight. Gohma will shift between two different attack styles – one when they’re resting on the wall and another where they’re on the ground chasing you. If Gohma is on the wall, they’ll attack you by summoning Baby Gohmas and shooting spider webs on the floor. Plus, if you leave them up there for too long, they’ll shoot a laser from their eye that will track you. When they’re on the ground, Gohma will launch a wide swing attack or chase you down and attack you with its front pincers.
The goal in this fight is to hit the green crystals on Gohma’s body with electric attacks. The best Echo to do this is an Electric Wizzrobe. Target one of the gems, then summon the Wizzrobe. Provided that Gohma isn’t rotating or moving around, the Wizzrobe’s electric attack should hit Gohma. Rinse and repeat until all three gems are hit, and when Gohma falls, activate Swordfighter Mode then jump onto its back and slash at the giant eye.
This strategy is the same regardless of whether Gohma is on the wall or on the ground. If Gohma is on the ground, the best opportunity to use the Wizzrob’es electric attack is after the pincer attack when they’re lodged into the ground. Depending on the angle you’re at, you should be able to get two pincers. If you’re having difficulty, swap out the Electric Wizzrobe for some Buzz Blobs and chuck them at each crystal while Gohma is moving around the arena. Provided you have an Electric Wizzrobe, Gohma should go down without much of a challenge, earning you Farore’s Sanction!
And that’s everything you need to know to clear Faron Temple in The Legend of Zelda: Echoes of Wisdom. Check out more walkthroughs and tips here.
The Legend of Zelda: Echoes of Wisdom is available now on Nintendo Switch.


Published: Oct 9, 2024 11:50 AM UTC