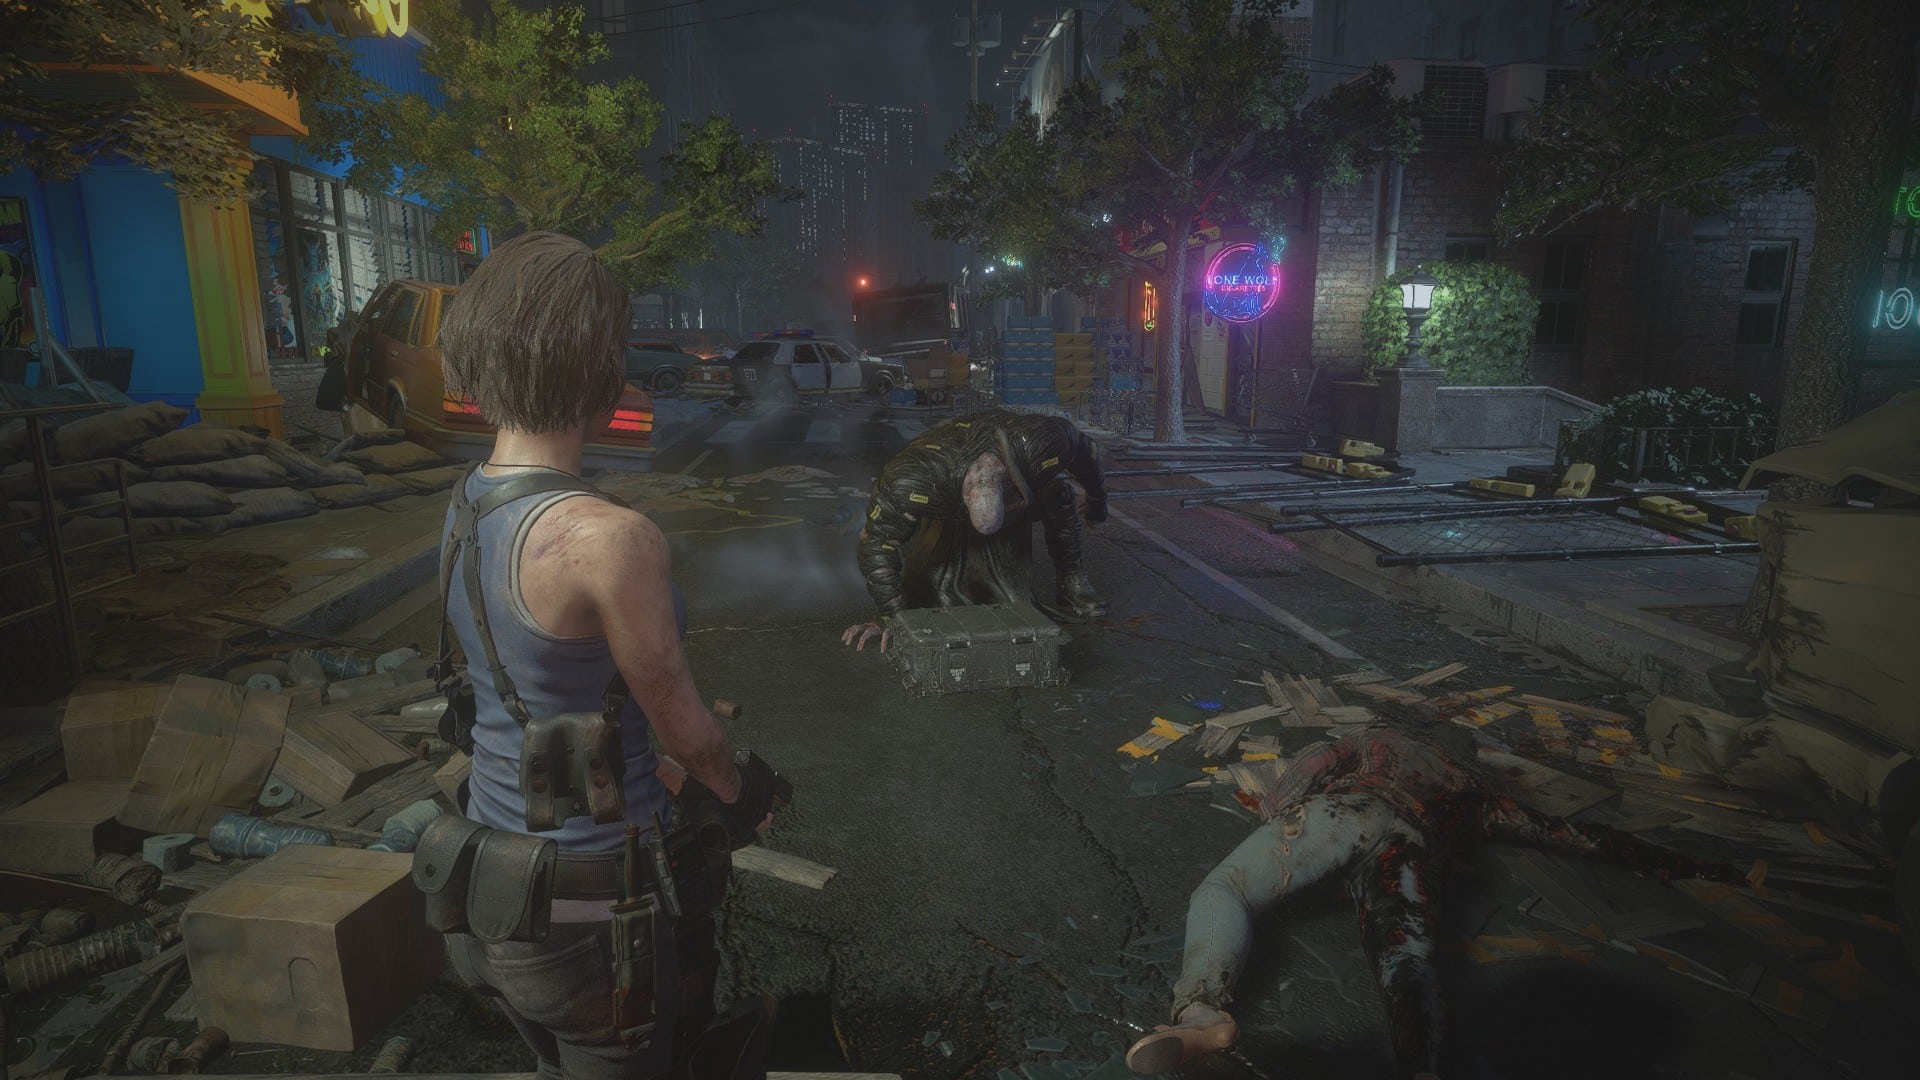
Resident Evil 3 is an exciting, often high-octane romp through a city collapsing under a viral pandemic. Jill may be the master of unlocking, but doors aren’t the main enemy here. So to help Jill (and you) survive Raccoon City and the beastly Nemesis, here are 10 tips and tricks to make Resident Evil 3 your… last escape.
Master the dodge and counterattack.
Returning from the original game is Jill’s dodge maneuver – although this time it’s much more useful and easy to execute. Just hit that dodge button at the right time and Jill will go stumbling away – but be careful you don’t dodge into a wall or the waiting jaws of a zombie. Time it right during an enemy attack and Jill gets a slow-motion roll, enabling precision shots on a weak point with increased critical chance. It’s well worth practicing the timing of a perfect dodge, especially against Nemesis and Hunters.
Carlos’ response to the dodge is a powerful straight punch that floors anything it hits. It’s incredibly useful and will stop you getting your throat ripped out by pesky Hunters. The timing feels different than Jill’s dodge, so practice with Carlos too. As a bonus, a non-perfect shoulder barge will momentarily stun a zombie or keep a grounded zombie floored if it’s trying to get up – which is very easy to abuse for knife kills.
Don’t rely on the knife often – except against boxes.
Speaking of, the knife is mostly useless. Resident Evil 2’s high FPS damage scaling is no more, meaning your individual stabs are a lot weaker. They will pierce though, meaning you can hit multiple close floored enemies at a time. The knife fills a very specific niche – box opening. All those wooden boxes won’t open themselves, and the knife will save you a bullet.
There are a few ways to use the knife effectively in combat in Resident Evil 3. If you have one zombie on the ground, you can carousel around it, stabbing to your heart’s content and saving your ammo. But the knife really shines when combined with the perfect dodge counter – a handful of these can actually down Nemesis.
Crate contents are often random.
Breakable crates return, waiting to dispense goodies in exchange for violence. Breaking a crate will drop a low-rarity item of some description. A handful of these crates have fixed contents; most others have a tendency to drop handgun ammo, gunpowder, or an herb. If you don’t get what you really need from a crate, you can always save scum for a different result. Just don’t expect a First Aid Spray or Magnum ammo – it’s not happening.
Locker contents are not random.
Throughout Resident Evil 3 you’ll find various lockers – unlocked and locked. All locker contents seem fixed, so take what you get and be happy. Locker loot tends to be decent, and lockers locked with a simple lock can have their lock picked with the Lockpick, often leading to a First Aid Spray or Grenade. Safes also have fixed contents, and you really shouldn’t skip them.
Grenades are good.
Grenades are great! Save a few for boss battles, but don’t be too conservative. If there’s a huge pack of zombies or a couple of annoying Hunters bunched together, use one. One Grenade will also knock stage 1 Nemesis out instantly, giving you nearly a whole minute of breathing room – and some sweet, sweet loot.
Know Nemesis’s down states.
Nemesis has two “down” states. One is a brief 15-20-second stun, caused from enough gunfire to his chest piece. This is shown by Nemesis dropping to a knee with a grunt. The other is a proper knockout, caused by repeated stuns or an explosion. This is telegraphed by Nemesis throwing up his right arm with a roar, then kneeling while mechanical pumping sounds creepily echo from his chest. This second state lasts much longer – nearly a minute – and Nemesis will also drop some goodies the first time this happens in each area, such as…
Weapon upgrades are key.
On a few occasions, downing Nemesis into his healing state will force him to drop upgrade parts. These can be combined with specific weapons to increase a variety of parameters, just like in Resident Evil 2. Most upgrade parts are found in the world in attache cases or safes, and they can really enhance your guns. Don’t worry if you’re finding it hard to locate them – we have a guide for that.
Manage inventory space.
Just like in previous games, you have limited inventory slots in Resident Evil 3, making careful management key to survival. At the beginning on Normal or higher, you have eight slots, but as you go on you can find Hip Pouches that will upgrade your inventory by two slots each, to a normal total of 16. You’ll need every one you can get.
Common resources are plentiful.
Resident Evil 3’s action focus means you’ll be doing a lot of shooting. Thankfully, you get plenty of handgun ammo, so don’t worry too much about running low. You still need to practice moderation – so don’t go shotgunning all the zombies in the head just yet – but for the most part, you get enough ammunition to take on everything you need to.
Completing records gives you points.
Like Resident Evil 2 before it, Resident Evil 3 has a set of records you can achieve during gameplay. They’re all listed in the Records menu, although some details for some records are blacked out. Each one unlocks either a model or some concept art, and all will give you an amount of points commensurate to the difficulty of the task. You’ll want as many points as you can get for your second run-through – you’ll find out why. Records are cumulative over all of your playtime, so don’t worry if you don’t kill 2,000 zombies in your first run.
If you apply these Resident Evil 3 tips well, your time in Raccoon City can be much easier. If you’re still stuck and want to get the most out of socially isolating yourself from mutant murderers, check out our other guides:
- Resident Evil 3 Guide: All Weapon Modification Locations
- Resident Evil 3 Guide: All Puzzle Solutions, Safe Codes, Lock Combos
- Resident Evil 3 Guide: All 20 Mr. Charlie Doll Locations


Published: Apr 2, 2020 07:00 am