
Collecting things and Destiny 2 go together like a very expensive beef patty and a very cheap cheese, which everyone knows is the real secret to the best burgers. Hunger aside, the Visions of the Traveler were added to the game in The Final Shape.
There are eight of them in total, and this is where to find them. I’ll be aiming to bring from the first to the in one big circuit of the game’s map, so let’s get to it.
All Vision of the Traveler locations
Vision Location #1 – The Lost City
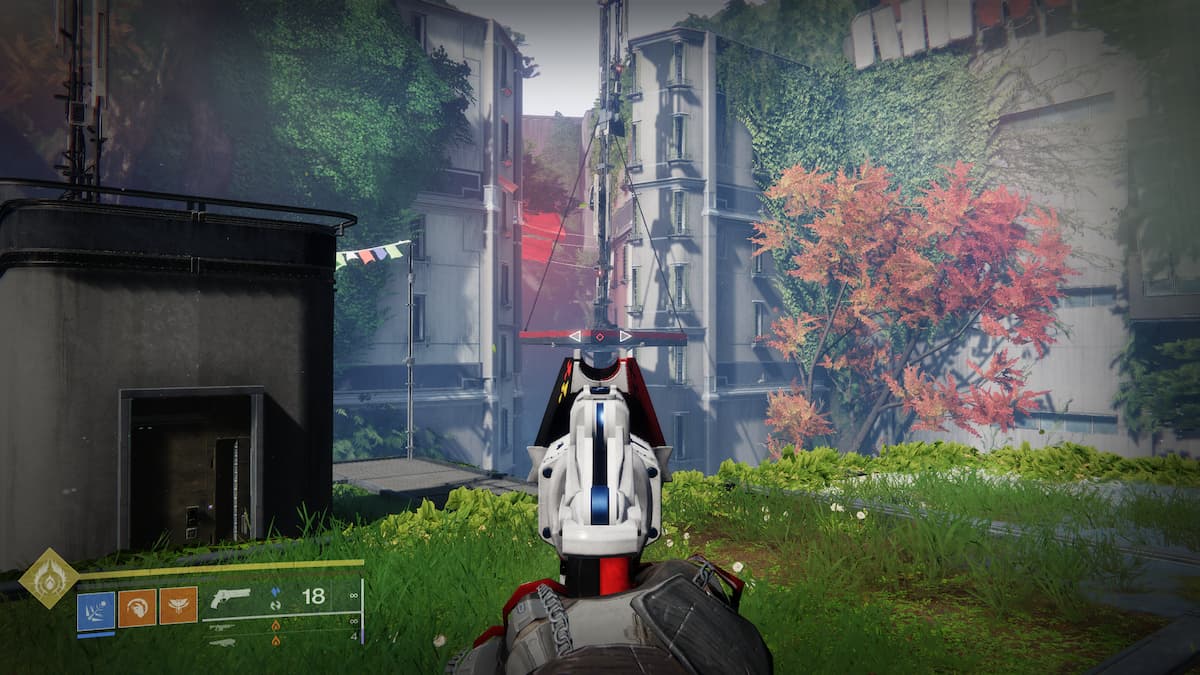
Spawn at the Lost City landing zone and make your way down the stairs to where Micah can be found. Drop down through the gap on the right and make your way out the door. Just in the distance, a little to the right, you will see a platform with a red border. Jump across to it, and then down the gap in the building. Run straight ahead, jumping any gaps until you come to some waterfalls. On the ledge of the one on the left, you will find the first Vision.
Vision Location #2 – The Landing Zone

Thankfully, this one is very easy to get. Spawning at the landing zone in The Landing, turn to the left. You will see a waterfall beside the cliff. Drop down there, and the next Vision will be tucked away beside the rocks.

Vision Location #3 – The Refraction
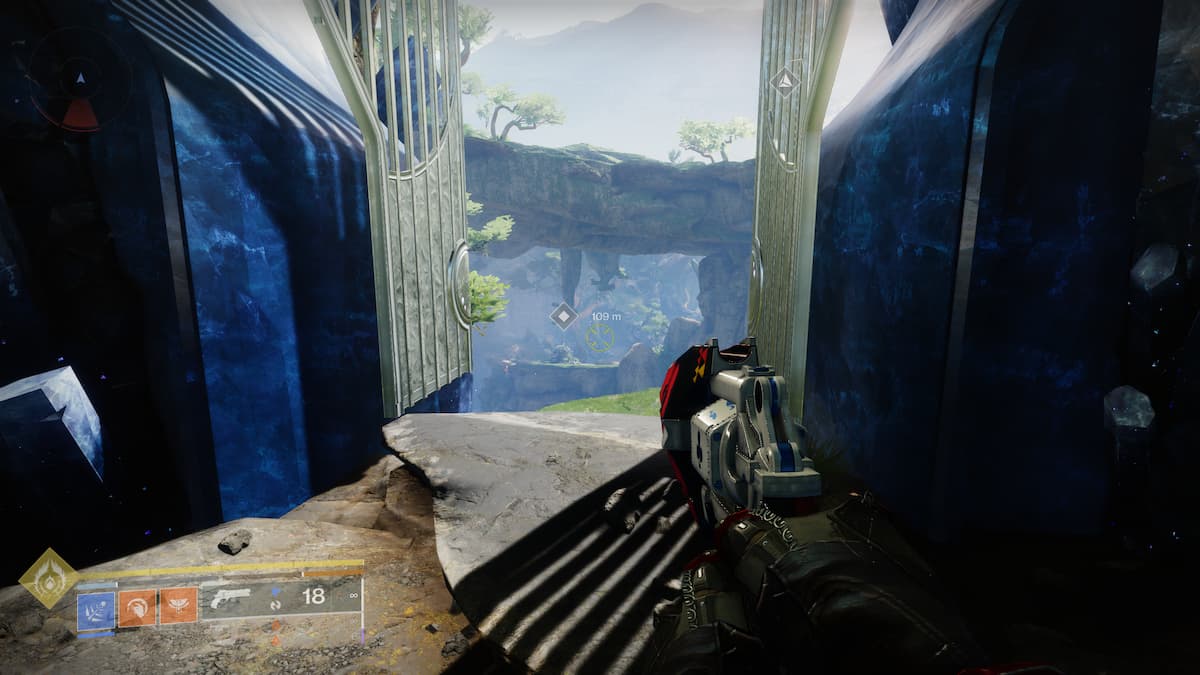
The Refraction is the zone that exists between The Landing and the Blooming. It’s where you had to go after solving the puzzles while searching for Crow during the campaign. Hop on your sparrow and make your way there. You will be happy knowing there is only one route, so just follow it until you come to the door opening into a new outdoor area, as shown above.
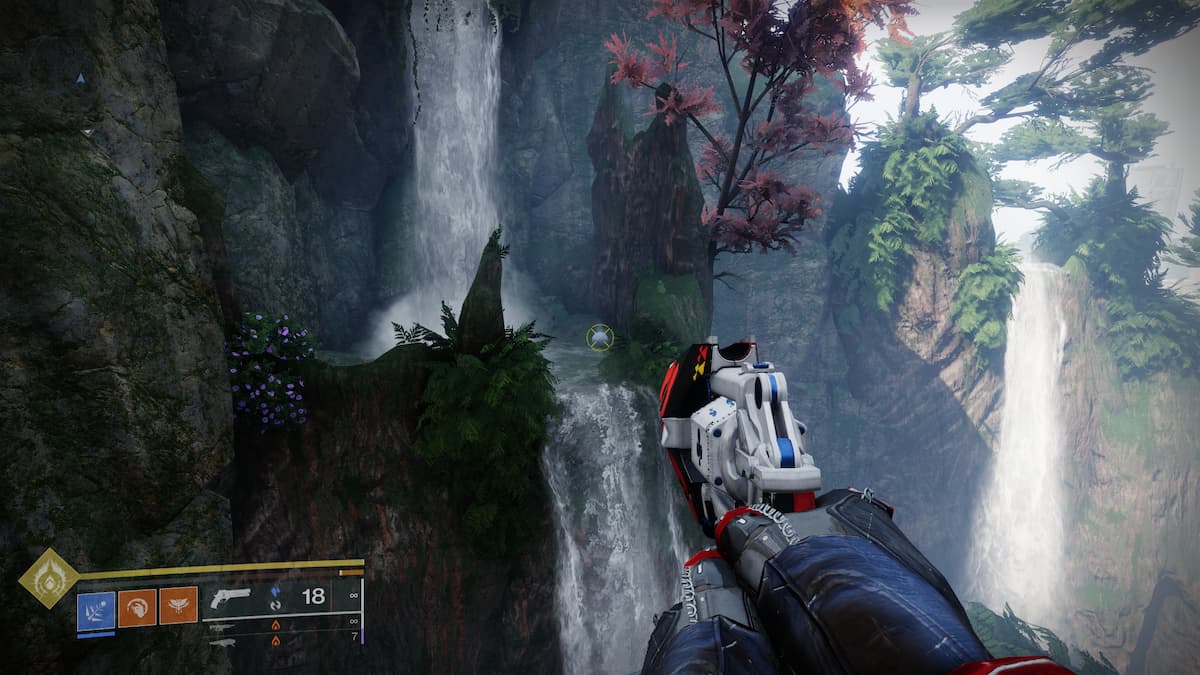
Walk forward off the cliff just ahead, then turn around and land on the ledge below you. You guessed it, another waterfall! Walk to the end of the stream that supplies it to find vision number three.

Vision Location #4 – The Blooming

Up next, we are off to the Blooming. From the landing zone, turn slightly to the left and follow a straight line to the large exit from the area with the glowing golden light that leads into the Seclusion. You can find the Vision in the branches of a tree near the exit. You will need to climb up to get it, and this climb is a little awkward, so be patient.

Vision Location #5 – The Searing Light Cyst
This one takes place in the Searing Light Cyst mission. This is the mission with the large burning totem in the center that you need to switch off by breaking crystals, then you take out the boss. The good news is that you don’t need to quite that far into the mission, but you might as well finish it up while you are there.
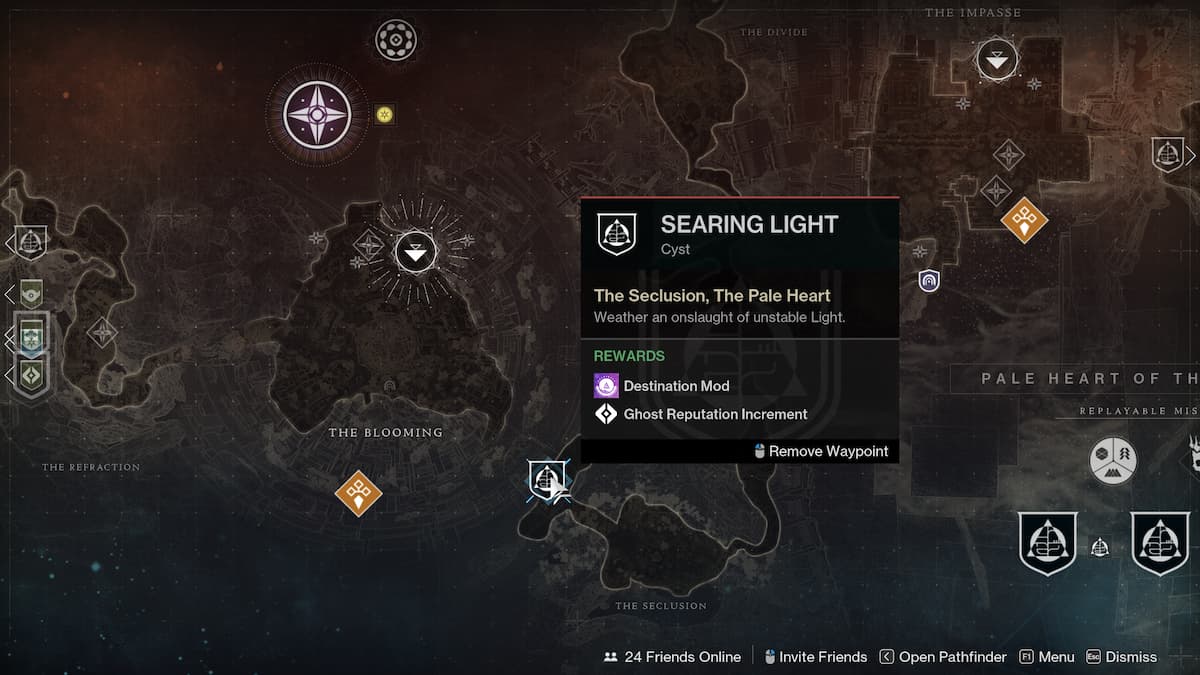
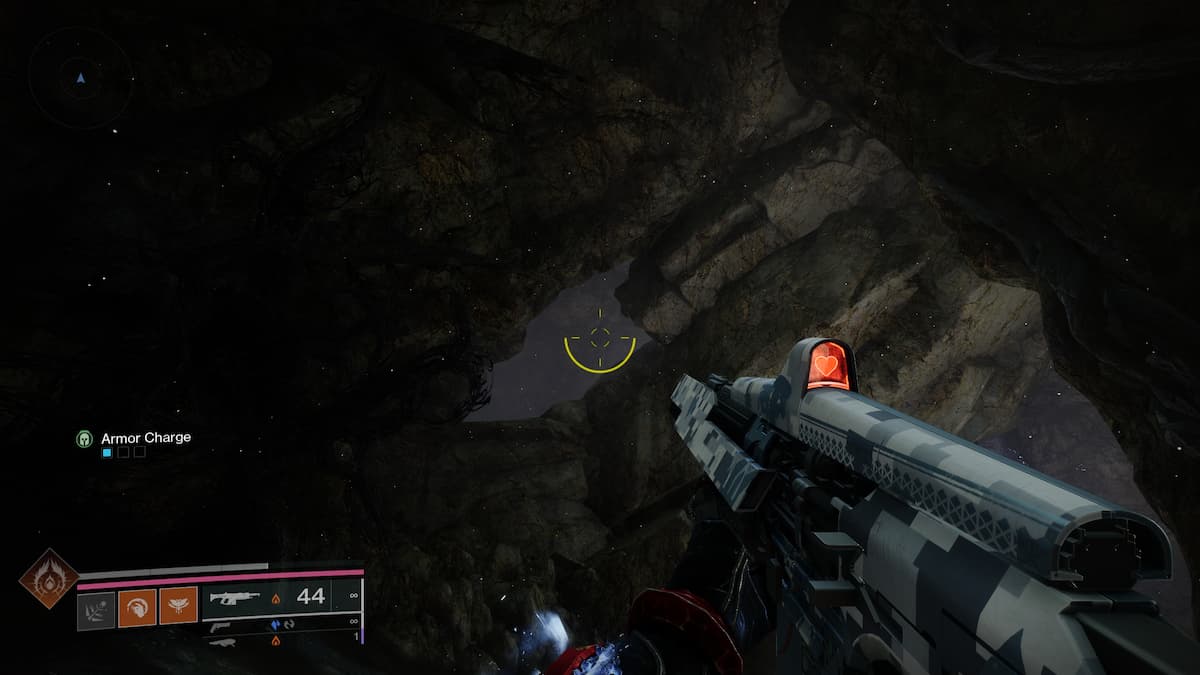
The location of this Cyst is shown on the map above. Keep in mind you may be at a point in your Cyst rotation where you need to interact with the spectral bird near the entrance to the Seclusion to switch it, so do that if you need to. Click on the Cyst node on your map, then follow the bird until it flies into a golden portal in a cavern. This will bring you to Zavala’s home, and you can run to the top of the area, into a waterfall, and shoot the relevant glyphs behind it to open the Cyst. Make your way through until you are almost in the room with the burning totem, then turn around. To the top left, you will see a hole in the wall. Jump up and inside, and you’ll find the Vision in there.
Vision Location #6 – The Divide

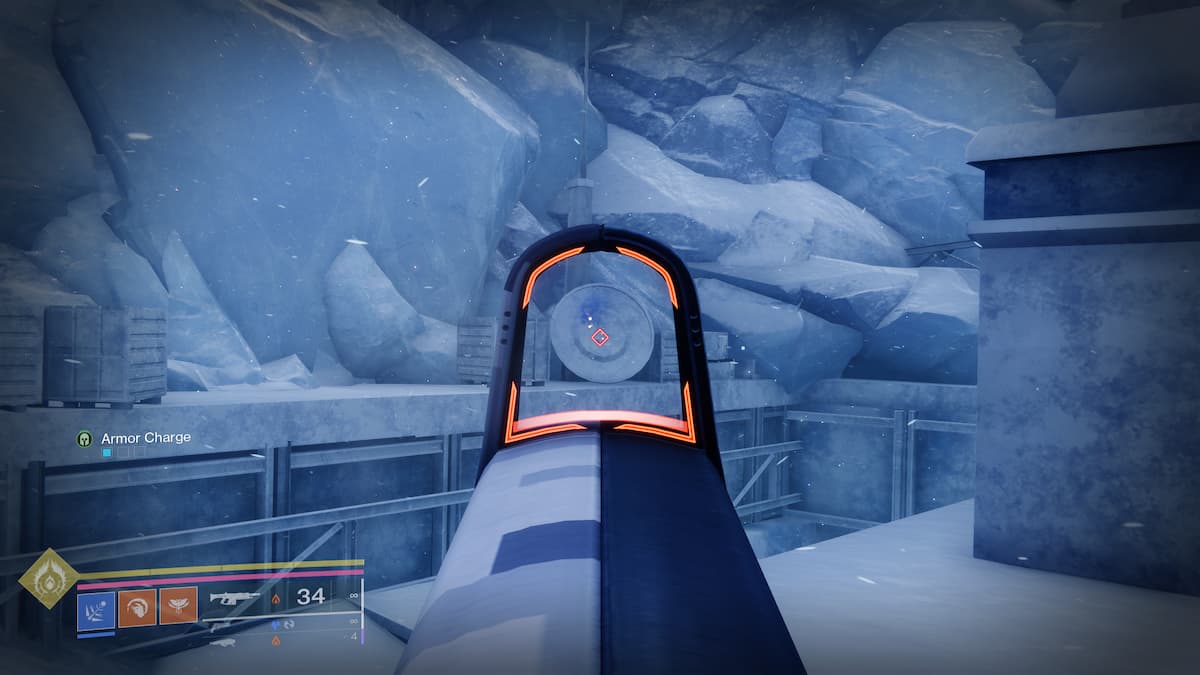
Up next, we are going a bit of mountain climbing. That’s right, back up the sheer ice cliff again. The quickest way I know of to do this is to spawn at The Impasse, then turn around and go in the door in the massive Cosmodrome wall behind you. Now, continuing going all the way through the corridors beyond. There is only really one route to go here. You will come to ice caves and should keep going forward. Eventually, you will come out on the side of the mountain.
Turn to the right and start your climb. You need to go all the way to the end, which means climbing for quite a while. Go past the crash plane, up the sheer wall with the jumping platforms, and then all the way to the end, where will find the descending elevator shaft. Do not go down that, instead, jump up on the roof outside, on the left side, and go behind the round dish.
Vision Location #7 – The Impasse
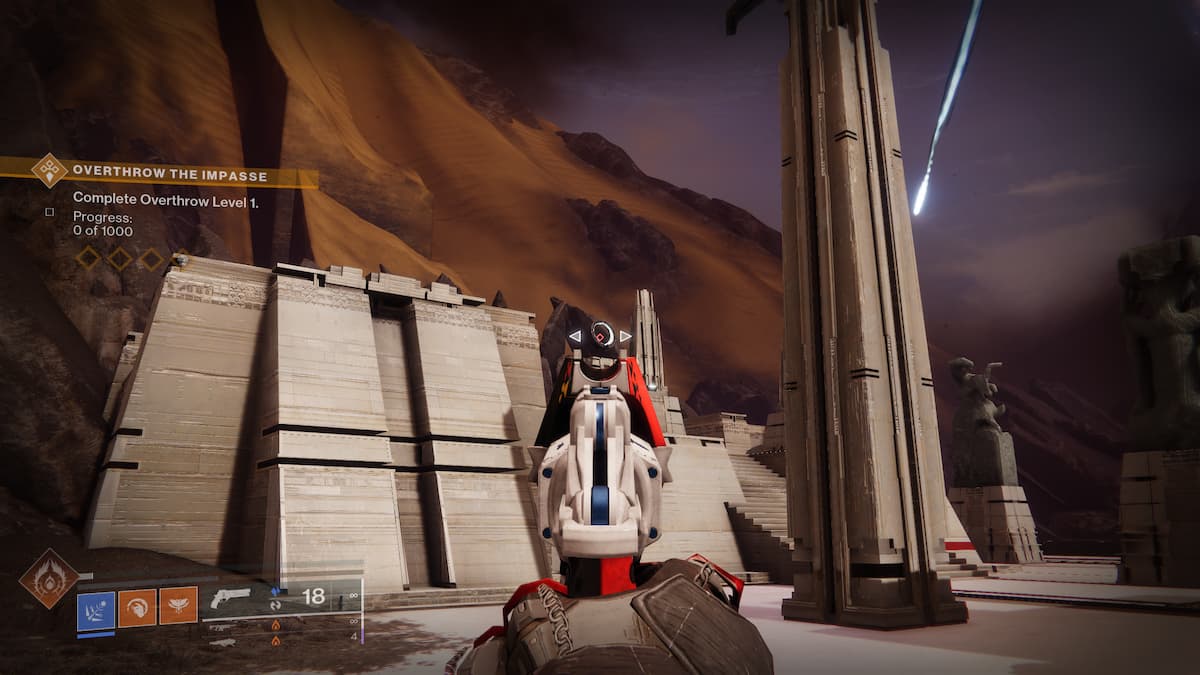
The next Vision is found at the Impasse. Spawn in and turn slightly to the left. Run down to the temple on the left side, about halfway through the area. Here, sitting in an ornate decorative statue, you will find the next vision.
Vision Location #8 – The Transgression
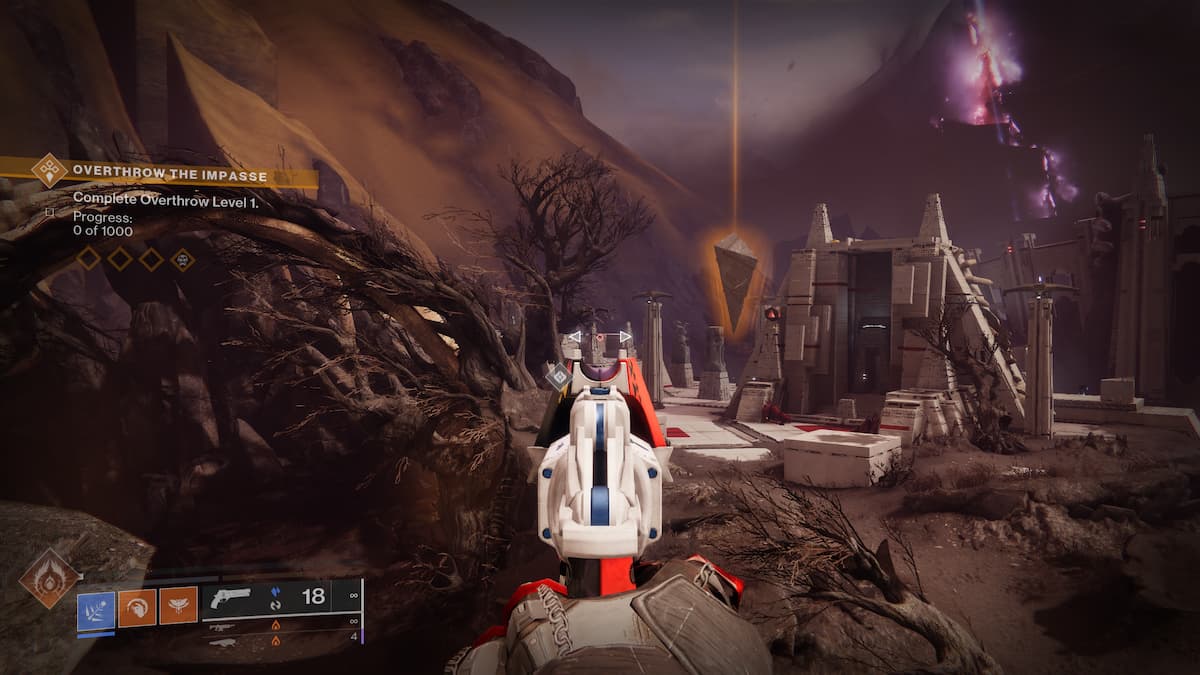
This one is actually a pain in the butt. You can see the location on the map above, but it’s awkward to get to. The easiest way I have found is to go through the Transgression (it’s mostly a single route) to the Paranormal Activity mode. When you get there, jump up to the right and head out into the dusty air. Follow that path until you hit some Taken, and kill them. Keep going until you get to the end, which is past some built-up walls, and there will be some trees on the left behind some pillars. You will be able to see an odd red glow coming from the area. The final vision is in there.

And there you have it, all the Visions of the Traveler for the Visionary Triumph. Grabbing all these is part of the Khostov Exotic Quest, and you can also get yourself a Triumph and an option to buy some real-world loot from the Bungie store.


Published: Jun 12, 2024 05:17 pm